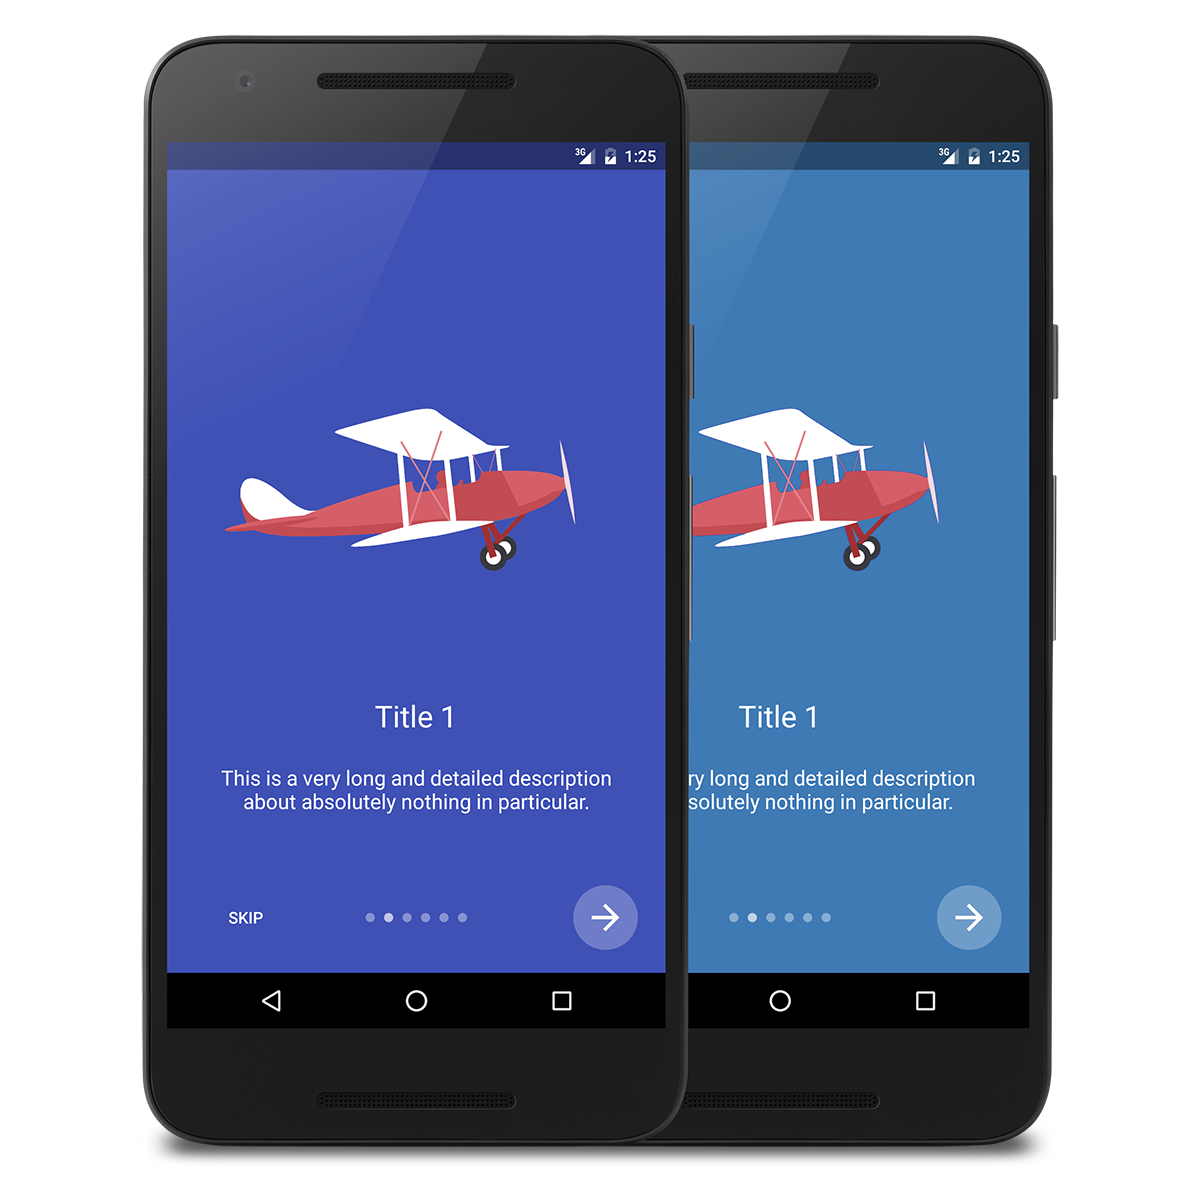
The IntroActivity library allows you to easily create beautiful intro screens for your app.
Airplane vector image designed by Freepik.
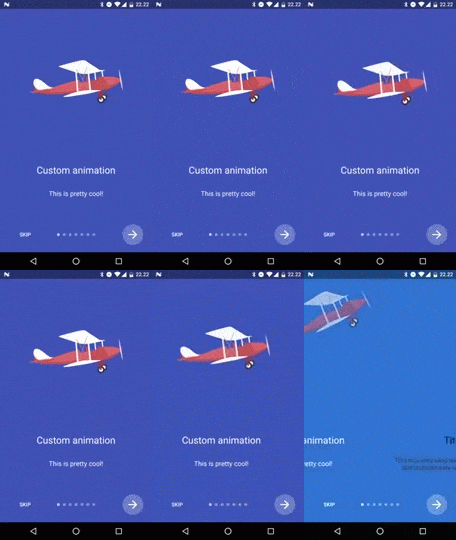
Watch it on YouTube.
Simple. Just create an Activity and extend IntroActivity.
By extending IntroActivity, you'll automatically implement the initialize() method. This is where you set up your intro screens and any custom styling. It is not possible to override onCreate() as this is used by the library to set up your intro screen.
Here's an example of how to extend IntroActivity and add a basic intro screen:
public class DemoActivity extends IntroActivity {

    @Override
    protected void initialize() {
        String description = "This is a description.";

        // Intro screen with title and description
        addIntroScreen(
                IntroFragment.newInstance("Title", description),
                ContextCompat.getColor(this, R.color.material_blue)
        );
    }

}1. Add the JitPack repository to your Gradle build file
allprojects {
	repositories {
		...
    	maven { url "https://jitpack.io" }
	}
}
2. Add the dependency
compile 'com.github.MizzleDK:IntroActivity:v0.1'
The library allows you to perform various custom styling using the following methods:
setShowSkipButton(boolean showSkipButton)setShowNextButton(boolean showNextButton)setSkipButtonTextColor(int color)setNextButtonBackgroundColor(int color)setNextButtonIconColor(int color)setProgressCircleColor(int color)
When you extend IntroActivity, you'll need to implement a few methods as well. These are:
onSkipPressed()onNextPressed(int)onDonePressed()
The methods are called when the user presses the Skip button, Next button and Done button, respectively.
The app folder of the repo contains a simple demo app with six intro screens, showcasing the different options.

