This is a sandbox project for exploring the basic functionality and latest features of dbt. It's based on a fictional restaurant called the Jaffle Shop that serves jaffles. Enjoy!
-
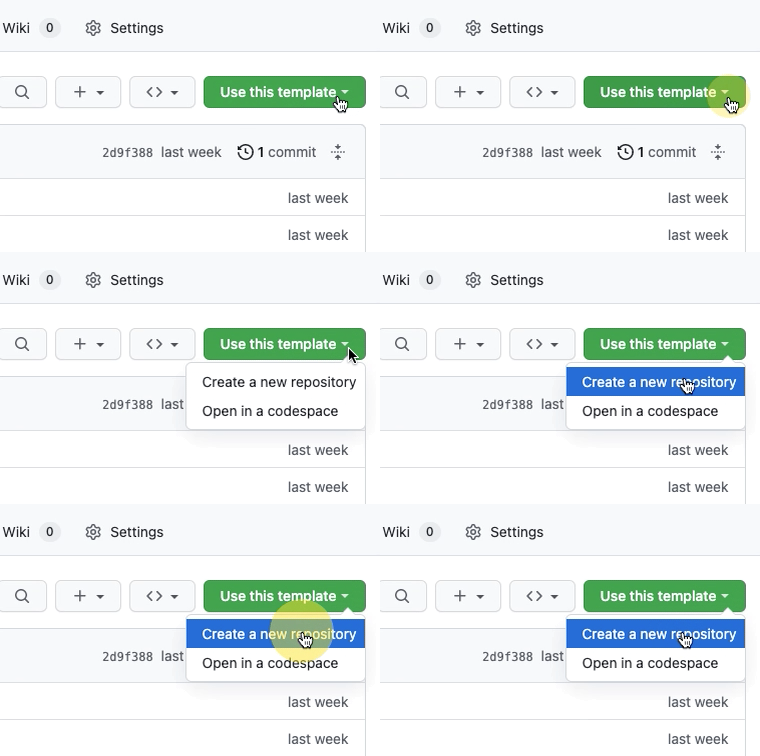
Follow the steps to create a new repository.
- Set up a dbt Cloud account and follow Step 4 in the Quickstart instructions for your data platform, to connect your platform to dbt Cloud, then follow one of the two paths below to set up your development environment.
-
Choose the repo you created in Step 1 as the repository for your dbt Project code.
-
Click
Developin the top nav, you should be prompted to run adbt deps, which you should do.
Note
If you'd like to use the dbt Cloud CLI, but are a little intimidated by the terminal, we've included a task runner called, fittingly, task. It's a simple way to run the commands you need to get started with dbt. You can install it by following the instructions here. We'll call out the task based alternative to each command below. You can also run task setup to perform all the setup commands at once.
-
Run
git clone [new repo name]to clone your new repo to your local machine. -
Follow Step 1 on this page to install the dbt Cloud CLI, we'll do the other steps in a second.
-
Set up a virtual environment and activate it. I like to call my virtual environment
.venvand add it to my.gitignorefile (we've already done this if you name your virtual environment '.venv') so that I don't accidentally commit it to the repository, but you can call it whatever you want.python3 -m venv .venv # create a virtual environment OR task venv # create a virtual environment source .venv/bin/activate # activate the virtual environment
-
Install the project's requirements into your virtual environment.
python3 -m pip install -r requirements.txt # install the project's requirements
OR
task install # install the project's requirements
-
Follow steps 2 and 3 on this page to setup dbt Cloud CLI's connection to dbt Cloud, only if you haven't already done so (we handled step 1 above and will do step 4 together next).
-
Double check that your
dbt_project.ymlis set up correctly by runningdbt list. You should get back a list of models and tests in your project.
Once your development platform of choice is set up, use the following steps to get the project ready for whatever you'd like to do with it.
-
Run
dbt buildto load the sample data into your raw schema, build your models, and test your project. -
Delete the
jaffle-datadirectory now that the raw data is loaded into the warehouse. It will be loaded into araw_jaffle_shopschema in your warehouse. That bothdevandprodtargets are set up to use. Take a look at thegenerate_schema_namemacro in themacrosdirectory to if you're curious how this is done.
- Run
task build.
This project uses a tool called pre-commit to automatically run a suite of of processes on your code, like linters and formatters, when you commit. If it finds an issue and updates a file, you'll need to stage the changes and commit them again (the first commit will not have gone through because pre-commit found and fixed an issue). The outcome of this is that your code will be more consistent automatically, and everybody's changes will be running through the same set of processes. We recommend it for any project. You can see the configuration for pre-commit in the .pre-commit-config.yaml file. You can run the checks manually with pre-commit run --all-files to see what it does without making a commit.
The most important pre-commit hook that runs in this project is SQLFluff, which will lint your SQL code. It's configured with the .sqlfluff file in the root of the project. You can also run this manually, either to lint your code or to fix it automatically (which also functions loosely as a fairly relaxed formatter), with pre-commit run sqlfluff-lint or pre-commit run sqlfluff-fix respectively, but if you don't, it will still run whenever you commit to ensure the committed code is consistent.
Note
SQLFluff's dbt templater relies on dbt Core, which conflicts with dbt Cloud CLI for the time being. Thankfully, pre-commit installs its hooks into isolated environments, so you can still use SQLFluff with dbt Cloud CLI via pre-commit, but you can't call SQLFluff directly. The dbt Labs team is actively working on a solution for this issue.

