NOTE: Heroku is planning to prevent free servers soon, so maybe when you see this, the website will not be there anymore.
This is a list of needed instructions to set up your project locally, to get a local copy up and running follow these instructions.
-
.
Follow this article to install node js and npm Install Node js and npm
This website was implemented for studying the Complete Node Bootcamp by Jonas Shmedtmann Complete Node Bootcamp.
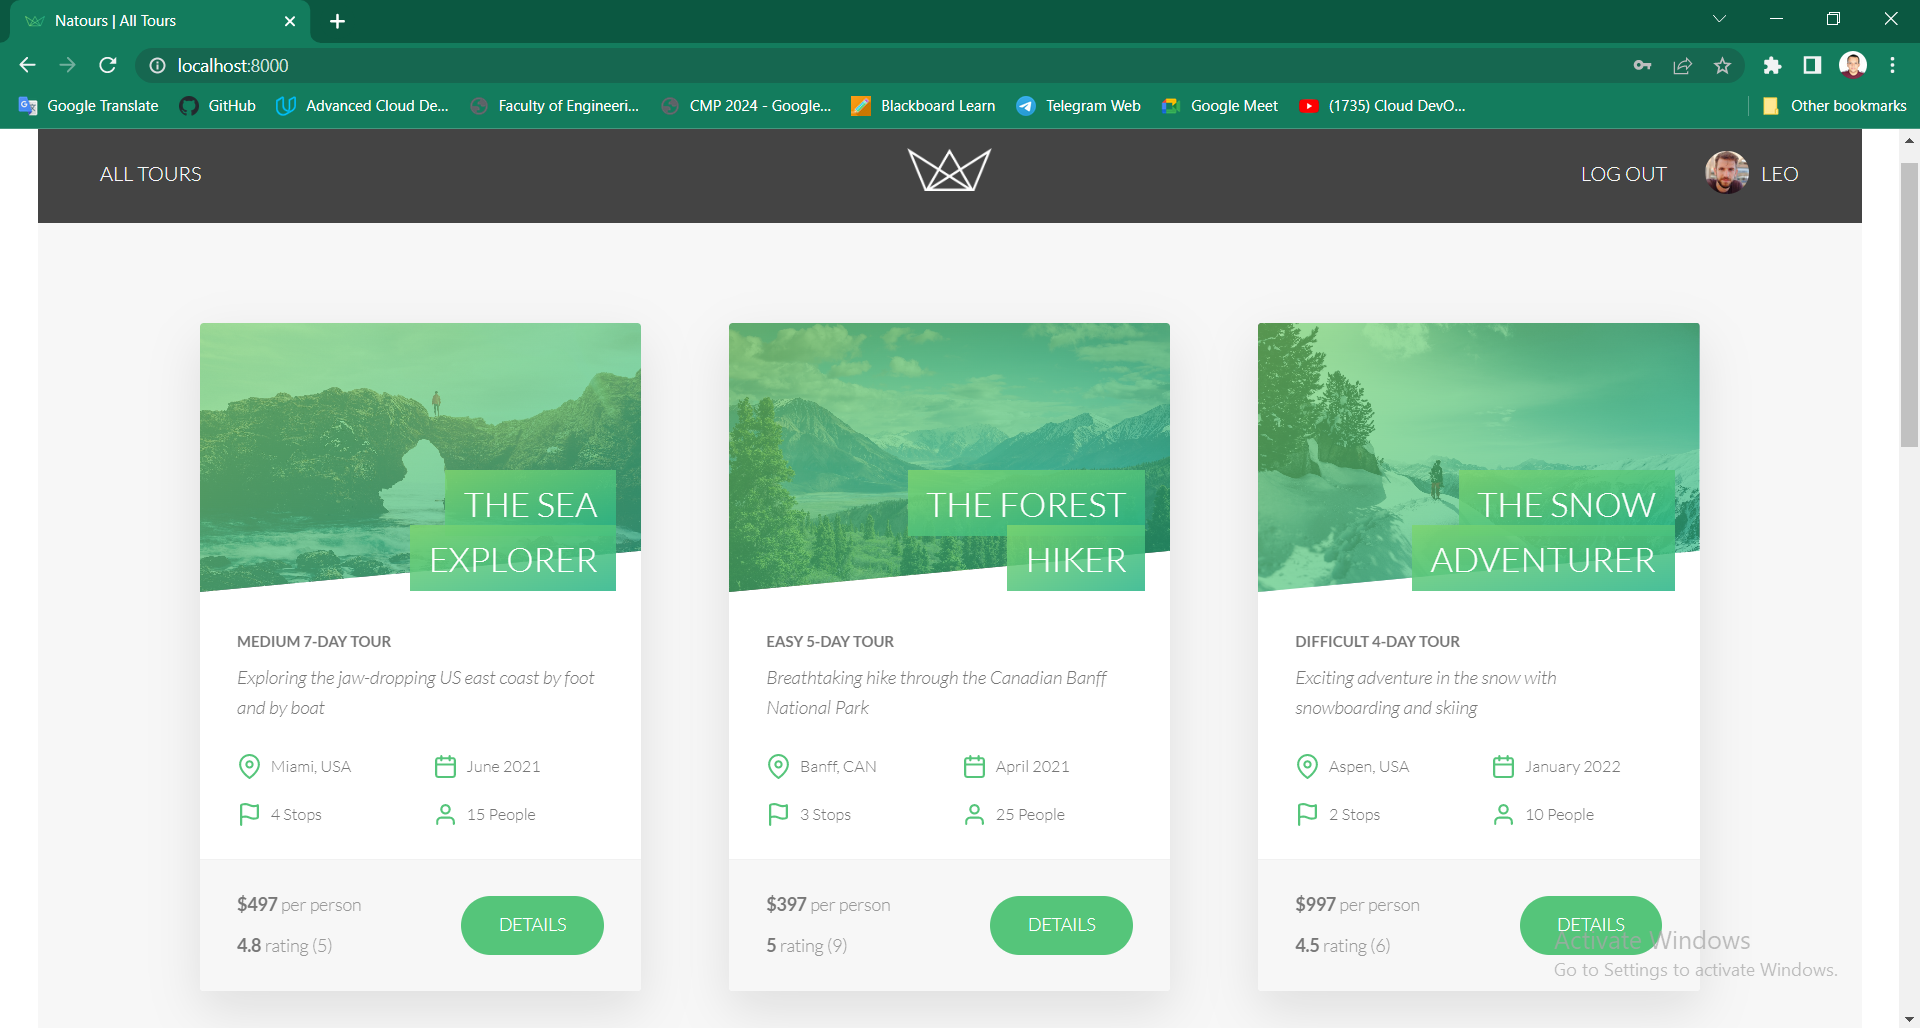
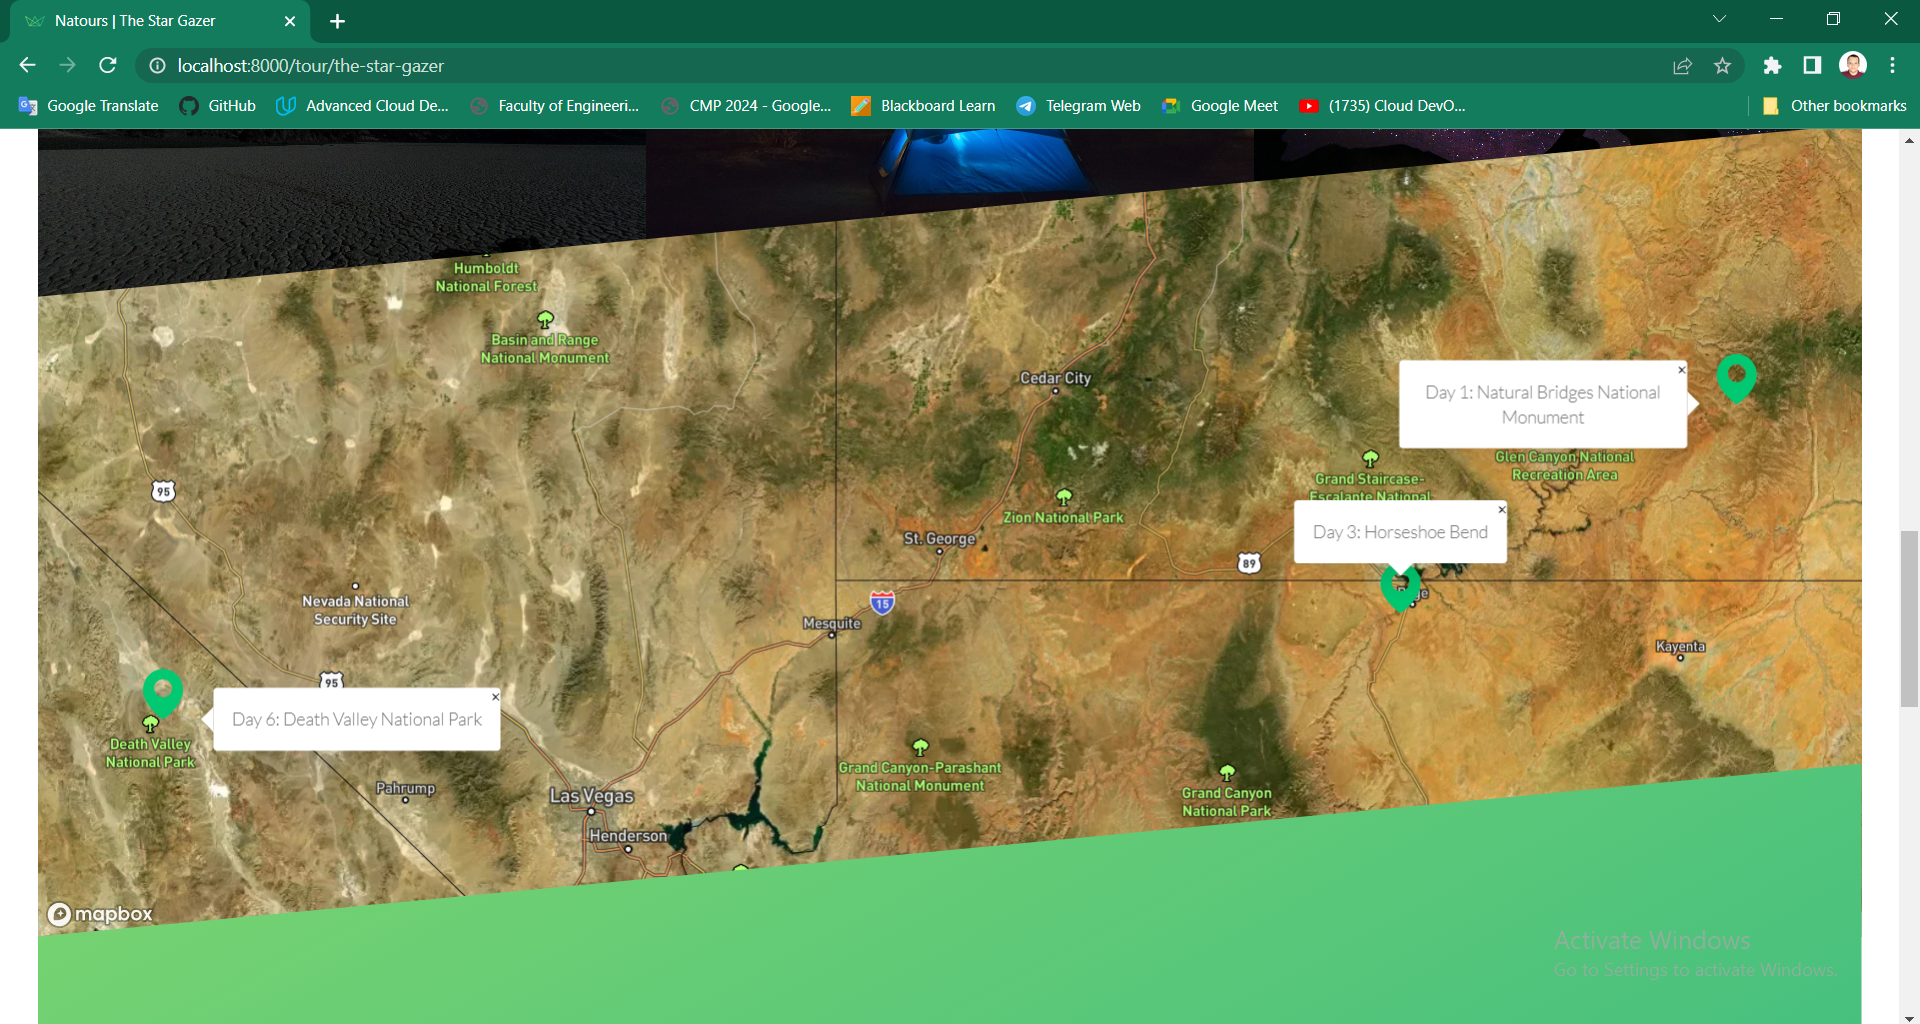
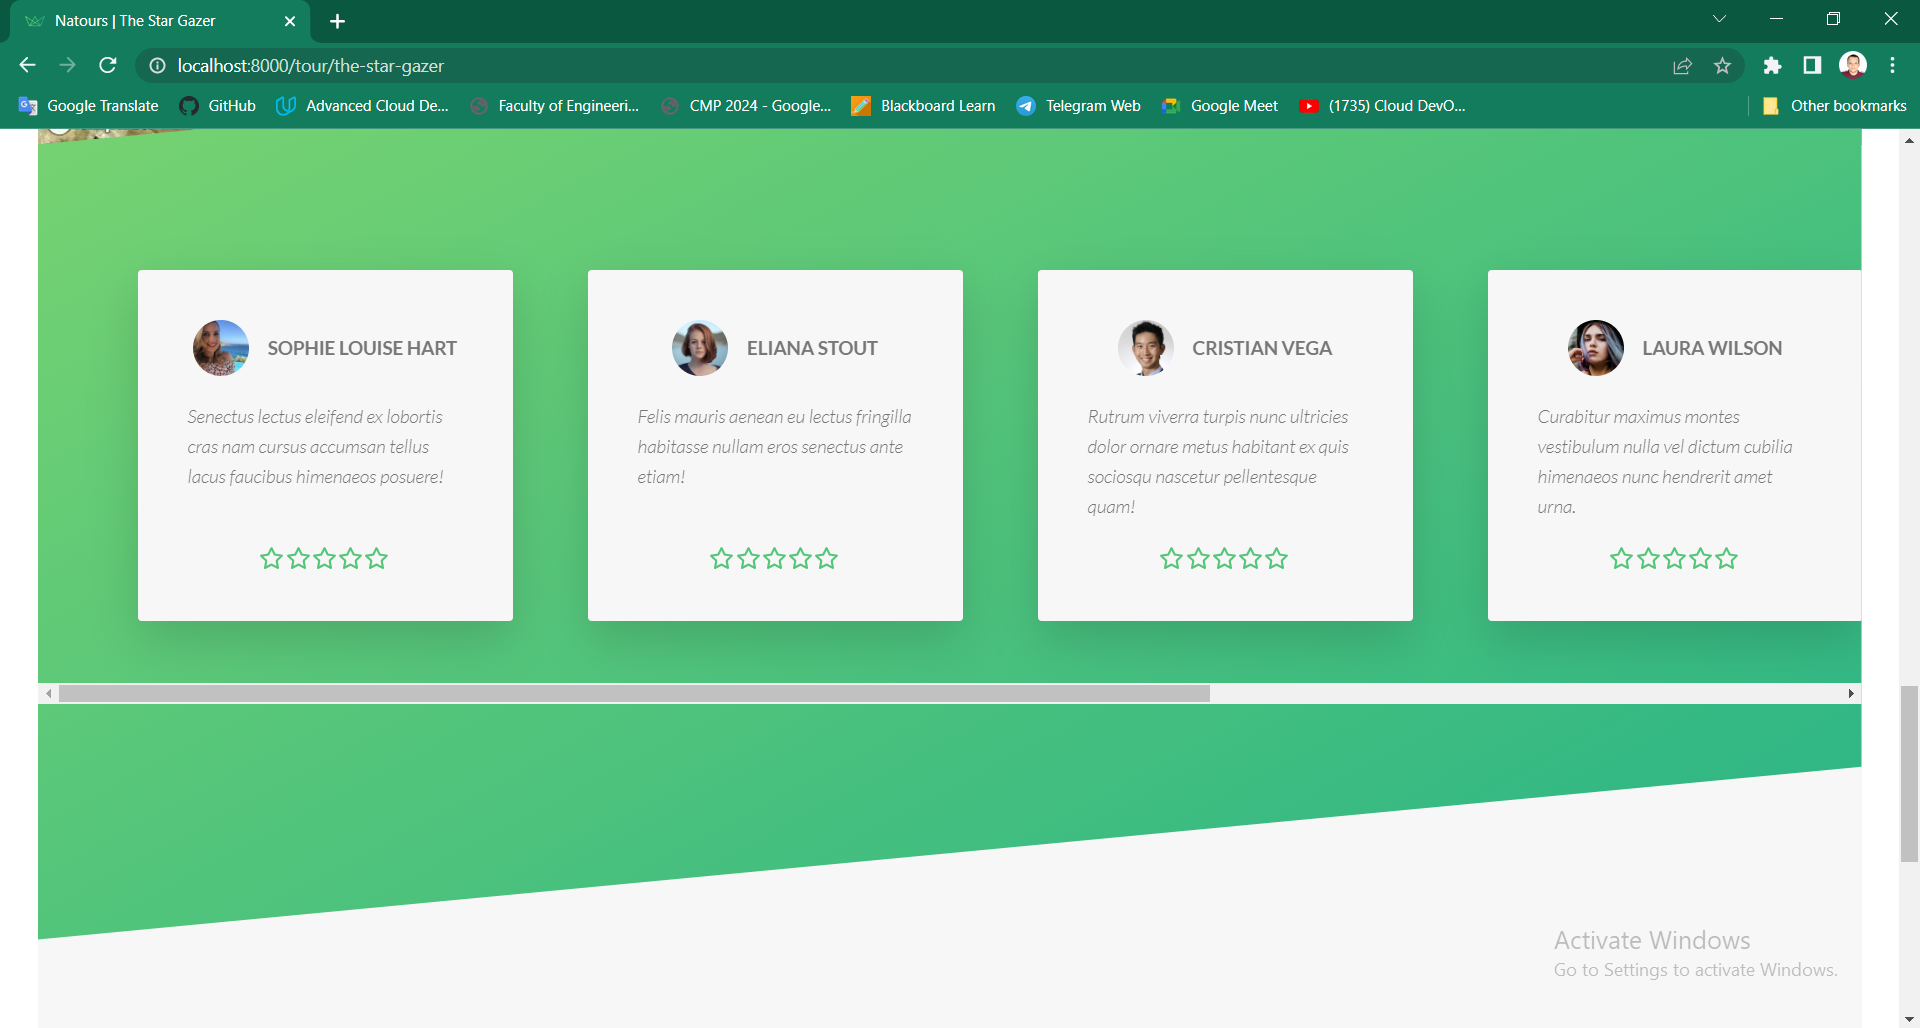
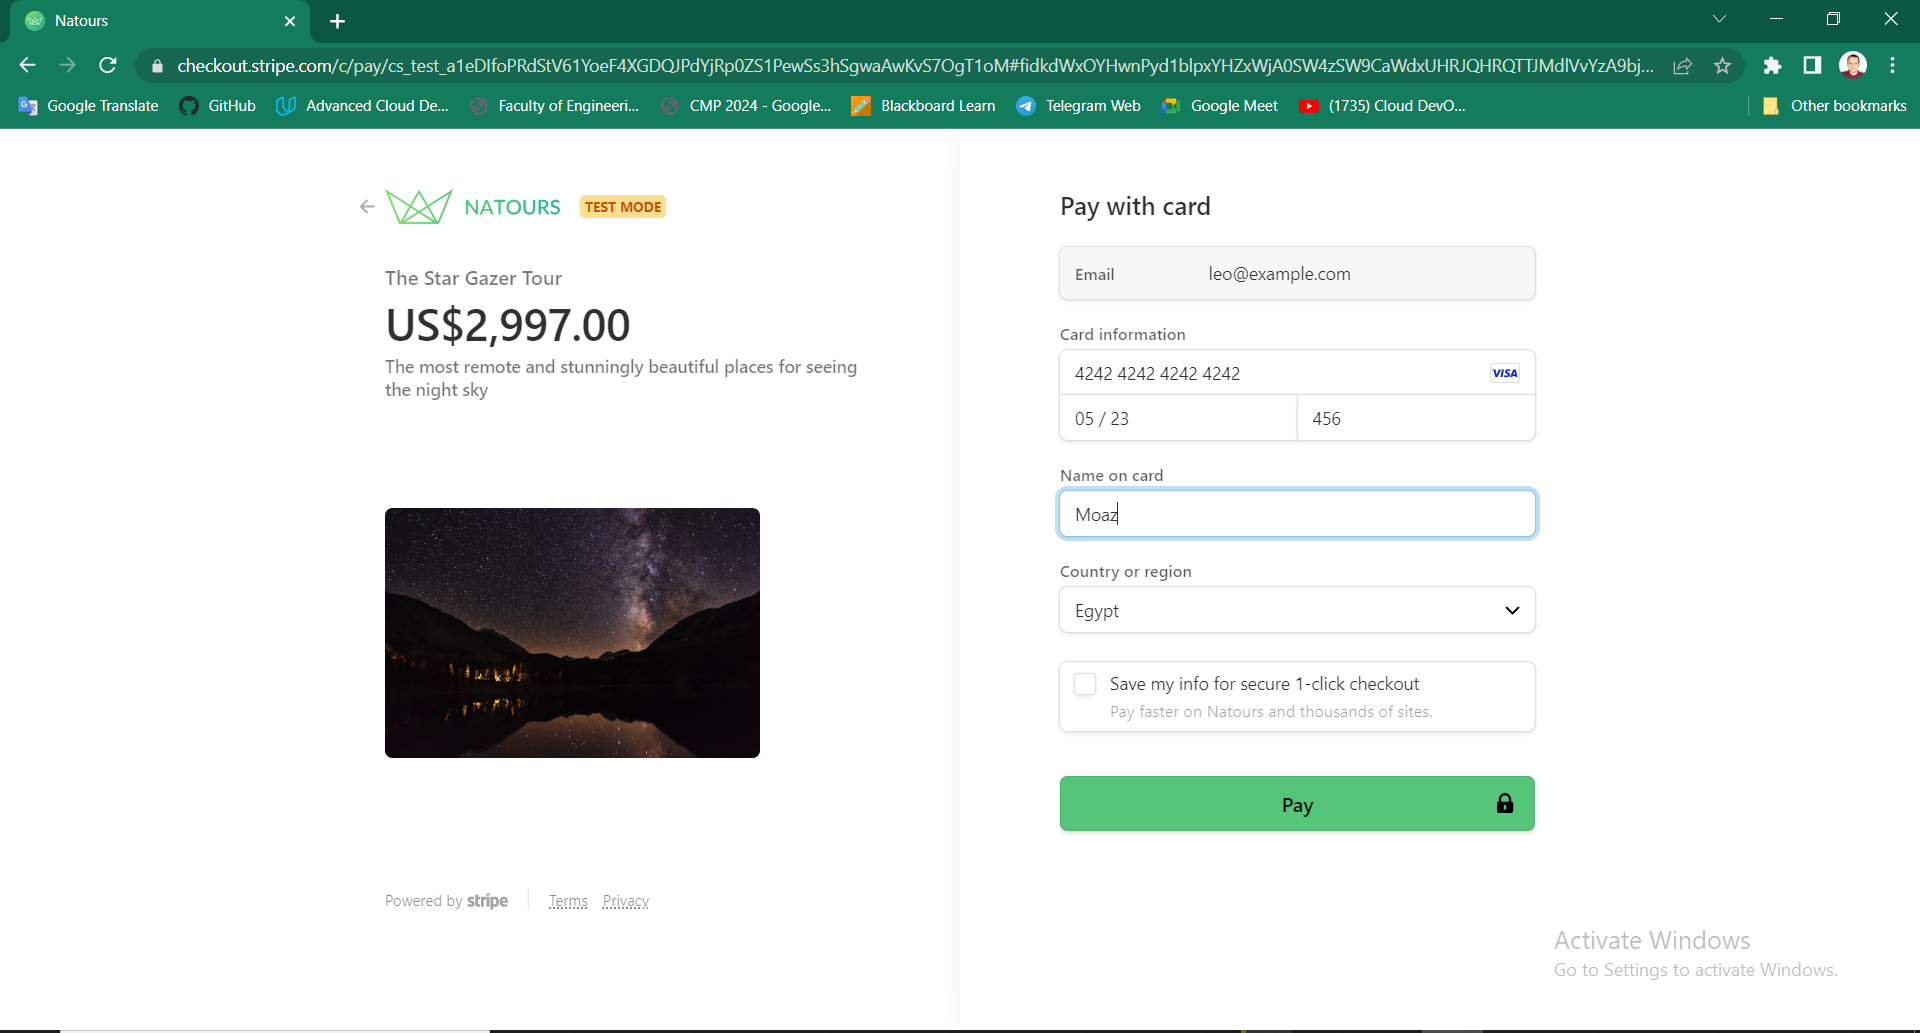
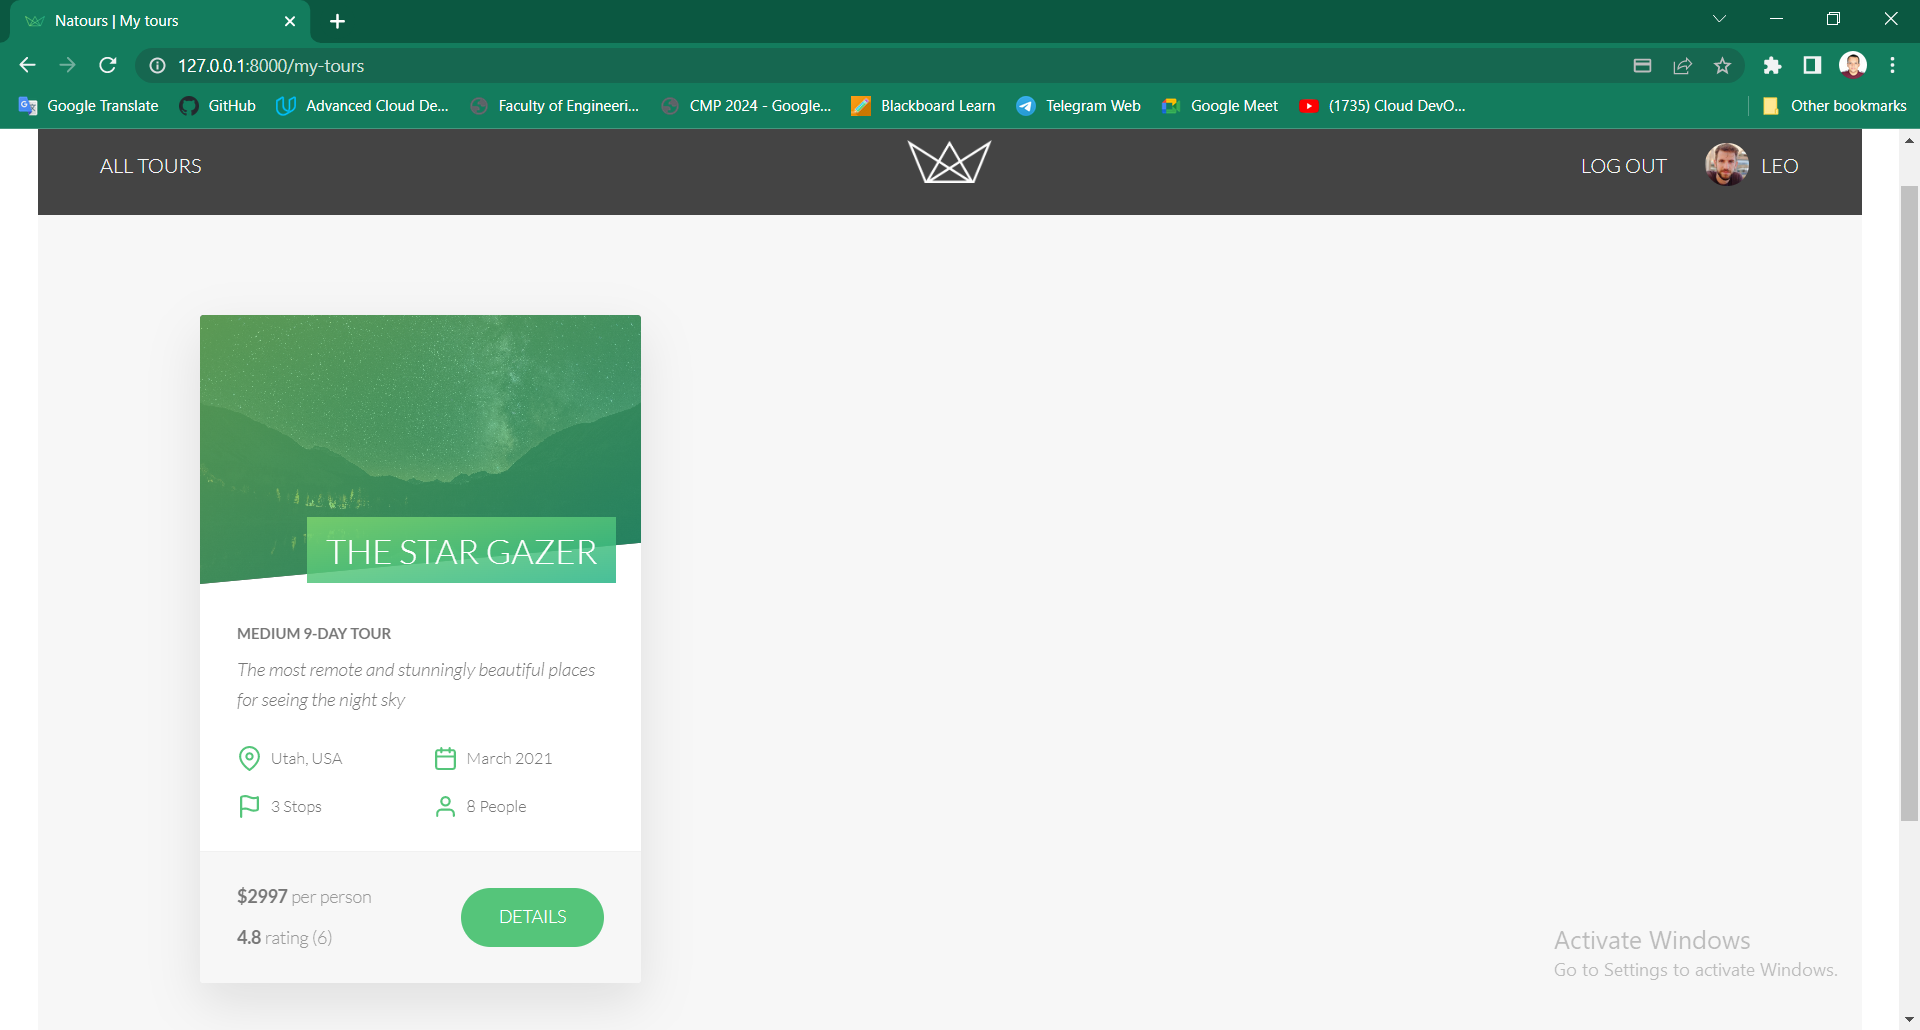
It is a tours website for showing the information about all the tours of this company and making the clients able to book them.
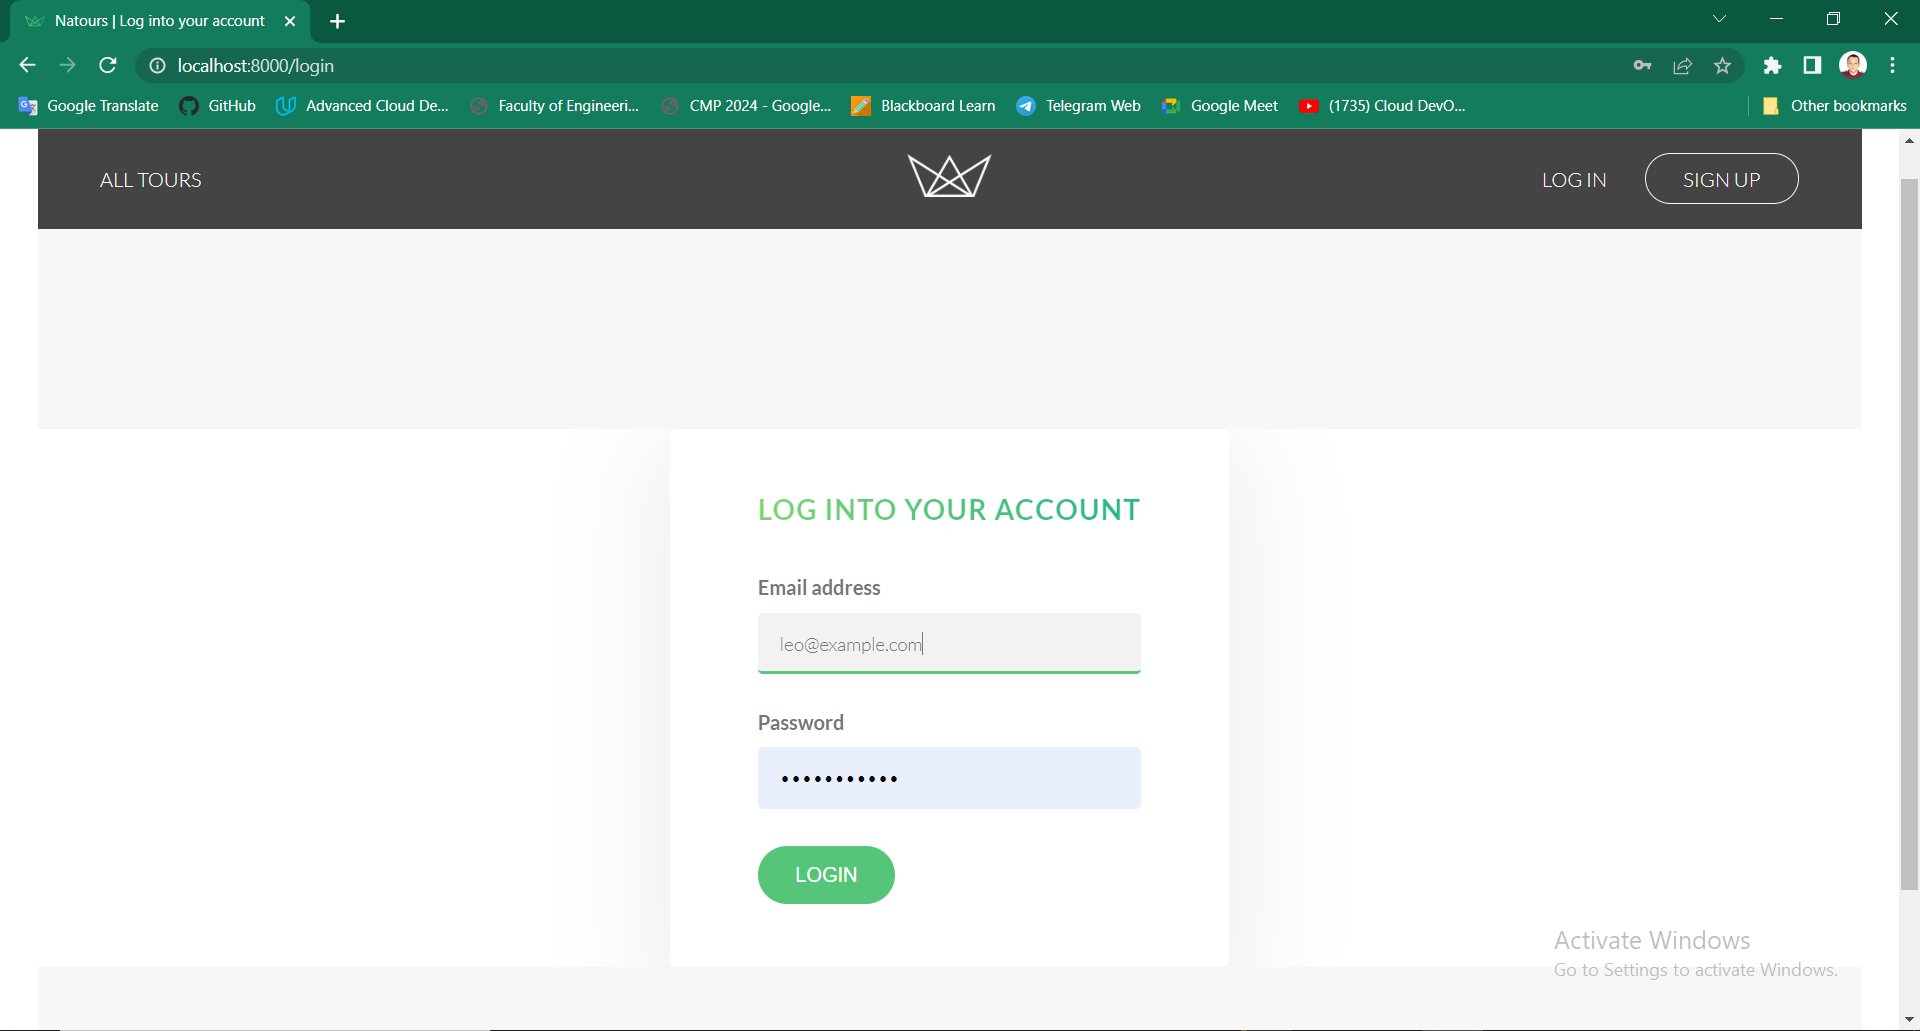
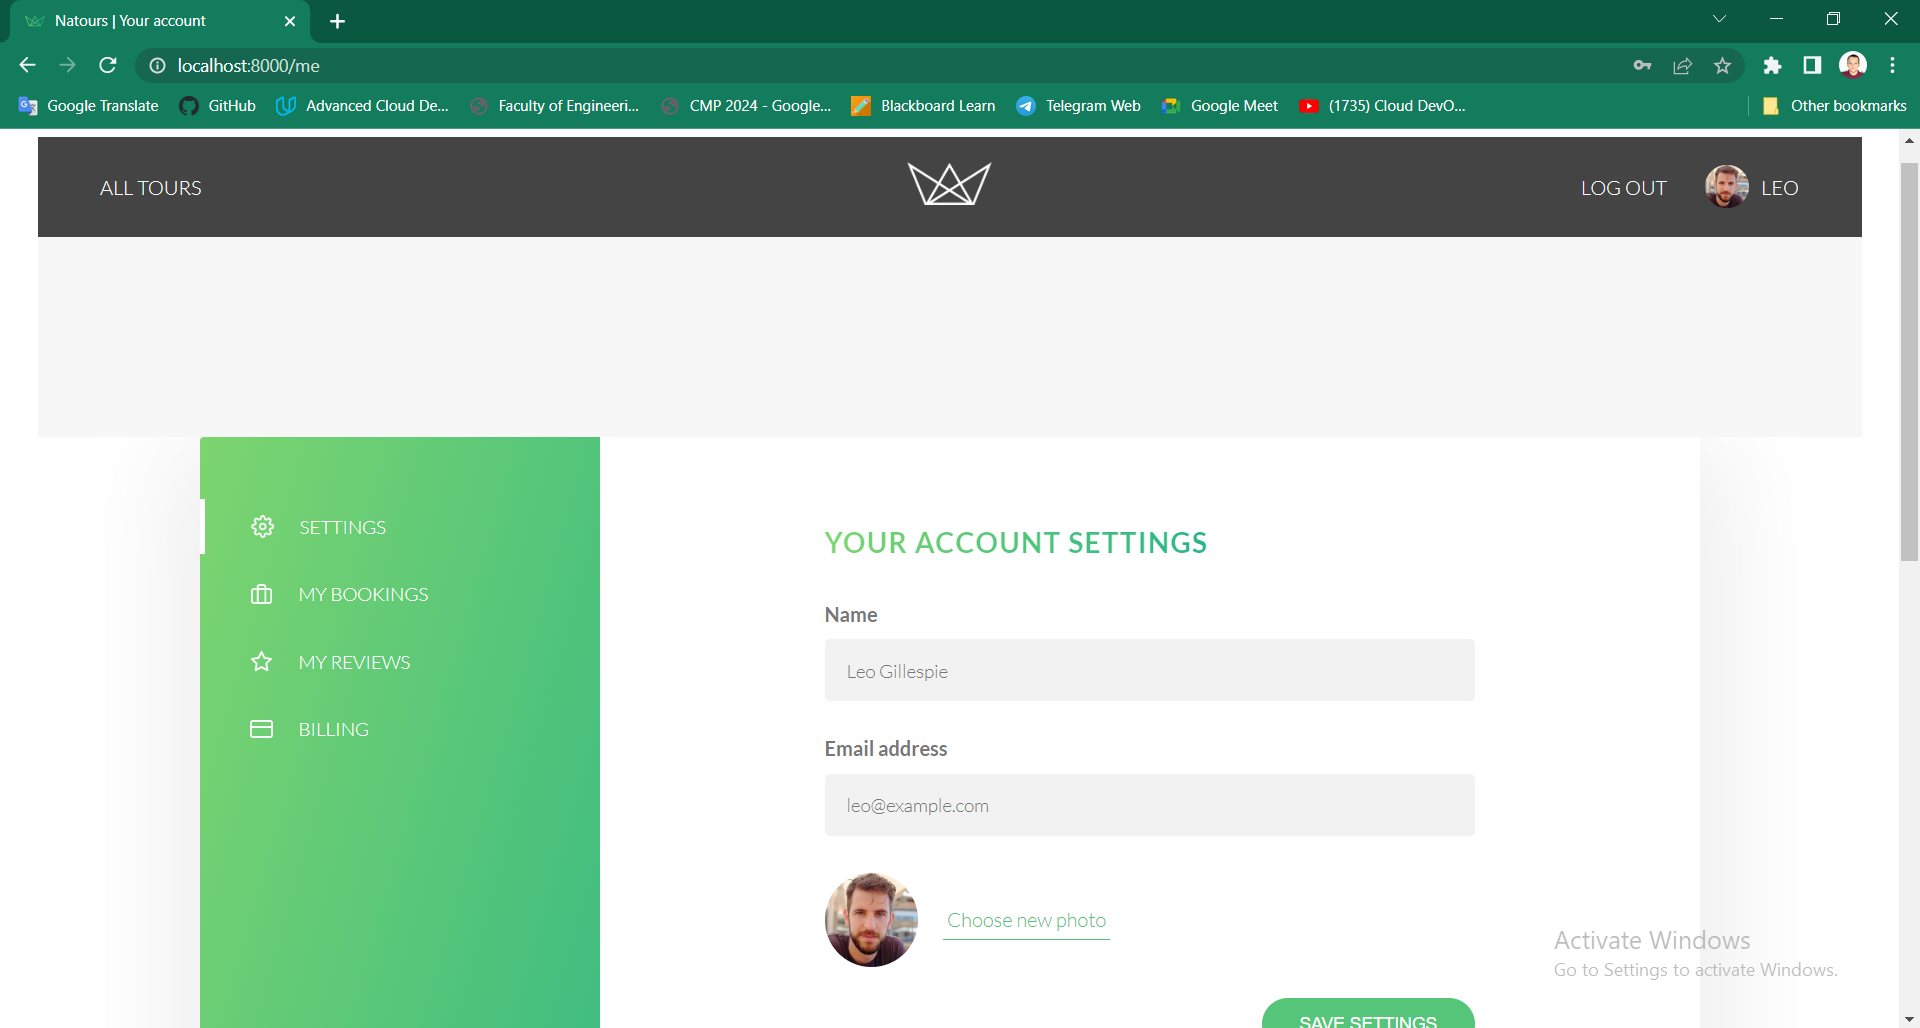
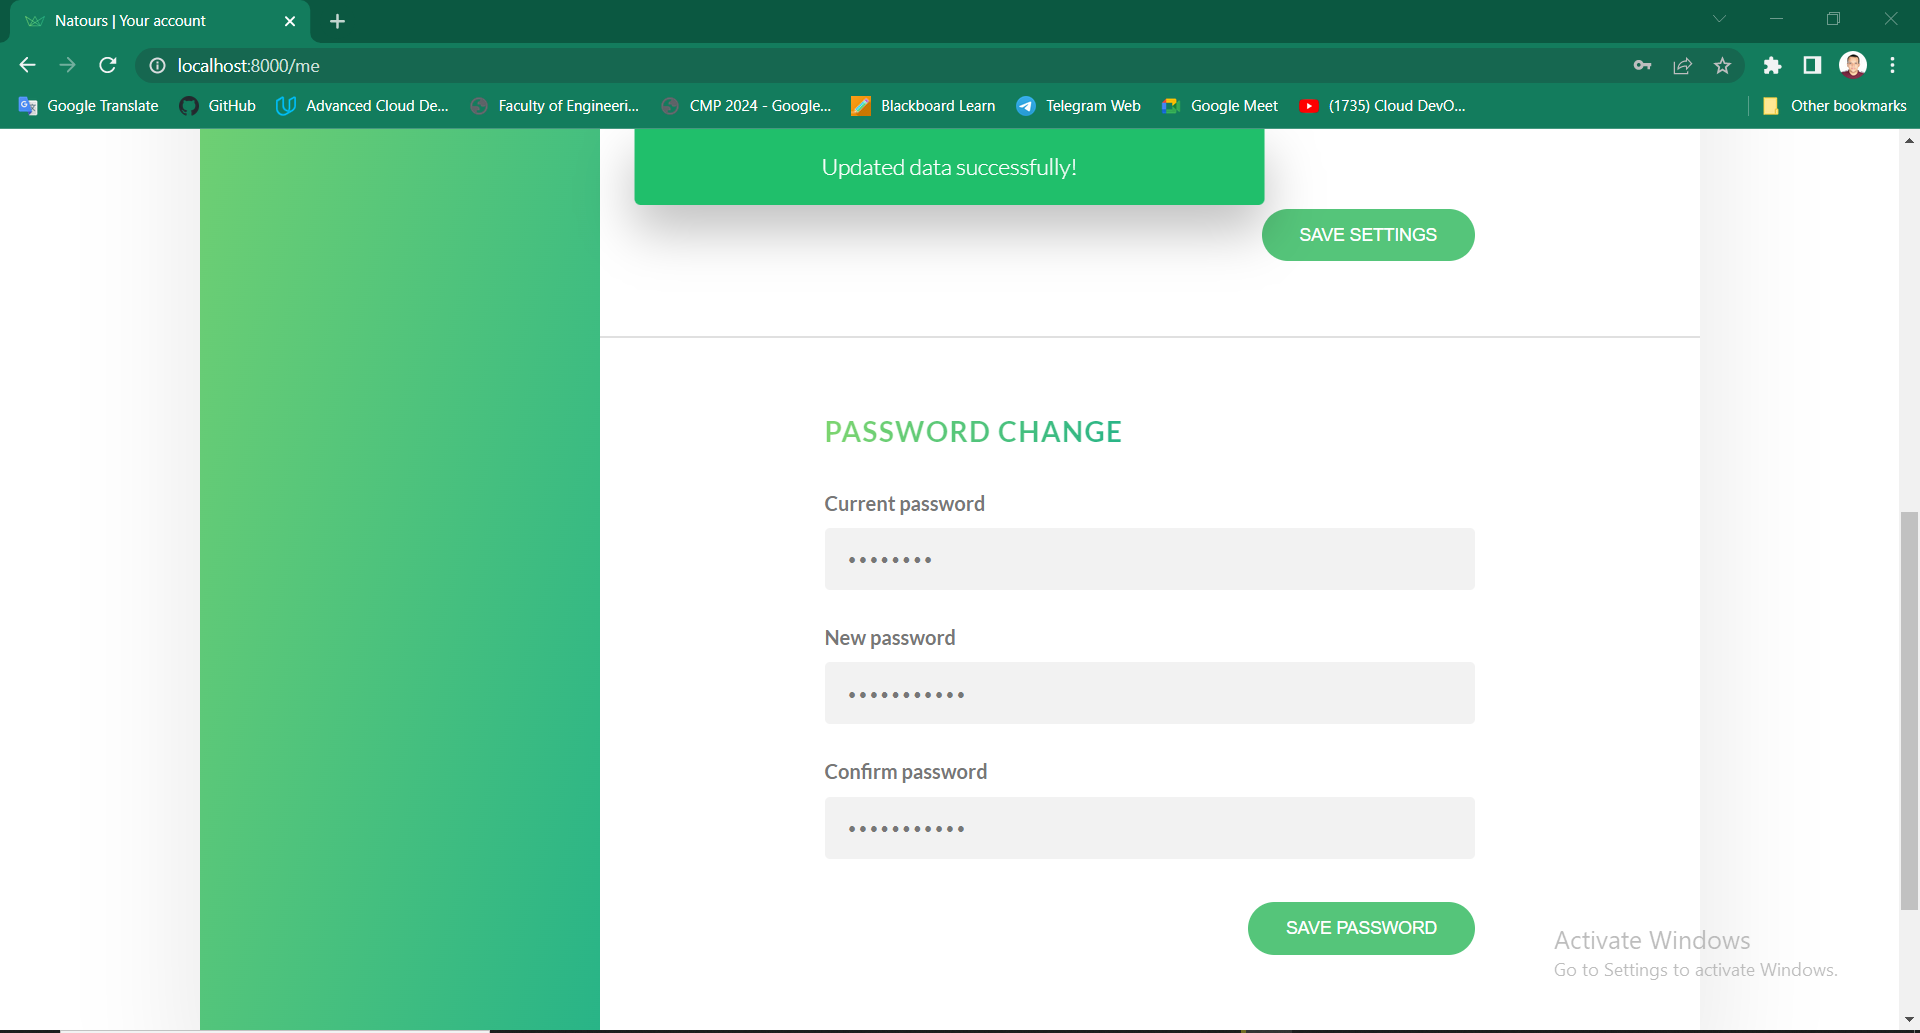
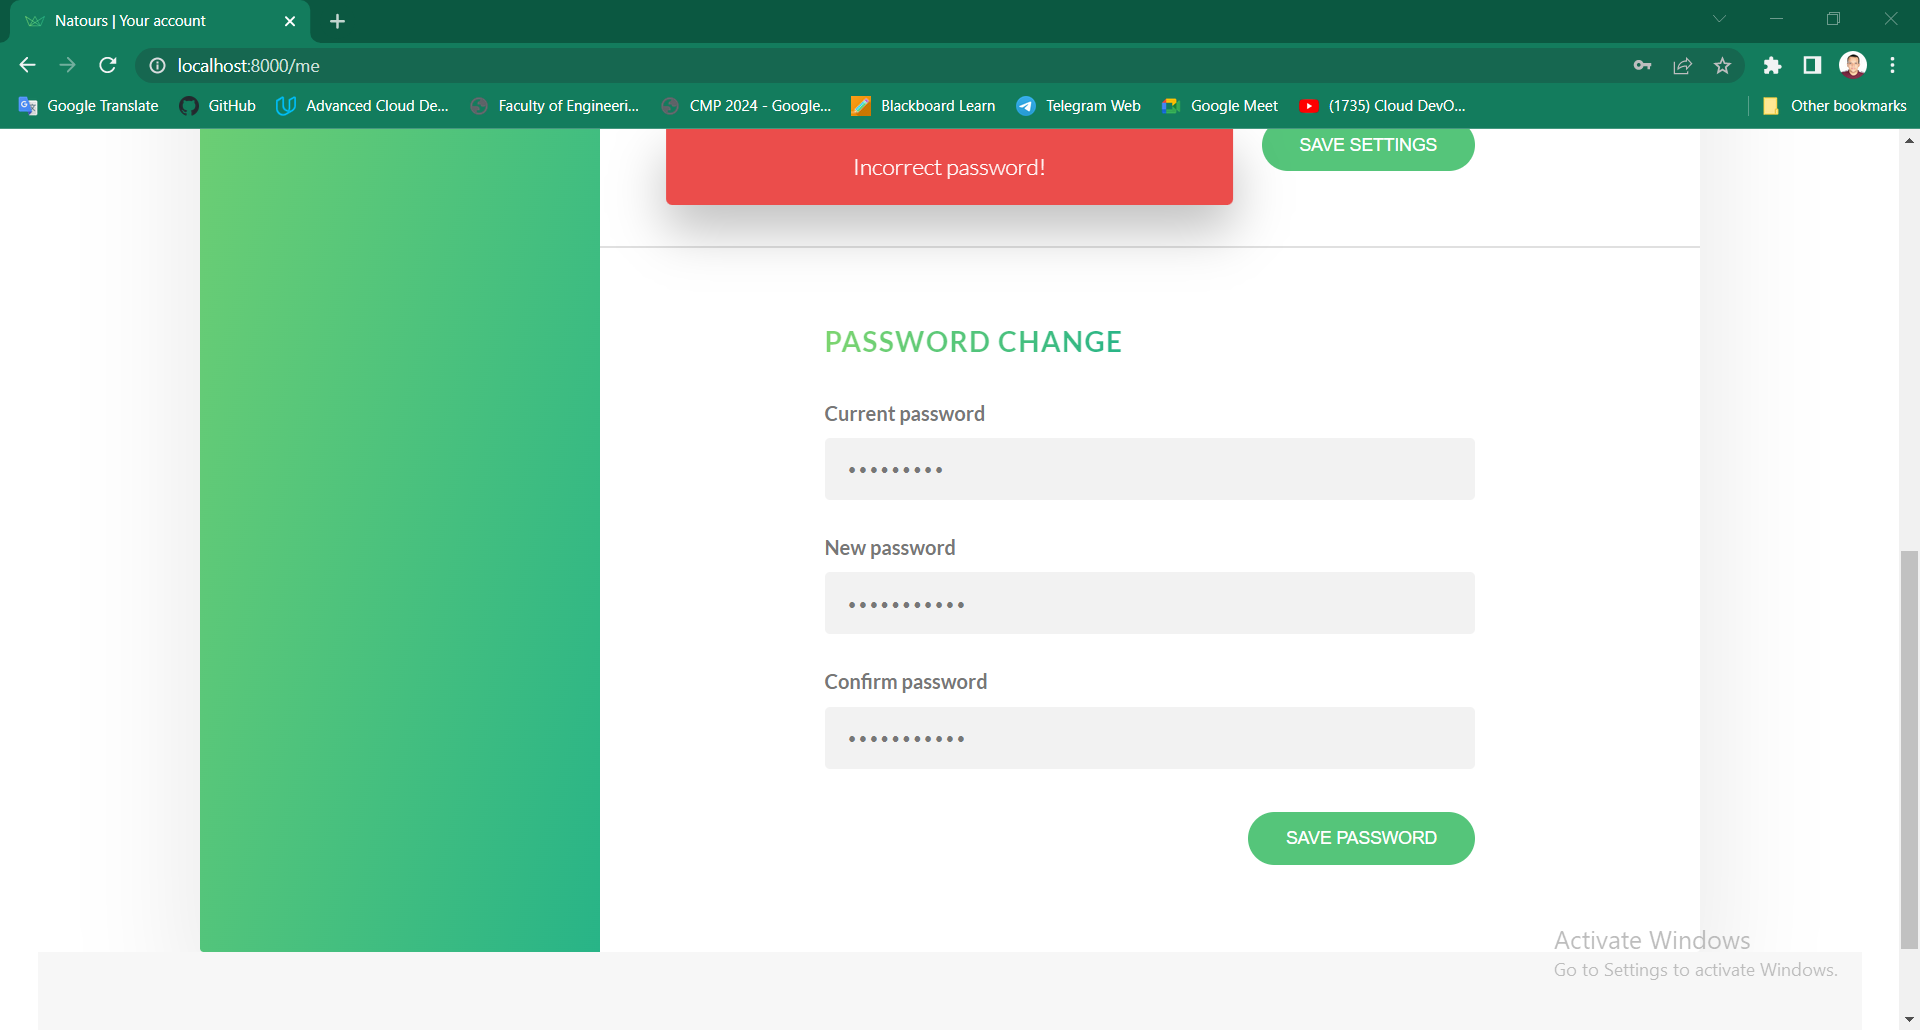
Each user has information like name, email, role(admin, lead guide, guide, or user), password and maybe a photo. He can update his information at any time, log in, and log out.
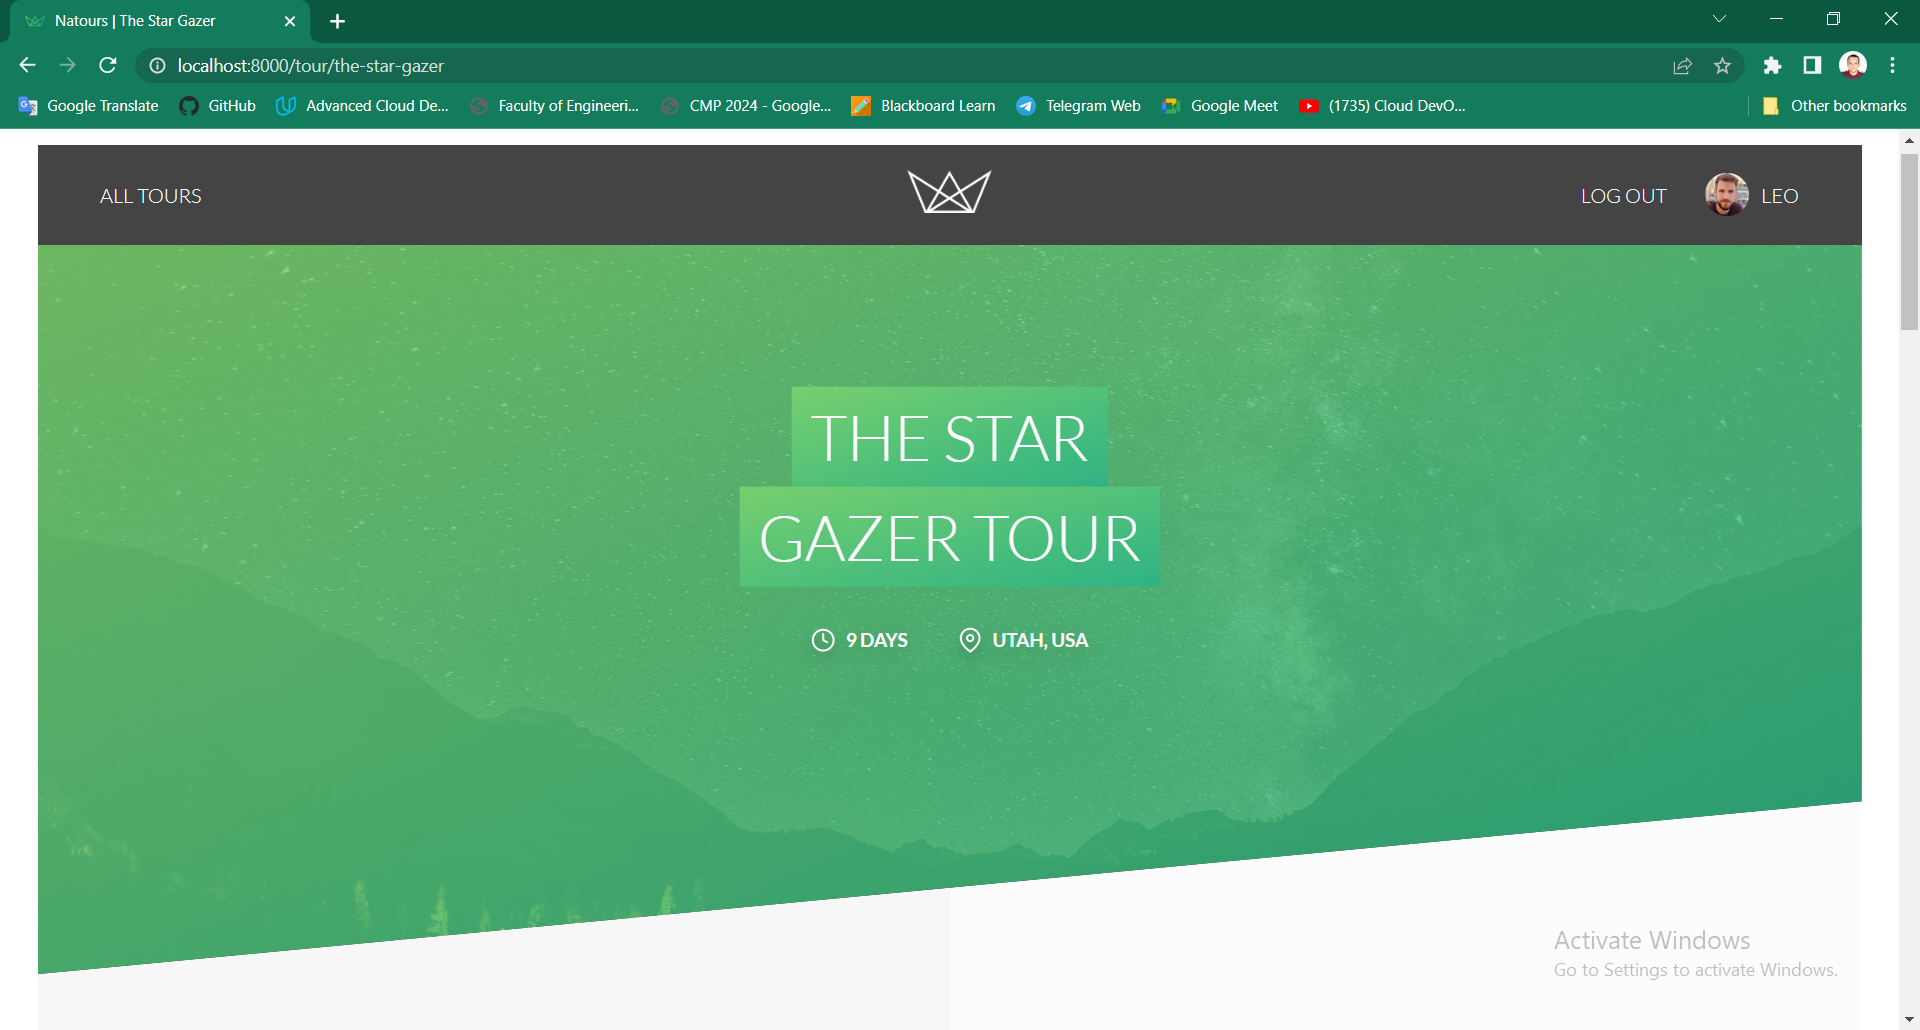
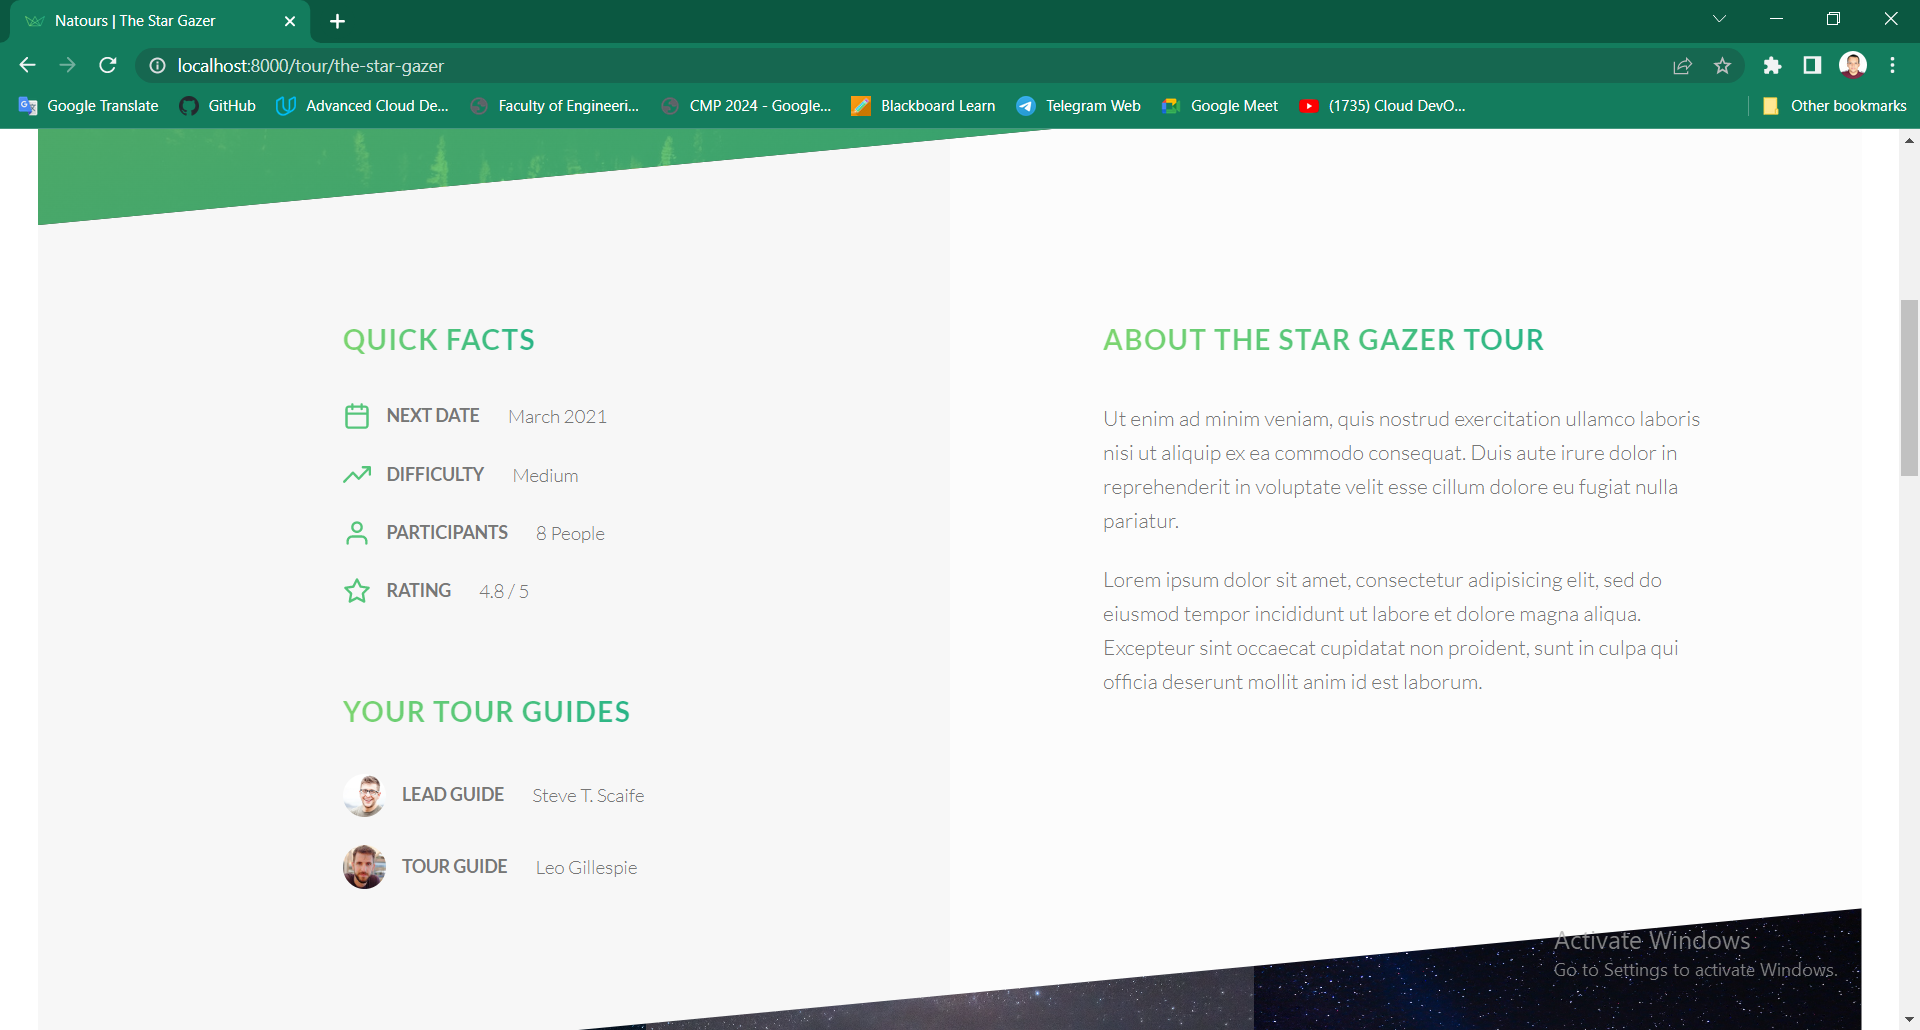
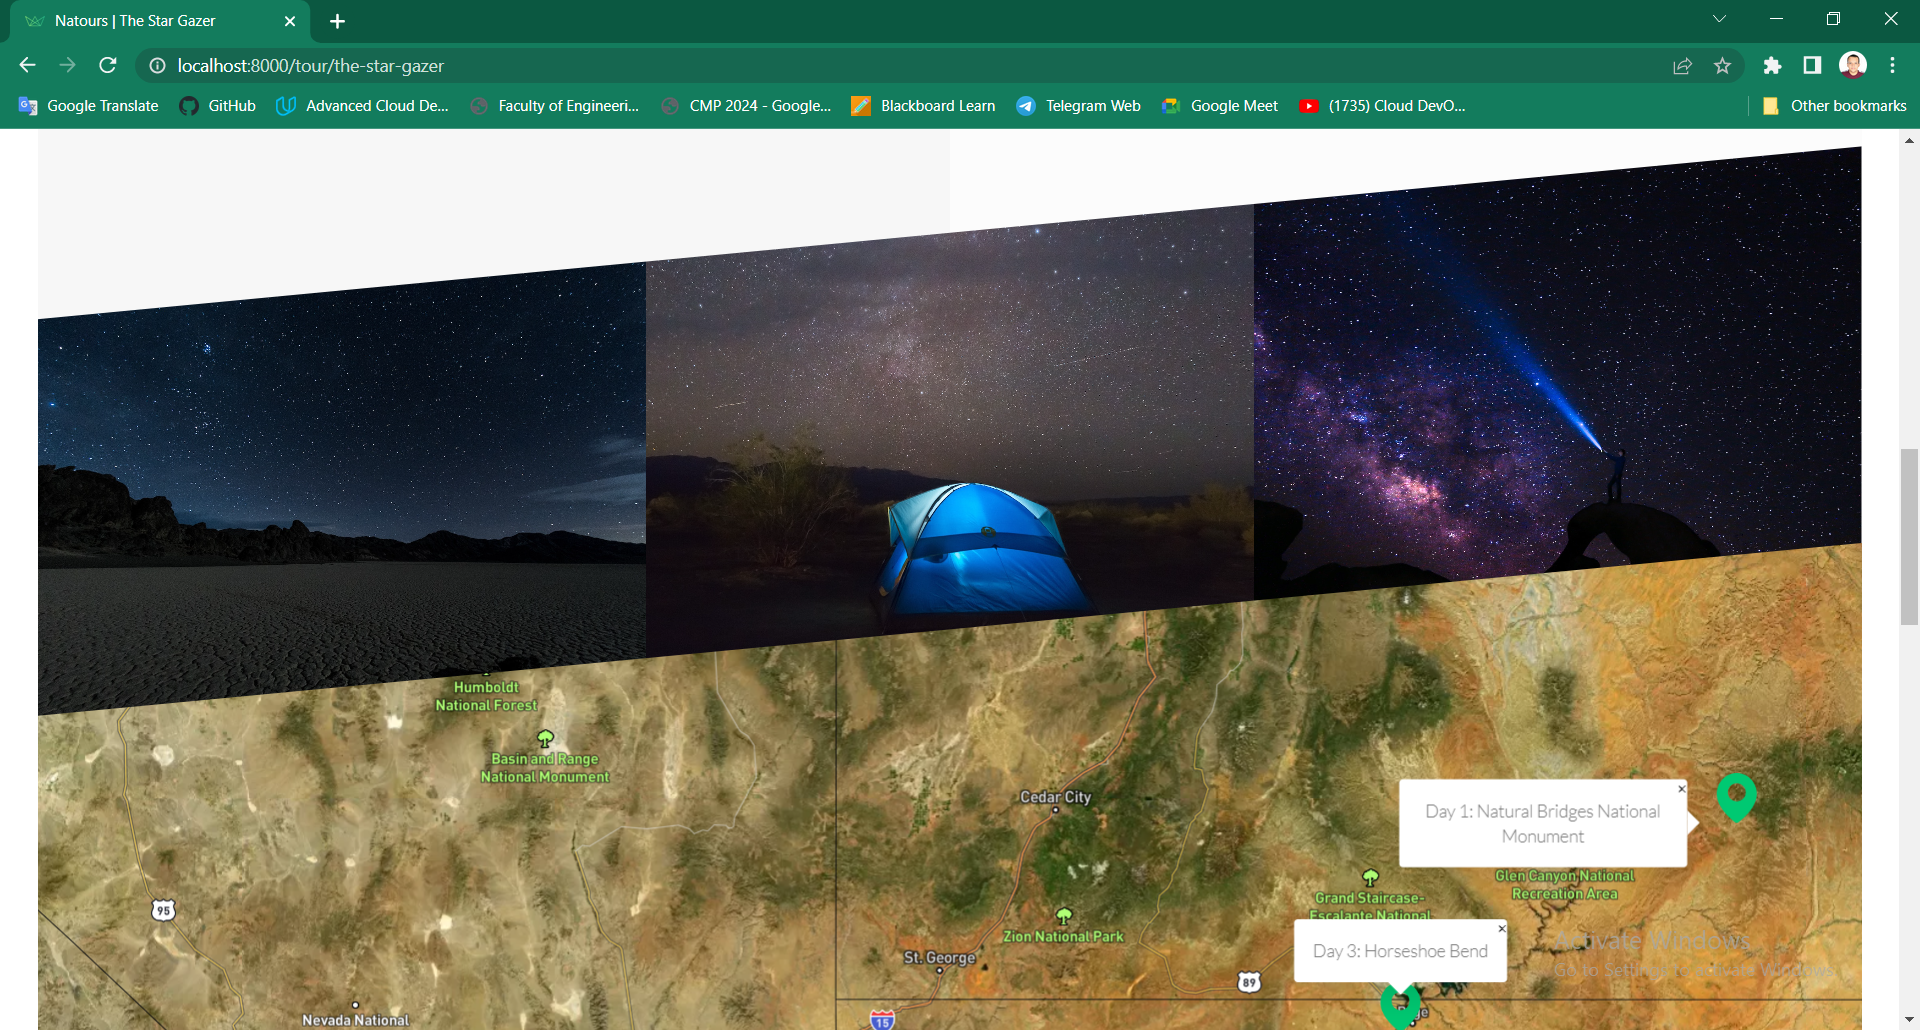
Each tour has name, duration, maximum group size, difficulty(hard, medium or easy), reviews, price, summary, description, cover image, images, start dates, start location, locations and guides.
This website is developed in Node js for the backend using MongoDB for the database & in Pug templates for the frontend (Server has an API and also renders the views, but the project target is the server API).
You can look on the API documentation at API Documentation

