Presenters:
- Yogesh Chavan
- Nenad Peric
- Karan Rai
Table of Contents:
- LAB Details
- Lab 1.1 - Install Image Builder
- Lab 1.2 - Create a Blueprint
- Lab 1.3 - Add packages to the Blueprint
- Lab 1.4 - Create Image
- Lab 1.5 - Test the output image with virt-install
- Lab 2.1 - Customize the blueprint configuration file
- Lab 2.2 - Test the new image with virt-install
- Resources
- You have a pre-installed Red Hat Enterprise Linux 8 system
[lab-user@bastion-LAB-GUID ~]$ hostname
bastion-LAB-GUID.rhpds.opentlc.com
Here LAB-GUID is the number provided to you on the 'Lab information' page
-
Following packages are already installed:
- Web Console (cockpit)
- virt-viewer
- virt-install
-
Red Hat Web console is enabled. Verify it by running following command
[root@bastion-LAB-GUID ~]# systemctl is-enabled cockpit.socket
enabled
-
Use hostname with port 9090
https://bastion-LAB-GUID.rhpds.opentlc.com:9090 -
You will get a warning that the "connection is not secure". You can accept the self-signed certificate and add an exception.
-
Login as lab-user and password to-be-provided
-
Check - "Reuse my password for privileged tasks"
- Open a SSH session to your RHEL 8 server and run the following commands.
- You can also use the terminal tab on Red Hat web console.
- Use sudo to become root
[lab-user@bastion-LAB-GUID ~]$ sudo -i
[root@bastion-LAB-GUID ~]#
- Install Image Builder with the CLI and the web console plugin:
[root@bastion-LAB-GUID ~]# yum install lorax lorax-composer composer-cli cockpit-composer
- Enable and start composer service
[root@bastion-LAB-GUID ~]# systemctl enable --now lorax-composer.socket
- Restart cockpit service to load newly installed plugin
[root@bastion-LAB-GUID ~]# systemctl restart cockpit.service
Note: Restarting the web console will log you out, you need to relogin
- Now you should be able to see the "Image Builder" tab on left hand side of the Web Console.

Click image to view at full size.
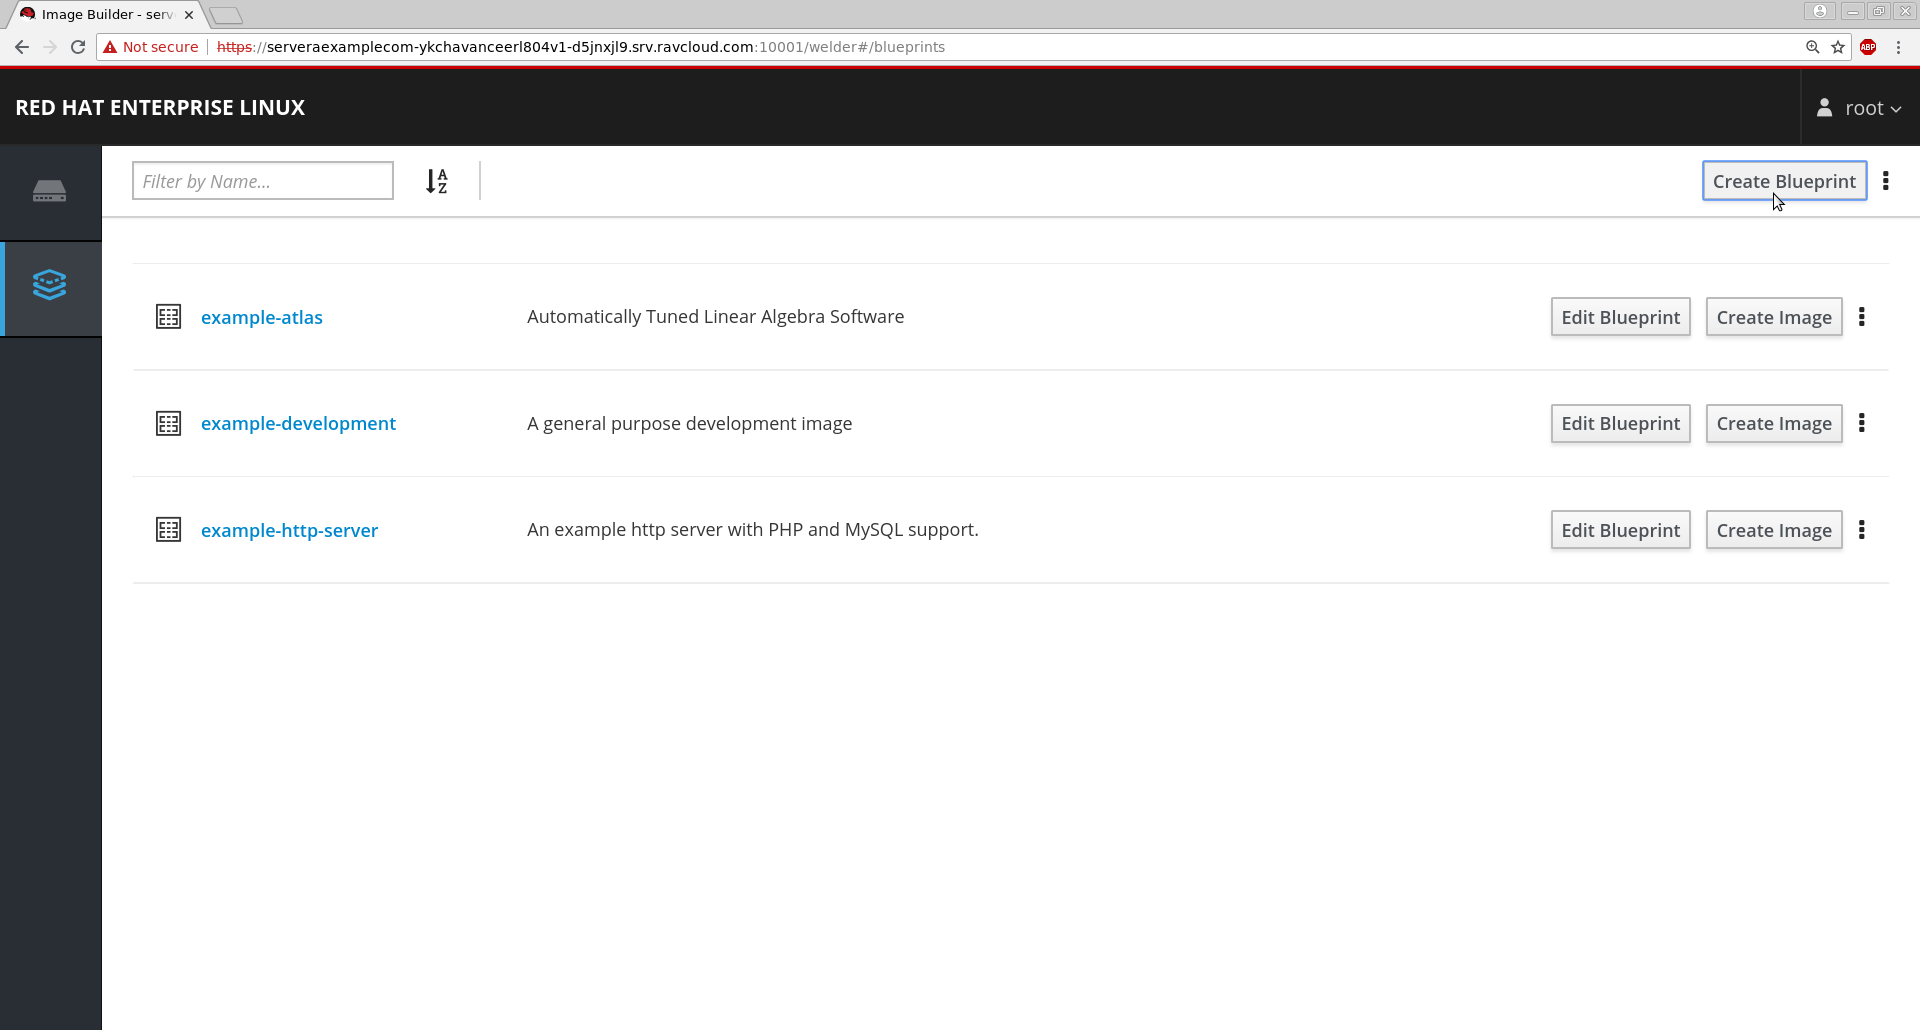
- On the Image Builder tab, click on Create Blueprint button on the top right corner.
- Give a name something like - summit2019

Click image to view at full size.
Note: Remember the Blueprint name, you will need it in the later section of this lab.
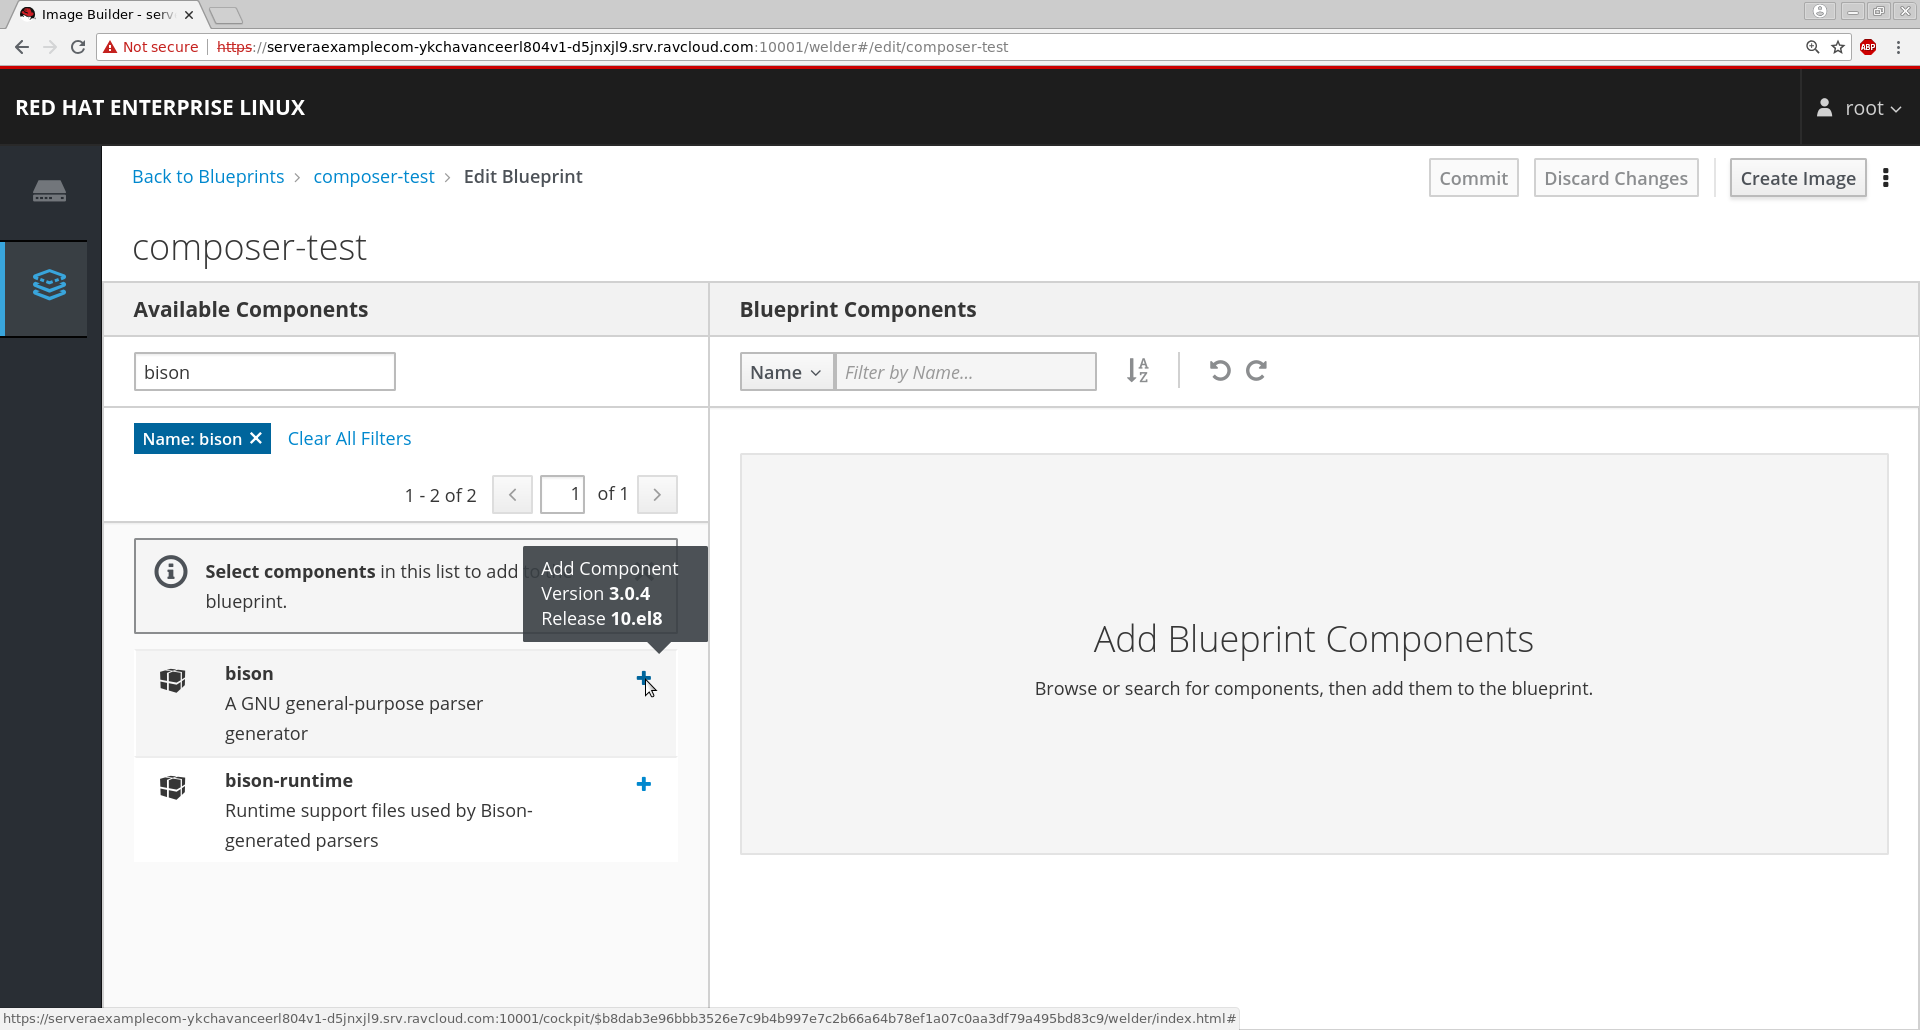
- On the Edit Blueprint page search the available packages in Available Components search box for "bison" package
- Click on the "+" icon to add the packages
- Add more packages if you like
- After adding packages click on Commit on the top right corner.

Click image to view at full size.
- After adding the packages, click on you blueprint on the top left corner "summit2019"
- Verify the packages that you have added in the "Selected Components" table
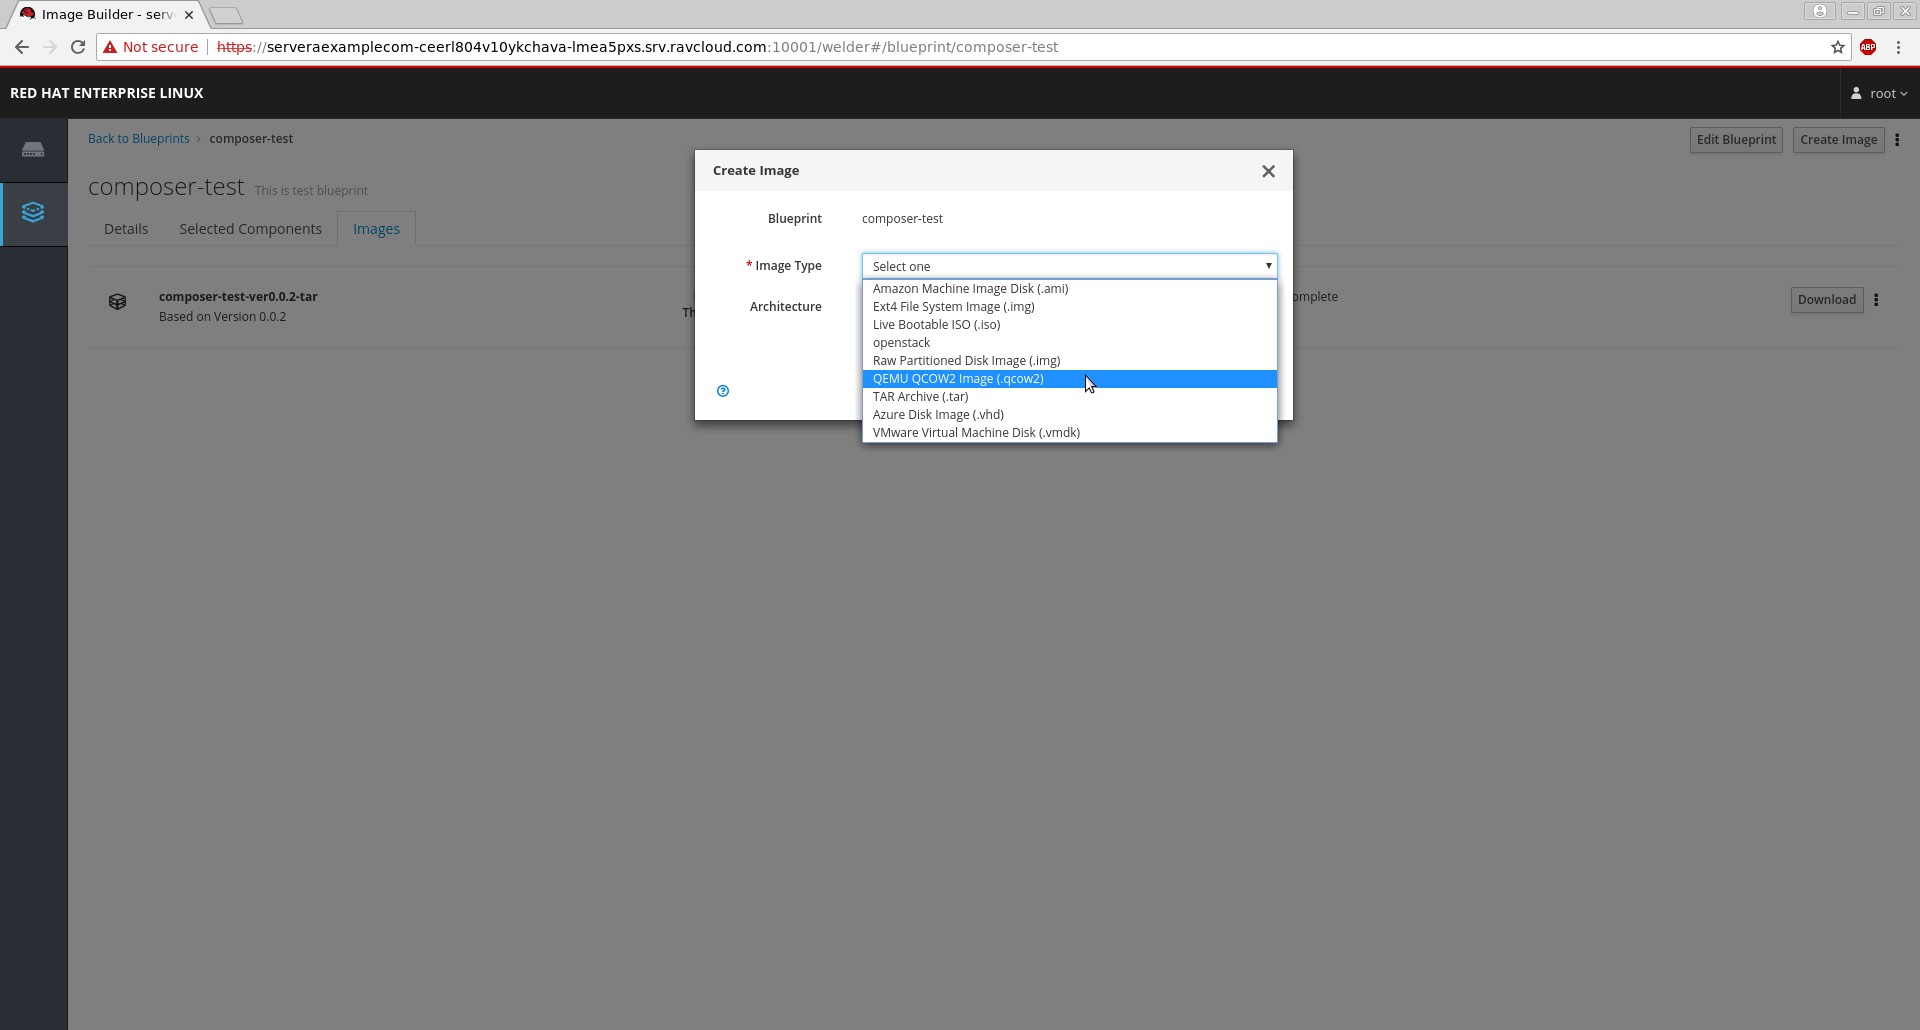
- Next click on the images tab and click on Create Image
- Select the Image Type as QEMU QCOW2 Image(qcow2)

Click image to view at full size.
Note Creation of a new Image may take 5 to 10 minutes
- Meanwhile you can monitor logs at /var/log/lorax-composer. Once completed, you can download image file to your local machine by clicking 'download' button.
-
On the Lab-GUID Assignment tab in your browser, at the bottom of the page there is a link to the console of your RHEL 8 server. When you click on that link, you will be presented with a SUMMIT-LAB control page. On it under "0bastion" click "CONSOLE". This will open a graphical console of your RHEL 8 server
-
Log in as lab-user and the provided password.
-
Click on Activities and choose terminal
-
Use "sudo -i" to become root.
-
We need location of the qcow2 file created to boot from it. To get that, we need to get the image-GUID of newly created image using command
[root@bastion-LAB-GUID ~]# composer-cli compose list
99ed96cd-b783-4cad-838f-c8173e038431 FINISHED summit2019 0.0.2 qcow2
In our case, it is 99ed96cd-b783-4cad-838f-c8173e038431. Yours will be different.
- Test the image with virt-install. It will start virt-viewer where you can see your vm booting up
[root@bastion-LAB-GUID ~]# virt-install --name RHEL8Lab1 --memory 2048 --vcpus 2 --os-variant rhel8.0 --import --disk /var/lib/lorax/composer/results/<image-GUID>/disk.qcow2
Try to log in as "myuser" with password "mypassword". Try to login as root. We are done with Lab 1 here. Wait for instructor to start Lab 2.
- Download a copy of the blueprint configuration file from Image Builder
[root@bastion-LAB-GUID ~]# composer-cli blueprints save summit2019
-
You will get a file summit2019.toml
-
Append the following lines to the summit2019.toml file
[[customizations.user]]
name = "myuser"
password = "mypassword"
groups = ["users", "wheel"]
- Push the revised blueprint configuration file back to Image Builder
[root@bastion-LAB-GUID ~]# composer-cli blueprints push summit2019.toml
- Verify that your changes appear in the configuration file
[root@bastion-LAB-GUID ~]# composer-cli blueprints show summit2019
-
Like we did in Lab 1.4, we will create a new image:
- After adding the packages, click on you blueprint on the top left corner "summit2019"
- Next click on the images tab and click on Create Image
- Select the Image Type as QEMU QCOW2 Image(qcow2)
-
Go back to your graphical console of your RHEL 8 server
-
Get the image-GUID
[root@bastion-LAB-GUID ~]# composer-cli compose list
- Test the new image with virt-install
[root@bastion-LAB-GUID ~]# virt-install --name RHEL8Lab2 --memory 2048 --vcpus 2 --os-variant rhel8.0 --import --disk /var/lib/lorax/composer/results/<image-GUID>/disk.qcow2
-
Verify the VM
- Login as myuser and password as mypassword (This should work now)
- Run id command to verify if myuser is a member of users and wheel group
- Verify that the package(s) you added in the blueprint earlier are installed in the VM
[myuser@localhost ~]$ rpm -qa | grep -i <package-name>
Congratulations! you have fixed the problems by customizing the blueprint configuartion file. You have output image ready that has your selected packages installed. It has your configured user added.
Building custom system images with composer - RHEL 7