Pytorch implementation of anomaly prediction for CVPR2018:Future Frame Prediction for Anomaly Detection – A New Baseline.
This implementation used lite-flownet instead of Flownet2SD and the generator network is slightly different.
I only trained the ped2 and avenue datasets, the results:
| AUC |
USCD Ped2 |
CUHK Avenue |
| original implementation |
95.4% |
84.9% |
| this implementation |
95.6% |
84.6% |

PyTorch >= 1.1.
Python >= 3.6.
tensorboardX
cupy
sklearn
Other common packages.
- Download the ped2 and avenue datasets.
- Modify 'data_root' in
config.py, and then unzip the datasets under your data root.
- Download the lite-flownet model and put it under the 'models/liteFlownet' folder, or the Flownet2SD model under the 'models/flownet2' folder.
- Download the trained model and put them under the 'weights' folder.
# Train by default with specified dataset.
python train.py --dataset=avenue
# Train with different batch_size, you might need to tune the learning rate by yourself.
python train.py --dataset=avenue --batch_size=16
# Set the max training iterations.
python train.py --dataset=avenue --iters=80000
# Set the save interval and the validation interval.
python train.py --dataset=avenue --save_interval=2000 --val_interval=2000
# Resume training with the latest trained model or a specified model.
python train.py --dataset=avenue --resume latest [or avenue_10000.pth]
# Train with Flownet2SD instead of lite-flownet.
python train.py --dataset=avenue --flownet=2sd
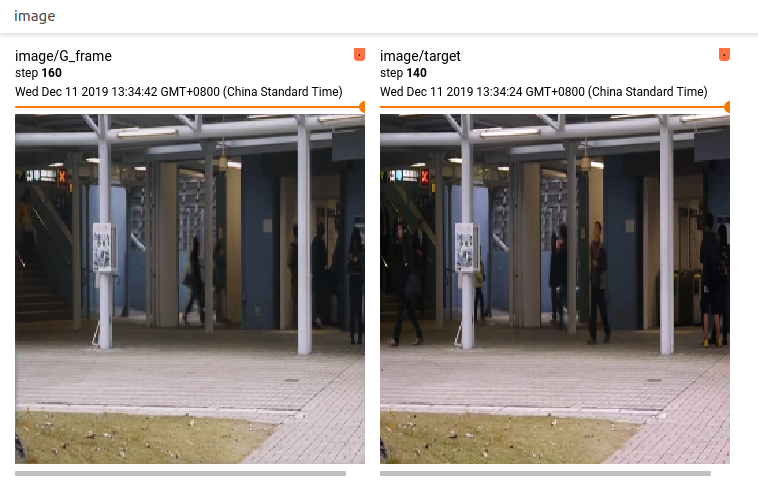
# Visualize the optic flow during training.
python train.py --dataset=avenue --show_flow
tensorboard --logdir=tensorboard_log/ped2_bs4

# Validate with a trained model.
python evaluate.py --dataset=ped2 --trained_model=ped2_26000.pth
# Show and save the psnr curve and the difference heatmap between the gt frame and the
# generated frame during evaluating. This drops fps.
python evaluate.py --dataset=ped2 --trained_model=ped2_26000.pth --show_curve --show_heatmap


