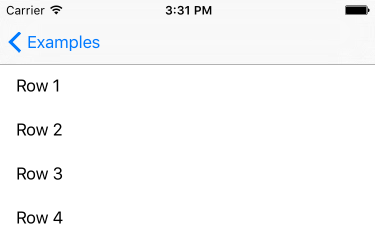
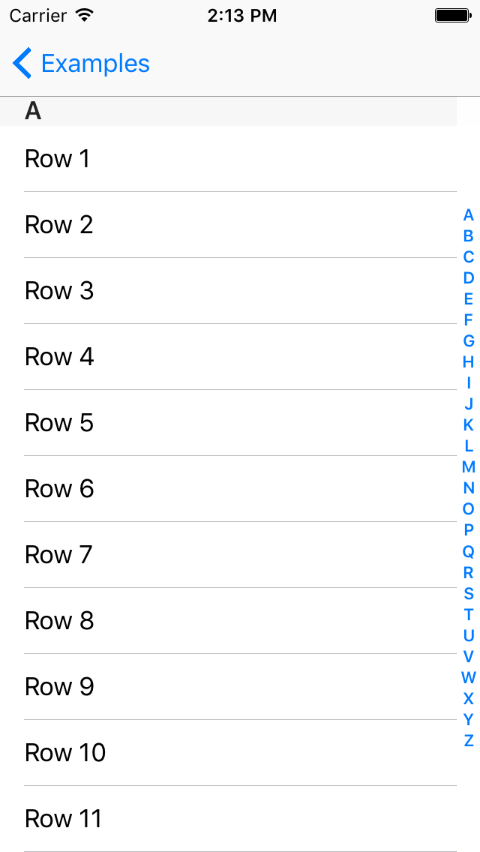
TableManager is an extension of UITableView. Manipulate your table in an easier way. Add sections and rows. Configure headers and footers. Hide and show rows individually. And this library will handle all the protocols for you. The table the way it should be.
- Requirements
- Installation
- Basic Usage
- Documentation
- Rows
- Sections
- Visibility
- Configuring a custom cell
- Row selection event
- Selected row
- Visible rows
- UIScrollViewDelegate events
- Drag & Drop feature or Reordering
- Deletion
- Method Chaining
- Get Height
- CHANGELOG
- Contribute
- Contributors
- License
It requires Xcode 10.0 and Swift 4.2.
Your project deployment target must be iOS 8.0+
TableManager is available through CocoaPods. To install it, simply add the following line to your Podfile:
pod 'TableManager'You can also install it manually just dragging TableManager file to your project.
import TableManagertableView.addRow().setConfiguration { _, cell, _ in
cell.textLabel?.text = "Row \(number)"
}import TableManager
class ViewController: UITableViewController {
override func viewDidLoad() {
super.viewDidLoad()
(1...10).forEach { n in
tableView.addRow().setConfiguration { _, cell, _ in
cell.textLabel?.text = "Row \(n)"
}
}
}
}The magic starts here: adding Rows.
tableView.addRow()let someRow = Row()
tableView.addRow(someRow)let someRow = Row()
tableView.sections.last?.addRow(someRow)You can change the property visible from any Section and any Row.
someRow.setVisible(true)

someSection.setVisible(false)You can set a identifier and the configuration property:
let row = Row(identifier: "CellBasic", object: someString)

row.setConfiguration { (row, cell, indexPath) in
    if let text = row.object as? String {
        cell.textLabel?.text = text
    }
}

tableView.addRow(row)
Or declare a Row.Configuration and attribute it to any row:
let configuration: Row.Configuration = { (row, cell, indexPath) -> Void in
    if let text = row.object as? String {
        cell.textLabel?.text = text
    }
}
let rowA = tableView.addRow(Row(identifier: "CellBasic", object: someObject))
rowA.setConfiguration(configuration)

let rowB = tableView.addRow(Row(identifier: "CellBasic", object: otherObject))
rowB.setConfiguration(configuration)You can set the didSelect property:
let row = Row(object: someString)

row.setDidSelect { (row, tableView, indexPath) in
    if let text = row.object as? String {
        print(text + " selected")
    }
}

tableView.addRow(row)
Or declare a Row.DidSelect and attribute it to any row:
let didSelect: Row.DidSelect = { (row: Row, tableView: UITableView, indexPath: NSIndexPath) -> Void in
    if let text = row.object as? String {
        print(text + " selected")
    }
}

let rowA = tableView.addRow(Row(object: someString))
rowA.setDidSelect(didSelect)

let rowB = tableView.addRow(Row(object: someString))
rowB.setDidSelect(didSelect)You can get the row that corresponds the selected cell
if let selectedRow = tableView.selectedRow() {
    print('the selected row is: ' + selectedRow.object)
}You can get the visible rows that corresponds the cells appearing in the UI for the user
if let visibleRows = tableView.visibleRows() {
    visibleRows.forEach { row in
        print(row)
    }
}You can handle all the scrollview delegates by your own
class TableViewController: UITableViewController {

    override func viewDidLoad() {
        super.viewDidLoad()

        tableView.scrollViewDelegate = self

        // [...]
    }

    override func scrollViewDidScroll(_ scrollView: UIScrollView) {
        print(scrollView.contentOffset.y)
    }

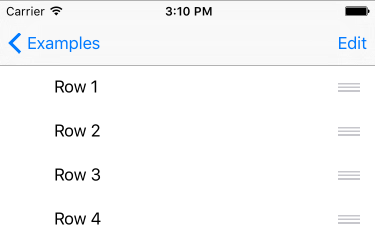
} You can make a row draggable when table is editing just passing true in method setCanMove:
let row = tableView.addRow()

row.setCanMove(true)

// [...]

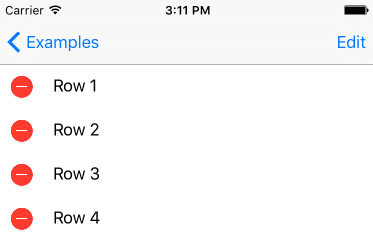
tableView.editing = trueYou can make a row deletable when table is editing just passing true in method setCanDelete:
let row = tableView.addRow()

row.setCanDelete(true)

// [...]

tableView.editing = true
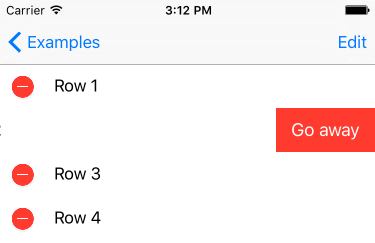
And you can easily edit the title confirmation too:
row.setCanDelete(true, titleForDeleteConfirmation: "Go away")You can make an Index Title(like contacts list on iOS) by just passing the indexTitle for each section that you want to show in indexTitles, calling the method setIndexTitle:
let section = tableView.addSection().setIndexTitle("A")Feel free to submit your pull request, suggest any update, report a bug or create a feature request.
Just want to say hello? -> morbin_@hotmail.com
Author: @Morbin_ / fb.com/hgmorbin
See the people who helps to improve this project: Contributors ♥
TableManager is available under the MIT license. See the LICENSE file for more info.


