Update logos
Deep Chat is a fully customizable AI chat component that can be injected into your website with minimal to no effort. Whether you want to create a chatbot that leverages popular APIs such as ChatGPT or connect to your own custom service, this component can do it all! Explore deepchat.dev to view all of the available features, how to use them, examples and more!
- Connect to any API
- Avatars
- Names
- Send/Receive files
- Capture photos via webcam
- Record audio via microphone
- Speech To Text for message input
- Text To Speech to hear message responses
- Support for MarkDown and custom elements to help structure text and render code
- Introduction panel and dynamic modals to help describe functionality for your users
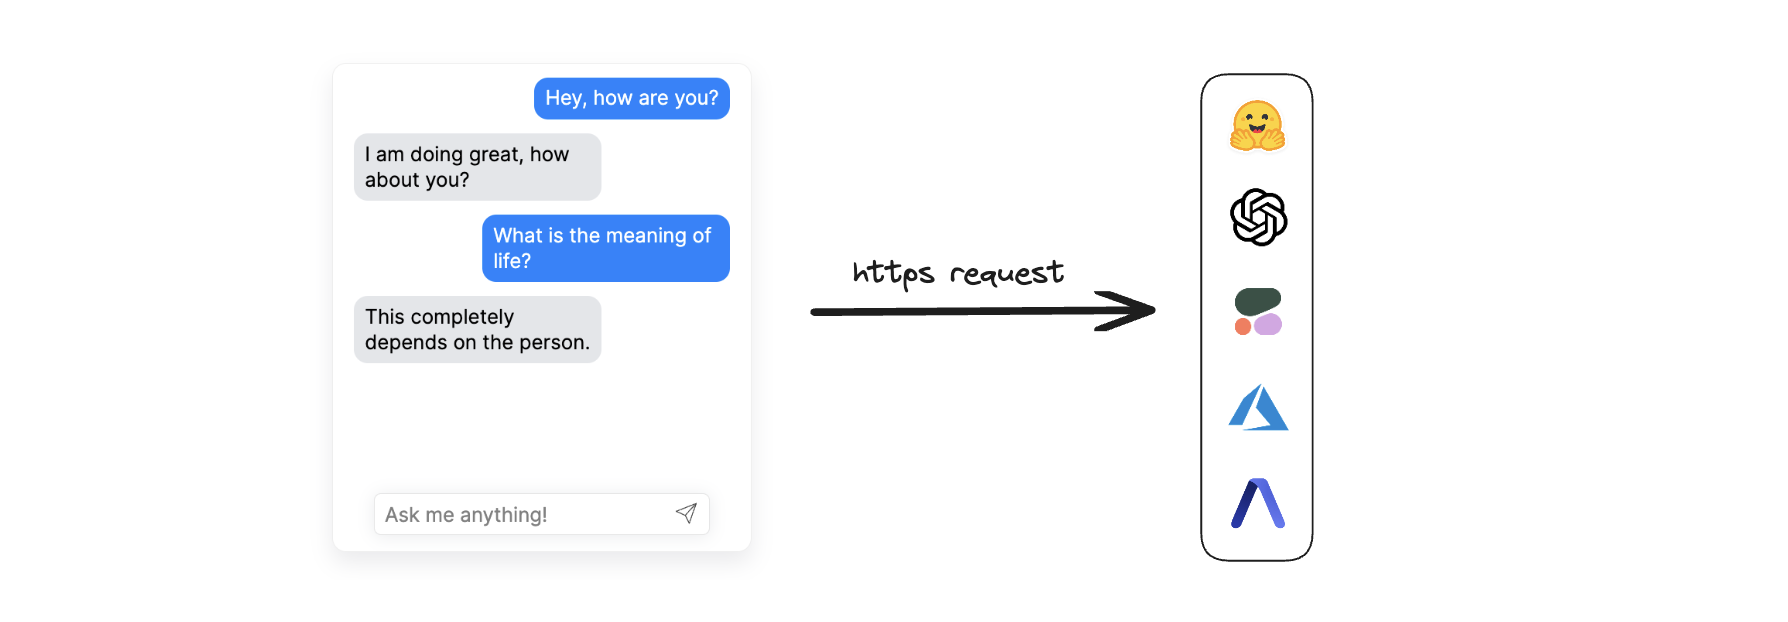
- Connect to popular AI APIs such as OpenAI, HuggingFace, Cohere directly from the browser
- Support for all major ui frameworks/libraries
- Host a model on the browser
- Everything is customizable!
No servers, no connections, no limits. Host an LLM model entirely on your browser. Checkout web model for more:
Message bubbles now support custom elements! Add suggestion buttons, charts, maps and anything you desire using the new message HTML API:
npm install deep-chat
If using React, install the following instead:
npm install deep-chat-react
To test the component - simply add the following to your markup:
<deep-chat></deep-chat>
The exact syntax for the above will vary depending on the framework of your choice (see here).
Connecting to a service is simple, all you need to do is define its API details using the request property:
<deep-chat request='{"url":"https://service.com/chat"}'/>
The service will need to be able to handle request and response formats used in Deep Chat. Please read the Connect section in documentation and check out the server template examples.
Alternatively, if you want to connect without changing the target service, use the interceptor properties to augment the transferred objects or the handler function to control the request code.
Connect to popular AI APIs directly from the browser via the use of the directConnection property:
<deep-chat directConnection='{"openAI":true}'/>

<deep-chat directConnection='{"openAI":{"key": "optional-key-here"}}'/>
Please note that this approach should be used for local/prototyping/demo purposes ONLY as it exposes the API Key to the browser. When ready to go live, please switch to using the request property described above along with a proxy service.
Currently supported direct API connections: OpenAI, HuggingFace, Cohere, Stability AI, Azure, AssemblyAI
No servers, no connections, host an LLM model entirely on your browser.
Simply add the deep-chat-web-llm module and define the webModel property:
<deep-chat webModel="true" />
Use Deep Chat to capture photos with your webcam and record audio with the microphone. You can enable this using the camera and microphone properties:
<deep-chat camera="true" microphone="true" ...other properties />
deep-chat-speech-to-text.mp4
Input text with your voice using Speech To Text capabilities and have the responses read out to you with Text To Speech. You can enable this functionality via the speechToText and textToSpeech properties.
<deep-chat speechToText="true" textToSpeech="true" ...other properties />
Check out live codepen examples for your UI framework/library of choice:
| React | Vue 2 | Vue 3 | Svelte | SvelteKit | Angular | Solid | Next | Nuxt | VanillaJS |
|---|---|---|---|---|---|---|---|---|---|
 |
 |
 |
 |
 |
 |
 |
 |
Setting up your own server has never been easier with the following server templates. From creating your own service to establishing proxies for other APIs such as OpenAI, everything has been documented with clear examples to get you up and running in seconds:
| Express | Nest | Flask | Spring | Go | SvelteKit | Next |
|---|---|---|---|---|---|---|
 |
 |
 |
 |
 |
All examples are ready to be deployed on a hosting platform such as Vercel.
Demo videos ara available on YouTube:
Create, configure and use Deep Chat components without writing any code in the official Playground!
🎉 Update - components can now be stretched to full screen dimensions using the new Expanded View:
Thankyou to our generous sponsors!
eljefedelrodeodeljefe matthiasamberg dorra
Open source is built by the community for the community. All contributions to this project are welcome!
Additionally, if you have any suggestions for enhancements, ideas on how to take the project further or have discovered a bug, do not hesitate to create a new issue ticket and we will look into it as soon as possible!


