Pour la documentation en français, veuillez consulter le fichier README_fr.md
Welcome to the Skin Disease Classification project! The goal of this project is to classify different skin diseases using the HAM10000 dataset and provide an explanation for the model's decision using the LIME library.
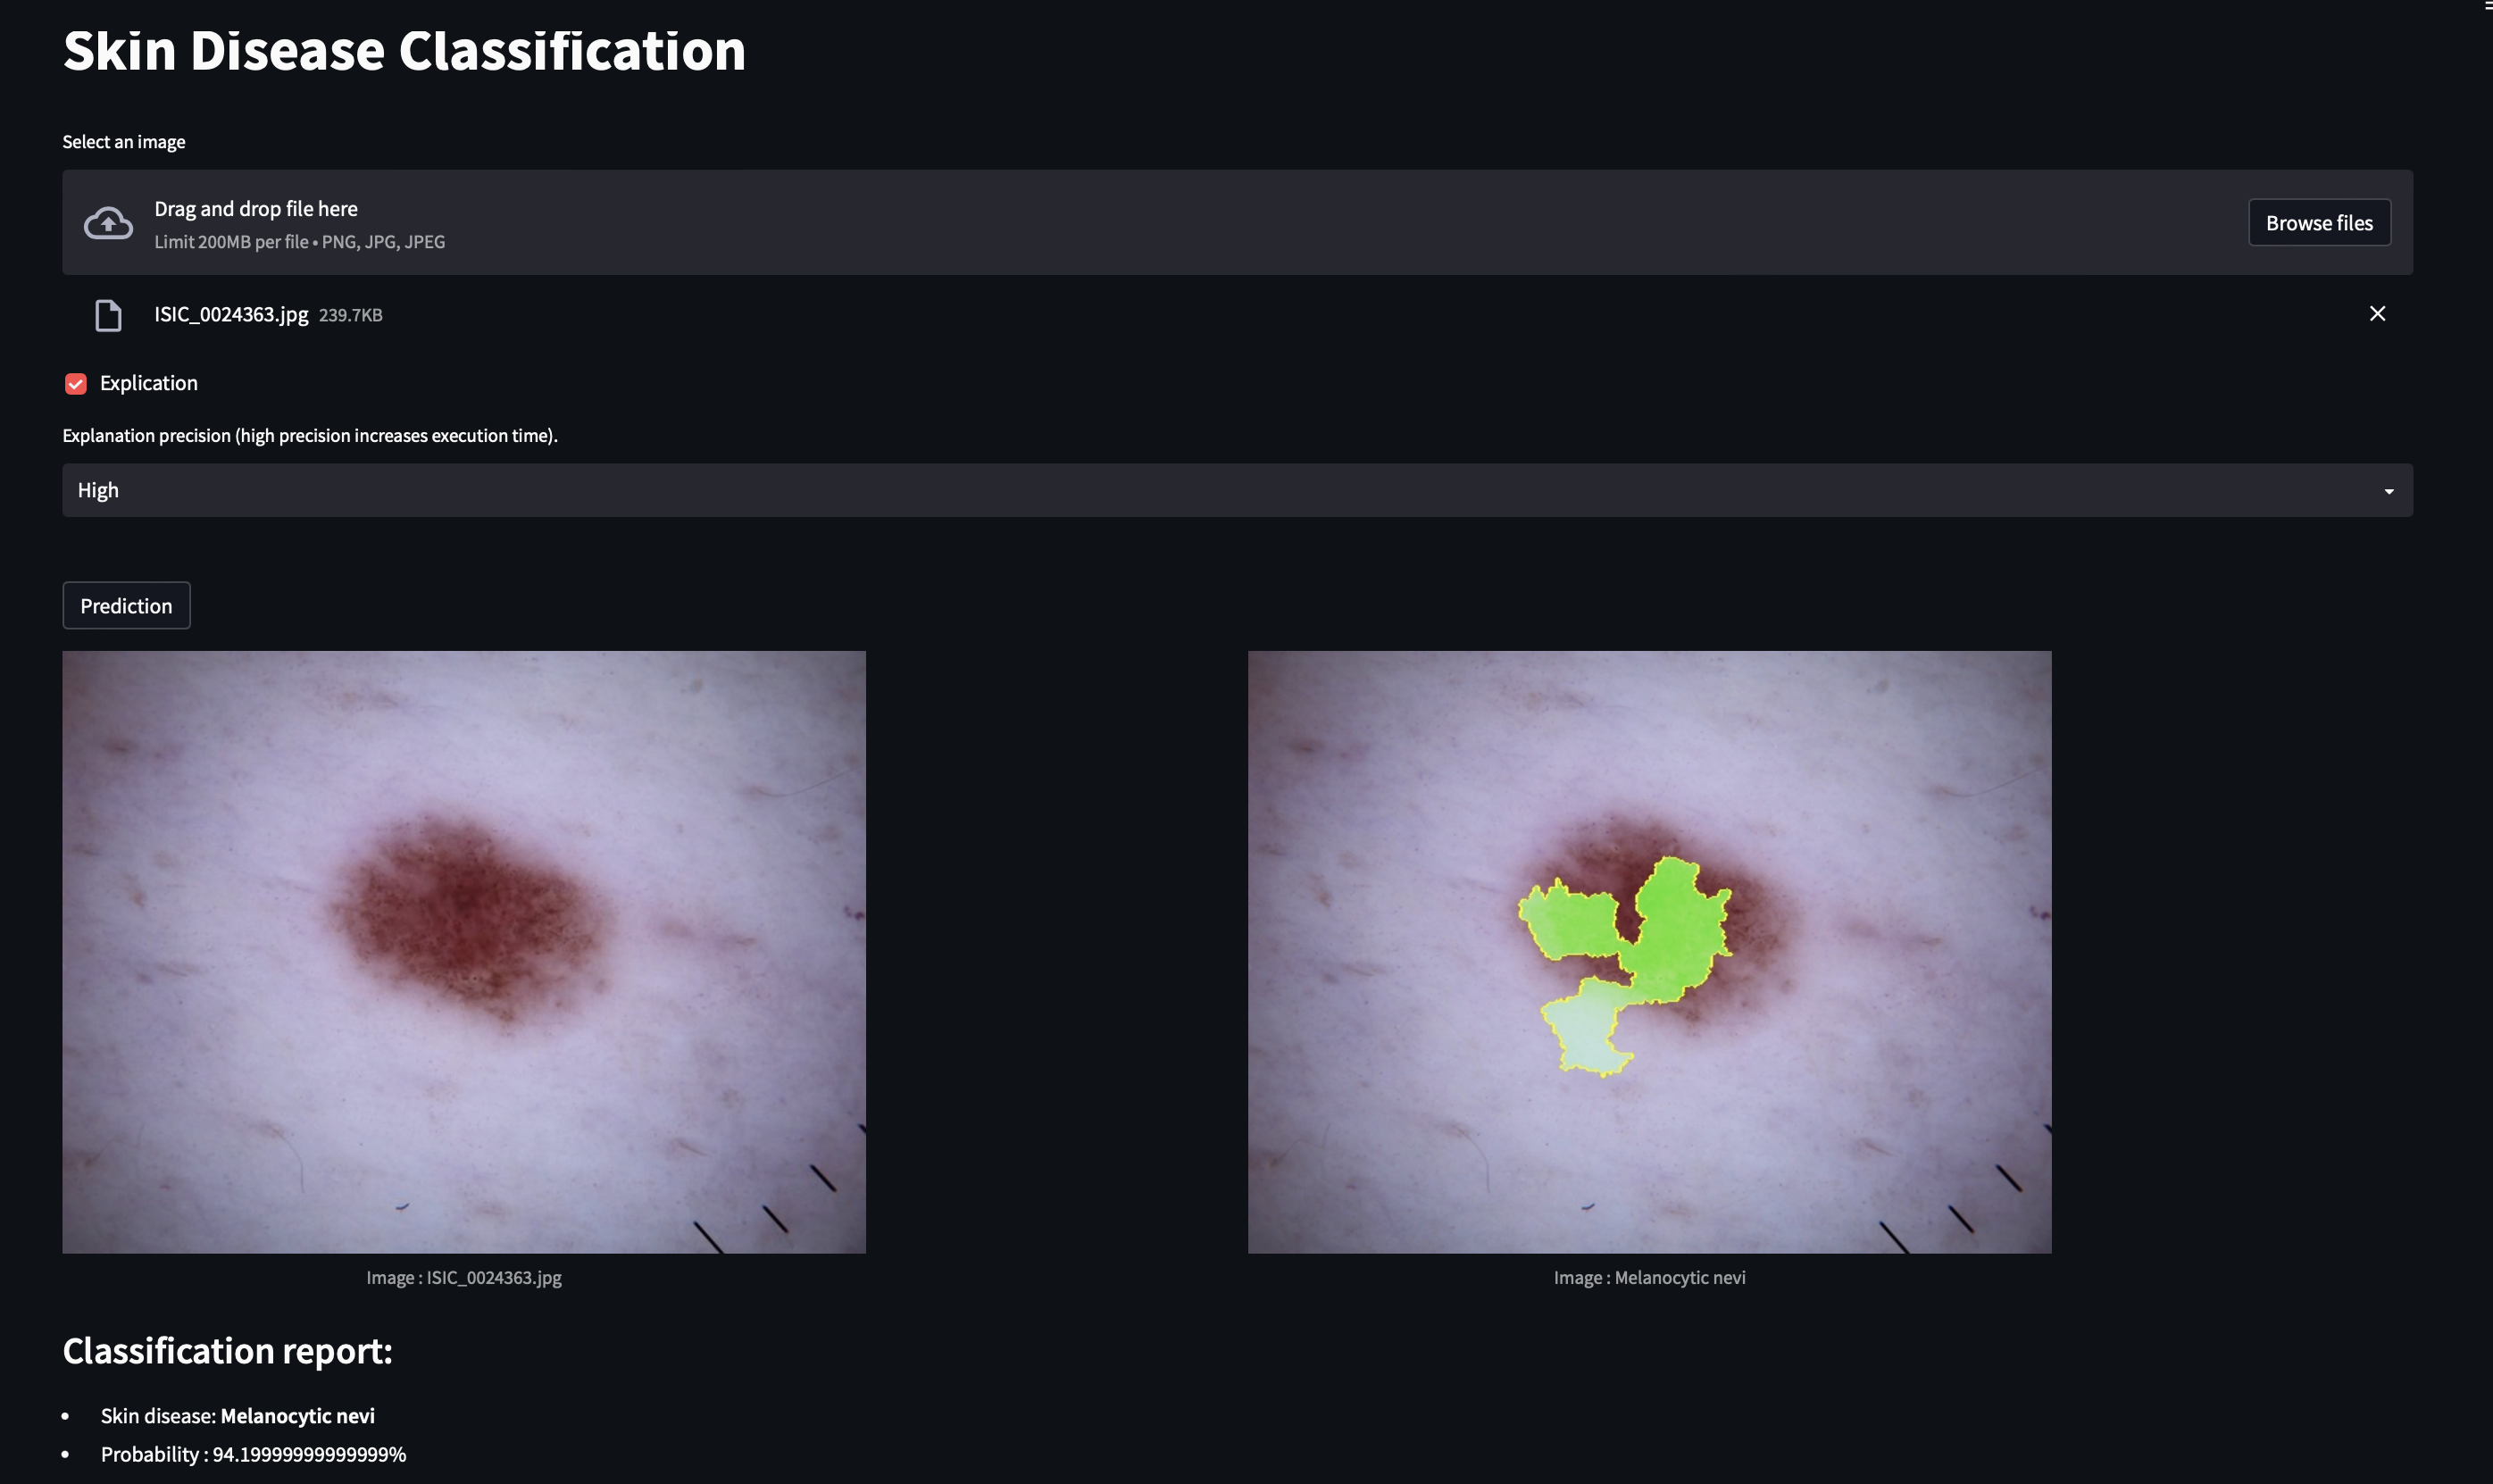
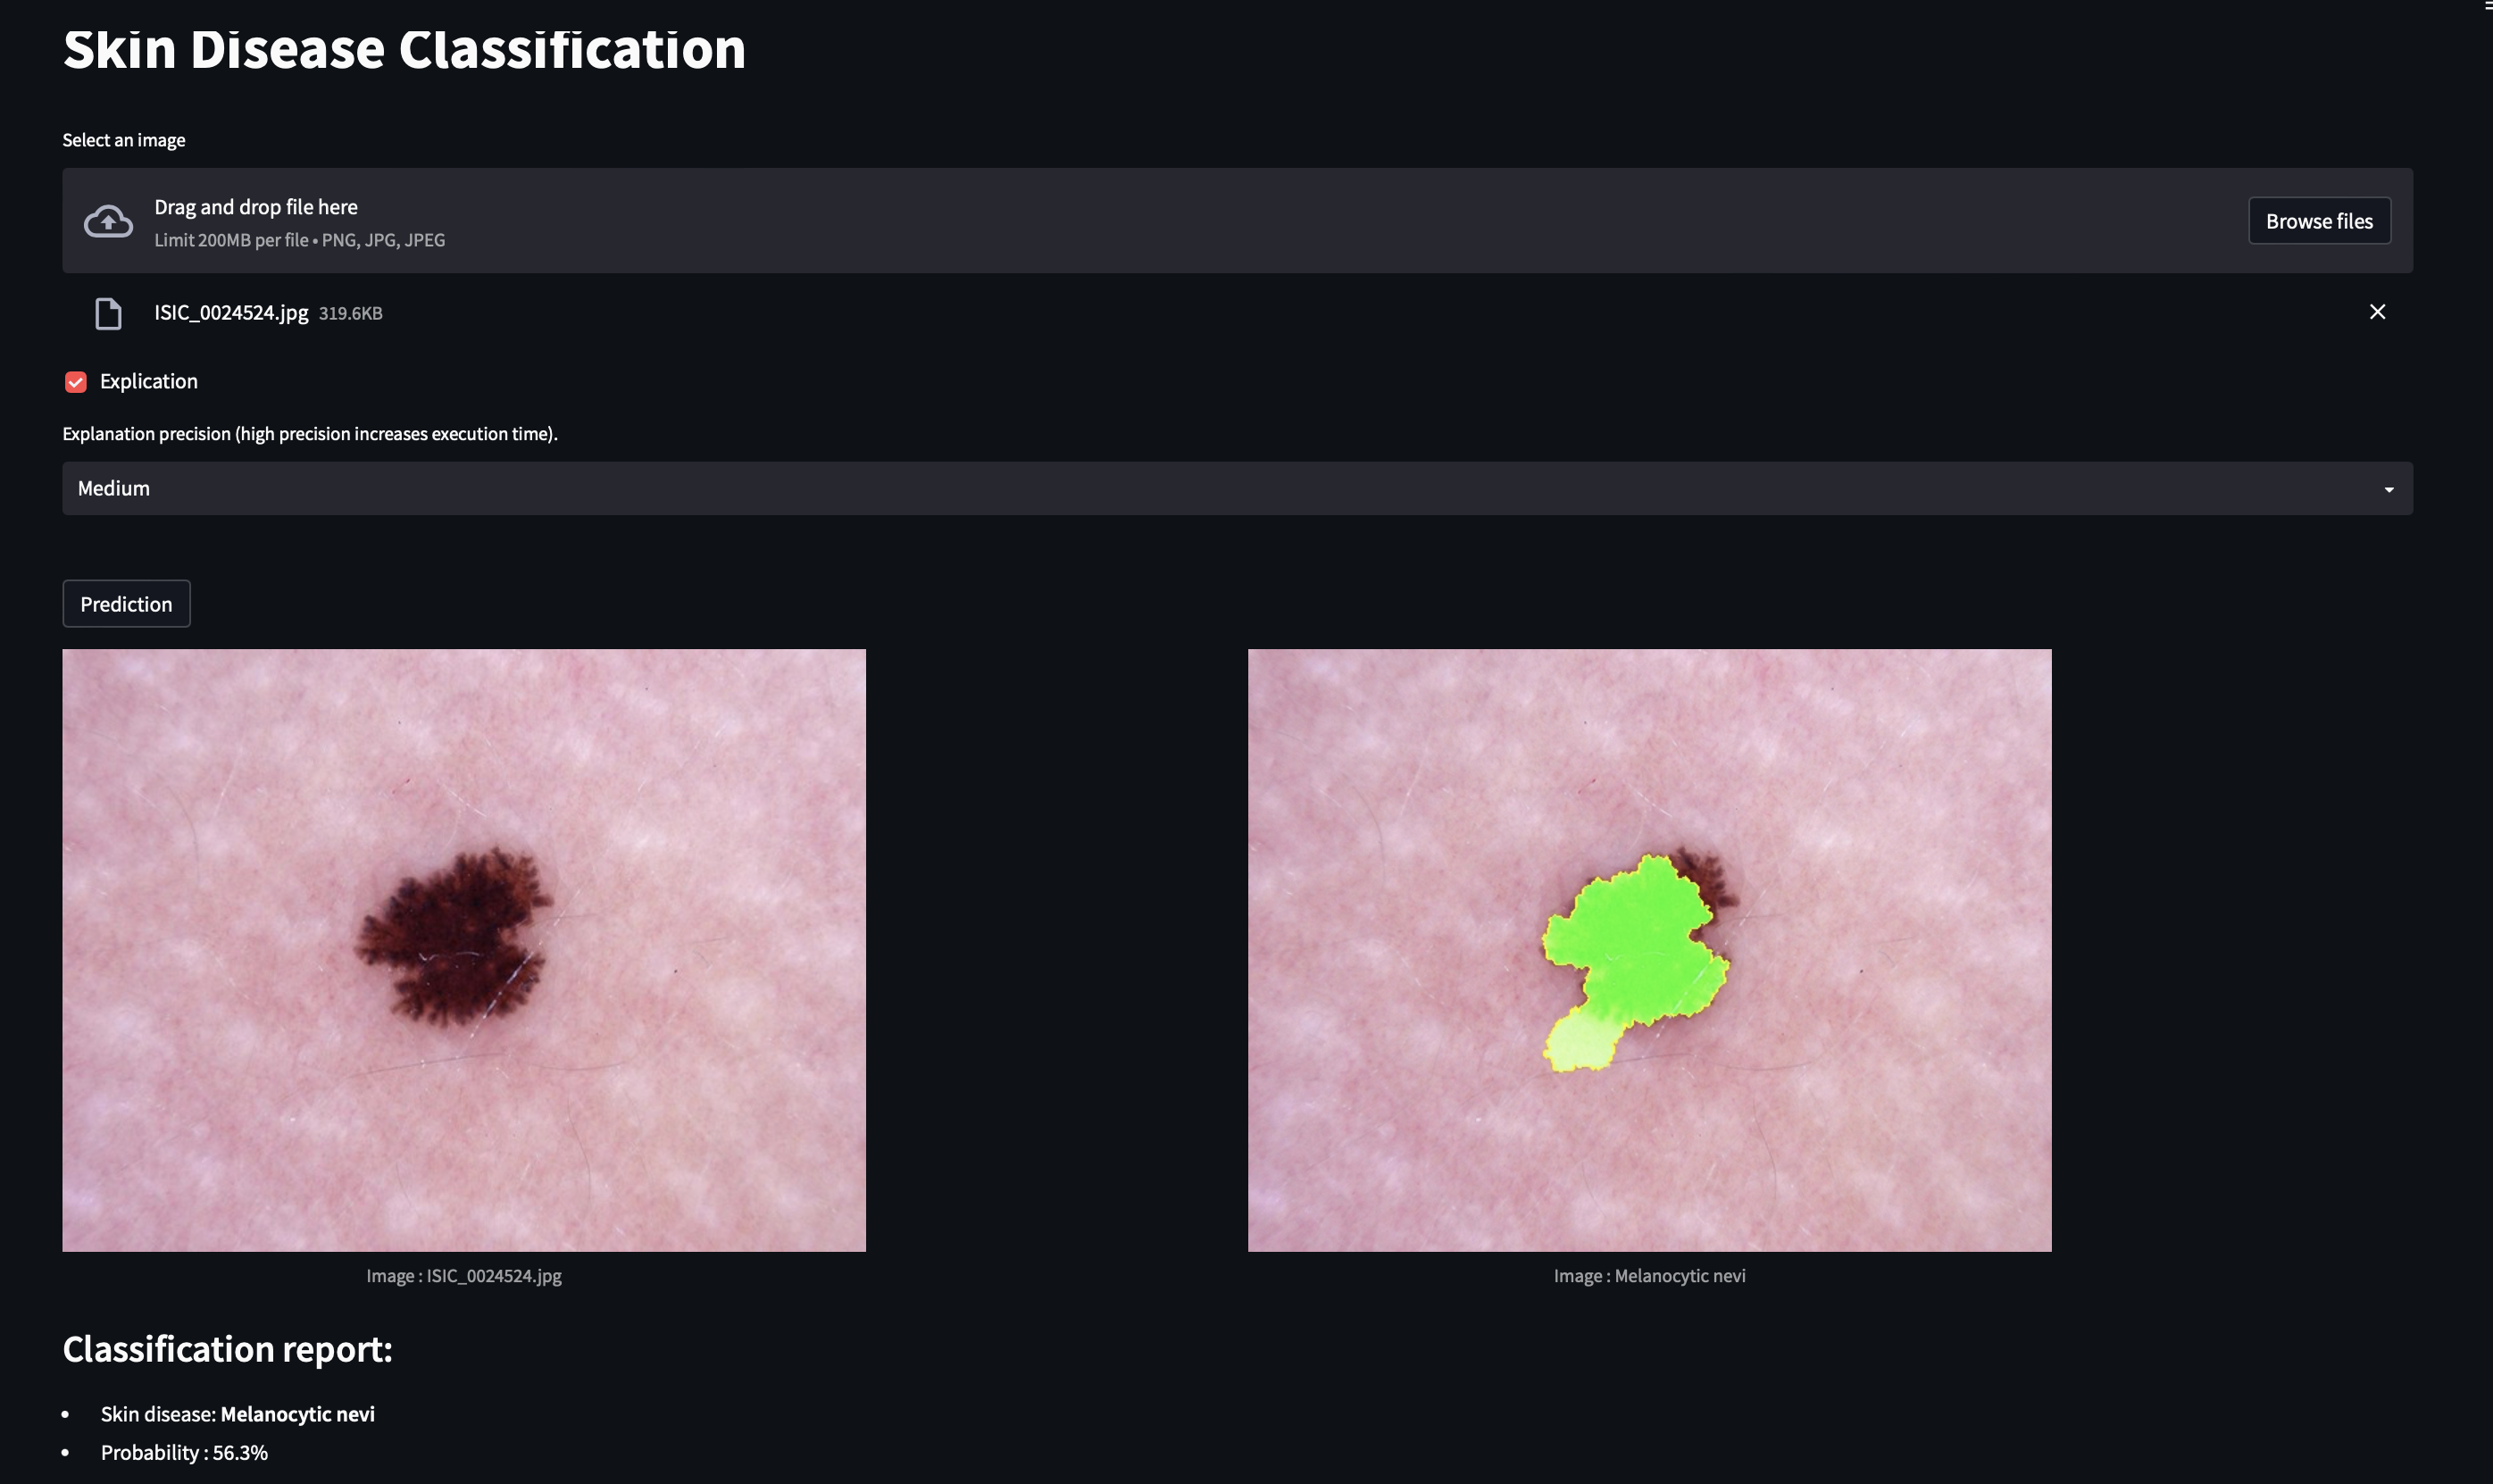
The green shapes indicate the areas used to explain the model's decision.
To achieve this goal, we trained our model using the HAM10000 dataset with 2140 training examples and 795 validation examples. We retrained the ResNet34 model for 15 epochs (training duration ~1h15) and retained the best-performing model. We achieved an accuracy of 81% on the training data and 73% on the test data.
A pre-trained model is already available (and used for classification), but you can retrain it using the following command:
python main_train.py [-h] [--epochs EPOCHS] [--modelname MODELNAME] [--fine_tune] [--type TYPE] root- --epochs EPOCHS: Number of training epochs (default: 15).
- --modelname MODELNAME: Name of the model to be saved (default: 'model/model_resnet34.pth').
- --fine_tune: Retrain only the last layer of the model (default: False).
- --type: Type of model to train ('resnet18' or 'resnet34') (default: 'resnet34').
- root: Path to the directory containing the training images. This directory must contain a file named HAM10000_metadata.csv with metadata and two subdirectories, HAM10000_images_train and HAM10000_images_test, containing training and test images, respectively.
Example directory structure:
root/
|--- HAM10000_metadata.csv
|--- HAM10000_images_train/
|    |--- ISIC_0024306.jpg
|    |--- ISIC_0024307.jpg
|    |--- ...
|--- HAM10000_images_test/
|    |--- ISIC_0024308.jpg
|    |--- ISIC_0024309.jpg
| |--- ...This project includes a server that allows users to classify skin diseases by sending their images. The server uses the trained model to classify the images and returns the predicted class, probability, and an explanation of the model's decision to the user. The server can be launched using the following command:
docker-compose up -d.The server can use two types of models: resnet18 or resnet34. The default model is resnet34, but you can change it by modifying the MODEL environment variable in the docker-compose.yml file.
In addition to the server, this project also includes a graphical interface built with Streamlit, which can be launched using the following command:
streamlit run src/frontend_en.pyThe graphical interface (http://localhost:8501/) allows users to classify images by uploading them through a web browser and view the explanation of the model's decision.
Users can classify images using the command-line interface (CLI) by running client.py. The CLI is used as follows:
python client.py [-h] [--explain] [--precision PRECISION] image- --explain: Provides a detailed explanation of the model's prediction.
- --precision PRECISION: Sets the explanation precision. Valid values are Low, Medium, and High. Higher precision will provide more accurate results but increase execution time.
- image: The path to the image or images to classify.
For example, to classify an image test.jpg with an explanation and high precision, you can use the following command:
python client.py --explain --precision High test.jpgUsers can also classify images using the API by making a POST request to the endpoint http://127.0.0.1:8089/predict with the attached image. To make a request to the API, you must send a JSON object with the following fields:
| Field | Description | Mandatory |
|---|---|---|
| image | The image to classify, encoded in base64. | Yes |
| explain | If you want to include an explanation in the response. (bool) | No |
| precision | The desired precision. Valid values are Low, Medium, and High. | No |
Here is an example of an API request using the curl command:
curl -X POST -H "Content-Type: application/json" -d '{
  "image": "base64_encoded_image_data",
  "explain": true,
  "precision": "High"
}' http://127.0.0.1:8089/predict
In case of success, the server returns a JSON object in the following format:
{
  "success": true,
  "prediction": "Melanocytic nevi",
  "probability": 0.95,
  "explain": "explanation_image" // Array
}
In case of failure, the server returns a JSON object in the following format:
{
  "success": false,
  "error": "error_message"
}- Execution time for an image with precision:
- Low: ~10 seconds
- Medium: ~1.15 minutes
- High: ~4.30 minutes
- torchvision: For using the pre-trained ResNet34 model.
- Kaggle: For the HAM10000 dataset.
- LIME: For prediction explanations.
- Streamlit: For the graphical interface.
- Flask: For the server.

