[TOC]
MUDA is μ-CUDA, yet another painless CUDA programming paradigm.
COVER THE LAST MILE OF CUDA
Detailed Introduction And Overview [Highly Recommended] ➡️ https://mugdxy.github.io/muda-doc/
Project Templates ➡️ https://github.com/MuGdxy/muda-app, start your project with minimal effort.
#include <muda/muda.h>
#include <muda/logger.h>
#include <iostream>
using namespace muda;

int main()
{
    constexpr int N = 8;

    // resizable buffer
    DeviceBuffer<int> buffer;
    buffer.resize(N);
    buffer.fill(1);

    // std::cout like logger
    Logger logger;

    // parallel for loop
    ParallelFor()
        .kernel_name("hello_muda")
        .apply(N,
      	[
            buffer = buffer.viewer().name("buffer"),
            logger = logger.viewer()
        ] __device__(int i)
        {
            logger << "buffer(" << i << ")=" << buffer(i) << "\n";
        });

    logger.retrieve(std::cout); // show print on std::cout
}$ mkdir CMakeBuild
$ cd CMakeBuild
$ cmake -S ..
$ cmake --build .Run example:
$ xmake f --example=true
$ xmake
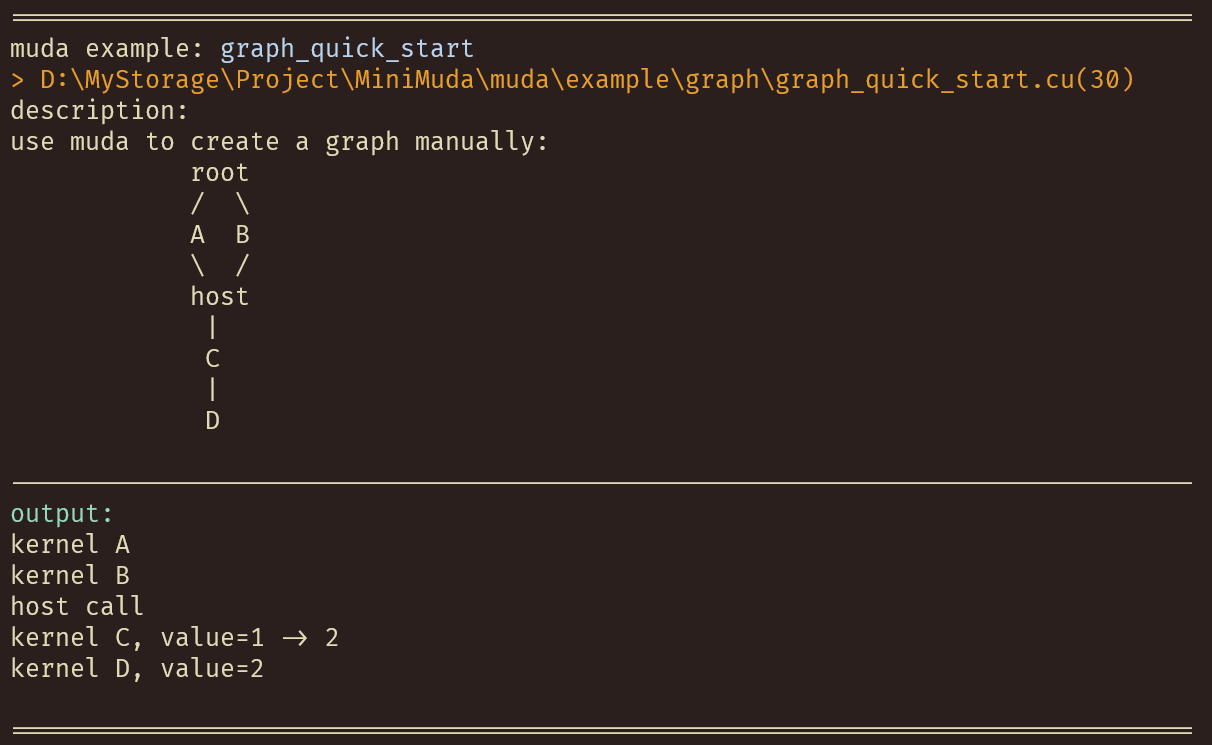
$ xmake run muda_example hello_muda
To show all examples:
$ xmake run muda_example -lPlay all examples:
$ xmake run muda_exampleBecause muda is header-only, copy the src/muda/ folder to your project, set the include directory, and everything is done.
| Macro | Value | Details |
|---|---|---|
MUDA_CHECK_ON |
1(default) or 0 |
MUDA_CHECK_ON=1 for turn on all muda runtime check(for safety) |
MUDA_WITH_COMPUTE_GRAPH |
1or0(default) |
MUDA_WITH_COMPUTE_GRAPH=1 for turn on muda compute graph feature |
If you manually copy the header files, don't forget to define the macros yourself. If you use cmake or xmake, just set the project dependency to muda.
- tutorial_zh
- If you need an English version tutorial, please get in touch with me or post an issue to let me know.
Documentation is maintained on https://mugdxy.github.io/muda-doc/. And you can also build the doc by yourself.
Download and install doxygen https://www.doxygen.nl/download.html.
Install mkdocs and its plugins:
pip install mkdocs mkdocs-material mkdocs-literate-nav mkdoxyTurn on the local server:
mkdocs serveIf you are writing the document, you can use the following command to avoid generating the API documentation all the time:
mkdocs serve -f mkdocs-no-api.yamlOpen the browser and visit the localhost:8000
To update the document on the website, run:
cd muda/scripts
python build_docs.py -o <path of your local muda-doc repo>
If you put the local muda-doc repo in the same directory as muda like:
- PARENT_FOLDER
  - muda
  - muda-doc
Then the following instruction is enough:
cd muda/scripts
python build_docs.pyAll examples in muda/example are self-explanatory, enjoy it.
Contributions are welcome. We are looking for or are working on:
-
muda development
-
fancy simulation demos using muda
-
better documentation of muda
-
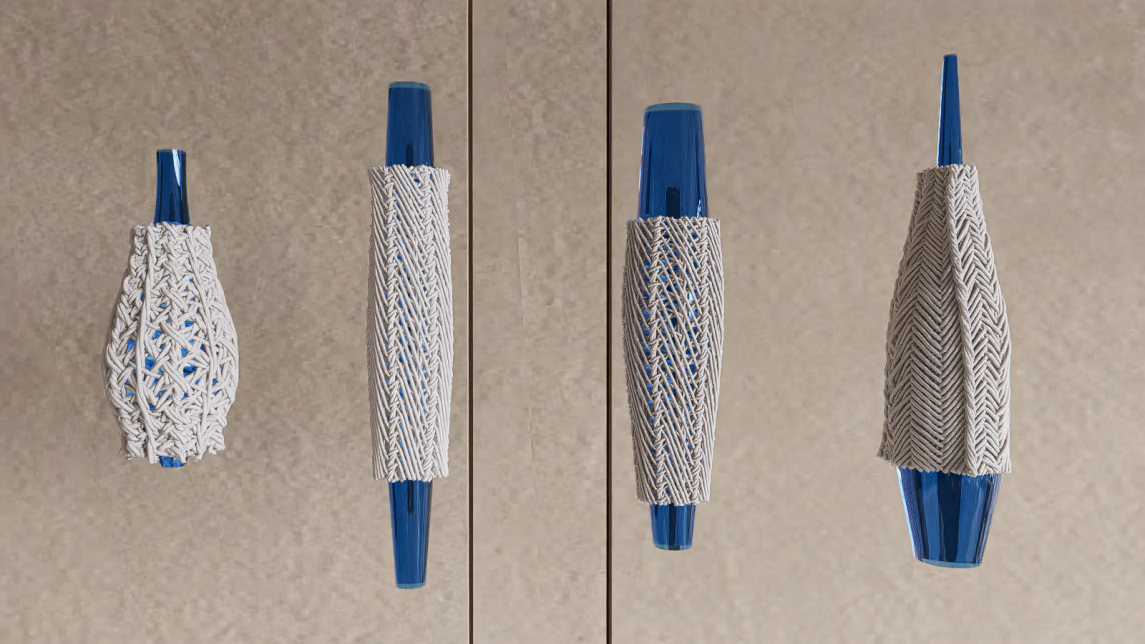
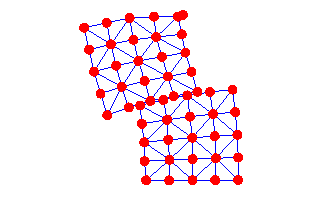
Topological braiding simulation using muda (old version)
@article{article, author = {Lu, Xinyu and Bo, Pengbo and Wang, Linqin}, year = {2023}, month = {07}, pages = {}, title = {Real-Time 3D Topological Braiding Simulation with Penetration-Free Guarantee}, volume = {164}, journal = {Computer-Aided Design}, doi = {10.1016/j.cad.2023.103594} } -
solid-sim-muda: a tiny solid simulator using muda.


