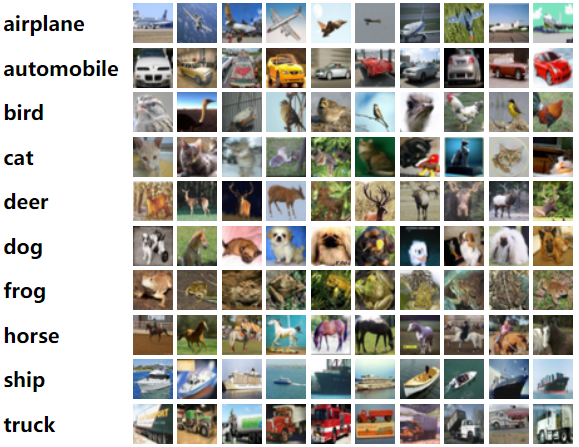
In order to use this model you need to create the environment on you computer.This is a Keras easy type data for beginners of Computer Vision. Data consists of 10 different types of images in both train and test data.Each type has 5000 images of total 50,000 32x32 pixel images in train data .Another 10,000 in test data.I used CNN model.
-
First click the buttons windows+R and type cmd in box below clone my model from github on the black window
C:\> git clone https://github.com/Mukhriddin19980901/cifar10.git -
Write this command on black window.
C:\> cd cifar10
-
You need to upgrade your pip command to create environment
C:\cifar10>python.exe -m pip install --upgrade pip -
Here you need to install environment module and you can create your virtual environment
C:\cifar10>python -m venv pip install --user virtualenv -
Give the name to the environmentyou can give any name instead environment_name)
C:\cifar10>python -m venv environment_name -
Then you need to activate the environment
C:\cifar10>environment_name\Scripts\activate.bat -
Install all required libraries from the requirements.txt file
(environment_name) C:\cifar10> pip install -r requirements.txt -
Now you can work on jupyter notebook
(environment_name) C:\cifar10>jupyter notebook
- Now you can see the code here.The model was built on CNN.Here you can compare the flactuation of training accuracy and loss after every epoch.It took about 22 minutes and 30 seconds to train data in 20 epochs
-
As far as validation concerned the numbers are , validation accuracy is 79 % and validation loss 64 %
-
Here is a notebook for deploying the model
🔴 If you find it useful give a star to this repo and follow me on Kaggle and Linkedin

