⚠️ This repo has been archived and moved under the new SkynetLabs repo here
It's pretty easy to get your blog up and running. If you want a sneak peek of how it looks like, you can check out mine here sia://HACIhPRE8zMBq6pT8K9l6LYMlFWwg4o8_WFlgCG4RUc0Wg. The only thing you have to do is write a blog post and run a script. Seeing as markdown seems to be the go-to for technical writing lately, I followed suit. The markdown will be automically converted to HTML.
To write a new blog post, basically all you have to do is:
- write your blog post in markdown
- place the blog post in the blog directory
- place the blog's assets in the assets directory
There are a couple of caveats:
- use markdown reference links at the bottom of your file
- every blog post needs to have a header
- if you want to edit and redeploy your blog post, remove the linkfile from the header
The header is necessary to be able to render a decent table of contents.
It has the following format, not all fields are required but it looks better.
---
title:
image:
description:
author:
date:
---
Note: copy this header exactly the way it is.
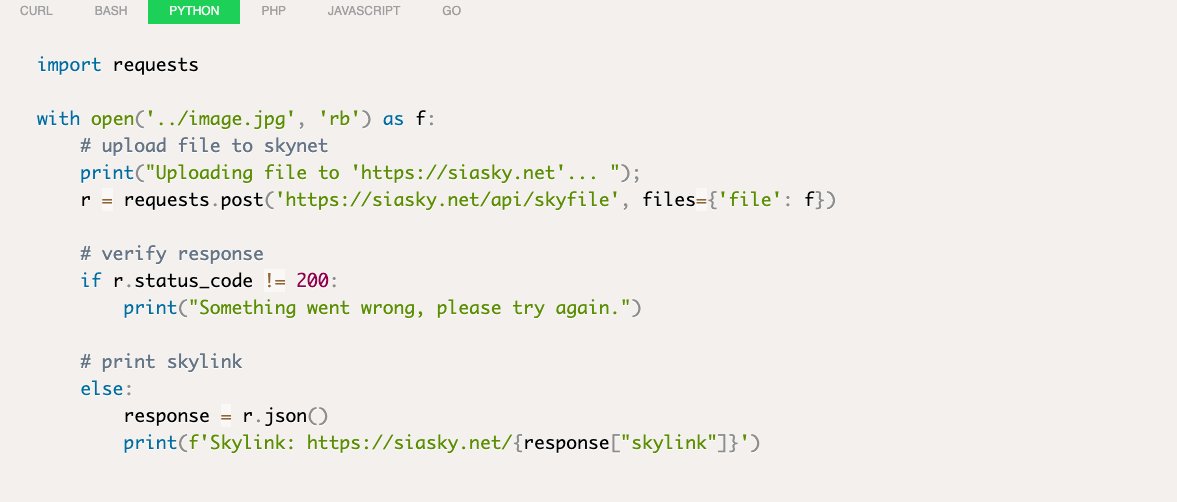
If your blog post contains code snippets in different languages, the tool will automatically convert them into a tabbed code block. The only thing you have to do is write your code snippets inline as you normally would, but make sure to tag them with a language. As soon as there are 2 consecutive code blocks, it will automatically convert them into tabs.
Every image in your blog posts has to be uploaded to Skynet for it to be available on your blog. This means that the tool will scan your blog posts for assets it has to upload. To make it easy, please use reference style links at the bottom of your markdown. Like so:
# Blog Title

# Blog Subtitle

Check out my cool [image][1]

... rest of your blog post

[1]: assets/code_blocks_cropped.png
To deploy your blog you can run a simple command. Ensure you run npm install first though.
The command is called "deploy", and is foreseen with a --help option that prints out the usage.
➜  skynet-blogger git:(master) ✗ npm run deploy -- --help

    Usage: npm run deploy [options]

    Options:
    -h, --help          print this message
    -p, --portal        specify the skynet portal
    -u, --uploadpath    specify the upload path
    -i, --index         specify the location of the index.html
    -b, --blog          specify the location of the blog posts
    -a, --announcement  specify if it's an announcement (1 pager)
After running the deploy script, you'll get a link to your static blog site.
Et voilà, that's it!
If all goes well, you should see something like this after you've deployed:
➜  skynet-blogger git:(master) ✗ npm run deploy

  ✔ Parse blog
  ✔ Parse blog
  ✔ Publish assets
  ✔ Publish blog posts
  ✔ Build blog
  ✔ Deploy blog

Visit your blog at https://siasky.net/HACIhPRE8zMBq6pT8K9l6LYMlFWwg4o8_WFlgCG4RUc0Wg
