N.B. master is now the 7.1 beta which is incomplete, may have significant unresolved issues, and is not compatible with older Dolphin 7 builds. Use the 7.0 branch if you want a stable build.
This repository contains the necessary files to build the Dolphin Smalltalk Core Images from a pre-built boot image.
Note: if you are just looking to install Dolphin and get going as quickly as possible you may prefer to start with the release build and Setup Installer and follow the directions here. However, if you’d really like to know how Dolphin is put together then the sources are available here on GitHub in two repositories:
-
Dolphin - This repository. This the Dolphin image and the means to build the various product incarnations from a prebuilt boot image. Executables for the various virtual machine components can either be built from the DolphinVM repository (included as a git submodule), or fetched in pre-built form the DolphinVM Releases.
-
DolphinVM - This is repository for the Dolphin Smalltalk virtual machine and the helper DLLs for deploying to the different Windows target formats. It is included as a sub-module of the Dolphin repository in the core\DolphinVM folder.
Follow these instructions to create the product images and launch Dolphin Smalltalk for the first time.
-
First clone the Dolphin repository (this one) into a suitable working directory on your machine, let's call it
\Dolphin. Any version of Windows from Vista onwards should be suitable but most validation has been done under Windows 10. -
The master branch is on the bleeding and may represent an unstable state, although the tests should always be passing. If you want a stable build then you should check out the 7.0 branch instead of master.
-
Next you will need to build or fetch the VM binaries. For convenience a batch file,
FetchVM.CMDis supplied and, providing you have PowerShell scripting enabled, you can just double-click this to pull the correct version of the VM down from GitHub. Alternatively, you can right click on theFetchVM.ps1file and choose Run with PowerShell, which does not require scripting to be explicitly enabled in Windows. If you supply a parameter to either of these script files you can choose to fetch an alternative VM version to the default (not usually recommended). -
Remember, you can also choose to build the VM from source if you wish. To do so first clone the DolphinVM submodule by running the following command in a console window open in the root folder of the Dolphin repository you just cloned:
git submodule update --init. You should then open the core\DolphinVM\Dolphin.sln file using VS2017 and build the Release configuration. -
Before proceeding you will also need to pull the boot image from github large file storage. To do this execute
git lfs pull. -
In the root folder of the repo you will find a number of CMD files used boot the images for the various products. Two such products are available, DCORE and DPRO. Normally, you will want to use DPRO only, since this is a superset of DCORE. Sometimes it worthwhile booting both products after a change to make sure that nothing in the boot sequence has been broken. This can be done with the
BootAllCMD file, but let's assume you just want to boot DPRO. Note: DPRO stands for Dolphin Professional. -
Double-click
BootDPRO.cmdor run it from a console window. When the boot process has completed, you should see aDPRO.img7file in your directory. IMG7 is the new image extension for Dolphin 7. -
Should you wish to test your booted image before proceeding with your own changes or work, you may want to run the standard regression test suite. This is recommended, and easy to do. Just run the
TestDPRO.cmdscript in the root folder. This will launch Dolphin, load the tests, and then execute them. As it runs you will see results being reported as console output. When complete a summary will state whether there were any failures. You should expect there to be none, but check the [AppVeyor build]((https://ci.appveyor.com/project/dolphinsmalltalk/dolphin-db22v/branch/master) to see the current build status. -
To launch the image you can right click on
DPRO.img7and choose Open With, selectingDolphin7.exeas the executable to be permanently associated with this file type.
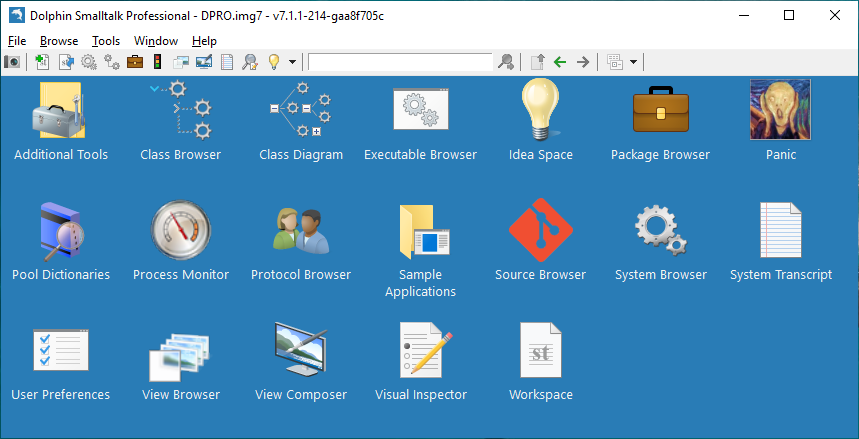
You should see Dolphin Professional 7 launch successfully. We’ll leave it as an exercise for the reader to work out how to dismiss the splash screen. You can now continue with the Dolphin Getting Started introduction if you wish.