If you use this code for your research, please cite our paper:
@Article{informatics8020040,
AUTHOR = {Altini, Nicola and De Giosa, Giuseppe and Fragasso, Nicola and Coscia, Claudia and Sibilano, Elena and Prencipe, Berardino and Hussain, Sardar Mehboob and Brunetti, Antonio and Buongiorno, Domenico and Guerriero, Andrea and Tatò, Ilaria Sabina and Brunetti, Gioacchino and Triggiani, Vito and Bevilacqua, Vitoantonio},
TITLE = {Segmentation and Identification of Vertebrae in CT Scans Using CNN, k-Means Clustering and k-NN},
JOURNAL = {Informatics},
VOLUME = {8},
YEAR = {2021},
NUMBER = {2},
ARTICLE-NUMBER = {40},
URL = {https://www.mdpi.com/2227-9709/8/2/40},
ISSN = {2227-9709},
DOI = {10.3390/informatics8020040}
}
Dataset can be downloaded for free at this URL.
Configure the file config/paths.py according to paths in your computer.
Kindly note that base_dataset_dir should be an absolute path which points to
the directory which contains the subfolders with images and labels for training
and validating the algorithms present in this repository.
In order to perform pre-processing, execute the following scripts in the given order.
- Perform Train / Test split:
python run/task0/split.py --original-training-images=OTI --original-training-labels=OTL \
                          --original-validation-images=OVI --original-validation-labels=OVL
Where:
OTIis the path with the CT scan from the original dataset (downloaded from VerSe challenge, see link above);OTLis the path with the labels related to the original dataset;OVIis the path where test images will be put;OVLis the path where test labels will be put.
- Cropping the splitted datasets:
python run/task0/crop_mask.py --original-training-images=OTI --original-training-labels=OTL \
                              --original-validation-images=OVI --original-validation-labels=OVL
Where the arguments are the same of 1).
- Pre-processing the cropped datasets (see also Payer et al. pre-processing):
python run/task0/pre_processing.py
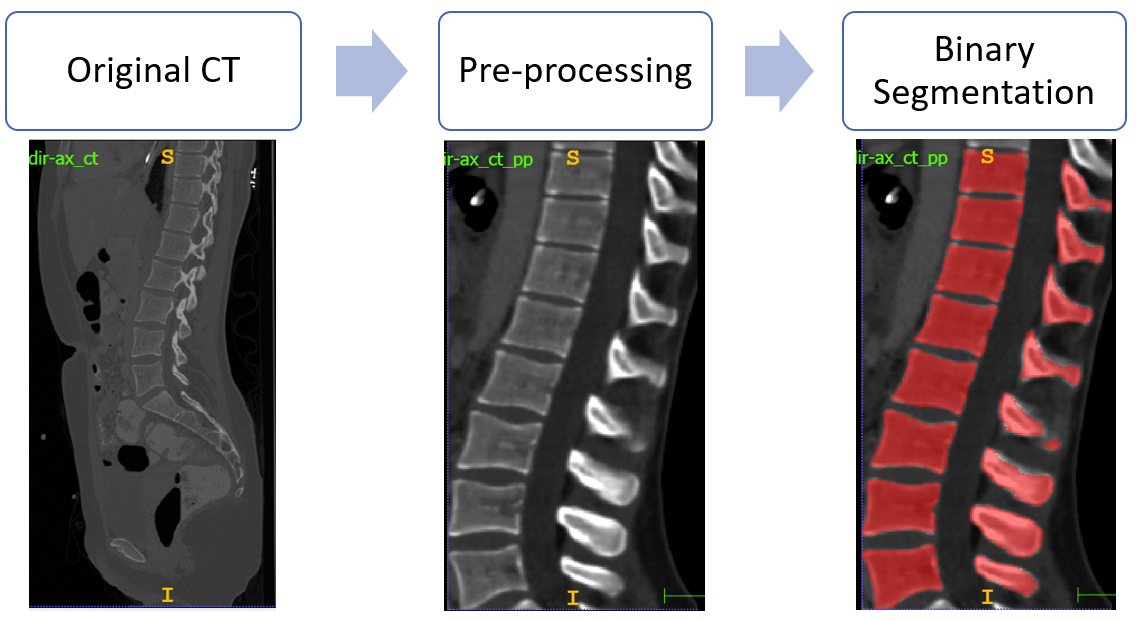
In order to perform this stage, 3D V-Net has been exploited. The followed workflow for binary segmentation is depicted in the following figure:
To perform the training, the syntax is as follows:
python run/task1/train.py --epochs=NUM_EPOCHS --batch=BATCH_SIZE --workers=NUM_WORKERS \
                          --lr=LR --val_epochs=VAL_EPOCHS
Where:
NUM_EPOCHSis the number of epochs for which training the CNN (we often used 500 or 1000 in our experiments);BATCH_SIZEis the batch size (we often used 8 in our experiments, in order to benefit fromBatchNormalizationlayers);NUM_WORKERSis the number of workers in the data loading (see PyTorch documentation);LRis the learning rate,VAL_EPOCHSis the number of epochs after which performing validation during training (a checkpoint model is also saved everyVAL_EPOCHSepochs).
To perform the inference, the syntax is as follows:
python run/task1/segm_bin.py --path_image_in=PATH_IMAGE_IN --path_mask_out=PATH_MASK_OUT
Where:
PATH_IMAGE_INis the folder with input images;PATH_MASK_OUTis the folder where to write output masks.
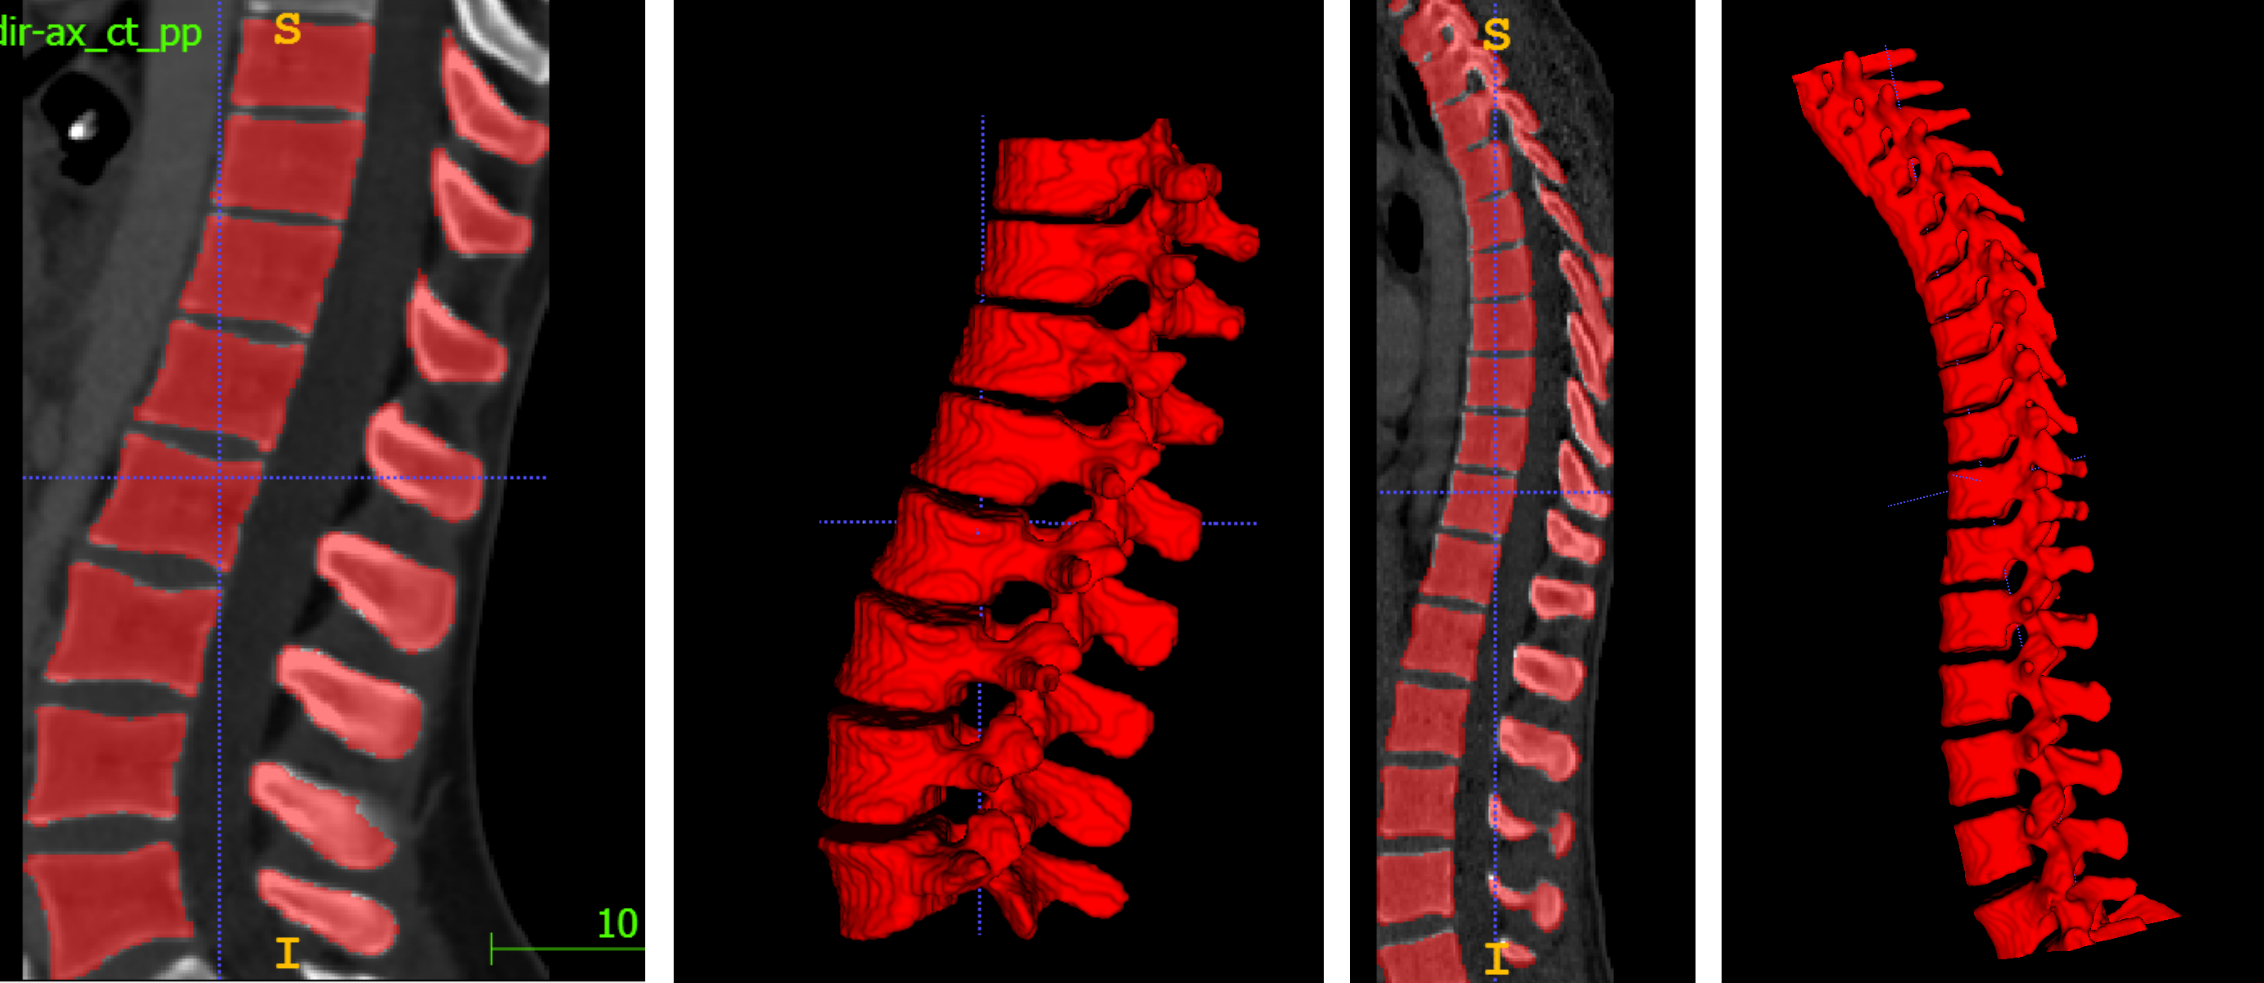
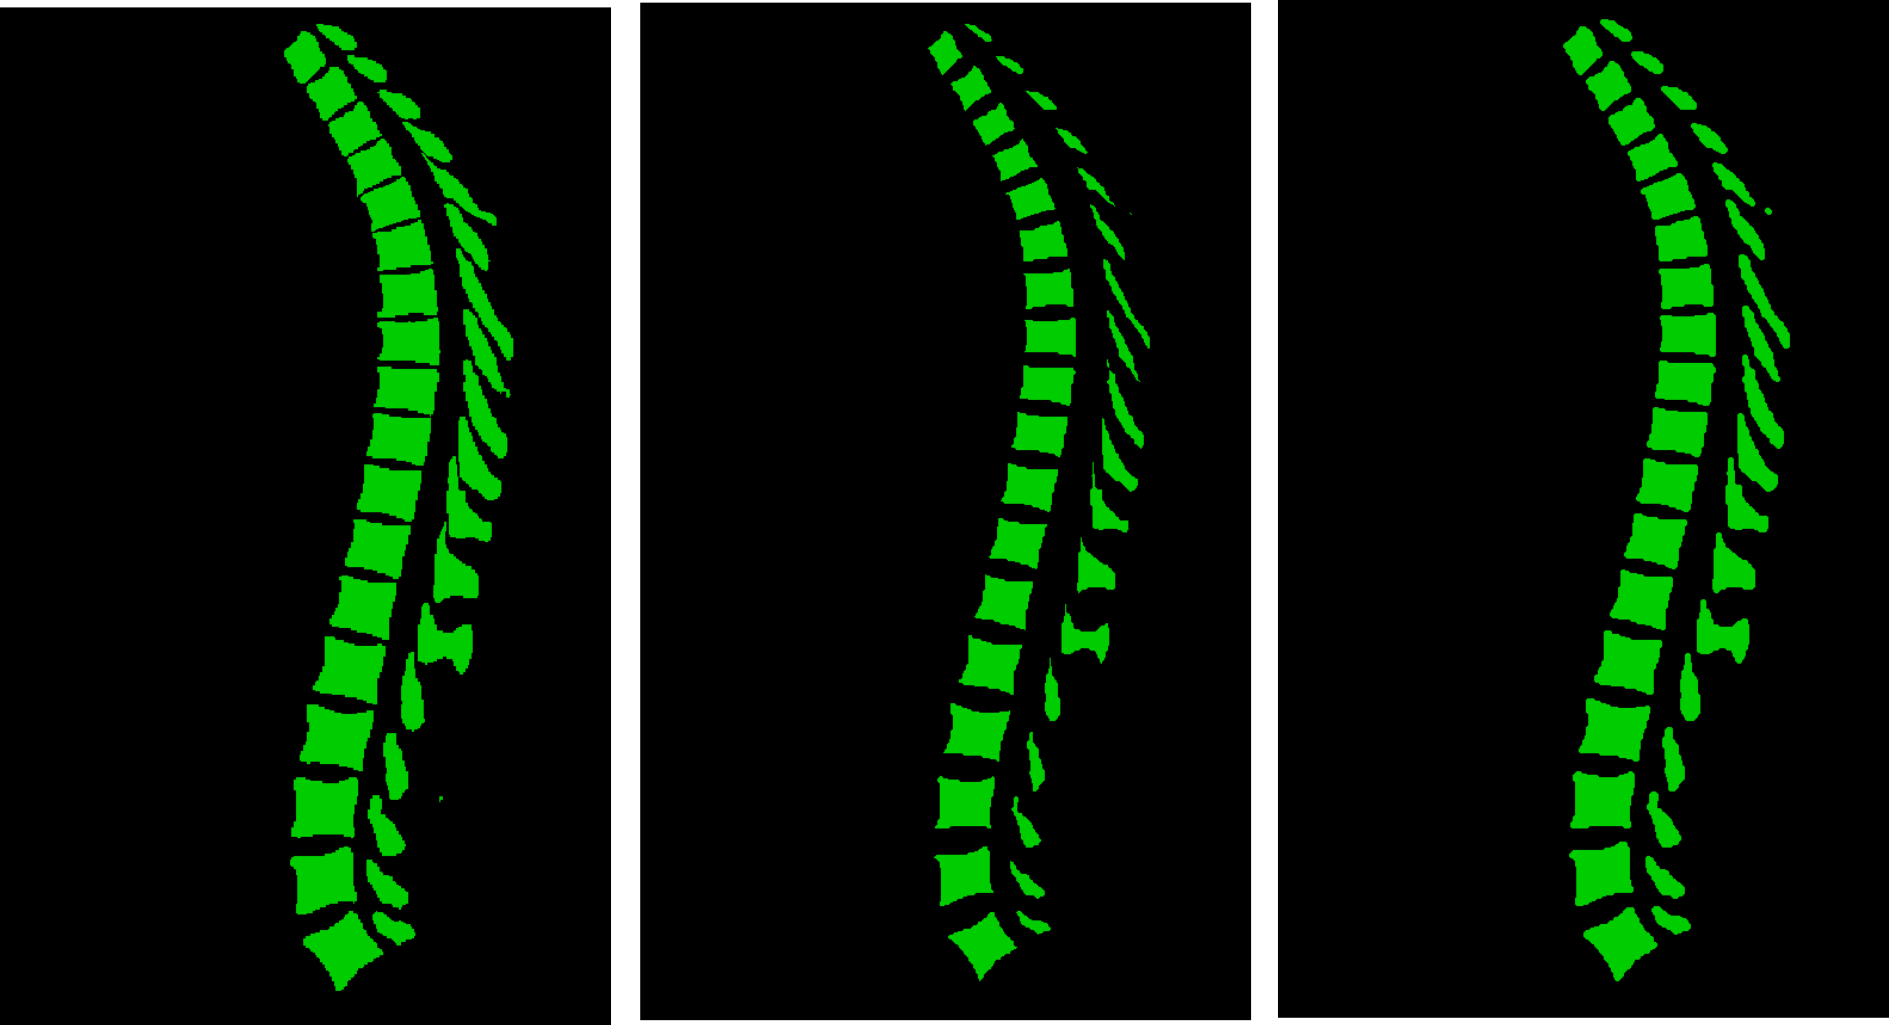
An example inference result is depicted in the following figure:
In order to calculate binary segmentation metrics, the syntax is as follows:
python run/task1/metrics.py
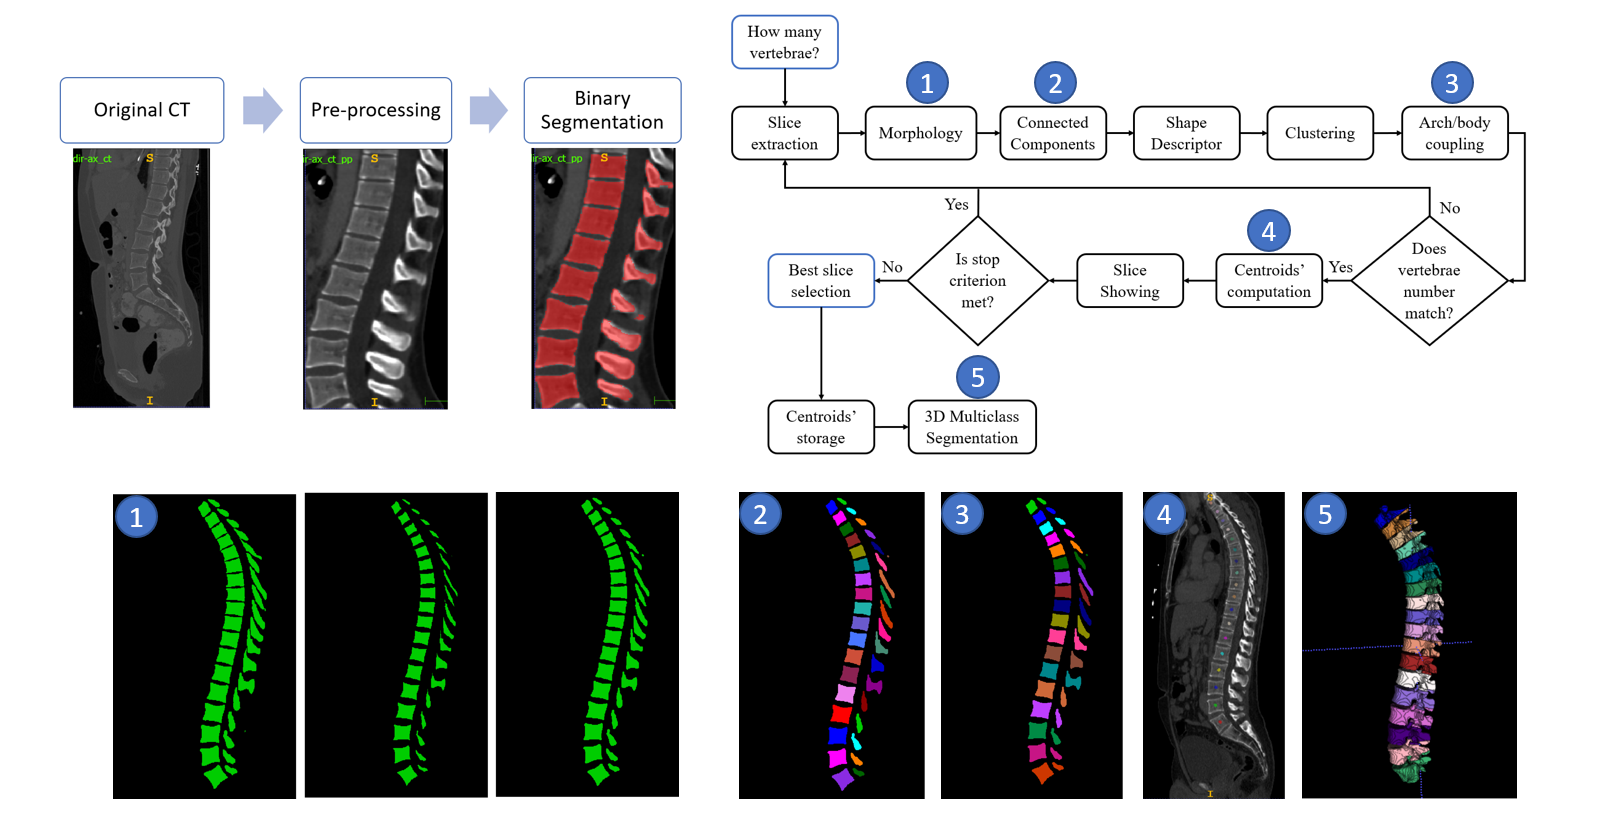
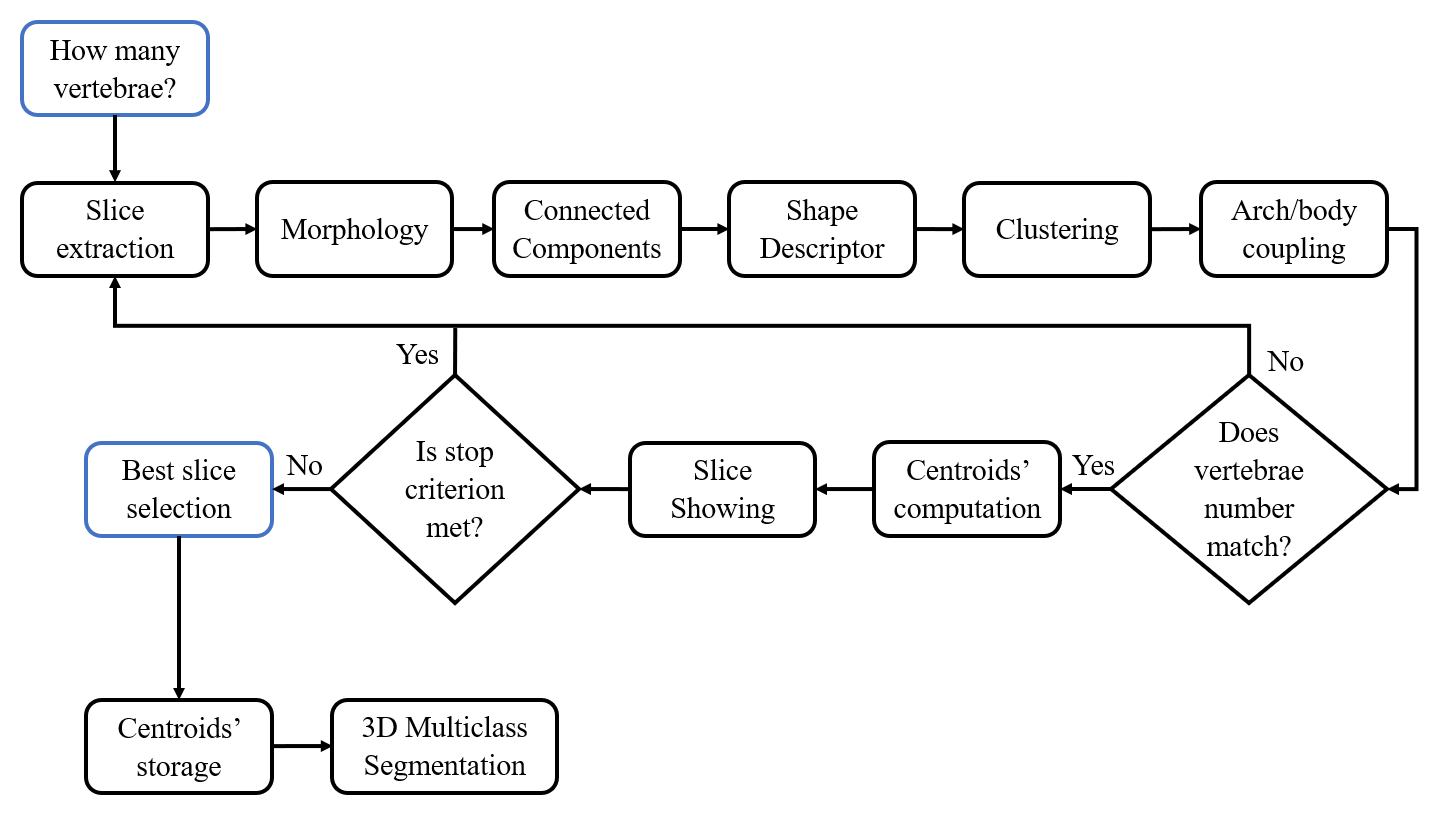
The followed workflow for multiclass segmentation is depicted in the following figure:
To perform the Multiclass Segmentation (can be performed only on binary segmentation output), the syntax is as follows:
python run/task2/multiclass_segmentation.py --input-path=INPUT_PATH \
                                            --gt-path=GT_PATH \
                                            --output-path=OUTPUT_PATH \
                                            --use-inertia-tensor=INERTIA \
                                            --no-metrics=NOM
Where:
INPUT_PATHis the path to the folder containing the binary spine masks obtained in previous steps (or binary spine ground truth).GT_PATHis the path to the folder containing ground truth labels.OUTPUT_PATHis the path where to write the output multiclass masks.INERTIAcan be either0or1depending or not if you want to include inertia tensor in the feature set for discrminating between bodies and arches (useful for scoliosis cases); default is0.NOMcan be either0or1depending or not if you want to skip the calculation of multi-Hausdorff distance and multi-ASSD for the vertebrae labelling (it can be very computationally expensive with this implementation); default is1.
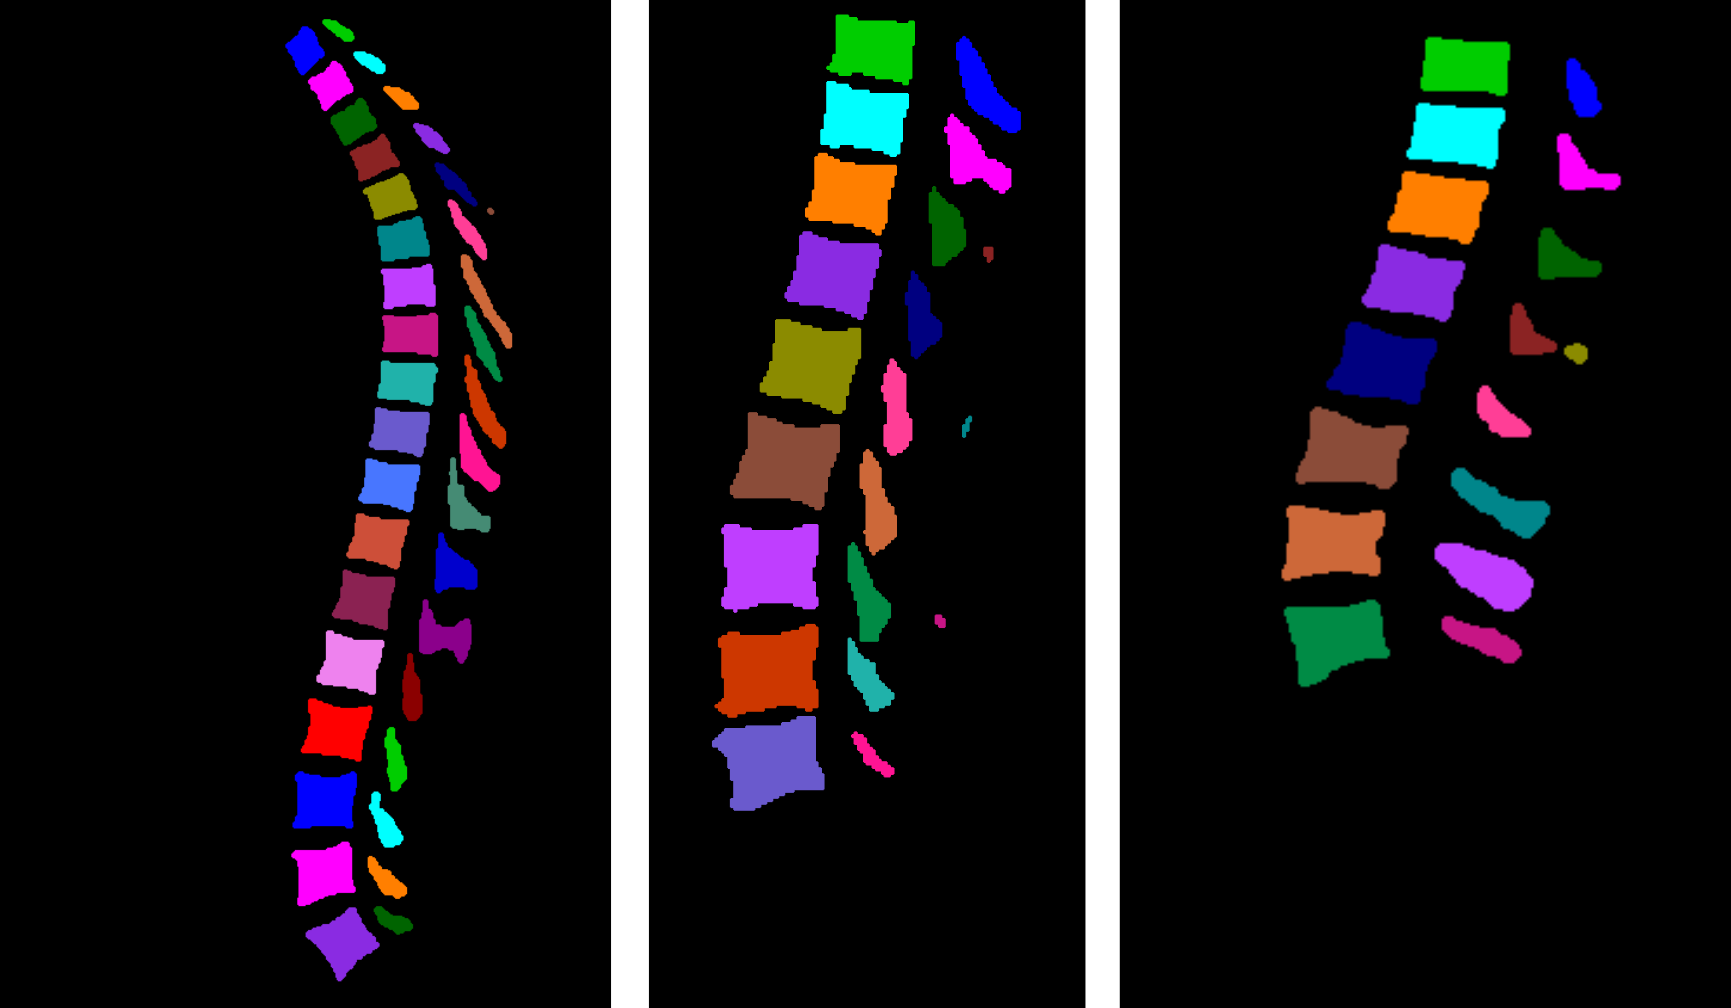
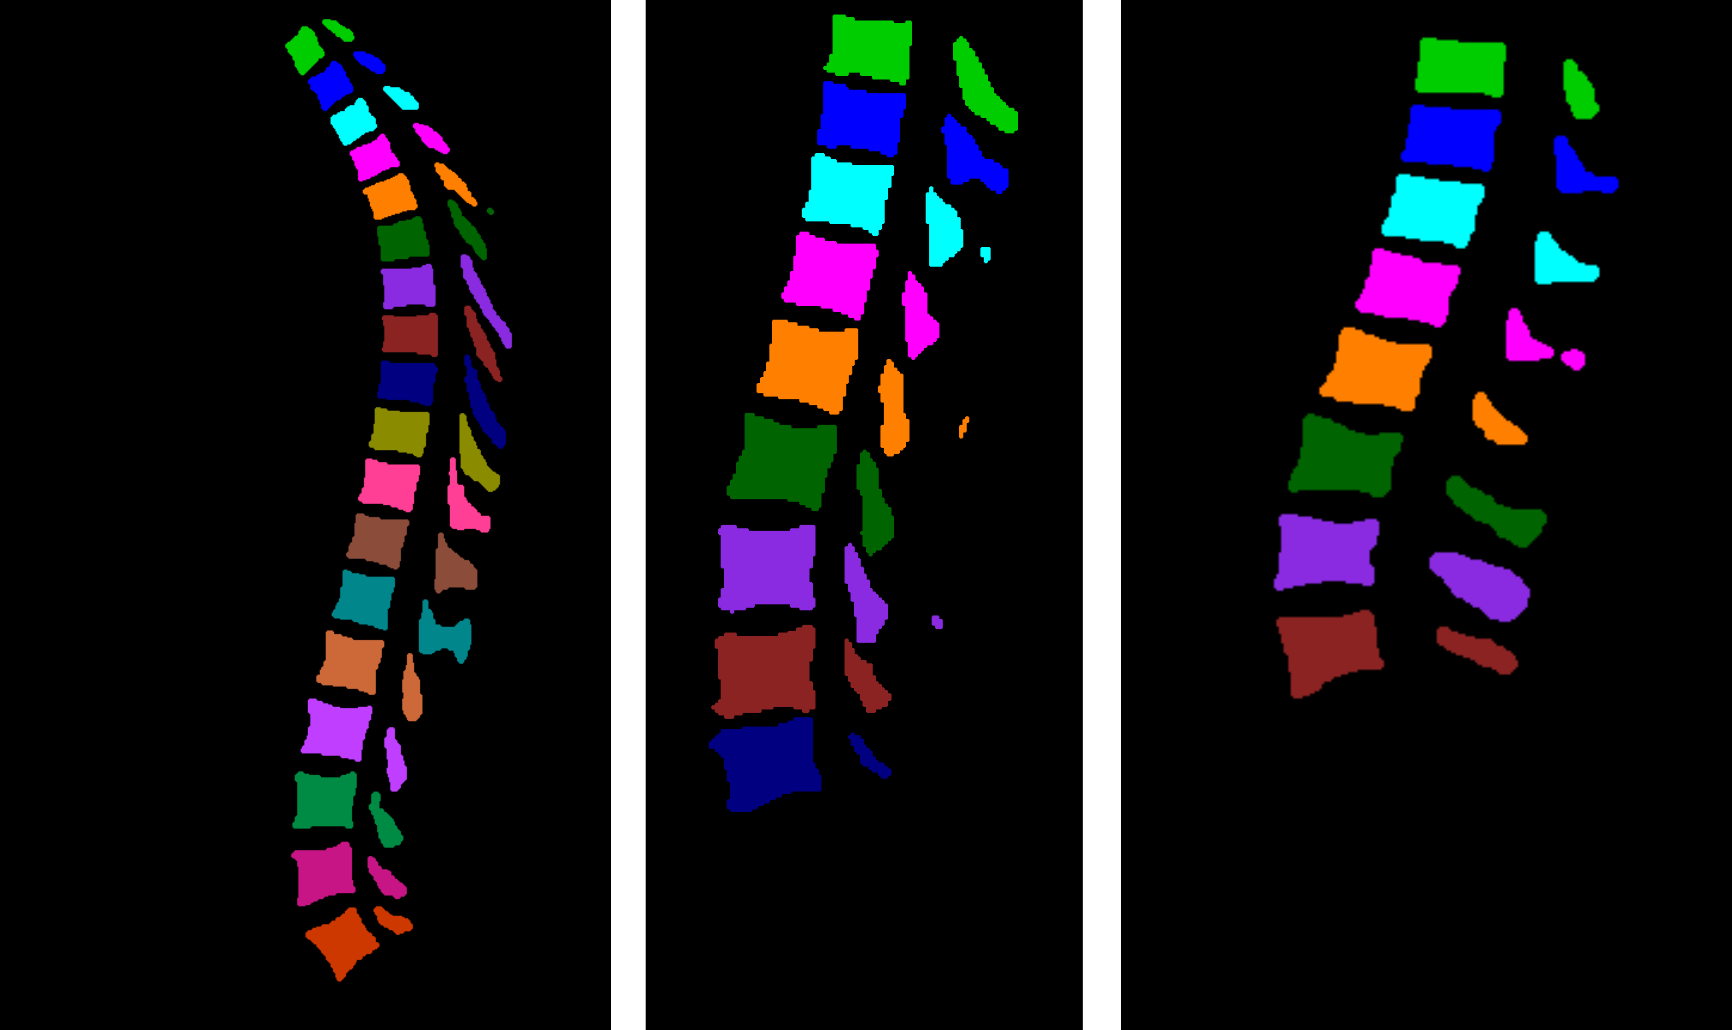
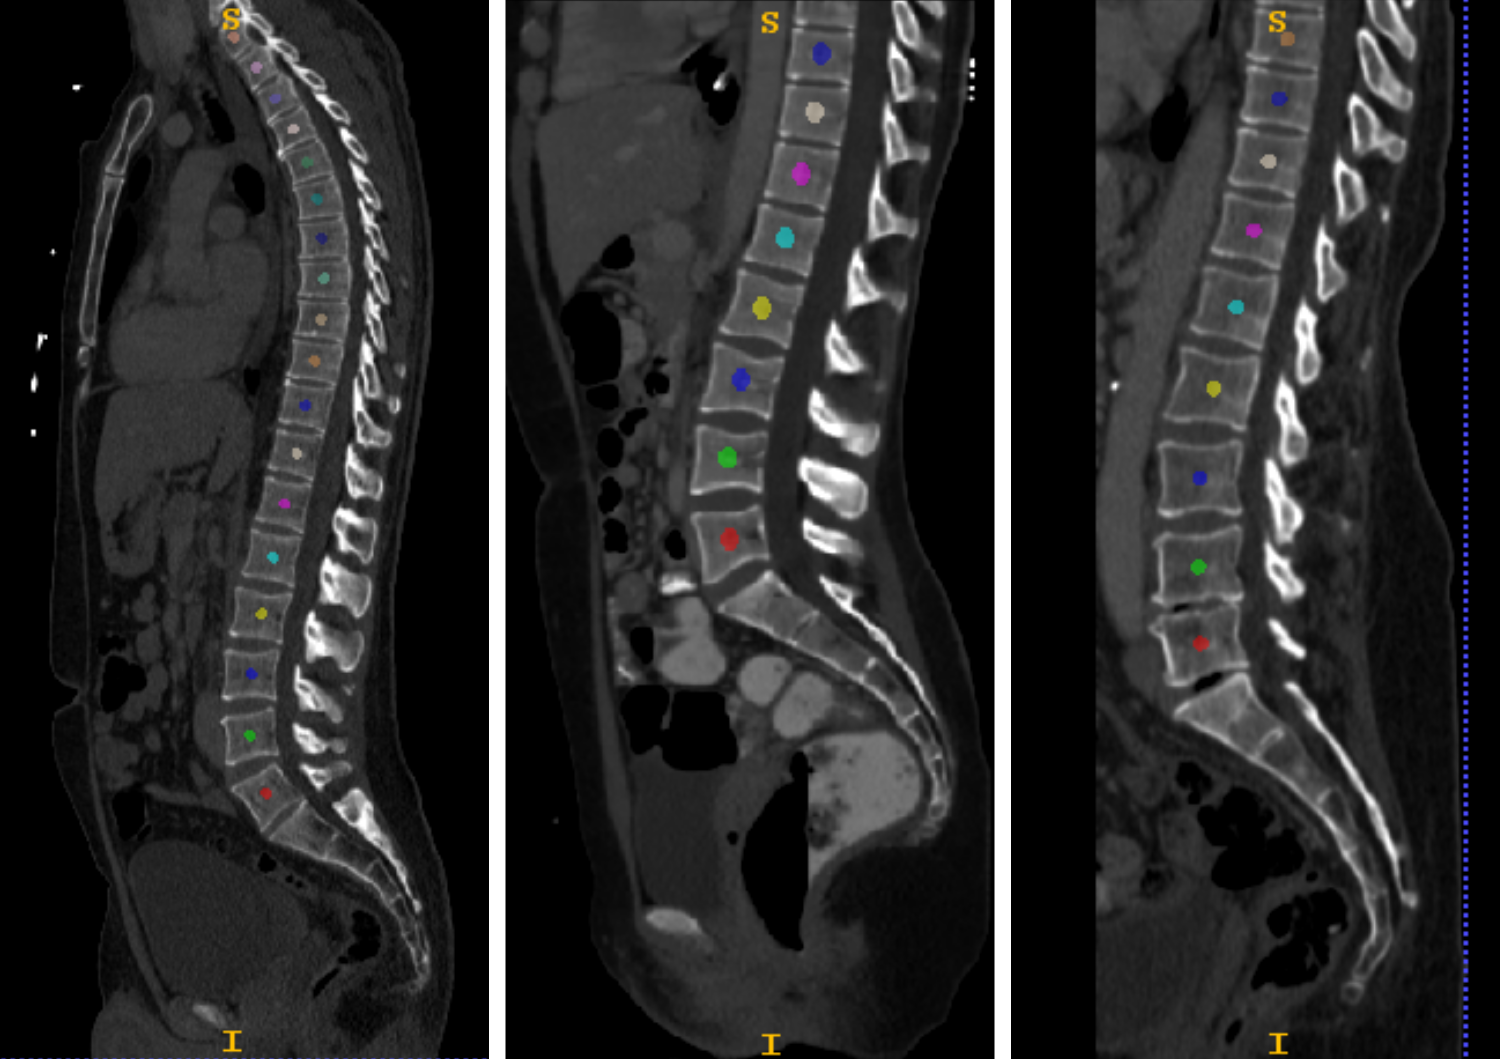
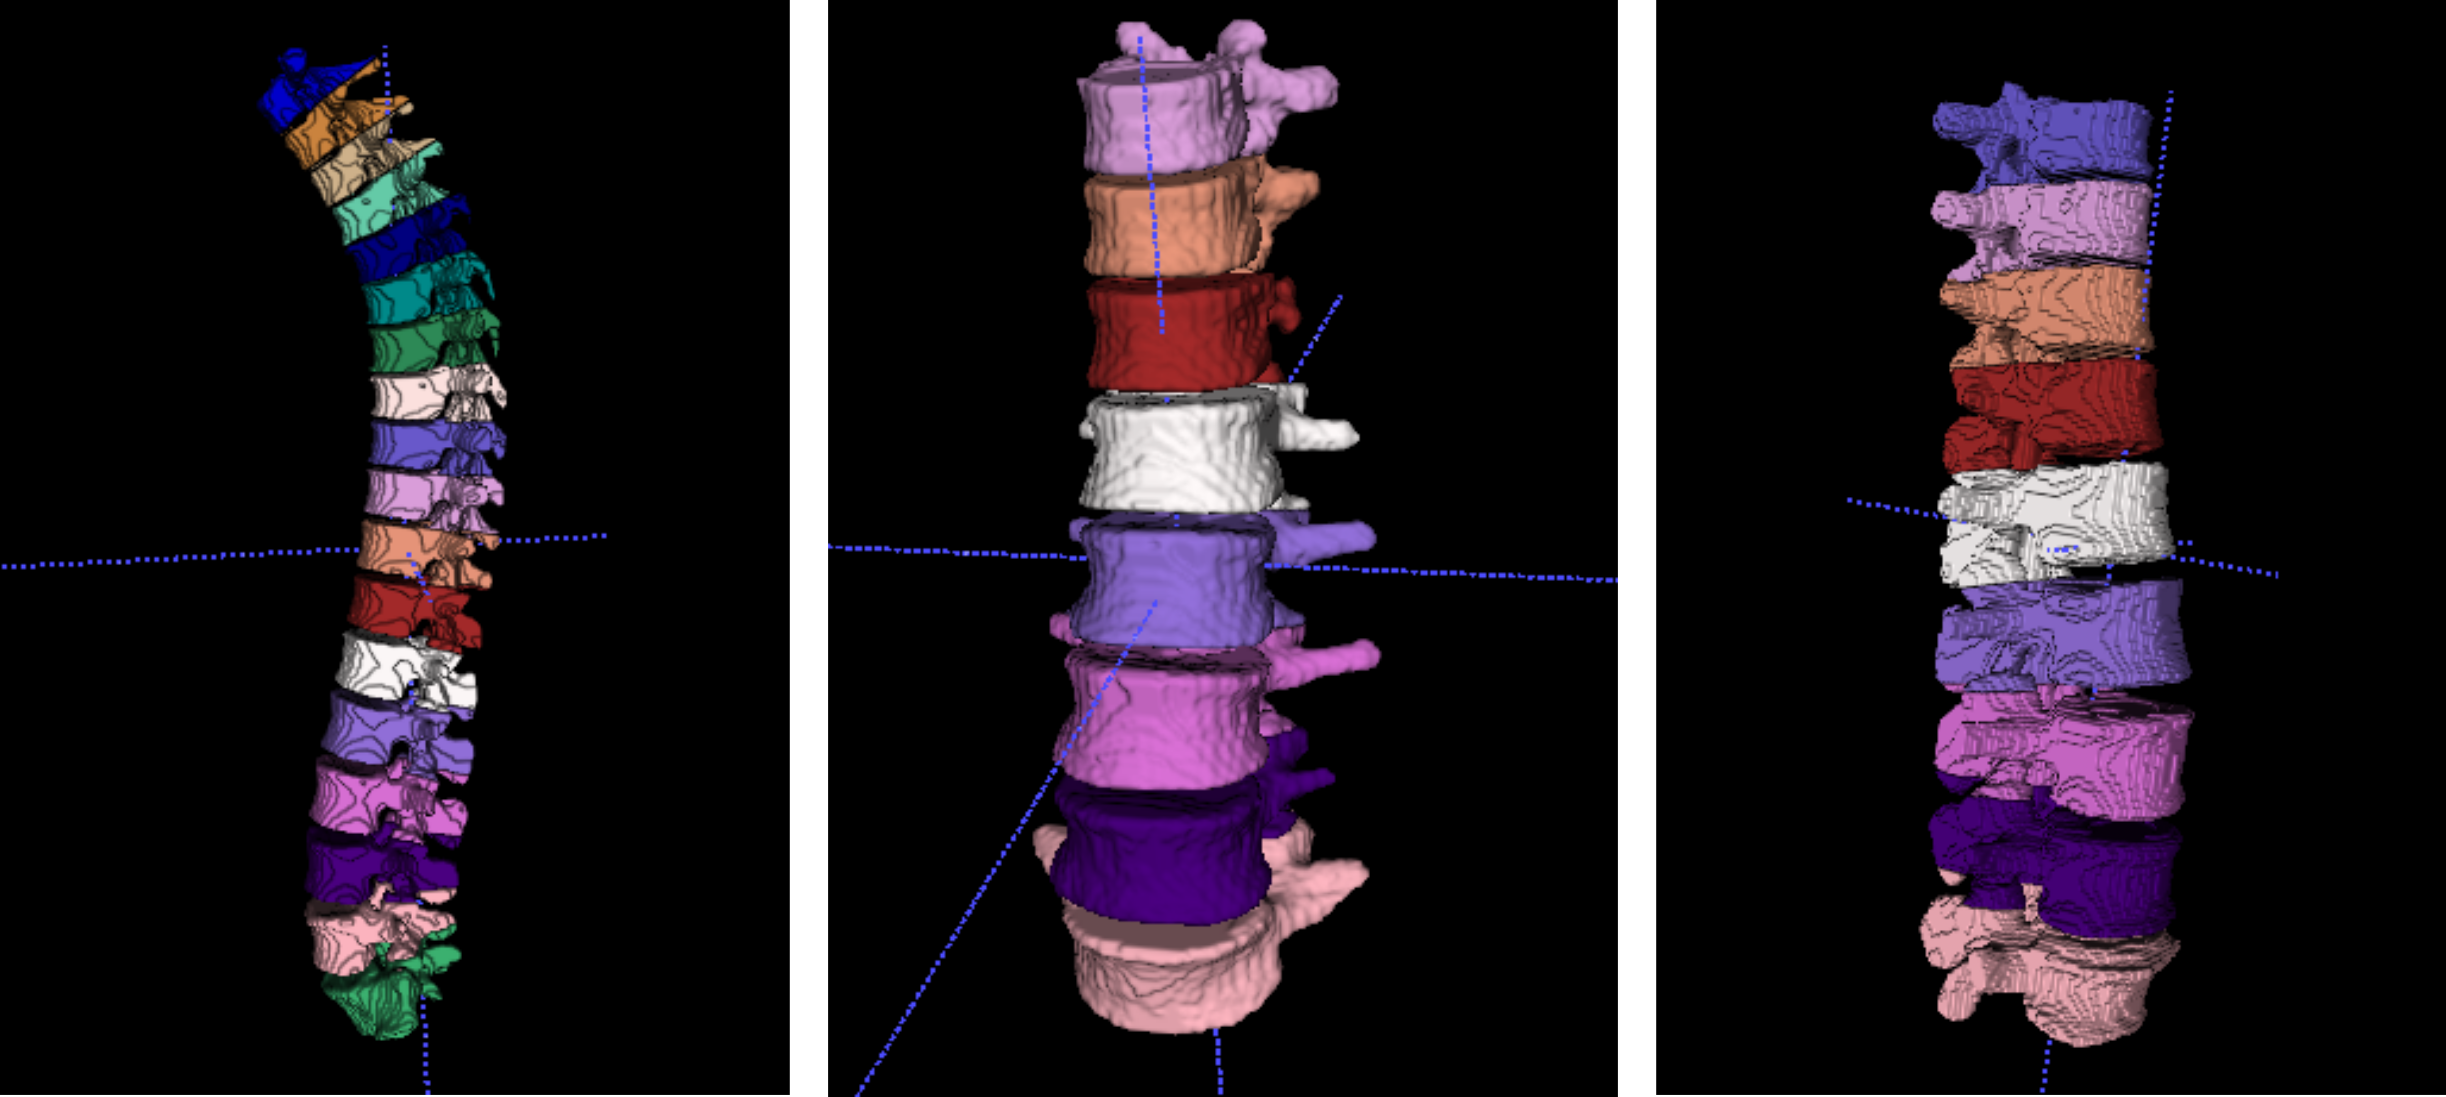
Figures highlighting the different steps involved in this stage follows:
The base_dataset_dir folder also contains the outputs folders:
predTrcontains the binary segmentation predictions performed on training set;predTscontains the binary segmentation predictions performed on testing set;predMulticlasscontains the multiclass segmentation predictions and the JSON files containing the centroids' positions.
