- Deployed API Heroku link
- Deployed Frontend Heroku link
- API backend repository
- Development board
- User Story board
- UX
- The Role of a Front End Developer
- Design
- Features
- Future features
- Testing
- Bugs
- Technologies used
- Project Setup
- Components
- Deployment
- Credits
- Acknowledgements
- Travelled is the app created to bring the travel community together, In the first stages of the site development uses will be able to add trips and follow their travel buddies. It is to share journeys and travelled stories amongst those who have the travel bug.
- The goal is to become the one stop shop so to speak for all things travel. This will be implemented in stages as the site users build.
-
I have put user stories as issues as part of agile development you can find the link here
-
I have also linked my user stories to a kanban board to make them easier to work on you can find the link here
- Front end developers are a vital and essential asset to have for any company with tech they implement the UI UX while intergrating the back end API's into the font end. They also are pivital in translating the design teams wants into realities on the site. Along with all that they also make sure the user experience is good ultimatly bringing together an accumulation of various end points accros the tech spread for their company into the one easy to use experience for the user it has been created for.
- As a traveller myself the colour scheme I was immediately drawn to was one I have used previously a mixture of cool and warm blues grays whites which evokes a sense of calm and going somewhere when in the sky.
- When thinking about font I wanted a font that feels like you are reading a flight shedule in an airport and after some research I landed on: Ubuntu Condensed
-
There is a navigational bar down the side for larger screens, with different icons depending on wether you are logged in or not
-
Large screen logged out
- Large screen logged in
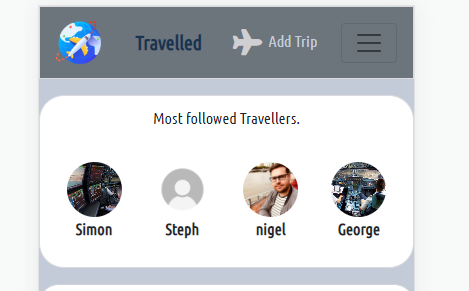
- The smaller screens have a burger icon which reveals the same navigational bar as larger screens, the heading is also a link back to the home page.
- The Icon of the page the user is on stays highlighted to let the user know what page they are on.
- The home page has a search function at the top, it also has infinite scroll on the posts for ease of use.
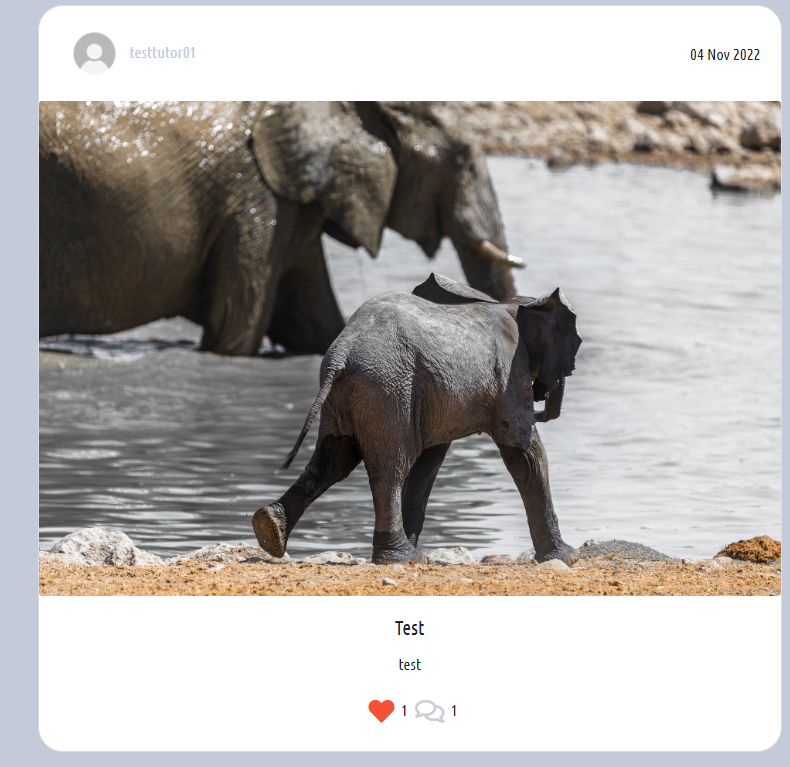
- The home page has all the created trip's by all users, logged in users can like other users trip's, users can comment on trip's. These show on the trip itself.
- comments can be edited and deleted via the dropdown menu
- There is a dropdown menu for owner users to edit or delete the trip, the edit button takes to a form to edit the trip which is prefilled
-
Clicking on a trip from the home page takes you to the single trip which shows all comments underneath, the comments have an infinite scroll function for ease of use.
-
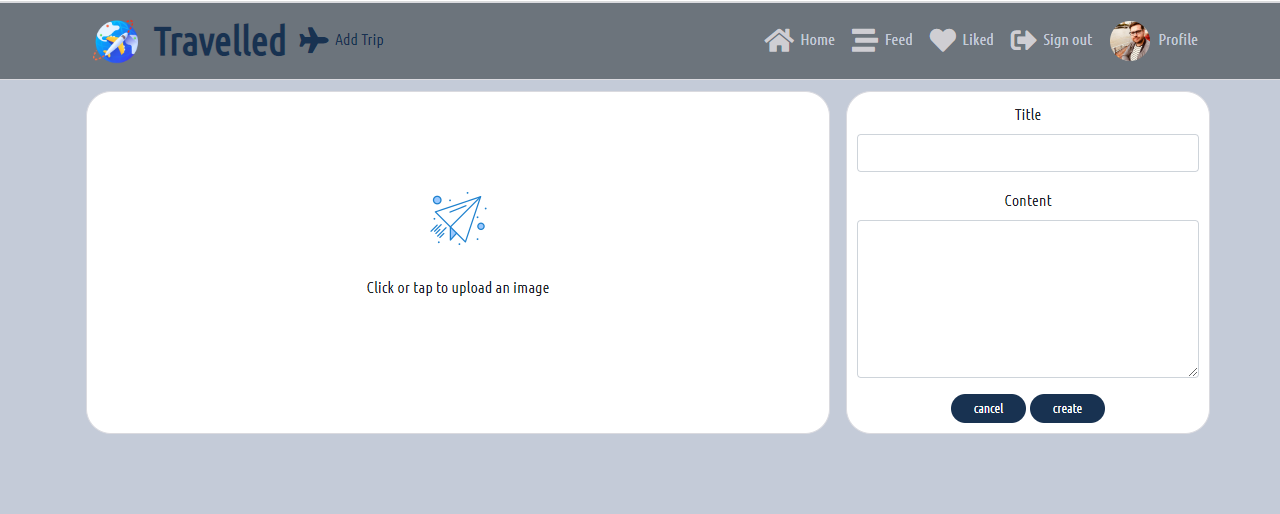
Logged in users can create a new memo by clicking on the Add trip link in the navigational bar, this will take them to the create trip
- Trips is where the user can create their trip post to send out into the community.
- The liked page can be reached by the Liked link on the navigational bar and shows all the liked posts the user has liked. The page has an infinite scroll for ease of use.

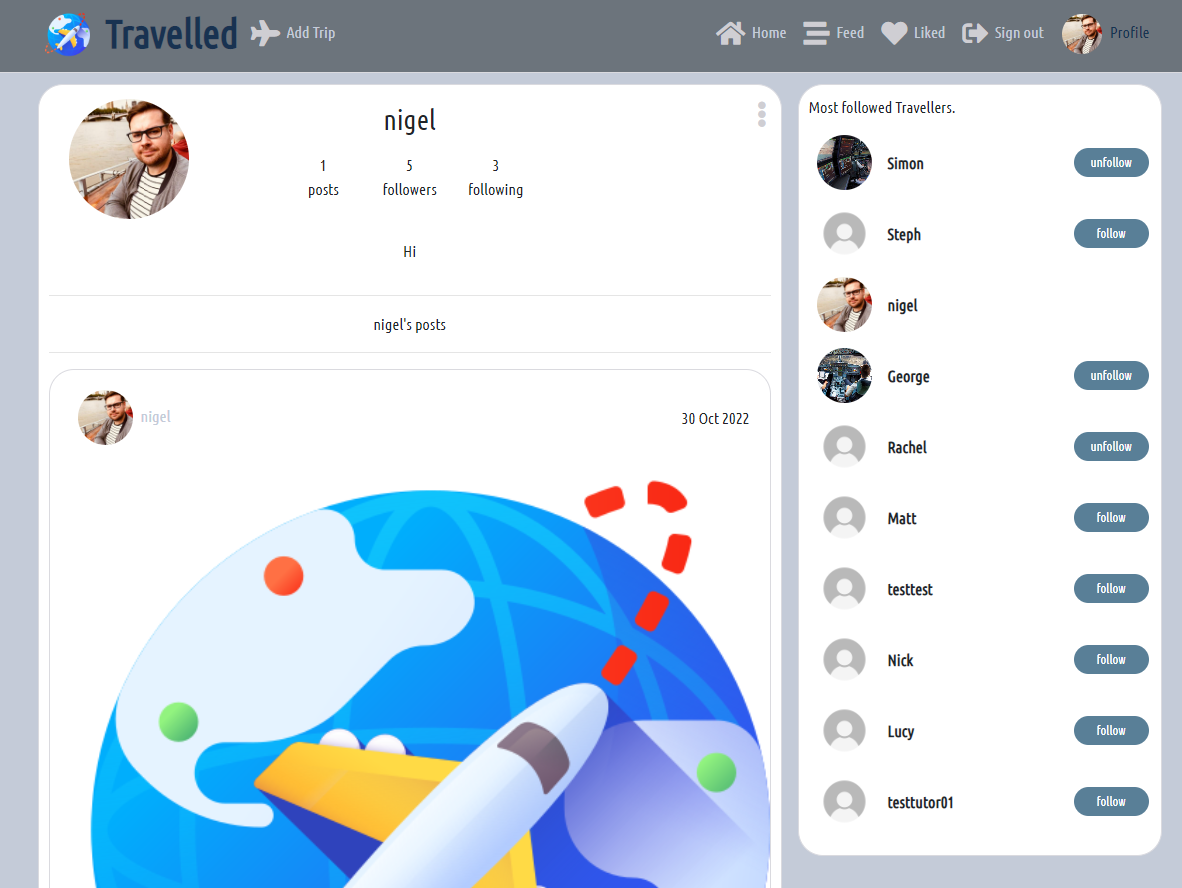
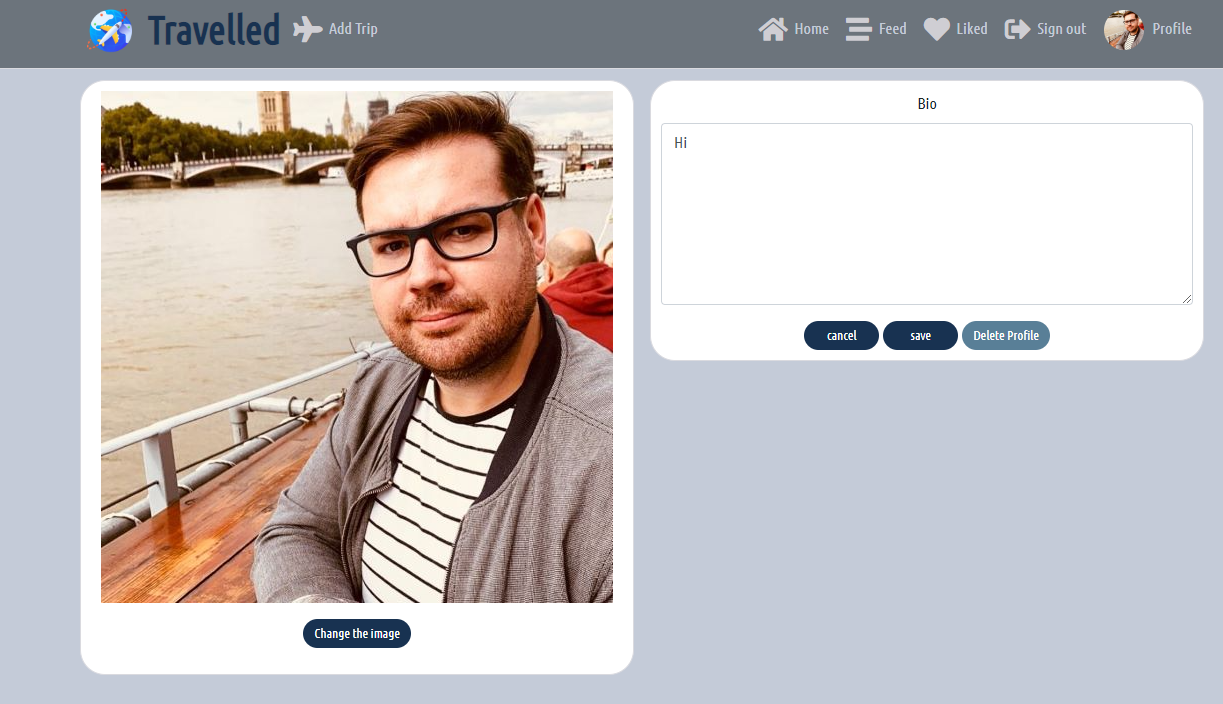
- The profile page can be reached via the main navigational bar, or by clicking any user avatar, the user that owns the profile can edit their name, bio and profile picture, they can also change their username and password. the profile page shows that users achievement posts.
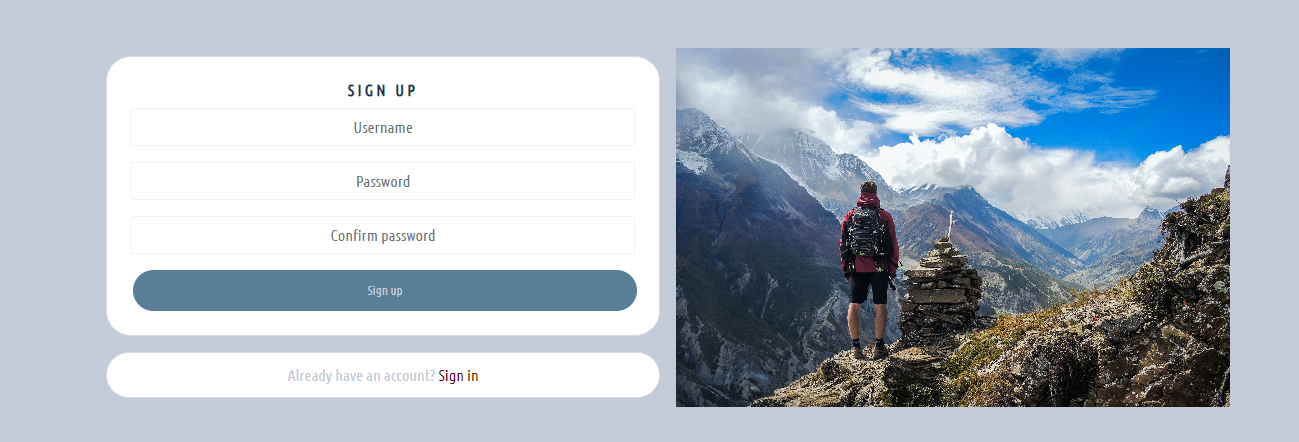
- A user can Sign up to get full use of the site to be able to follow other users, like trips and post their own trips. The Signup form once completed takes the user straight to the signin page which then redirects to the site.
- If a user comes to a page that doesnt exist it will display a page saying its not found, the navigational bar is still present to take them wherever they want to go.
- I would like to implement a groups create to the site, so that travel buddies can create trips together.
- I would like to implement the skyscanner api intergration so that users can search flights directly from the site.
- I would like to implement the ability to tag and share trips amongst the users travel buddies.
- I would like to implement instant msging amongst the users signed in.
- On trip posts I would like to implement user ability to create whole abulm of trip with mutliple images.
- The testing for the front end part of the project can be found here
- The testing for the backend part of the project can be found here
-
Defult profile image not rendering, The code was correct checked with a tutor. The cloudinary URL was where the problem lay. That has now been sorted.
-
When click follow goes to a blank screen same for unfollow. Bug fixed by asking if each array existet in profilecontextdata.js in the popular profiles follow and unfollow function
-
Bug Add Trip wont post when I click create: This was because image was to large for site a simple fix changed image not a bug but code working as expected.
-
Bug When clicking on post popular profiles was not rendering it was just the place holder text. Perfomed a traceback and found PostPage.js I had left the placeholer there and not imported popularProfiles. I imported and repalce the place holder witht the rendering code and now it is working as expected.
-
Bug On profile page the numbers of posts followers and following are not adding up.
- When clicking on Update user name it takes user back to home page. This is noted and issues to be resolved at a later date as the issue is minor and not part of the major functionality to the site.
- HTML
- CSS
- Javascript
- Python
- SQL - postgres
- Git
- For version control, committing and pushing to Github
- Github
- For storing the repository, files and images pushed from Gitpod
- Gitpod
- IDE used to code project
- Heroku
- used to deploy the application
- Django
- used to build the backend database, that serves as an API for the front end part of the project
- ReactJS
- To build components that collectively form the front end of the application.
- React-Bootstrap
- The styling side of the front end application used as it was introduced during the walkthrough project.
- icolorpalette
- used for the colour pallete
- Google fonts
- used for selecting fonts for project.
- Amiresponsive
- used for testing responsiveness and providing screenshots in different sizes.
- Create a new repository in Github and use the 'gitpod' button at the top to create workspace
- Create the React app by running the terminal command:
npx create-react-app . --template git+https://github.com/Code-Institute-Org/cra-template-moments.git --use-npm
- enter y to confirm
- Check the app is working by using terminal command:
npm start
- the browser should be showing you the React logo
- In App.js remove the logo import, remove the custom React header element, and replace with a 'H1' element containing a line of text such as 'hello world'.
- Check this 'H1' is being shown in your browser preview.
- Do a terminal command to add, commit and push the code to Github
- Several components were setup throughout the project and was reused throughout.
- MoreDropdown.js
- added a dropdown menu for memo's, achievements, todo and profile, to allow users to edit and delete their own content.
- AxiosDefault.js
- helped with communication with the backend API
- Asset.js
- was used for the loading spinner throughout the site.
- Avatar.js
- used for the users avatar throughout the site.
- CurrentUserContext.js
- confirm users logged-in status to determine what functionality is available to that user.
- ProfileDataContext.js
- used for watching and unwatching users
- useRedirect.js
- redirects a user to another page if not authorised to access the page they are trying to access.
- utils.js
- supplies functionality to all of the components that utilise the Infinite Scroll.
-
In Heroku create a new app, give it a name and choose location.
-
In the deploy tab, go to 'deployment method', choose 'Github'
-
Search for the repository in Github that you want to connect and click on the connect button
-
In the 'manual deploy' section click on 'deploy branch'
-
The build log will run, when complete you will see a message saying 'build succeeded'
-
An 'Open App' button will appear, click this to take you to your deployed app.
-
You can enable automatic deploys in the 'deployment section' so each time you push your code to 'Github' your deployed app will be updated.
-
Ensure all finalised code is committed and pushed to Github
-
Log into Heroku in the dashboard for your front end React project select Deploy from the top bar
-
Select Deploy branch and wait for build to complete
-
If successfully built you will see a message deployed to heroku click the open app button.
-
Test your deployed version matches development version.
-
The code institute walk through moments project I used as my jumping off point for the project.
-
https://unsplash.com For images use through out the project.
-
https://www.flaticon.com/free-icons For the icons
-
https://icons8.com/icons/set/search For the search icon with the world in it.
-
icolorpalette image used for the colour pallete
- Code institute for the learning material and support.
- Tutor support for having tooling up my knowledge big shout out to them all.
- All of the slack community for the assistance to be patient with me.
- My class mates who have always been there in the trenches together.


