Sample Spring Boot app with React front-end.
Use the following commands to manage the local lifecycle of animal-rescue
./scripts/local.sh start         # start auth server, frontend app, and backend app
./scripts/local.sh start --quiet # start everything without launching the app in browser, and redirects all output to `./scripts/out/`
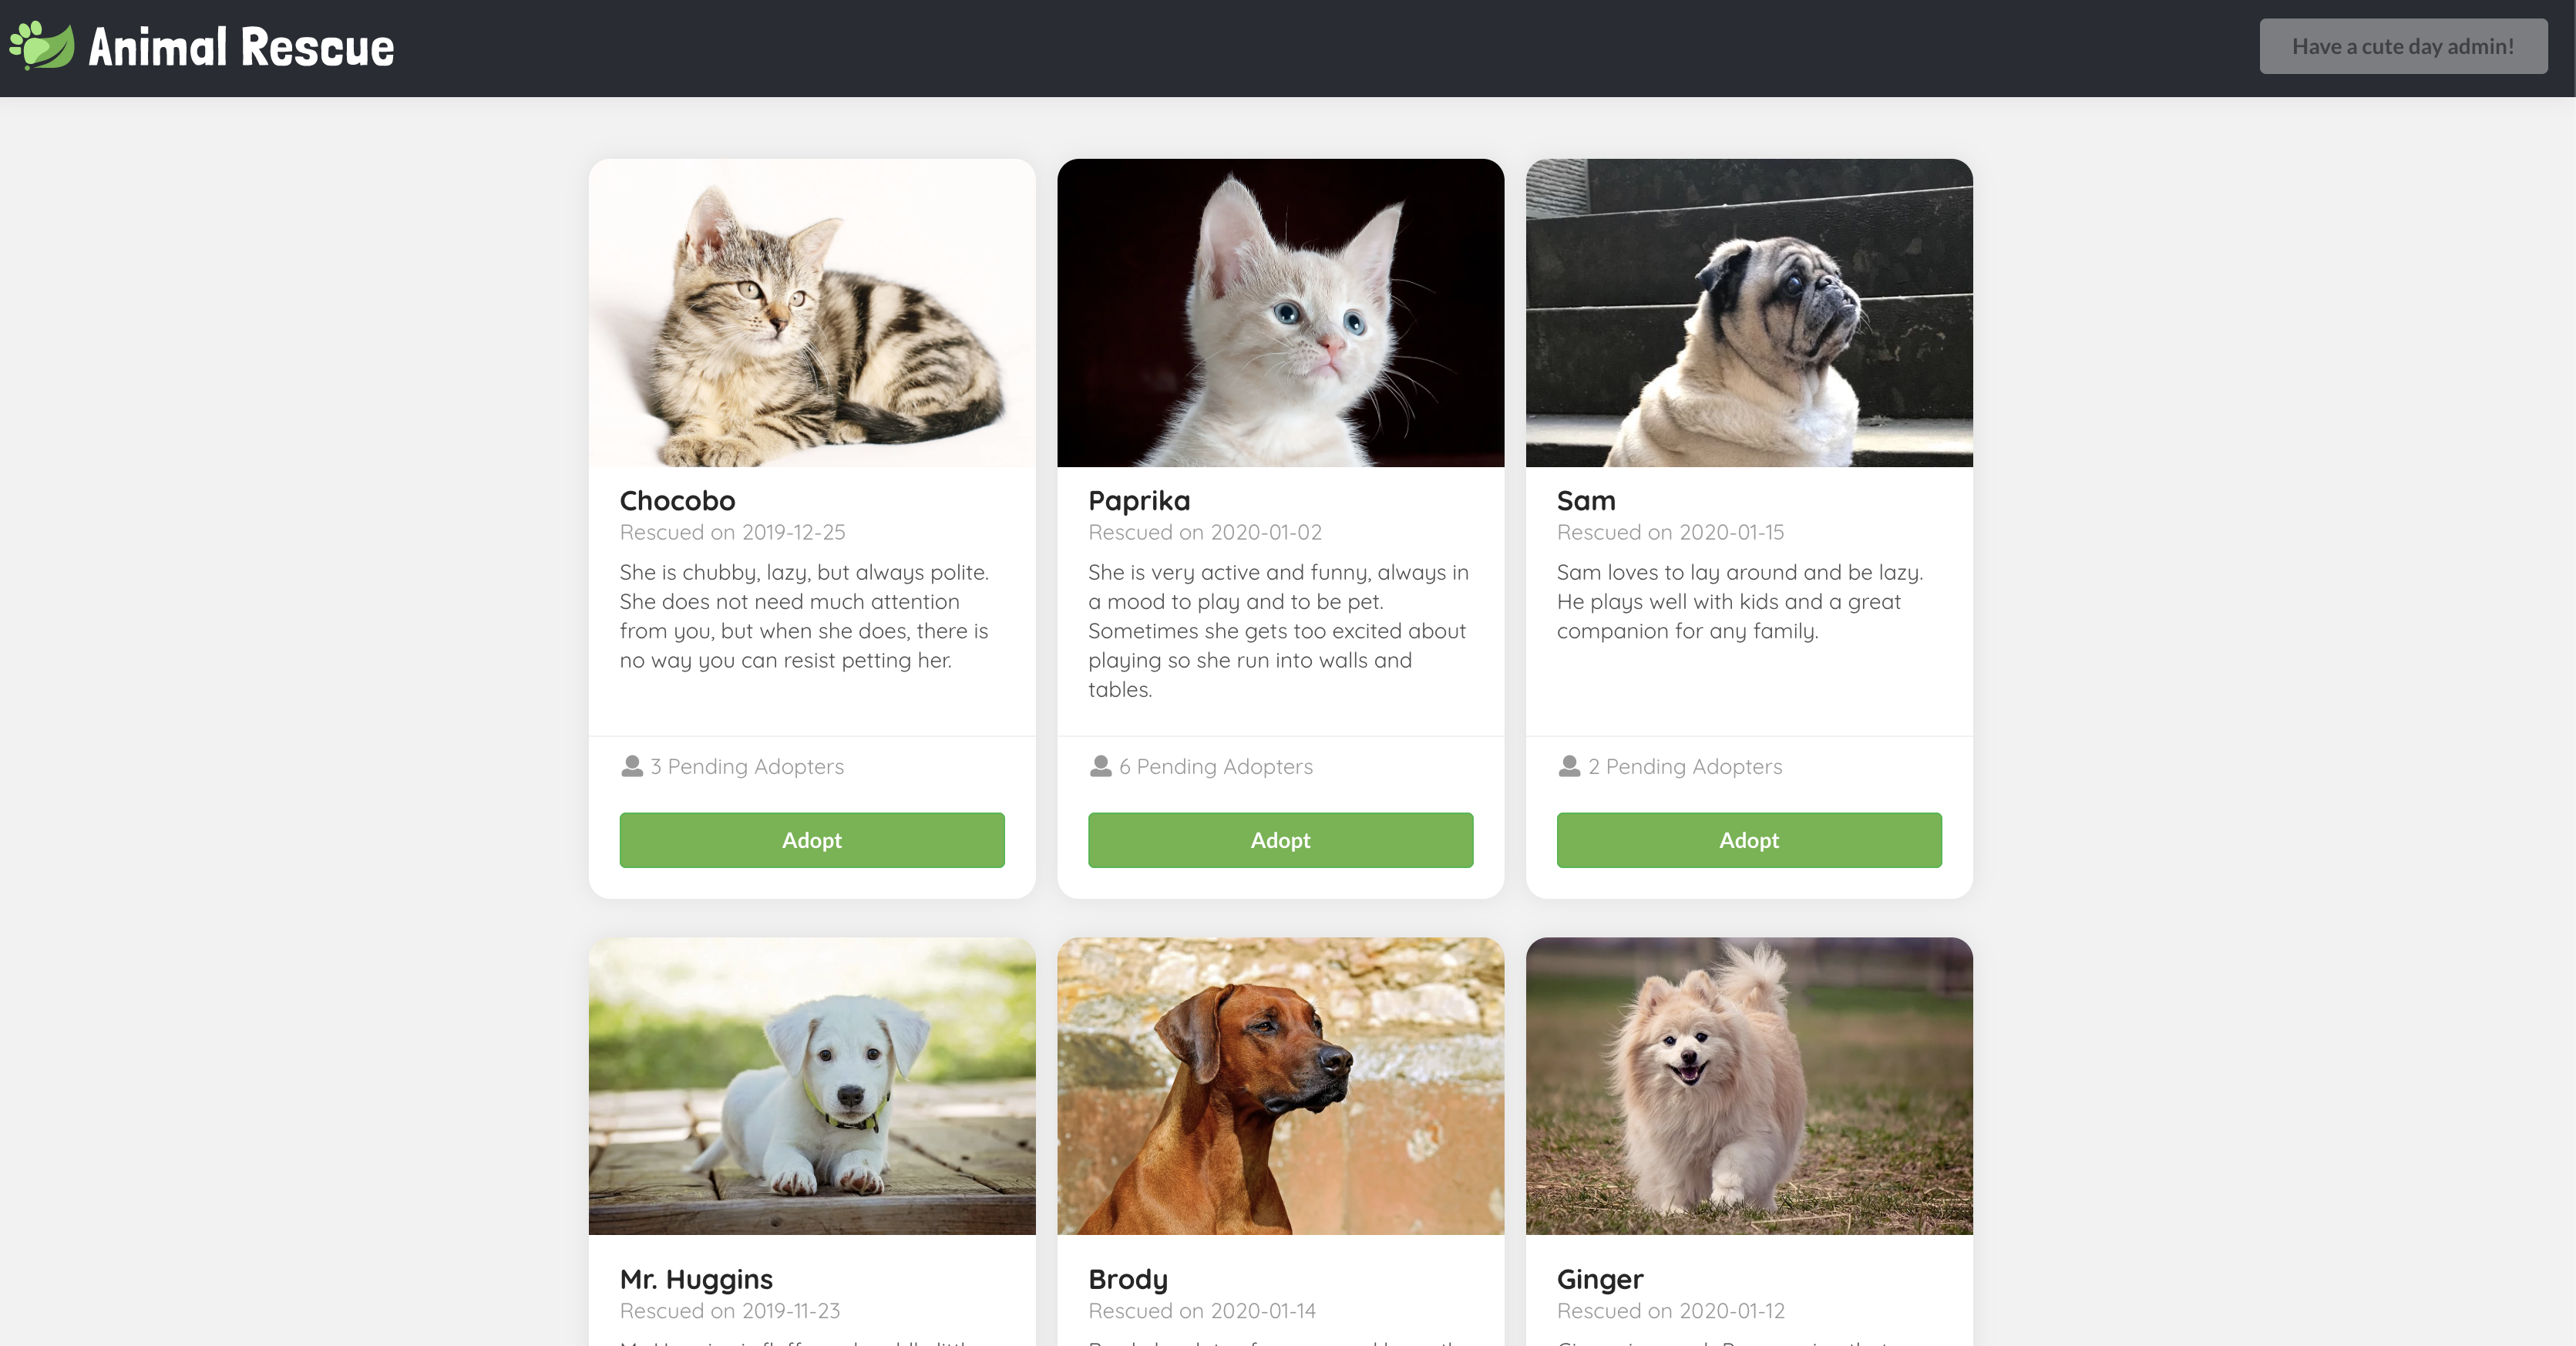
./scripts/local.sh stop # stop auth server, frontend app, and backend app. You would only need to do this if you start the app in quiet mode.Visit https://localhost:3000/rescue, you should see cute animal bios with the Adopt buttons disabled. All the information are fetched from a public GET backend endpoint /animals.

Click the Sign in to adopt button on the top right corner, you should be redirected to the login page if you haven't already logged in. Use alice / test or bob / test credentials to log in.
Once you logged in, you should see a greeting message regarding the username you log in with on the top right corner, and the Adopt buttons should be enabled.

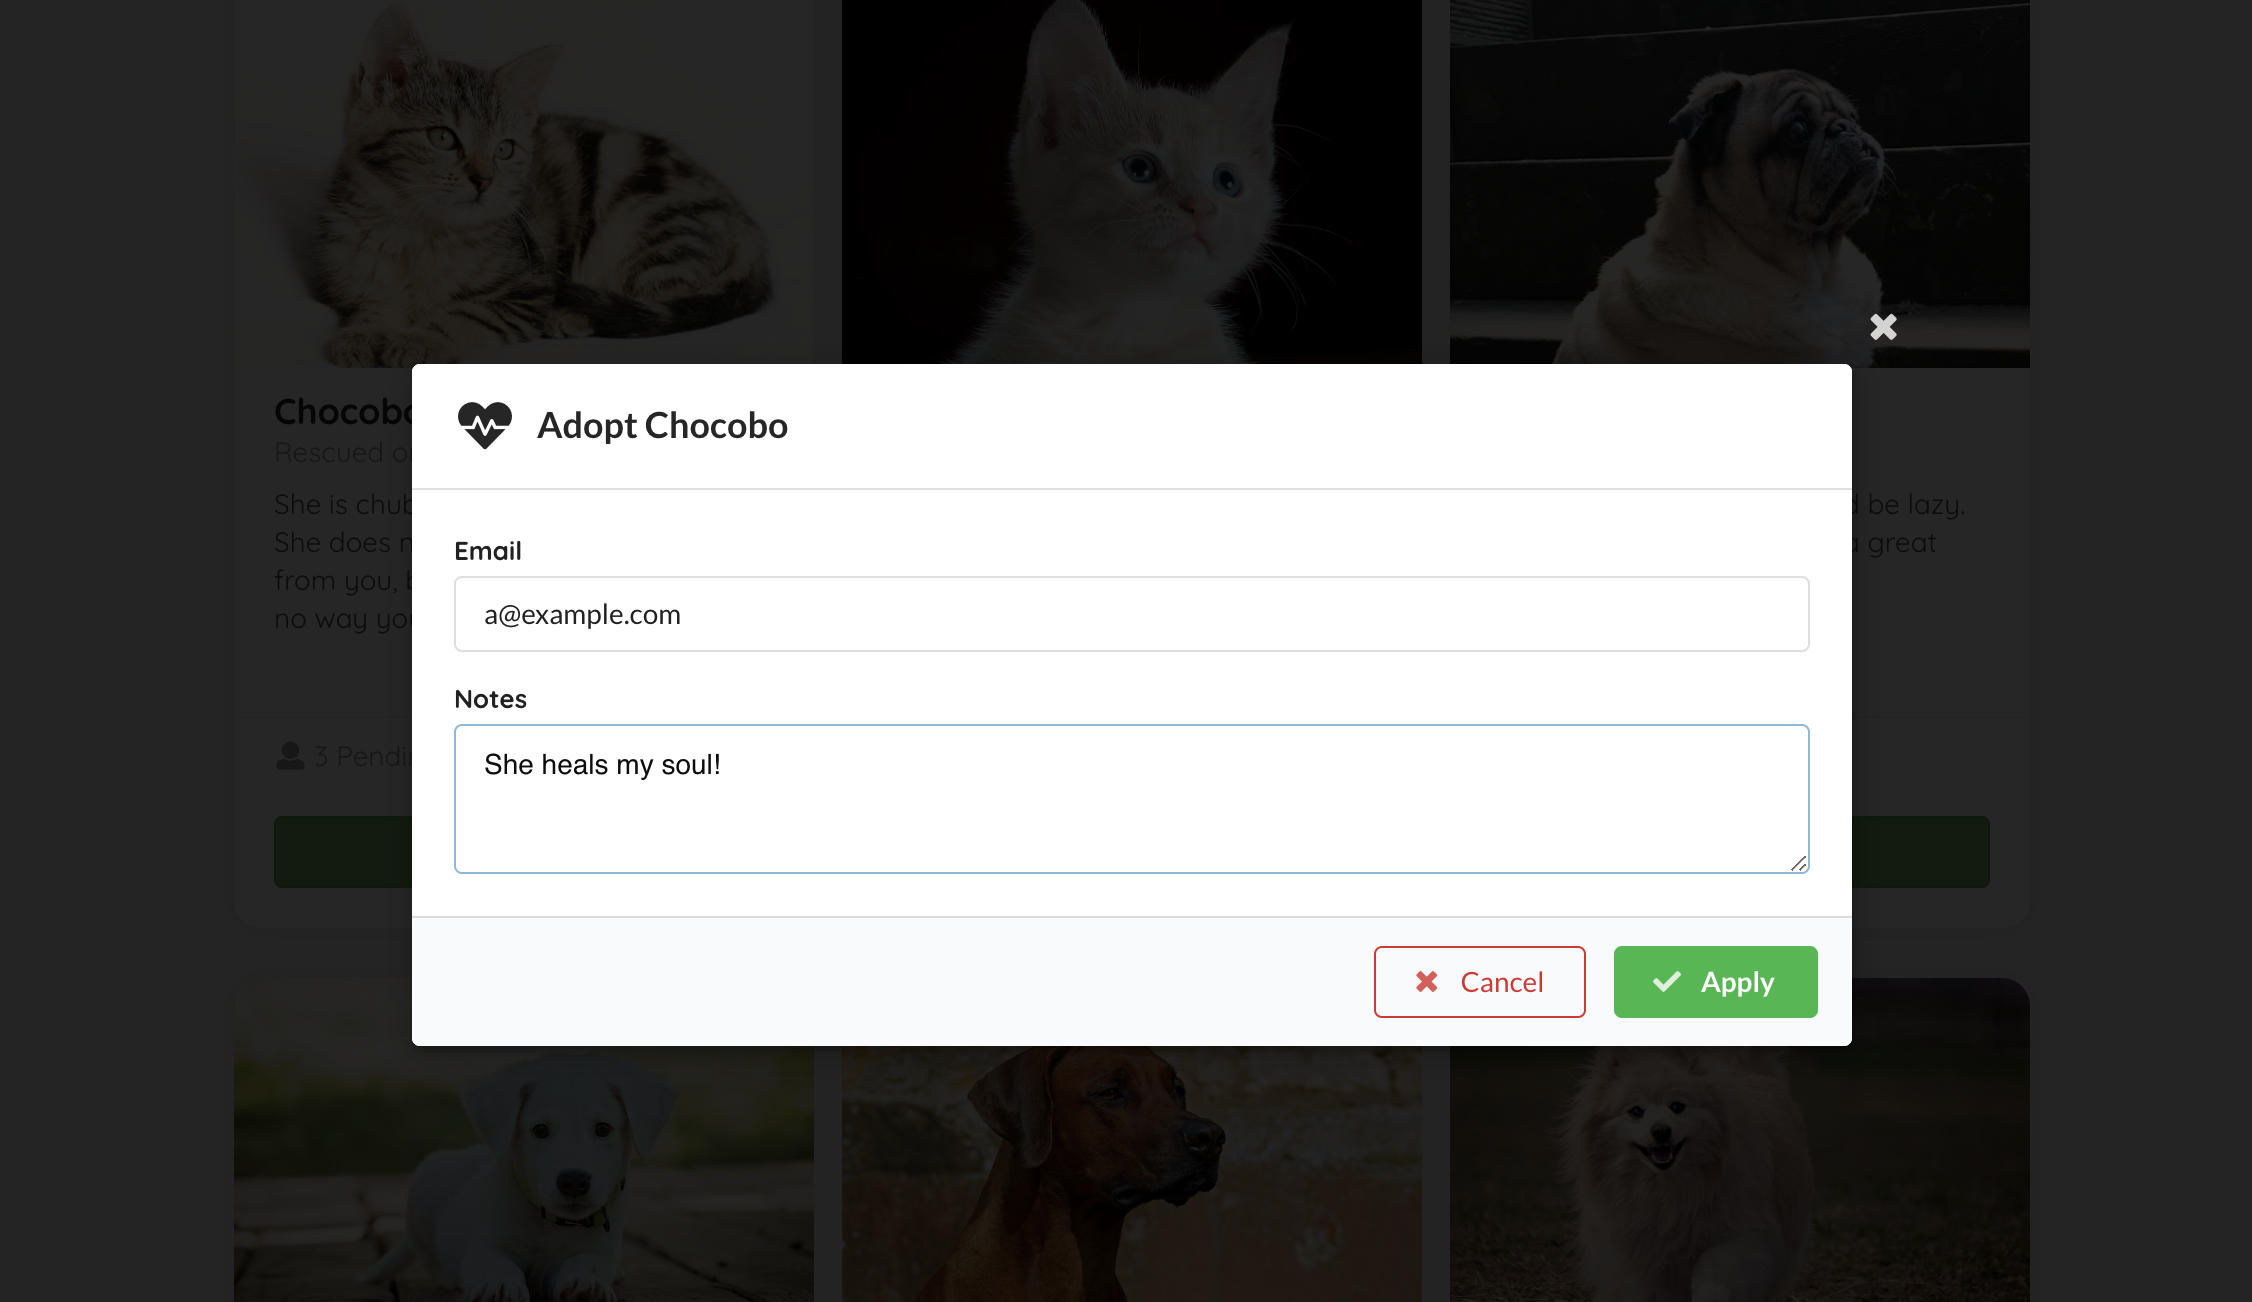
Click on the Adopt button, input your contact email and application notes in the model, then click Apply, a POST request should be sent to a sso-enabled backend endpoint /animals/{id}/adoption-requests, with the adopter set to your username we parsed from your token.

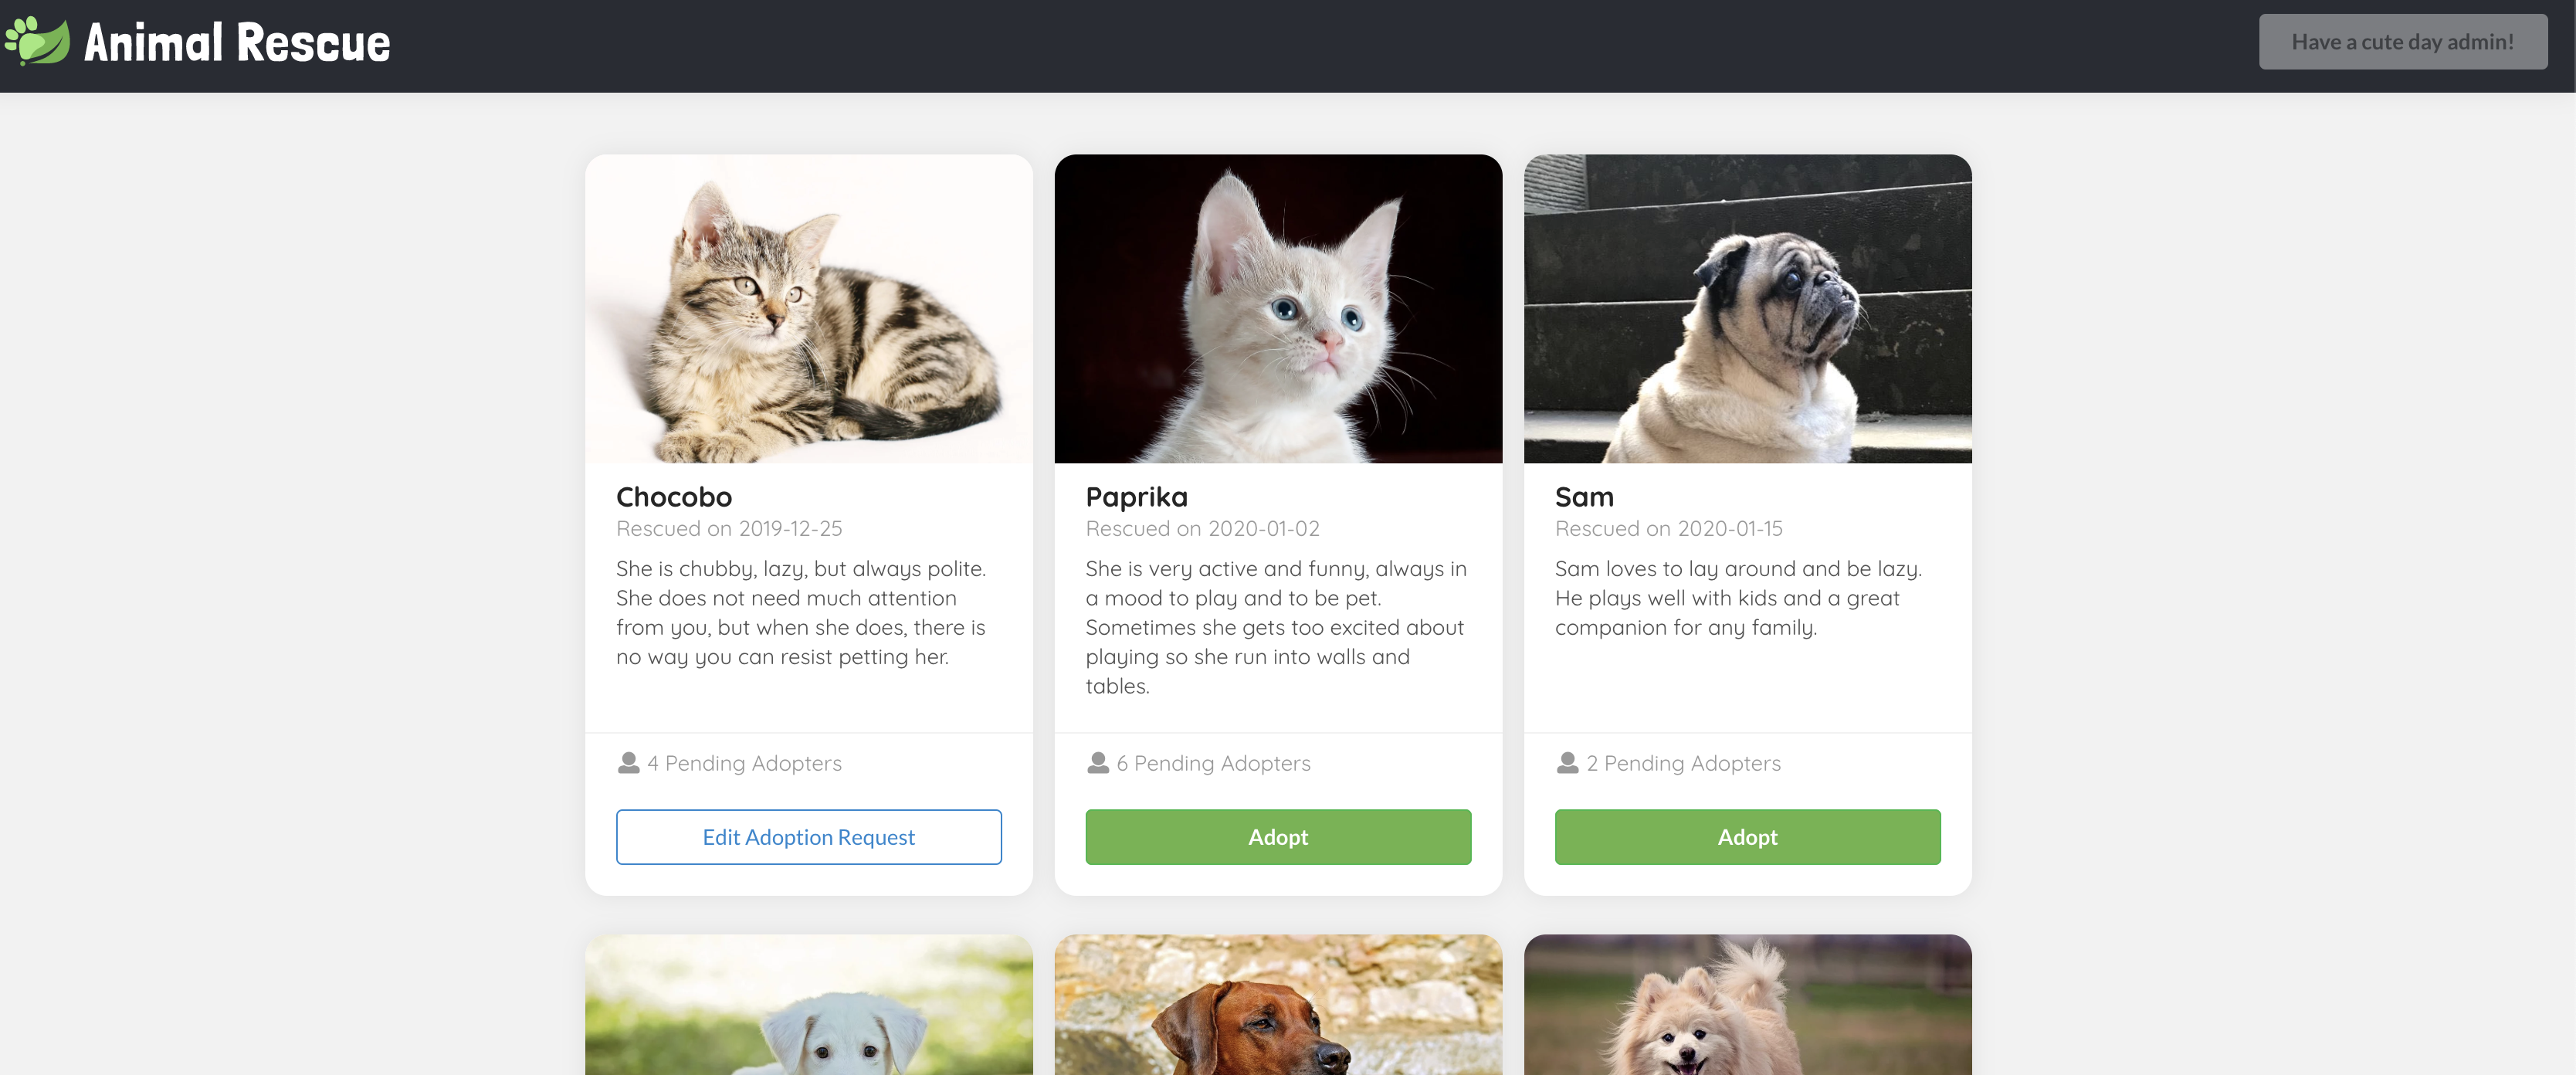
Then the model should close, and you should see the Adopt button you clicked just now has turned into Edit Adoption Request. This is matched by your SSO log in username.

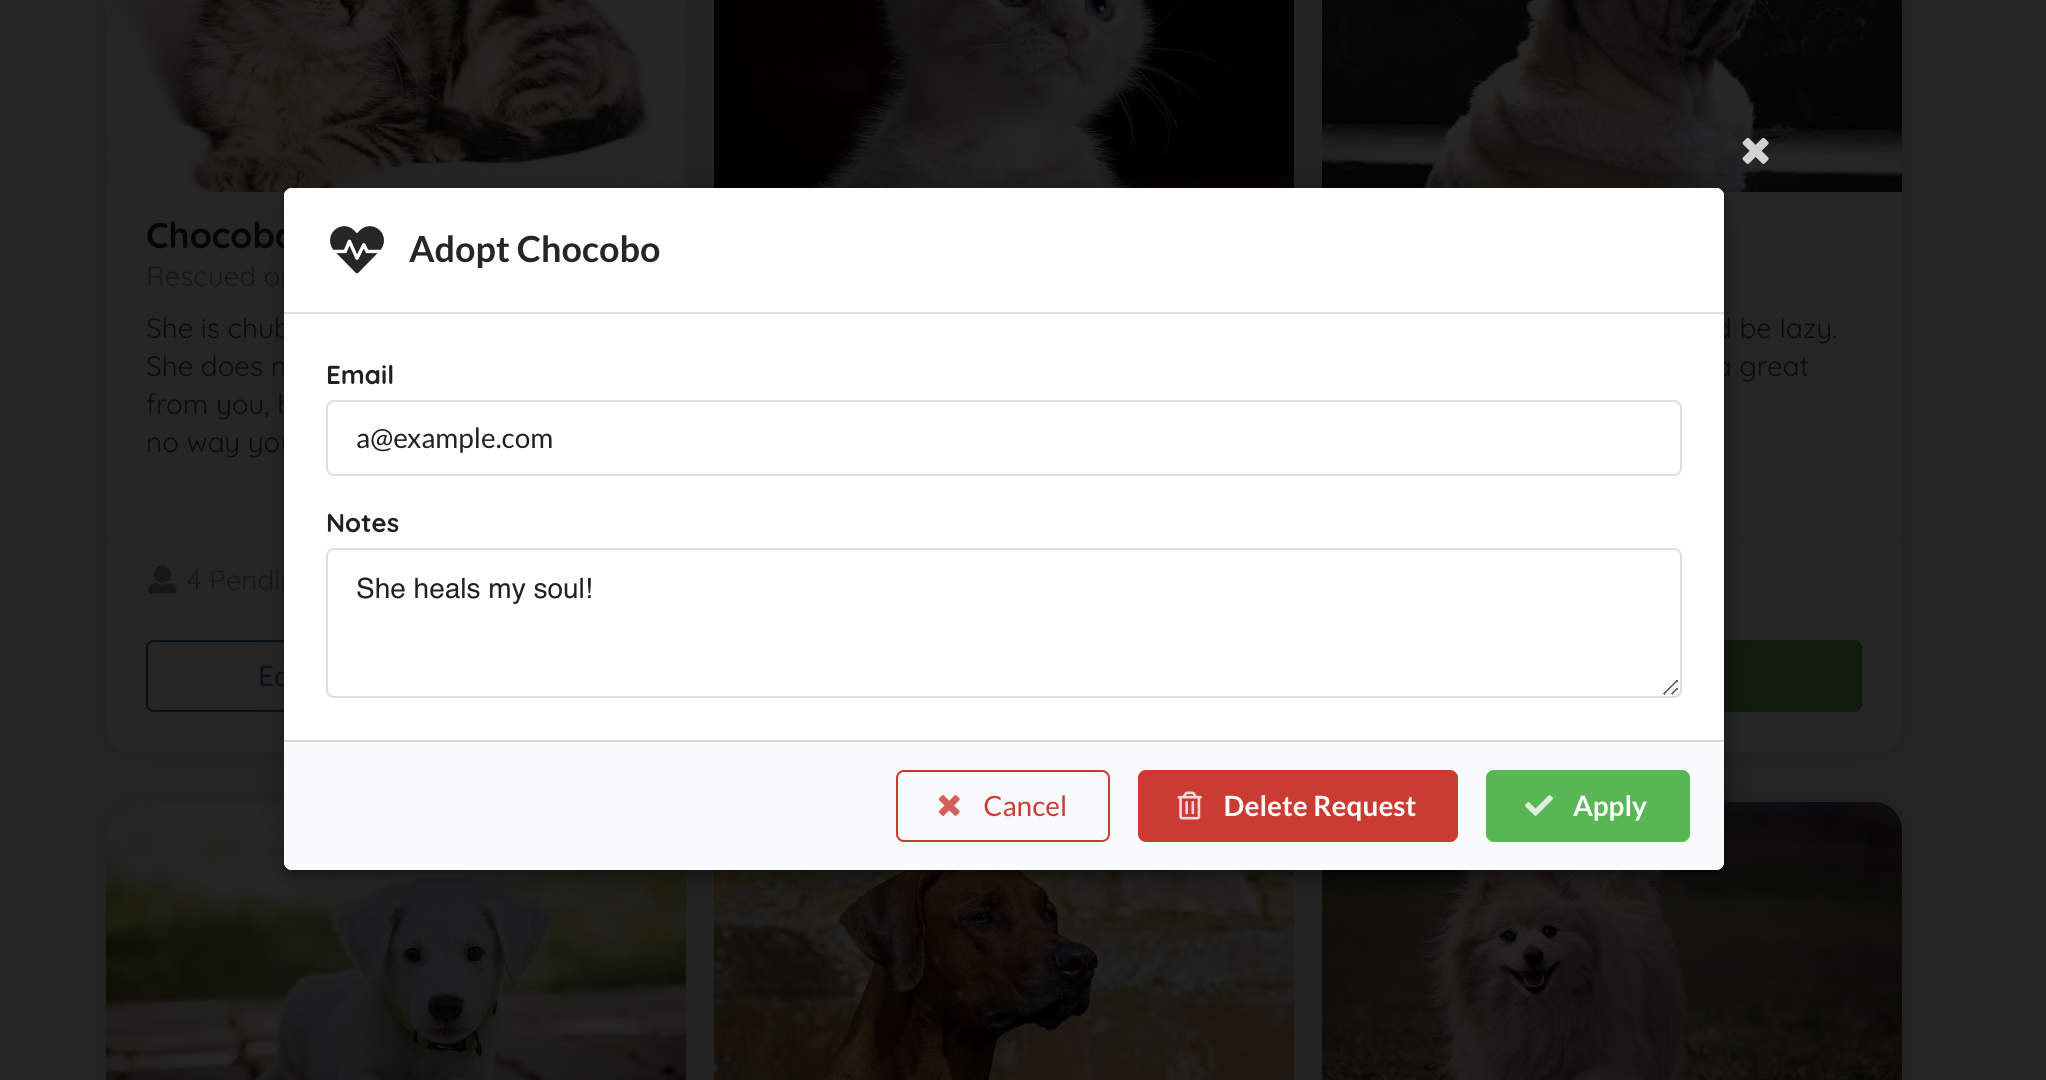
Click on the Edit Adoption Request again, you can view, edit (PUT), and delete (DELETE) the existing request.

Note Documentation may get out of date. Please refer to the e2e test and the test output video for the most accurate user flow description.
Backend uses Form login for local development with two test accounts - alice / test and bob / test.
It is also possible to use GitHub for OAuth2 login for the app. This requires setting properties
github.client-idandgithub.client-secreteither via properties file or the environment.
Execute the following script to run all tests:
./scripts/local.sh init          # install dependencies for the frontend folder and the e2e folder
./scripts/local.sh ci            # run backend tests and e2e tests
./scripts/local.sh backend       # run backend test only
./scripts/local.sh e2e --quiet   # run e2e test only without interactive mode
You can find an e2e test output video showing the whole journey in ./e2e/cypress/videos/ after the test run.
If you would like to launch the test in an actual browser and run e2e test interactively, you may run the following commands:
./scripts/local.sh start
./scripts/local.sh e2e
More detail about the e2e testing framework can be found at cypress api doc
GitHub Actions run all checks for the master branch and all PR requests. All workflow configuration can be found in .github/workflows.