efChat
Client Build
-
Install grunt and bower using
npm install -g grunt-cli bower -
Clone the repo to your local directory.
-
Run
npm installandbower installfrom the application root. -
Run
gruntorgrunt buildfor building -
Run
grunt serveto preview the app in a default browser.
Note: These instructions are only to get the frontend up and running. The server has to be built and run parallelly for the apis to work.
Implementation Overview
Let me start by listing all the controllers and services in the SPA and dive into the details later.
Controllers
HomeCtrl
- created only to access control outside the ng view scope - header, logout etc.
- makes use of
authenticateService.
MainCtrl
- contains all the landing page, authentication(login / register) implementation including validation.
- makes use of
authenticateService,Notificationservice
ChatRoomCtrl
- contains all the implementation within the chat room once the user is logged in successfully.
- Makes use of the
authenticateService,Notificationservice,messageService,websocketService.
Services
Notification - This is a library service provided by angular-ui-notification. This is used to show various warning, error, success notifications throughout the app to the user.
authenticateService - This is a service which holds methods to verify the username and password and also to logout a user.
messageService - This service is responsible for fetching all the registered users, sending a chat message and viewing the conversations with other users.
websocketService - This service is solely used to open a new websocket connection and listen to the events being sent from the server.
Implementation in detail
MainCtrl
- The root controller is MainCtrl, when the user launches the application he is redirected to the landing page where the user is asked to enter an username and password.
- The fields are validated and hence entering an empty value on either of these would notify the user.
- If the fields are valid, the username is username is stored in a
sessionStoragefor validating other data in the future. - Since the login and register implementation is very identical in terms of same paramters being passed, same response data being sent from the server, except the change of URL.
- Hence I created a single method in the service and passed a third parameter named 'action' passed from the button click, based on which the URLs of the request is changed inside the service.
- This way a potential identical duplicate service is not created.
- Then based on the response, the appropriate notification is shown to the user - conflict in the credentials, invalid credentials or on success redirected to the chatroom.
- Only on success, the response token from the server is stored in a
sessionStorageto be used later.
ChatRoomCtrl
- The ChatRoomCtrl has an
init()function to initialize few functions on the controller instantiation. - This init function first fetches the registered users from the servers to display on the UI.
- Before which to avoid showing the current user as part of the registered user list, the response data is spliced removing the current user.
- The response array is also converted to an array of objects and a new property 'status' is added to real time change it later.
- Using a $scope would not advisable as the users and their statuses are listed in a ng-repeat loop.
- After the registered users, the next service call is made to open a websocket connection.
- The implementation of the websocket is separated in the
websocketService, where the onmessage event is listening to the data being pushed from the server. - Created a callback on the onmessage event which delivers the response to the controller.
- If any data is pushed from the server, response is checked for the appropriate 'topic' and necessary updates are made to the UI.
- On UserOnline event, it iterates through each existing user list & updates the status for the user who came online.
- On New user event, a notification is shown with the new users name.
- On Message event ie, when a user sends or receives a chat message.
- If the message is sent from the current user, the chat window is updated by pushing the message onto the
chatMessagesarray. - If the message is from the current conversant then the chat window is updated by pushing the message onto the
chatMessagesarray. - If the message is someone else to the current user then a notification is shown mentioning who the sender was. The conversation can be later viewed from the 'Get previous conversations' option.
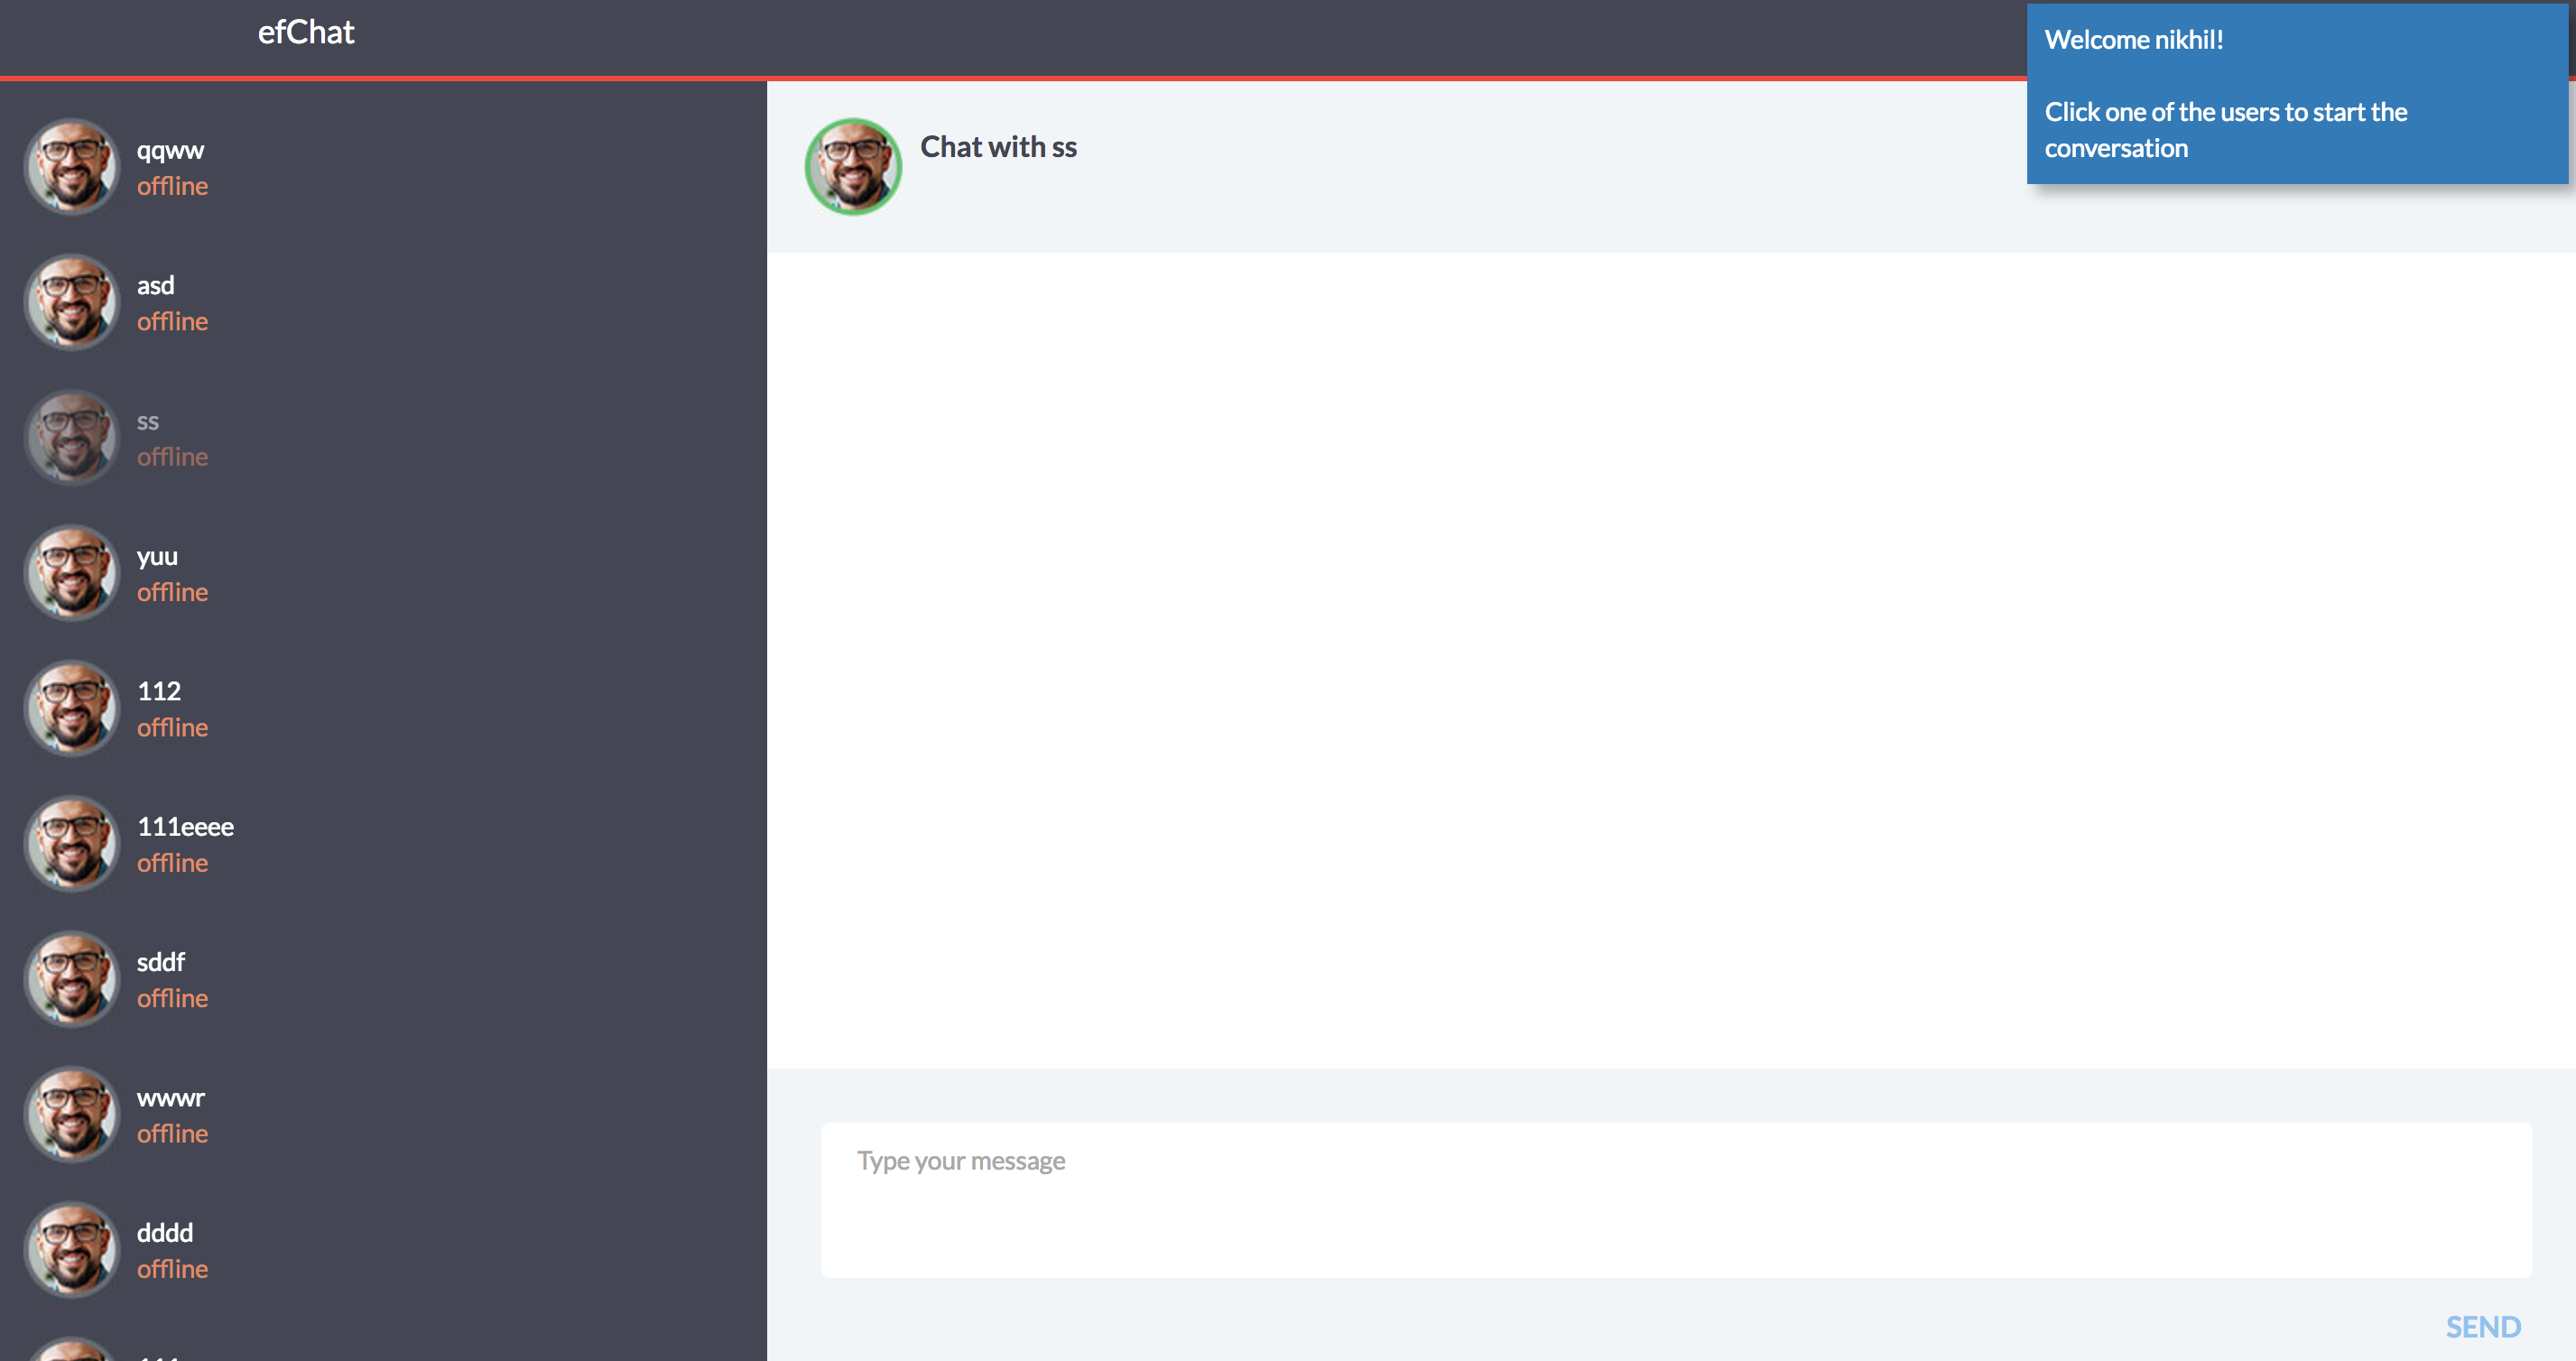
- Once the current user clicks on one of the registered users to start a conversation, only then the chat window is shown.
- The chat window for a user gets updated as they chat showing who the message is from.
- Also on successful sending of a message, a notification is shown that the message has been sent.
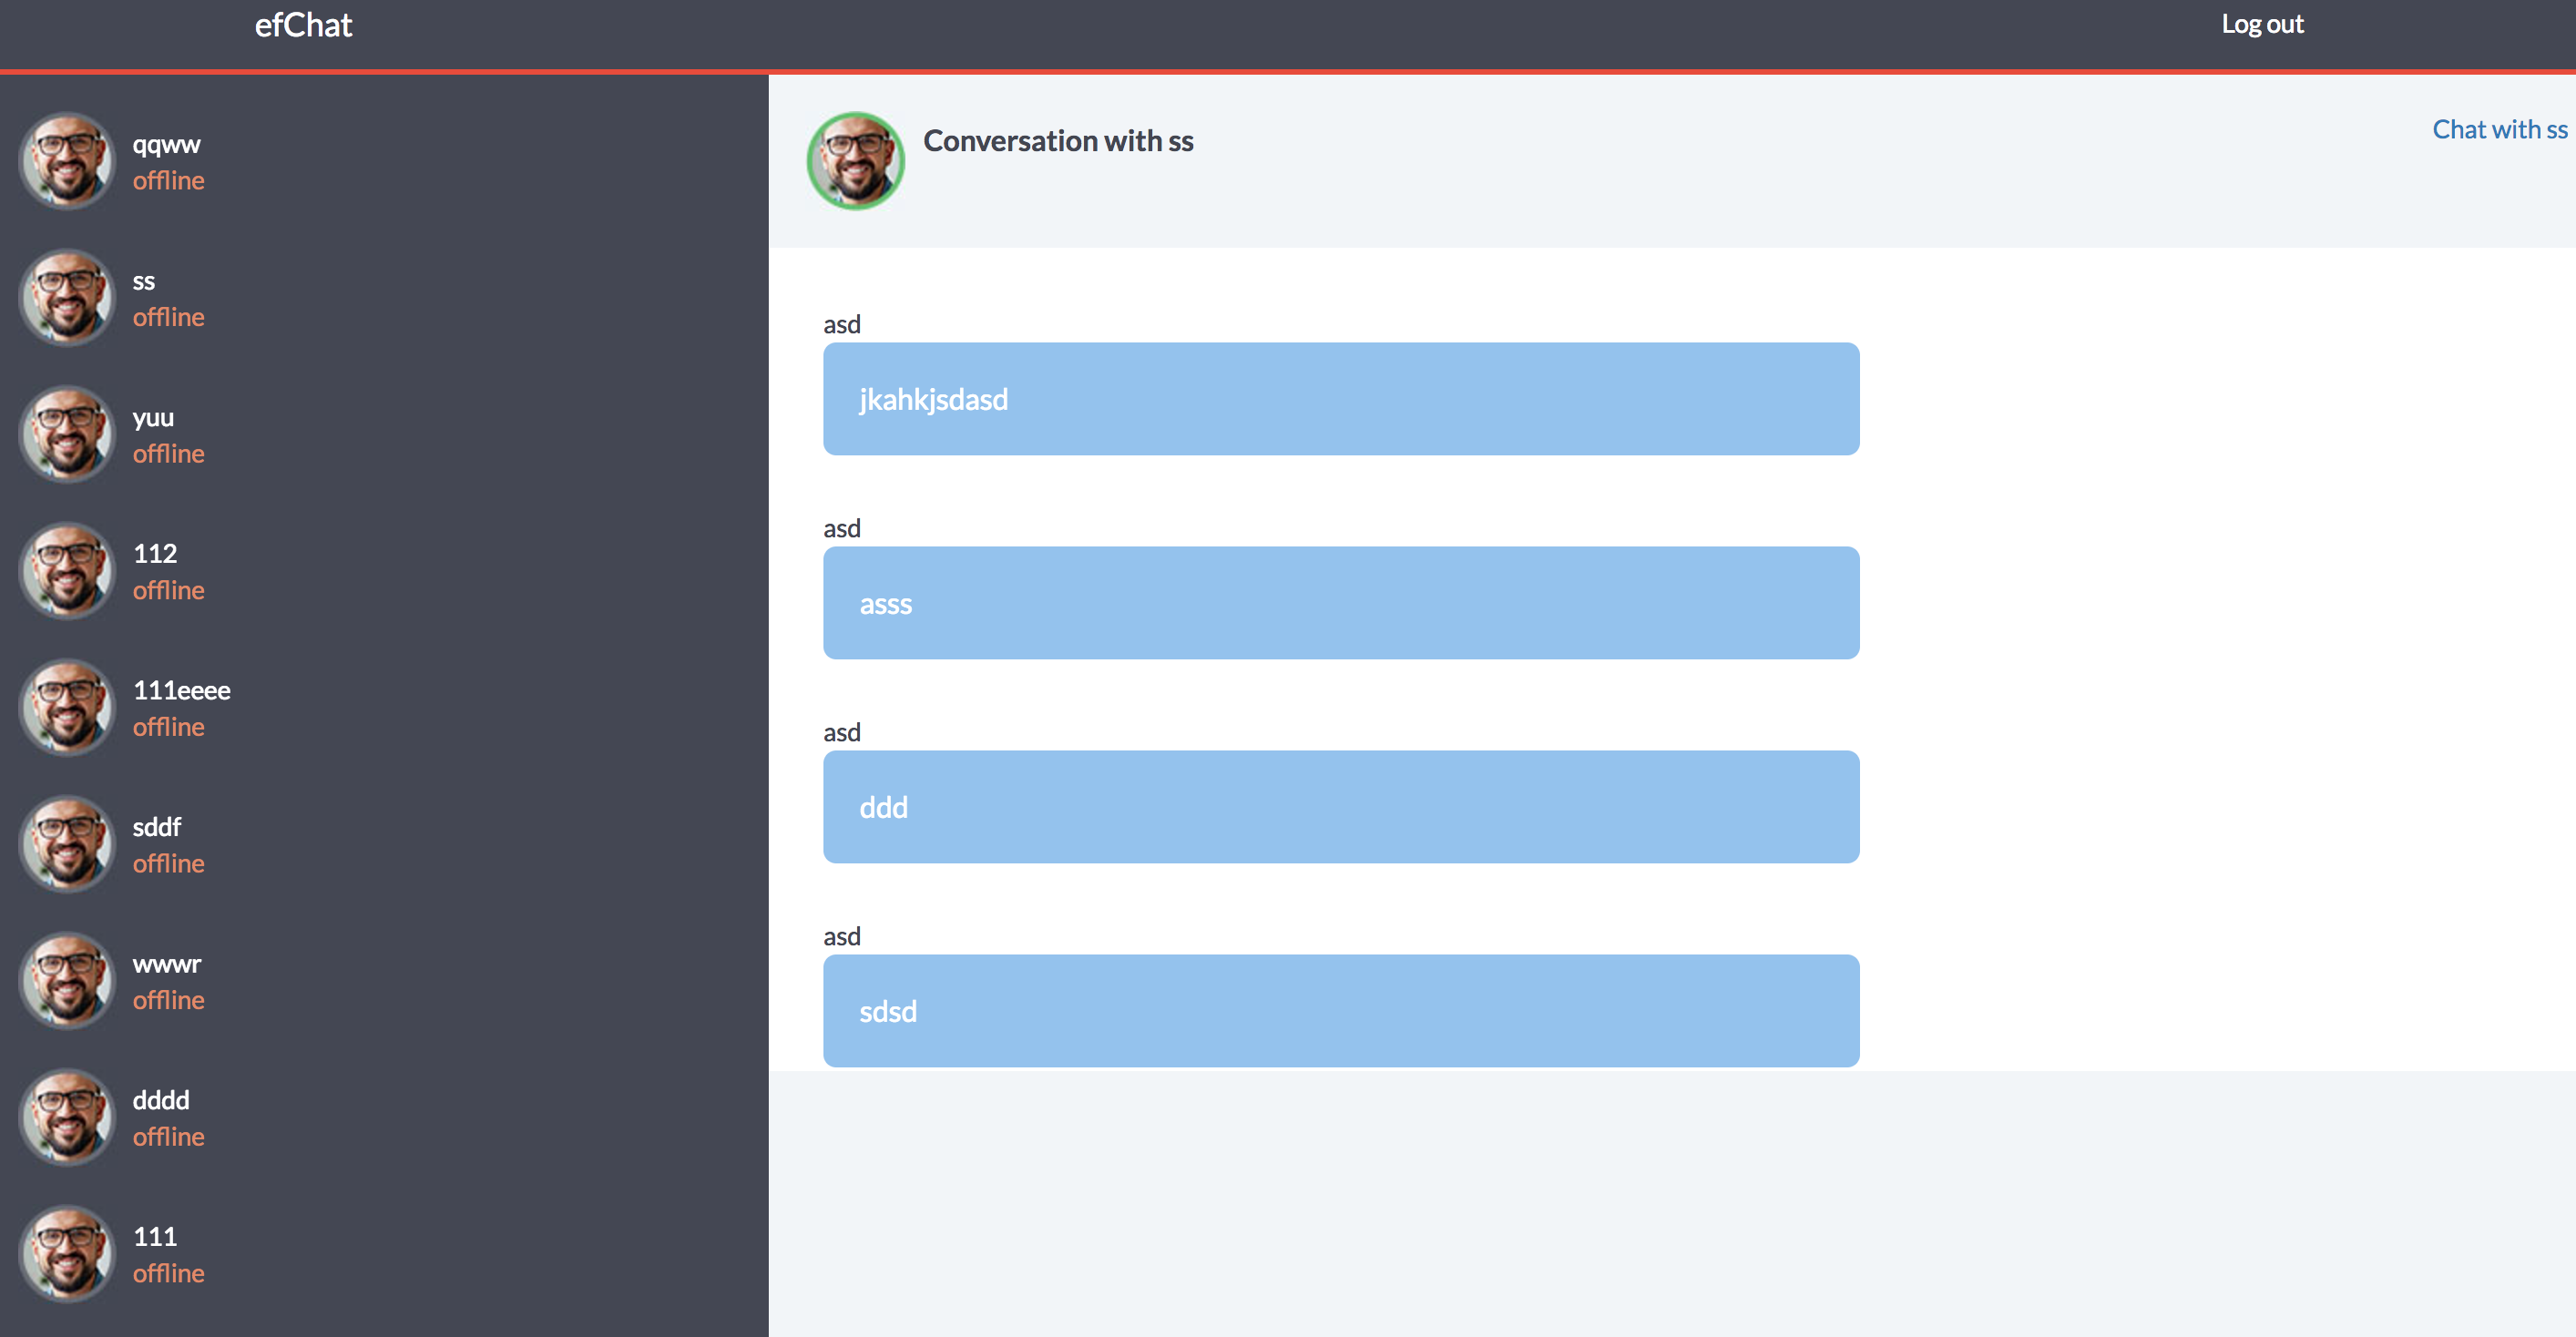
- When in chat mode, the current user can also 'Get all previous conversations' with that user.
- Clicking on this would clear the chat window of the messages and open a new chat window with previous conversations listed.
HomeCtrl
- HomeCtrl is in the parent scope of both MainCtrl and ChatRoomCtrl, it is used only to access control outside of the ng view scope.
- This is mainly done to have control on the elements outside ng view like the header which has logout functionality etc.
- Instead of creating a rootScope to maintain the above a parent controller is much cleaner and advisable.
- It contains a scope variable
loggedinto show/hide the logout button. - The logout function calls the
authenticateServicewhich takes a token as a parameter. - Once logged out, the
sessionStoragedata are cleared.
Testing
- Since the application makes use of Auth token, we need to generate it by authenticating.
- Running
grunt testwill run the unit tests with karma. - Or from inside the
/testdirectory and run thekarma startcommand.


