This repo has been merged and moved here
https://github.com/NimmLor/esp8266-fastled-iot-webserver
=========
This is a fork of jasoncoon's esp8266 fastled webserver that was adapted to control the colors of my Animated RGB Logos.
FastLED 3.2.7 & 3.2.8 DOES NOT WORK
esp8266 2.5.0 and above causes compilation errors
Arduino IDE 1.8.9 and above might cause Sketch-Data-Uploading Issues
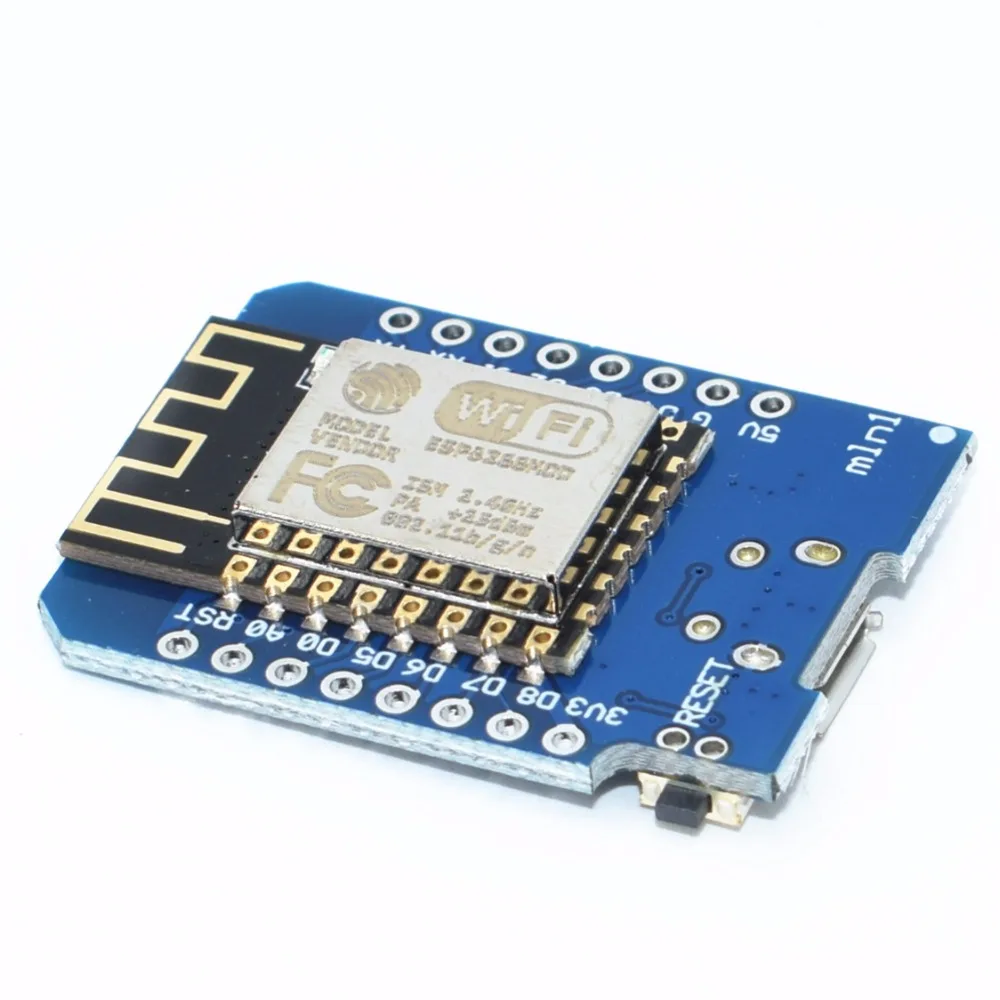
Wemos D1 mini is recommended, but any other ESP8266 variant should work too, but it might require an additional step-down converter and wouldn't fit the case.
I would recommend buying a strip with 60 leds/m or more.
WS2812b led strip, make sure you choose IP30 any other IP rating wouldn't make any sense and might not even fit.
24Bit WS2812 RGB LED Ring, make sure you choose the ring with 24 led pixel.
- Turn the Logo on and off
- Adjust the brightness
- Change the display pattern
- Adjust the color
- Activate pattern autoplay
- Node-RED integration
- Simple Amazon Alexa integration
- Voice control
The web app is stored in SPIFFS (on-board flash memory).
The app is installed via the Arduino IDE which can be downloaded here. The ESP8266 boards will need to be added to the Arduino IDE which is achieved as follows. Click File > Preferences and copy and paste the URL "http://arduino.esp8266.com/stable/package_esp8266com_index.json" into the Additional Boards Manager URLs field. Click OK. Click Tools > Boards: ... > Boards Manager. Find and click on ESP8266 (using the Search function may expedite this). Click on Install. After installation, click on Close and then select your ESP8266 board from the Tools > Board: ... menu.
The app depends on the following libraries. They must either be downloaded from GitHub and placed in the Arduino 'libraries' folder, or installed as described here by using the Arduino library manager.
Download the app code from GitHub using the Releases section on GitHub and download the ZIP file. Decompress the ZIP file in your Arduino sketch folder. Rename the folder from esp8266-logo-webserver-master to esp8266-logo-webserver
First enter the pin where the Data line is connected to, in my case it's pin D4 (GPIO02).
#define DATA_PIN D4
The LED_TYPE can be set to any FastLED compatible strip. Most common is the WS2812B strip.
If colors appear to be swapped you should change the color order. For me, red and green was swapped so i had to change the color order from RGB to GRB.
You should also set the milli-amps of your power supply to prevent power overloading. I am using the regular USB connection so i defined 1500mA.
#define MILLI_AMPS 1500
#define RANDOM_AUTOPLAY_PATTERN constant configures if the patterns in autoplay should be choosen at random, if you don't want this functionality just add '\' in the front.
Another important step is to create the Secrets.h file. Create a new tab (ctrl+shift+n) and name it Secrets.h, this file contains your WIFI credentials and it's structure must look like this:
// AP mode password
const char WiFiAPPSK[] = "WIFI_NAME_IF_IN_AP_MODE";

// Wi-Fi network to connect to (if not in AP mode)
char* ssid = "YOUR_WIFI_NAME";
char* password = "YOUR_WIFI_PASSWORD";Currently only the Twenty One Pilots is supported. I'm planning on releasing more logos soon.
To enable your logo uncomment just one line of the logos.
Afterwards head to the choosen logo in the LOGO CONFIG section. Set all values according to the comments in the code, don't comment out any lines.
New Logos will be released soon, you can request any "ring" logo in the comments, or direct message me on thingiverse, or on instagram.
Currently I'm thinking of building the following logos
- Avengers
- Apple
- Dell
- Burger King
- Thingiverse (probablys the next one)
- Trap Nation
I will prioritise logos that are suggested to me.
The web app needs to be uploaded to the ESP8266's SPIFFS. You can do this within the Arduino IDE after installing the Arduino ESP8266FS tool. An alternative would be to install the Visual Micro plugin for Visual Studio.
With ESP8266FS installed upload the web app using ESP8266 Sketch Data Upload command in the Arduino Tools menu.
Patterns are requested by the app from the ESP8266, so as new patterns are added, they're automatically listed in the app.
The web app is stored in SPIFFS (on-board flash memory).
The web app is a single page app that uses jQuery and Bootstrap. It has buttons for On/Off, a slider for brightness, a pattern selector, and a color picker (using jQuery MiniColors). Event handlers for the controls are wired up, so you don't have to click a 'Send' button after making changes. The brightness slider and the color picker use a delayed event handler, to prevent from flooding the ESP8266 web server with too many requests too quickly.
The only drawback to SPIFFS that I've found so far is uploading the files can be extremely slow, requiring several minutes, sometimes regardless of how large the files are. It can be so slow that I've been just developing the web app and debugging locally on my desktop (with a hard-coded IP for the ESP8266), before uploading to SPIFFS and testing on the ESP8266.
The web app files can be gzip compressed before uploading to SPIFFS by running the following command:
gzip -r data/
The ESP8266WebServer will automatically serve any .gz file. The file index.htm.gz will get served as index.htm, with the content-encoding header set to gzip, so the browser knows to decompress it. The ESP8266WebServer doesn't seem to like the Glyphicon fonts gzipped, though, so I decompress them with this command:
gunzip -r data/fonts/
The firmware implements basic RESTful web services using the ESP8266WebServer library. Current values are requested with HTTP GETs, and values are set with POSTs using query string parameters. It can run in connected or standalone access point modes.


