If above link won't work, take a look at this link.
Create enviroment, install packages, run examples
cd JustSmile
./get_started.sh
When configuring the environment, you need to confirm the installation. If ./get_started.sh doesn't work, try sudo bash ./get_started.sh instead. If you want and your environment is python3.7, you can also just install the required packages.
pip install -r requirements.txt #-i https://pypi.tuna.tsinghua.edu.cn/simple
You can change the mirror of pip with -i .
The code was not tested in other python versions, and it should work in python 3.6+.
Image size should not exceed 1M, or you can't use the face API provided by Azure. Two examples are listed below.
cd code
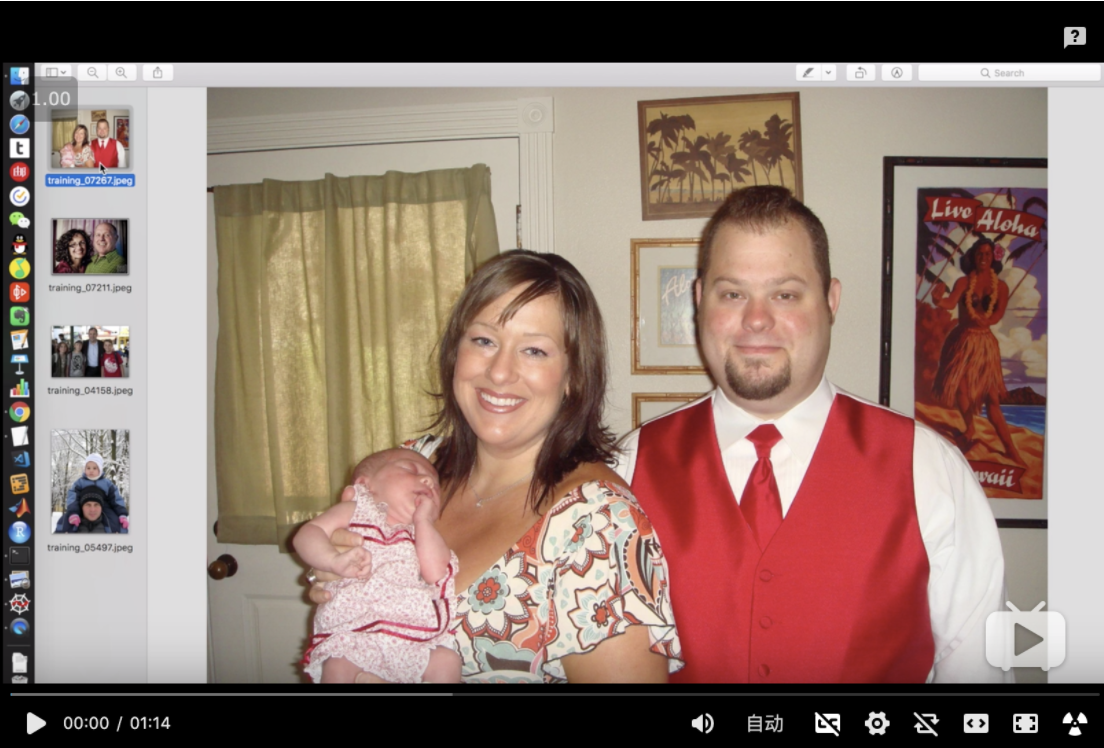
python args_just_smile_manual.py --type 1 --input_image_path "../test_images/p4/training_07267.jpeg" --mouth_alpha 0.8
python args_just_smile_auto_v1.py --type 2 --input_image_path "../test_images/p3/training_04158.jpeg" --mouth_alpha 0.75 --eye_alpha 0.9
| Options | Description |
|---|---|
| --input_image_path | The path of your input image |
| --type | When type=1, only change mouth. When type=2, change both mouth and eyes. |
| --mouth_alpha | Positive float number. The bigger the mouth_alpha is, the more obvious the smile is. Recommend maximum is 1.25. |
| --eye_alpha | Positive float number. The bigger the eye_alpha is, the eyes will be more like cresent shape. Recommend maximum is 1.20. |
Mouth vs Alpha

Eyes vs Alpha

args_just_smile_manual.py allow you to choose the face you want and make it smile. In the pop-up image window, press and drag the left mouse button to select a face. Then press the Enter button twice to confirm your choice.
args_just_smile_auto_v1.py is an automatic approach which use Azure Face API to get the neutral faces and do facial expression transformation.
All outputs will be in a subfolder of the outputs folder. The name of the subfolder consists of the input image name, the value of the type parameter, and the timestamp. In the subfolder, log.txt file holds the information of the processed image, input.xxx is the unprocessed image, and output.xxx is the processed image.
All test images are obtained from Social Relation Dataset.
Input images are on the left, output images are on the right. And there won't be any yellow circle in the output images.


Q: Azure API doesn't work. Something wrong with the key.
A: If the Azure Face API won't work for auto approach, click the link below. https://azure.microsoft.com/en-us/try/cognitive-services/my-apis/?api=face-api
- Create an account.
- Open
FaceSDKCopy.py, change theKEYandBASE_URL. - Don't close the website (the above one) which you login.
- Run the program.
- Octemull
- Jiang
- Zhou
- Xiang