Spark and Scala Installation for Supervised Learning and TensorFlow Installation for Deep Learning on Jupyter Notebook
The repository helps to install Spark, Scala and TensorFlow on Jupyter notebook in Ubuntu 18.04
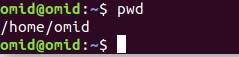
$ pwd
/home/omid/
sudo apt-get update
sudo apt-get -y install python3-pip
1. pip3 install virtualenv
Create virtual environment (e.g venv folder) in the current directory
2. virtualenv -p python3.6 venv
4. source venv/bin/activate

6. pip3 install jupyter notebook
Check Java with the java --version command. If it is not installed, install it with the following command:
$ java --version
7. sudo apt-get install openjdk-11-jdk
8. pip3 install pyspark
- Append the following lines to end of ~/.bashrc file
export SPARK_HOME=<venv_directoty>/venv/lib/python3.6/site-packages/pyspark/
export PYSPARK_DRIVER_PYTHON=jupyter
export PYSPARK_DRIVER_PYTHON_OPTS='notebook'
In the first line above, please put the name of your directory instead of <venv_directoty>, where you have already created your venv folder inside it. For example, my venv_directory is /home/omid which I have used to create my virtual environment inside it.
export SPARK_HOME=/home/omid/venv/lib/python3.6/site-packages/pyspark/
export PYSPARK_DRIVER_PYTHON=jupyter
export PYSPARK_DRIVER_PYTHON_OPTS='notebook'
10. source ~/.bashrc
12. pip3 install spylon-kernel
13. python3.6 -m spylon_kernel install --user
14. pyspark
or
$ jupyter notebook
After a few seconds, Jupyter will launch in your browser.
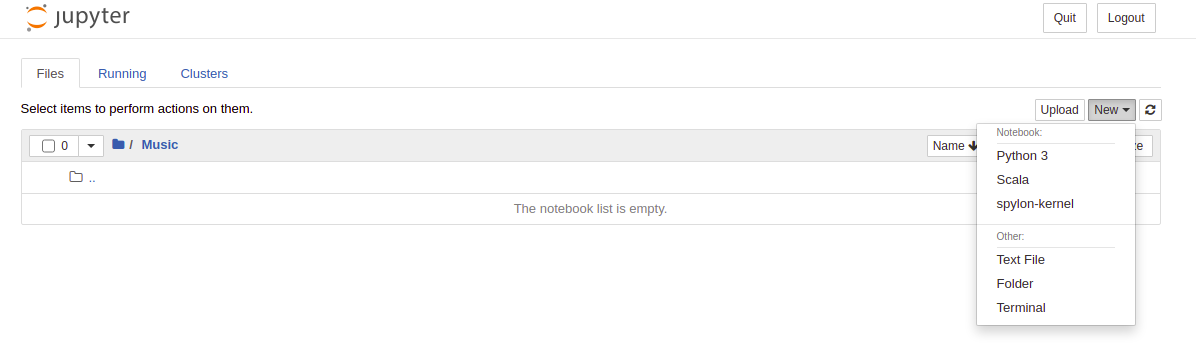
- create a new notebook on the and select the spylon-kernel
Please give an star if it works well for you ;))
Enjoy it!!!
If you want to change the default configuration of your Jupyter notebook, insert the below command to create configuration file.
$ jupyter notebook --generate-config

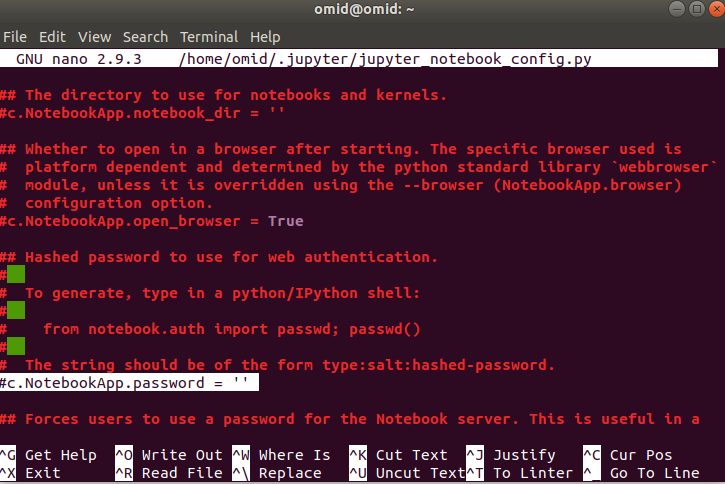
As It's shown, configuration file was created in /home/<user_name>/.jupyter/jupyter_notebook_config.py .
Example: for me is /home/omid/.jupyter/jupyter_notebook_config.py . Now it can be edited if you want to change some default configuration:
$ nano /home/omid/.jupyter/jupyter_notebook_config.py
If you haven't already created a virtual environment and installed a Jupyter notebook, do so now by following the 6 steps in the previous section and then following the instructions below:
Install latest stable release with CPU and CPU support
pip3 install --upgrade tensorflow
For more information: https://www.tensorflow.org/install/pip
After that, you can use Python 3 to program Deep Learning.