Note: This branch contains all the restoration results, including 512×512 face region and the final result by putting the enhanced face to the origial input. The former version that can only generate the face result is put in master branch
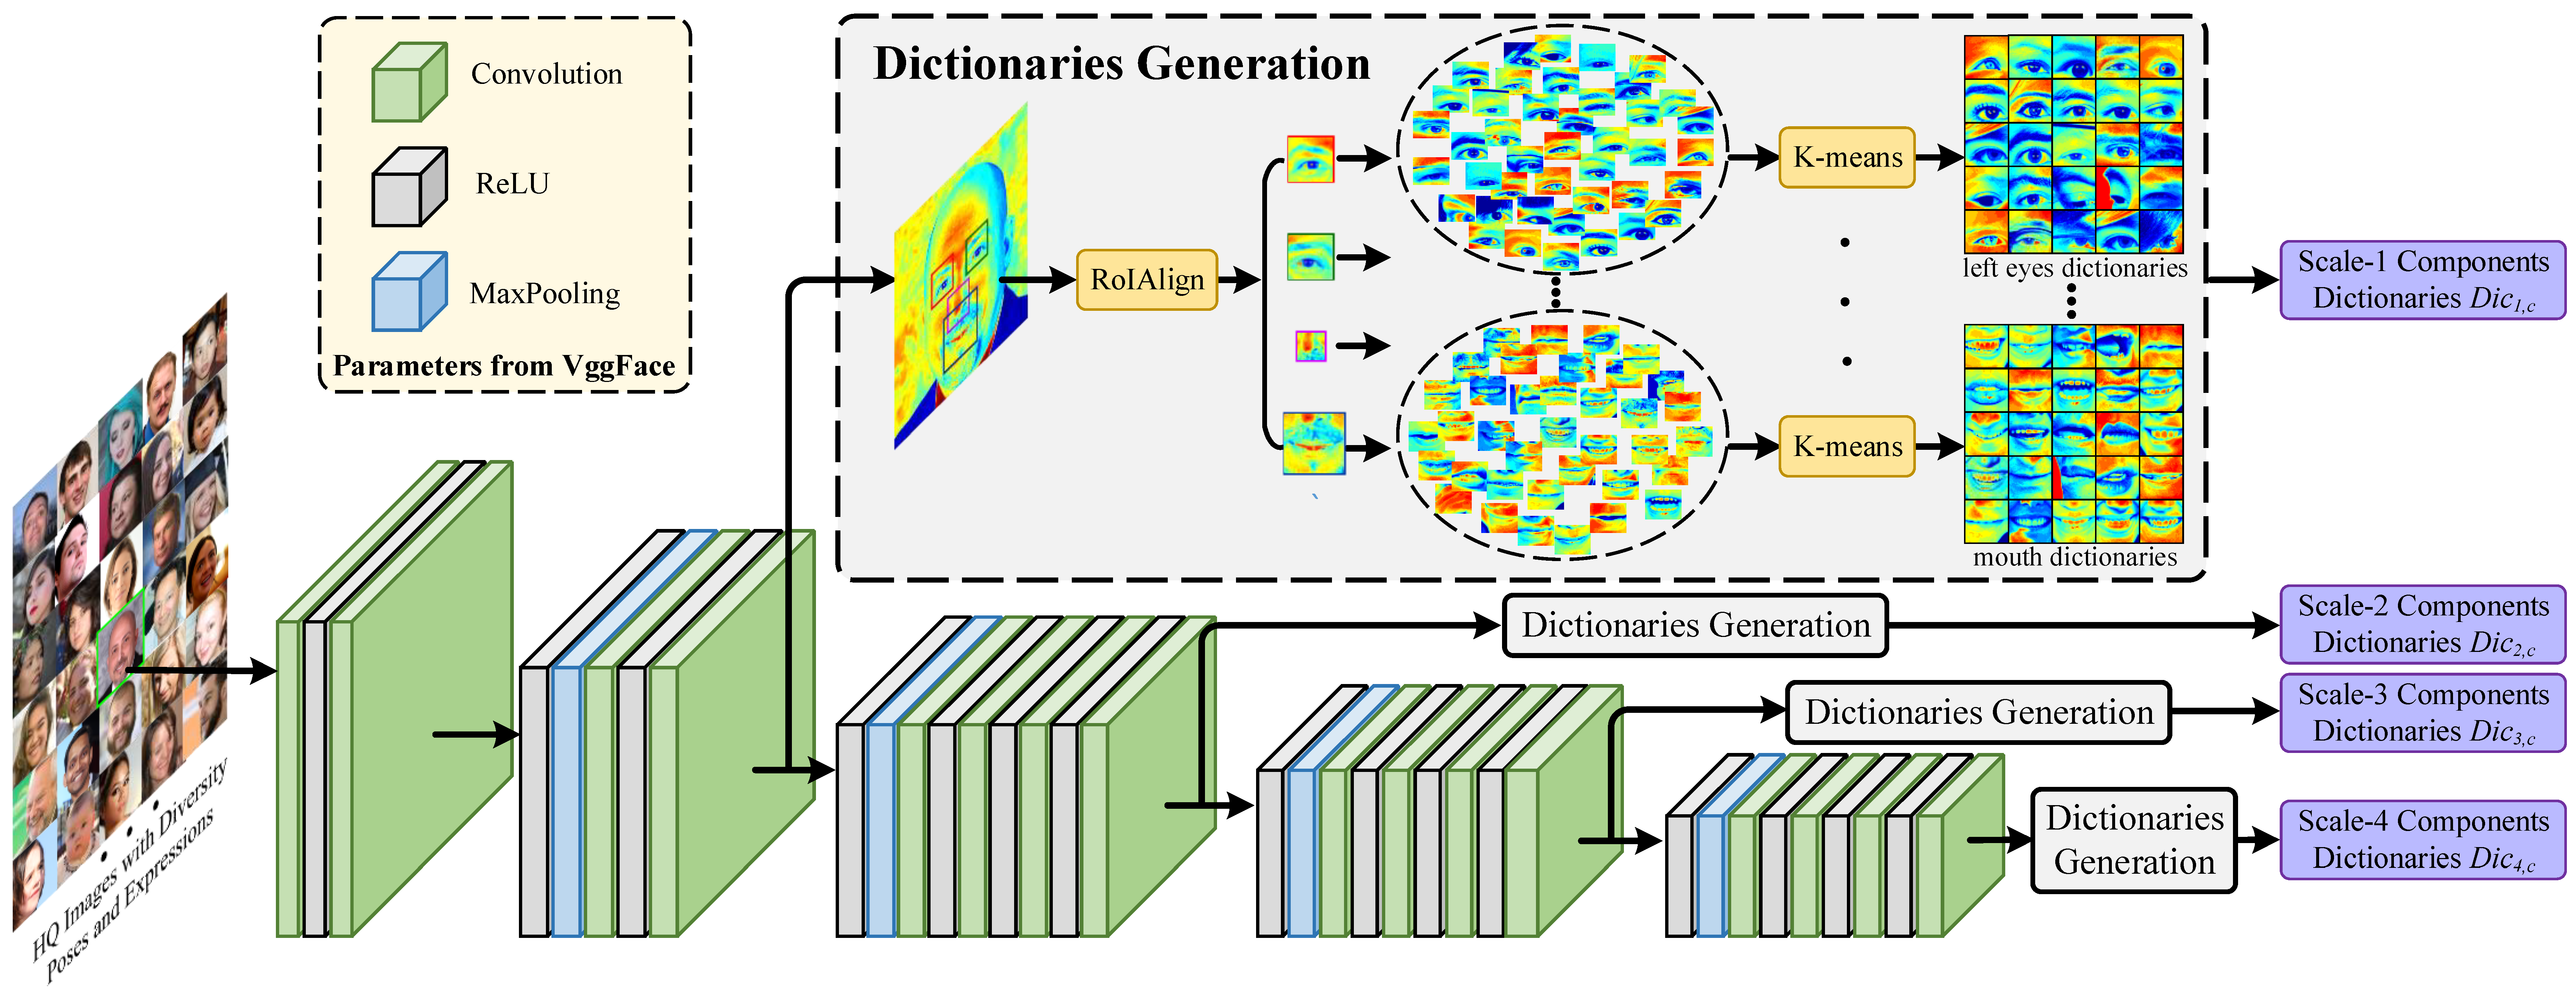
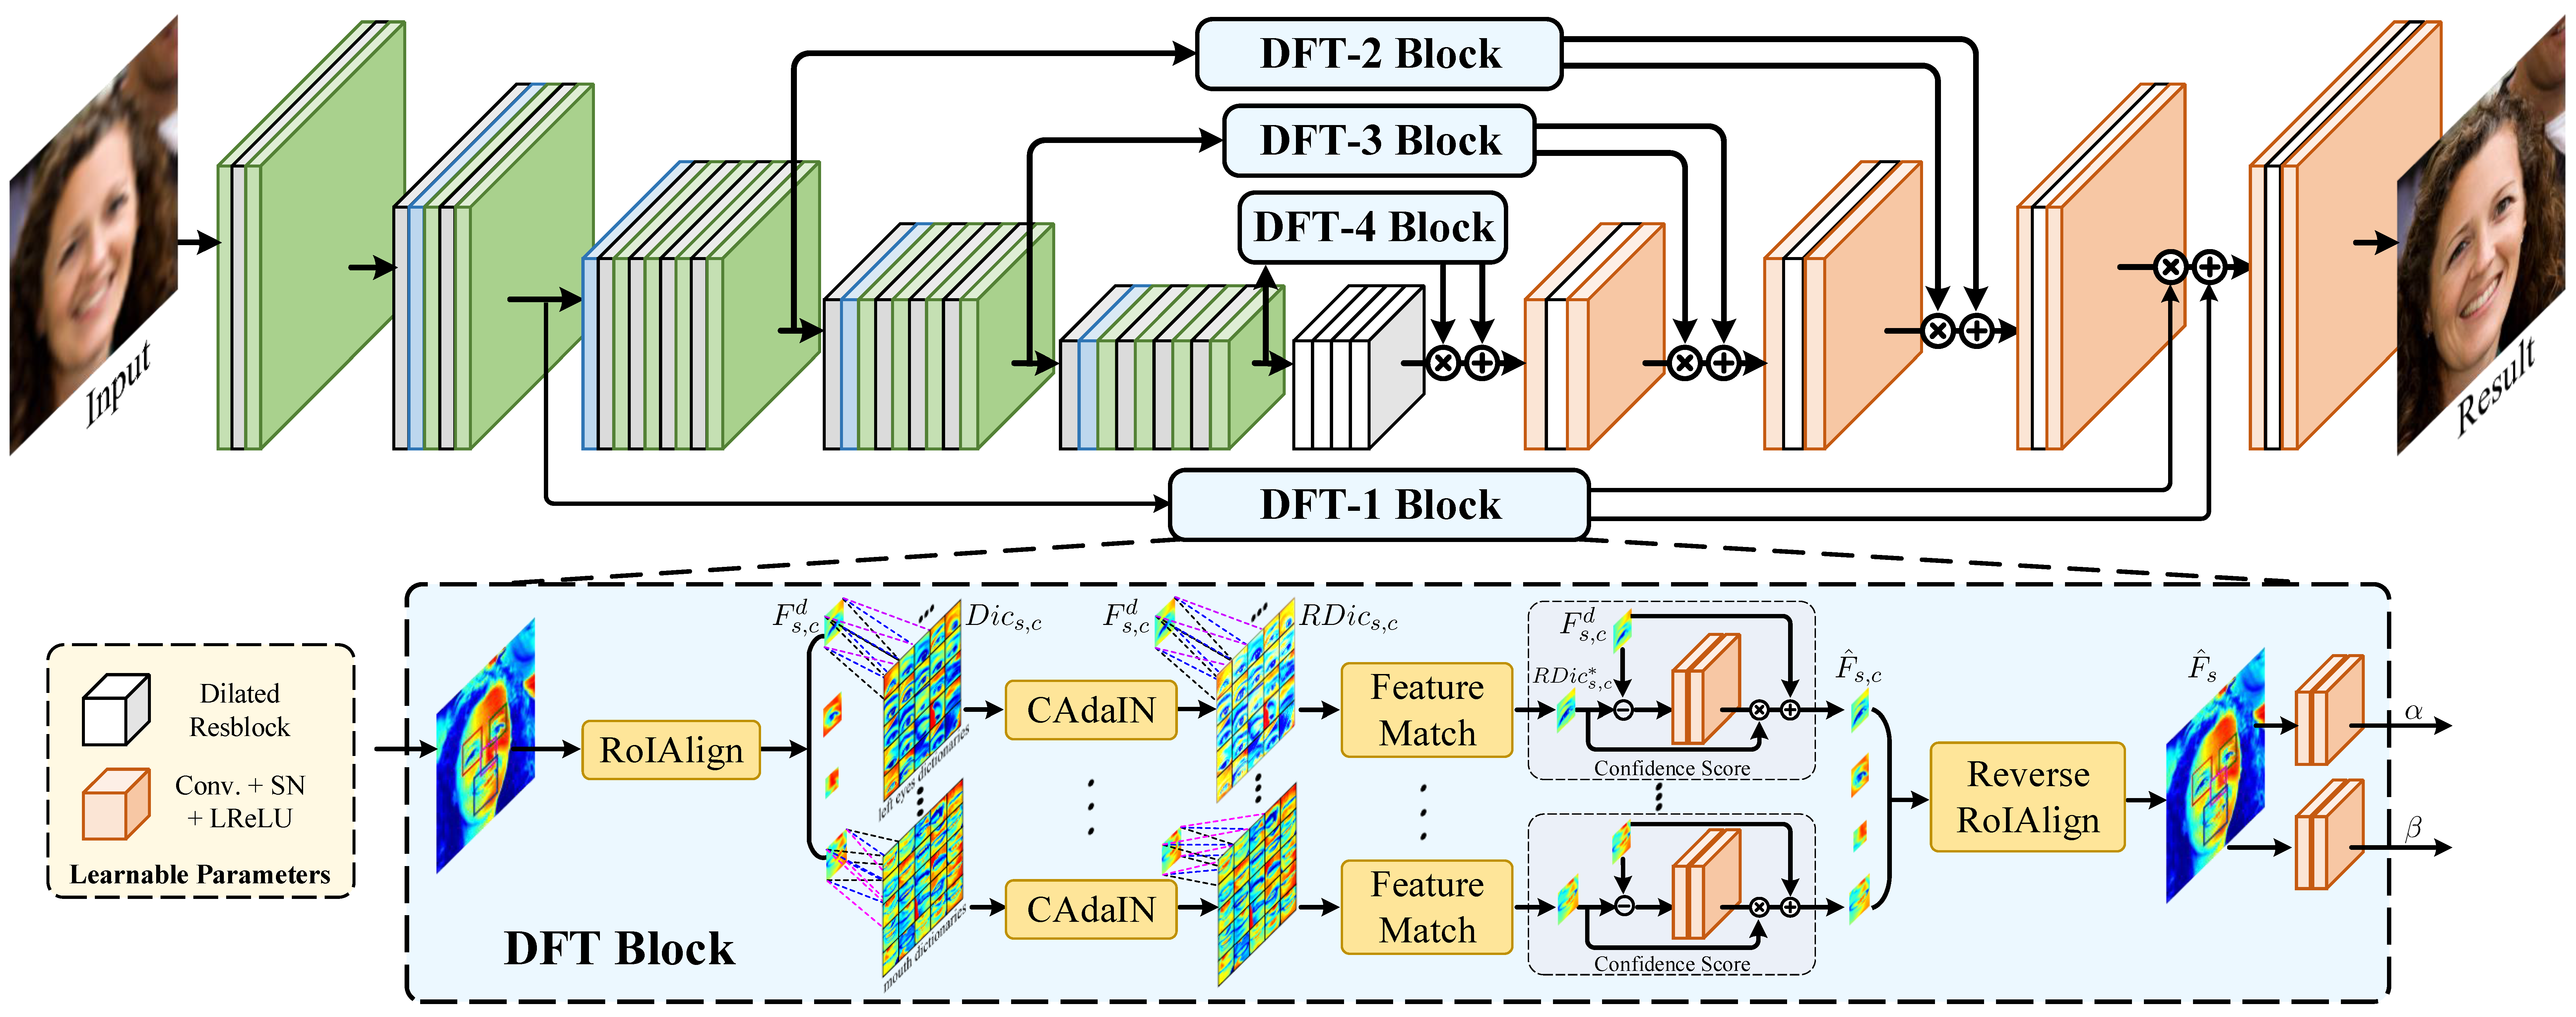
Overview of our proposed method. It mainly contains two parts: (a) the off-line generation of multi-scale component dictionaries from large amounts of high-quality images, which have diverse poses and expressions. K-means is adopted to generate K clusters for each component (i.e., left/right eyes, nose and mouth) on different feature scales. (b) The restoration process and dictionary feature transfer (DFT) block that are utilized to provide the reference details in a progressive manner. Here, DFT-i block takes the Scale-i component dictionaries for reference in the same feature level.
(a) Offline generation of multi-scale component dictionaries.
(b) Architecture of our DFDNet for dictionary feature transfer.
Downloading from the following url and put them into ./.
- BaiduNetDisk (s9ht)
- GoogleDrive
The folder structure should be:
.
├── checkpoints
│   ├── facefh_dictionary
│   │   └── latest_net_G.pth
├── weights
│   └── vgg19.pth
├── DictionaryCenter512
│   ├── right_eye_256_center.npy
│   ├── right_eye_128_center.npy
│   ├── right_eye_64_center.npy
│   ├── right_eye_32_center.npy
│   └── ...
└── ...
(Video Installation Tutorial. Thanks for bycloudump's tremendous help.)
- Pytorch (≥1.1 is recommended)
- dlib
- face-alignment
cd ./FaceLandmarkDetection
python setup.py install
cd ..
python test_FaceDict.py --test_path ./TestData/TestWhole --results_dir ./Results/TestWholeResults --upscale_factor 4 --gpu_ids 0 --test_path # test image path
--results_dir # save the results path
--upscale_factor # the upsample factor for the final result
--gpu_ids # gpu id. if use cpu, set gpu_ids=-1
Note: our DFDNet can only generate 512×512 face result for any given face image.
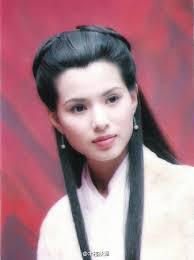
- Step0_Input:
# Save the input image. - Step1_AffineParam:
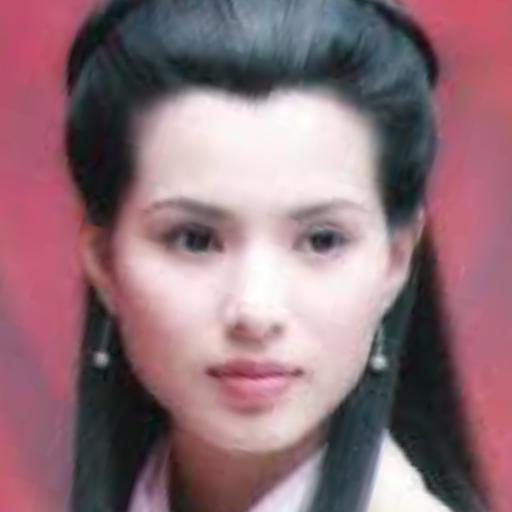
# Save the crop and align parameters for copying the face result to the original input. - Step1_CropImg:
# Save the cropped face images and resize them to 512×512. - Step2_Landmarks:
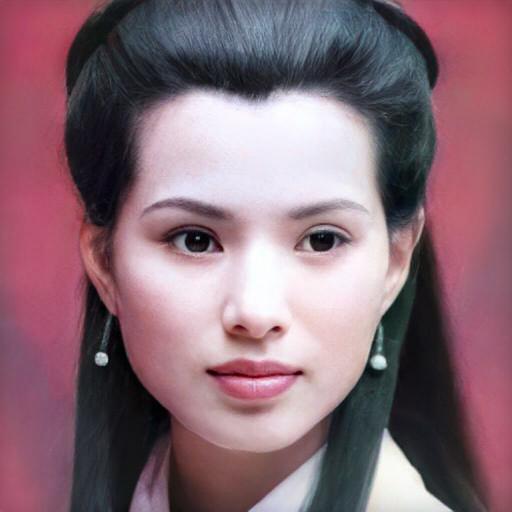
# Save the facial landmarks for RoIAlign. - Step3_RestoreCropFace:
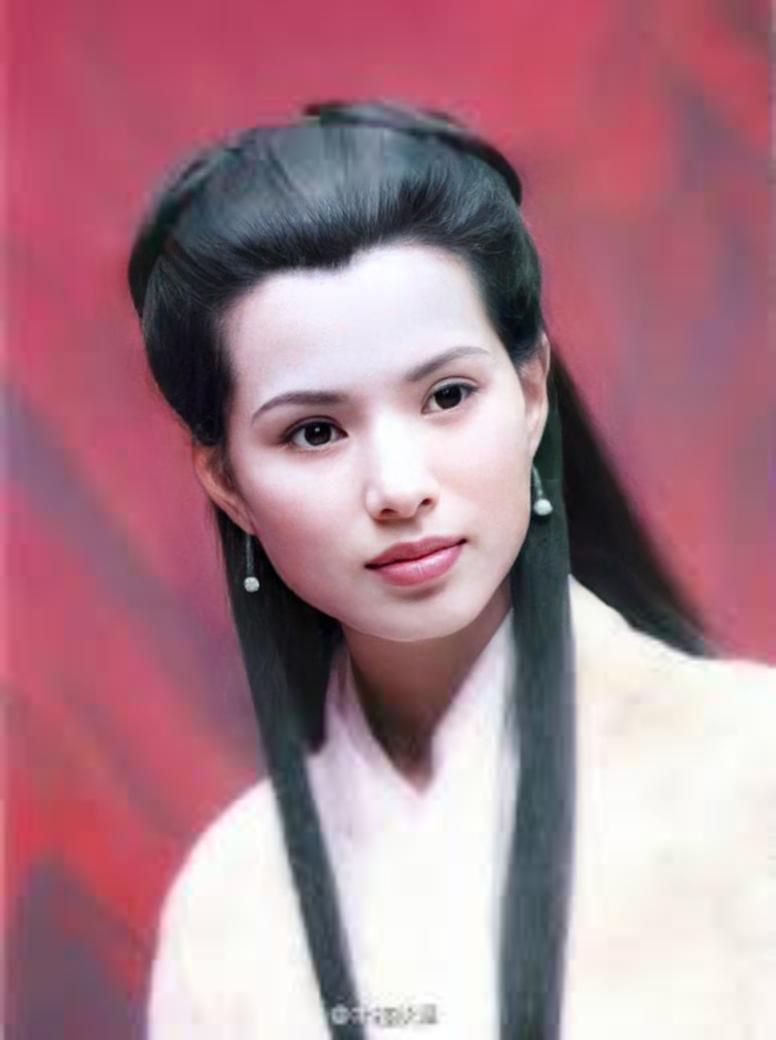
# Save the face restoration result (512×512). - Step4_FinalResults:
# Save the final restoration result by putting the enhanced face to the original input.
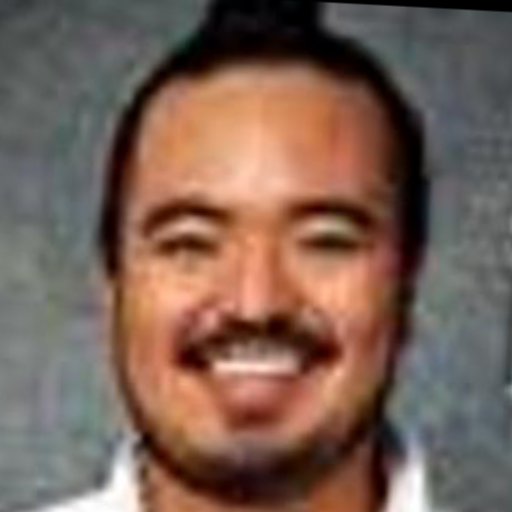
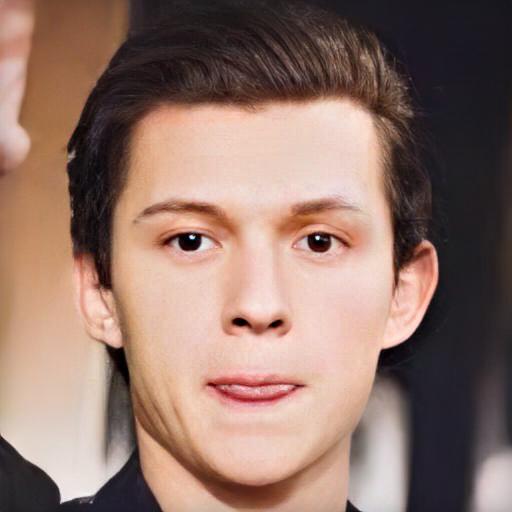
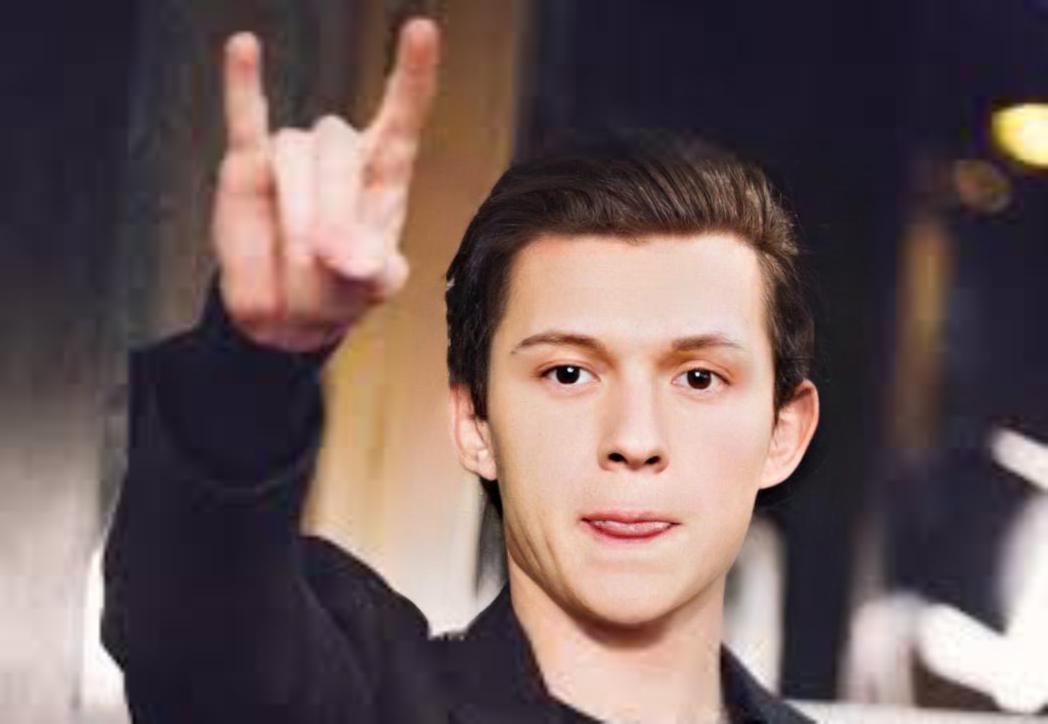
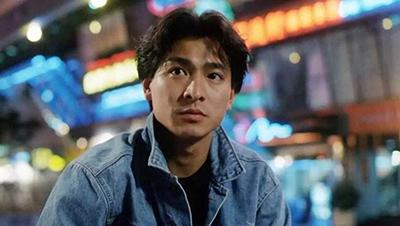
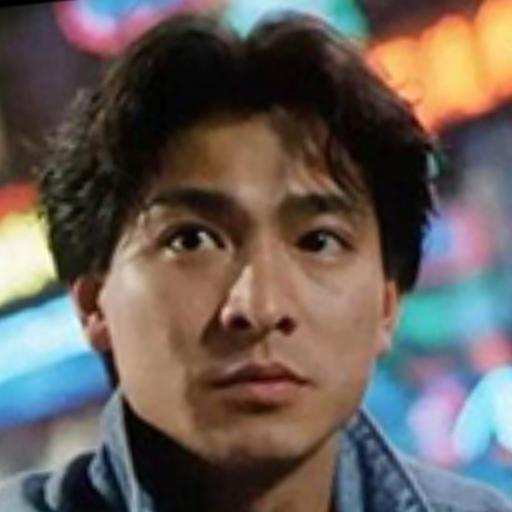
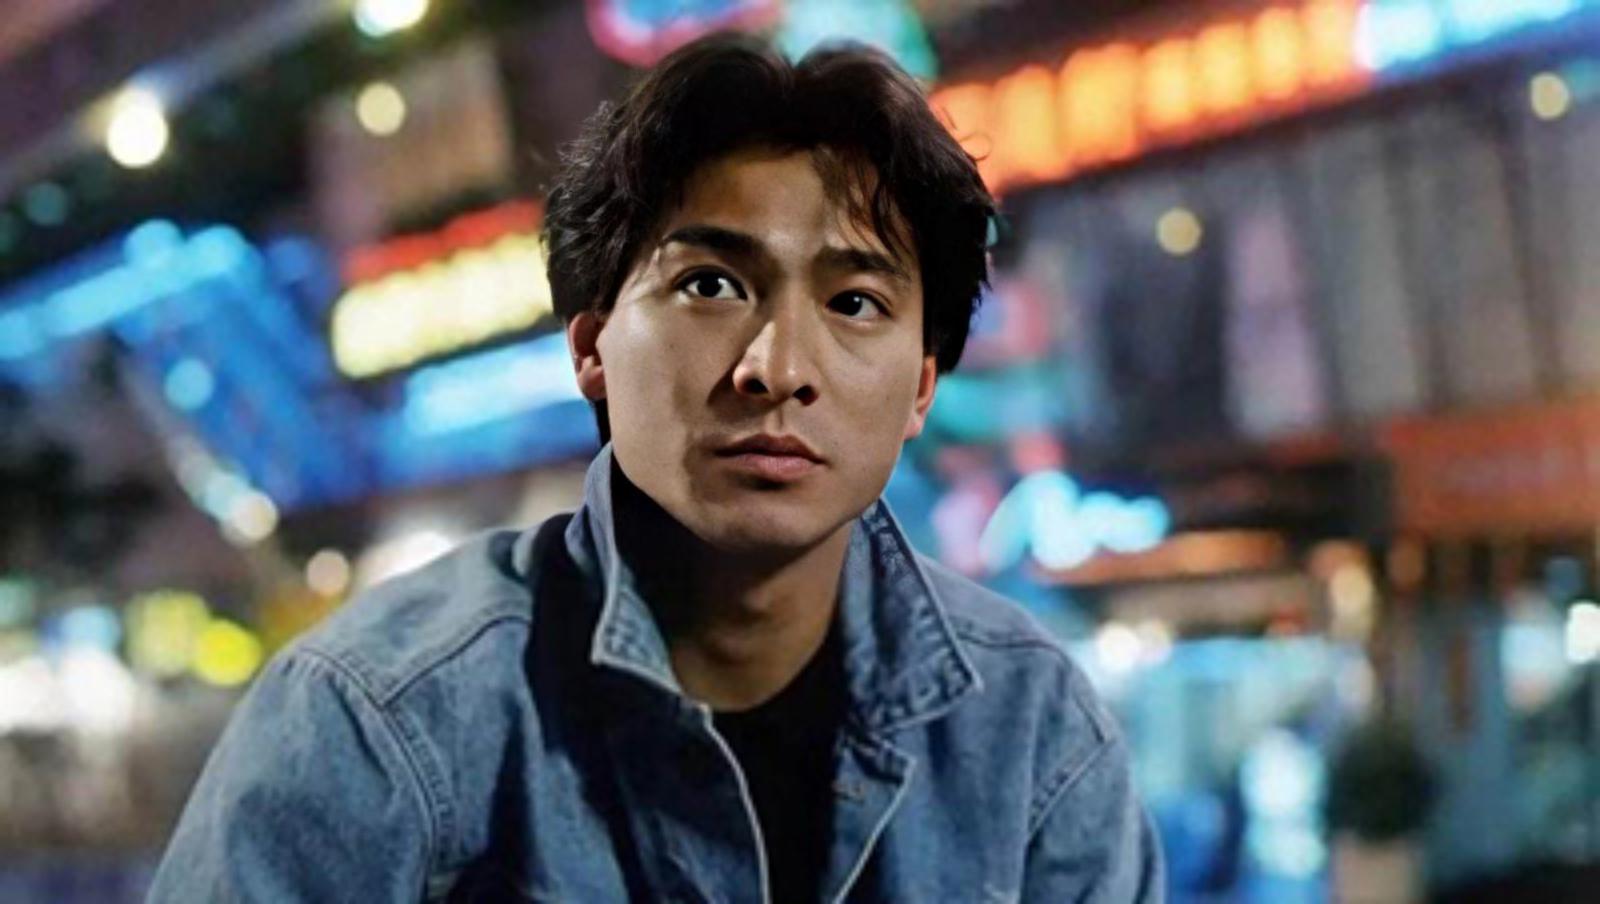
| Input | Crop and Align | Restore Face | Final Results (UpScaleWhole=4) |
|---|---|---|---|
|

|

|

|

|

|

|

|

|

|
|
|
|
|

|
|
|
|
|
|
- Enhance all the faces in one image.
- Enhance the background.
@InProceedings{Li_2020_ECCV,
author = {Li, Xiaoming and Chen, Chaofeng and Zhou, Shangchen and Lin, Xianhui, Zuo, Wangmeng and Zhang, Lei},
title = {Blind Face Restoration via Deep Multi-scale Component Dictionaries},
booktitle = {ECCV},
year = {2020}
}
This work is licensed under a Creative Commons Attribution-NonCommercial-ShareAlike 4.0 International License.
