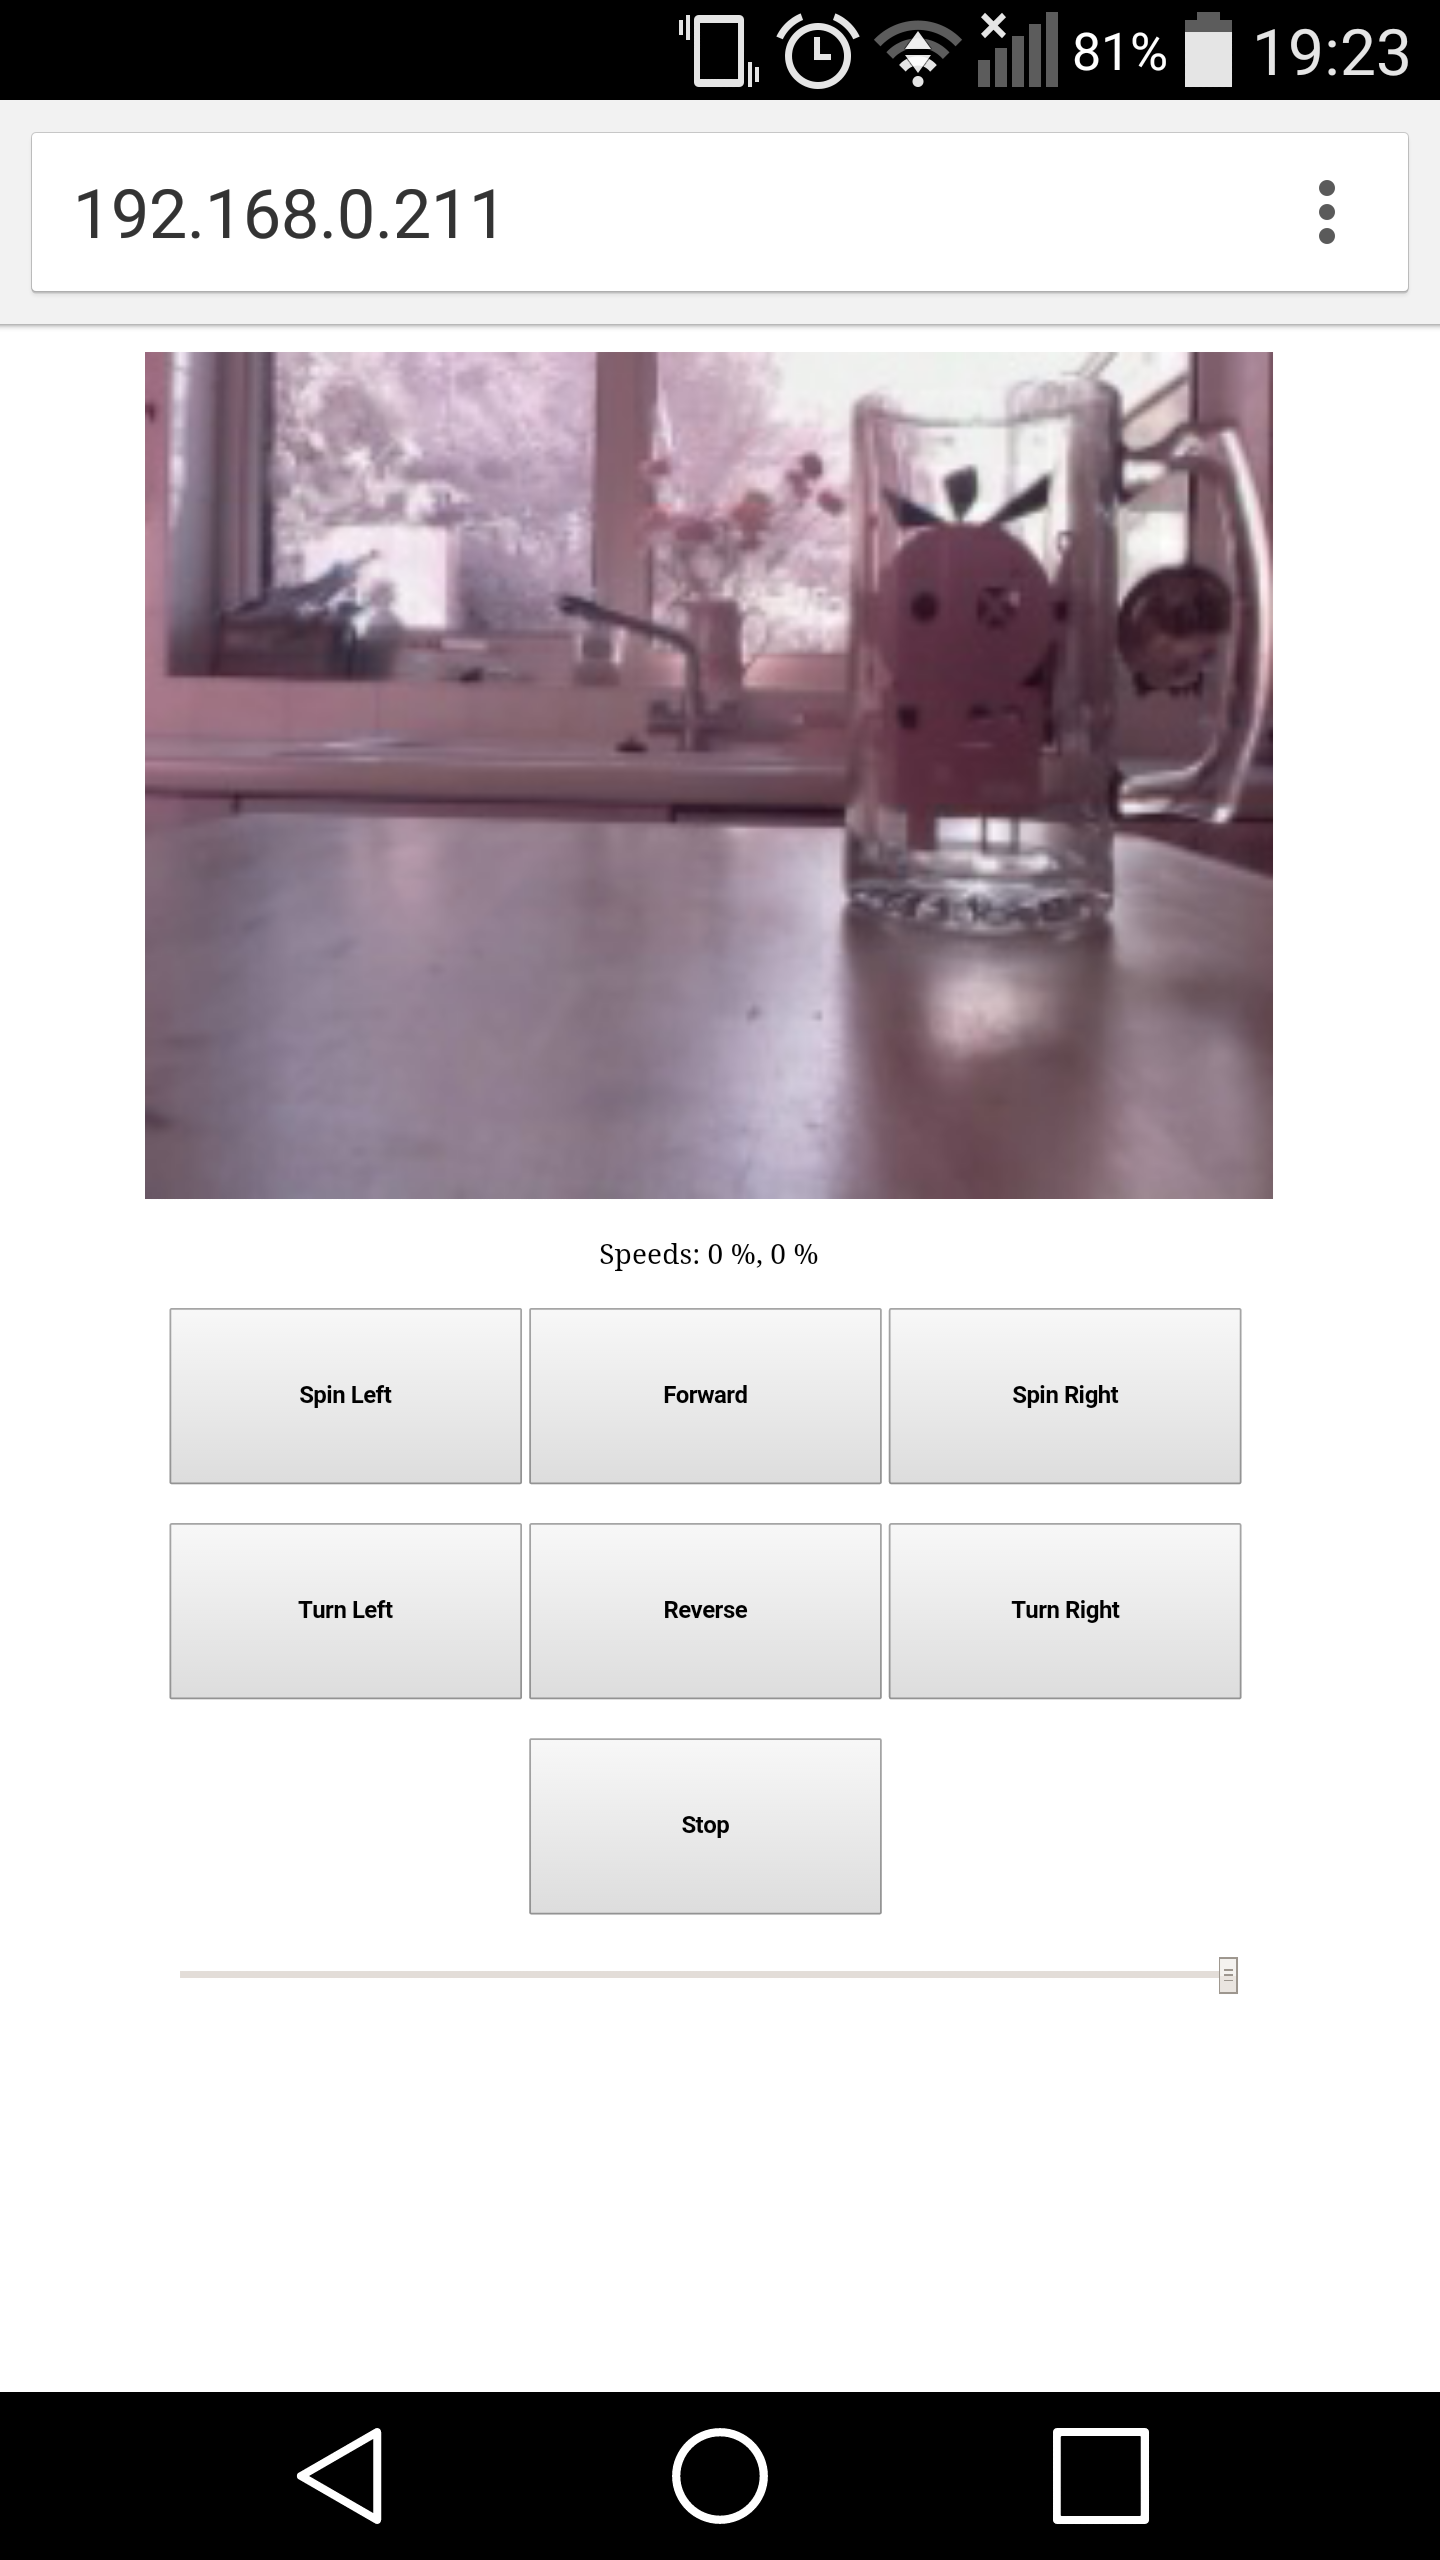
Web based interface for controlling MonsterBorgs or DiddyBorgs from a phone or browser.

This example provides web-based access to a MonsterBorg, DiddyBorg, or DiddyBorg Metal Edition using a web browser on both phones and desktops. The interface streams images from the Raspberry Pi camera, movement can be controlled from the buttons.
Additionally the current image may be saved to the SD card with a button press.
It is intended for use with:
Before using this script you should make sure your MonsterBorg or DiddyBorg is working with the standard examples.
You will need to also perform the optional camera setup so the script can stream images. You will not need the optional joystick setup for this example.
You will probably want to use a WiFi dongle for the best results. Make sure your WiFi is working and connected to you router before running the scripts.
- MonsterBorg setup instructions coming soon :)
- DiddyBorg Metal Edition setup instructions
- DiddyBorg Red Edition setup instructions
- DiddyBorg setup instructions
- 4Borg setup instructions
- YetiBorg setup instructions
To get the code we will clone this repository to the Raspberry Pi. In a terminal run the following commands
cd ~
git clone https://github.com/piborg/diddyborg-web.gitThis is easiest done via SSH over the WiFi.
First find out what your IP address is using the ifconfig command.
It should be four numbers separated by dots, e.g. 192.168.0.198
We will need this to access the controls, so make a note of it.
Next run the script for your robot:
- MonsterBorg →
sudo ~/diddyborg-web/monsterWeb.py - DiddyBorg Metal Edition →
sudo ~/diddyborg-web/metalWeb.pyorsudo ~/diddyborg-web/metalWebv2.py - DiddyBorg Red Edition →
sudo ~/diddyborg-web/diddyRedWeb.py - DiddyBorg →
sudo ~/diddyborg-web/diddyWeb.py - 4Borg →
sudo ~/diddyborg-web/4BorgWeb.py - YetiBorg →
sudo ~/diddyborg-web/yetiWeb.py
Wait for the script to load, when it is ready it should say:
Press CTRL+C to terminate the web-server
With MonsterBorg the RGB led is used to show status:
- Blue means we are waiting for a connection
- Green/yellow/red is used for battery monitoring
- Off means the script has finished
Load your web browser on your phone or desktop. Once loaded enter your IP address in the address bar
You should be presented with the camera image, some text, some buttons, and a slider.

To move click a movement button, such as Forward. To stop moving click the Stop button.
To change the speed, drag the slider before clicking a movement button. Left is slower, right is faster.
The last motor settings are displayed below the image.
There are some other URLs you can use to get different functionality.
Replace 192.168.0.198 in the below addresses with your IP address:
- http://192.168.0.198 - Standard controls, click to change speed
- http://192.168.0.198/hold - Press and hold controls, may not work on all devices - also control using arrow keys on keyboard
- http://192/168.0.198/touch - Works on phones and tablets
- http://192.168.0.198/stream - Gets the video stream without any controls
- http://192.168.0.198/cam.jpg - Single frame from the camera, you may need to force-refresh to get a new image
There are some settings towards the top of the script which may be changed to adjust the behaviour of the interface:
webPort- Sets the port number, 80 is the default port web browsers will tryimageWidth- The width of the captured camera image, higher will need more network bandwidthimageHeight- The height of the captured camera image, higher will need more network bandwidthframeRate- The number of images taken from the camera each second by the Raspberry PidisplayRate- The number of times per second the web browser will refresh the camera imagephotoDirectory- The directory that photos are saved to when taken
There are some extra settings for the MonsterBorg version:
flippedCamera- Swap betweenTrueandFalseto rotate the camera display by 180 degreesjpegQuality- Image quality between 0 and 100, lower numbers show images faster, higher numbers are better quality
To get the web interface to load on its own do the following:
- Open the Cron table using
crontab -e - Add a cron job to the bottom of the file using one of the following lines:
- MonsterBorg →
@reboot sudo /home/pi/diddyborg-web/monsterWeb.py - DiddyBorg Metal Edition →
@reboot sudo /home/pi/diddyborg-web/metalWeb.py - DiddyBorg Red Edition →
@reboot sudo /home/pi/diddyborg-web/diddyRedWeb.py - DiddyBorg →
@reboot sudo /home/pi/diddyborg-web/diddyWeb.py - 4Borg →
@reboot sudo /home/pi/diddyborg-web/4BorgWeb.py - 4Borg →
@reboot sudo /home/pi/diddyborg-web/yetiWeb.py
- Save the file
- Close the file
The cron table should now auto-run the script when the Raspberry Pi boots up.
This is just a simple example of how a web interface can be made using Python on the Raspberry Pi to control a robot.
We think sharing software is awesome, so we encourage others to extend and/or improve on this script to make it do even more :)
Thanks go to gt213296's post on http://forum.piborg.org/comment/4090 for Ultraborg information and for Semi-Auto and Auto mode additions
Thanks go to WS at http://forum.piborg.org/thunderborg/examples/users for /touch mode, keyboard control for /hold mode and jpeg quality settings
Above changes ready to be pulled into main fork from wingers999 :)