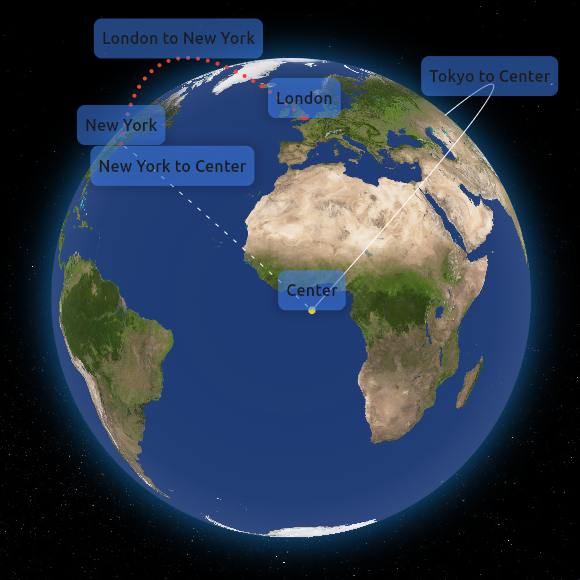
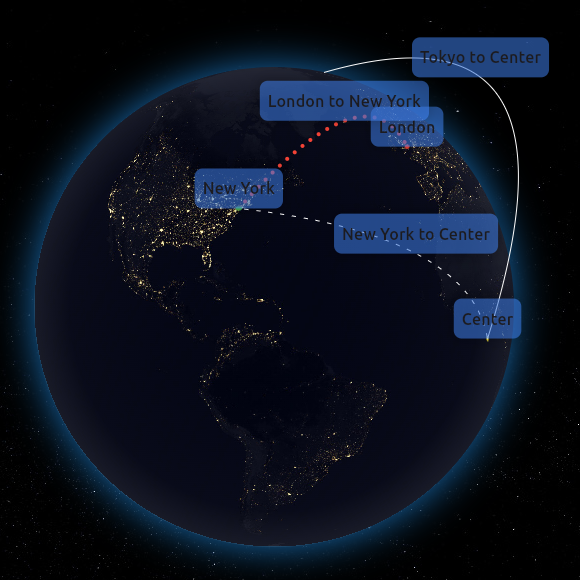
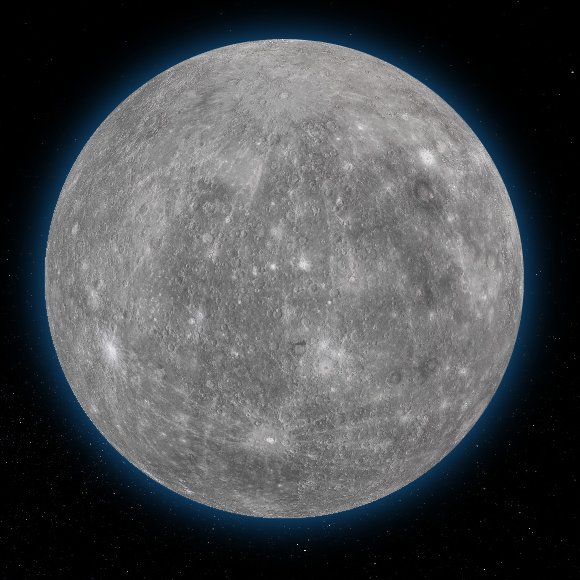
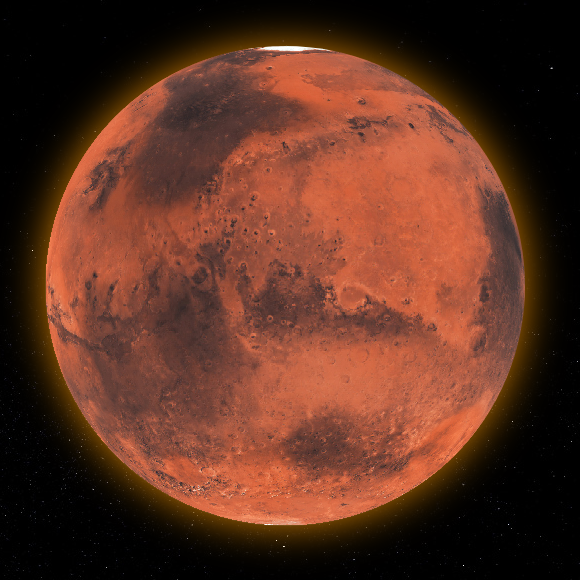
Flutter Earth Globe is an interactive 3D sphere widget for Flutter applications. This widget is designed to be easy to use and highly customizable, making it ideal for any application that requires a visually appealing representation of a planet. This package was inspired by Globe.GL and Sphere.
-
3D Interactive Globe: A realistic and interactive 3D model of the Earth.
-
Customizable Appearance: Options to customize the appearance of the globe including colors, textures, and more.
-
Zoom and Rotation: Users can interact with the globe through zoom and rotation gestures.
-
Point Support: Ability to place customizable points on the globe.
-
Connections Support: Ability to create connections between different coordinates.
-
Custom Labels Support: Ability to create custom widget labels for a point or connection.
-
Responsive Design: Ensures compatibility with a wide range of devices and screen sizes.
To install Flutter Earth Globe, follow these steps:
-
Add the package to your Flutter project's
pubspec.yamlfile:dependencies: flutter_earth_globe: ^[latest_version]
or just run
flutter pub add flutter_earth_globe
-
Import the package in your Dart code:
import 'package:flutter_earth_globe/flutter_earth_globe.dart';
Here is a basic example of how to integrate the Flutter Earth Globe into your Flutter app:
import 'package:flutter/material.dart';
import 'package:flutter_earth_globe/flutter_earth_globe.dart';
import 'package:flutter_earth_globe/flutter_earth_globe_controller.dart';

void main() {
  runApp(MyApp());
}

class MyApp extends StatelessWidget {
  late FlutterEarthGlobeController _controller;

   @override
  initState() {
    _controller = FlutterEarthGlobeController(
        rotationSpeed: 0.05,
        isBackgroundFollowingSphereRotation: true,
        background: Image.asset('assets/2k_stars.jpg').image,
        surface: Image.asset('assets/2k_earth-day.jpg').image);
  }

  @override
  Widget build(BuildContext context) {
    return MaterialApp(
      home: Scaffold(
        appBar: AppBar(
          title: Text('Flutter Earth Globe Example'),
        ),
        body: SafeArea(
        child: FlutterEarthGlobe(
              controller: _controller,
              radius: 120,
            )
        ),
      ),
    );
  }
}final FlutterEarthGlobeController _controller = FlutterEarthGlobeController();
List<Point> points = [
Point(
id: '1',
coordinates: const GlobeCoordinates(51.5072, 0.1276),
label: 'London',
isLabelVisible: true,
style: const PointStyle(color: Colors.red, size: 6)),
Point(
id: '2',
isLabelVisible: true,
coordinates: const GlobeCoordinates(40.7128, -74.0060),
style: const PointStyle(color: Colors.green),
onHover: () {},
label: 'New York'),
Point(
id: '3',
isLabelVisible: true,
coordinates: const GlobeCoordinates(35.6895, 139.6917),
style: const PointStyle(color: Colors.blue),
onHover: () {
print('Tokyo');
},
label: 'Tokyo'),
Point(
id: '4',
isLabelVisible: true,
onTap: () {
Future.delayed(Duration.zero, () {
showDialog(
context: context,
builder: (context) => const AlertDialog(
title: Text('Center'),
content: Text('This is the center of the globe'),
));
});
},
coordinates: const GlobeCoordinates(0, 0),
style: const PointStyle(color: Colors.yellow),
label: 'Center'),
];
for (var point in points) {
_controller.addPoint(point);
}final FlutterEarthGlobeController _controller = FlutterEarthGlobeController();
@override
initState(){
_controller.onLoaded = () {
_controller.loadBackground(Image.asset('assets/2k_stars.jpg').image,
followsRotation: true);
_controller.loadSurface(Image.asset('assets/2k_earth-day.jpg',).image,
);
};
super.initState();
}final FlutterEarthGlobeController _controller = FlutterEarthGlobeController();
_controller.changeSphereStyle(SphereStyle(
shadowColor: Colors.orange.withOpacity(0.8),
shadowBlurSigma: 20));
controllerWe would like to thank all the contributors who have helped make this project a success. Your contributions, big or small, make a significant impact on the development and improvement of this project.
If you would like to contribute, please feel free to fork the repository, make your changes, and submit a pull request.
- Fork the Repository: Click the 'Fork' button at the top right corner of this repository.
- Clone Your Fork: Clone your fork to your local machine.
- Create a Branch: Create a new branch for your modifications (
git checkout -b feature/YourFeature). - Make Your Changes: Make the necessary changes to the project.
- Commit Your Changes: Commit your changes (
git commit -am 'Add some feature'). - Push to the Branch: Push your changes to your branch (
git push origin feature/YourFeature). - Open a Pull Request: Go to the repository on GitHub and open a pull request.
We are excited to see your contributions and are looking forward to growing this project with the community!
You can also support the library by liking it on pub, staring in on Github and reporting any bugs you encounter.
This project is licensed under the MIT License - see the LICENSE file for details.


