Women Who Code Hackathon for Social Good 2023
This repository acts as a boilerplate for React/Express applications with 1Password's Passage Authentication. The team at Passage has created this with the hope to make it easy for everyone to contribute to hackathon projects as quickly as possible. The app is ready to go with Passage biometric or magic link user authentication.
Passage is a authentication as a service platform that allows you to provide passwordless authentication to your users without having to worry about the initial setup and continuous maintenance high quality authentication requires.
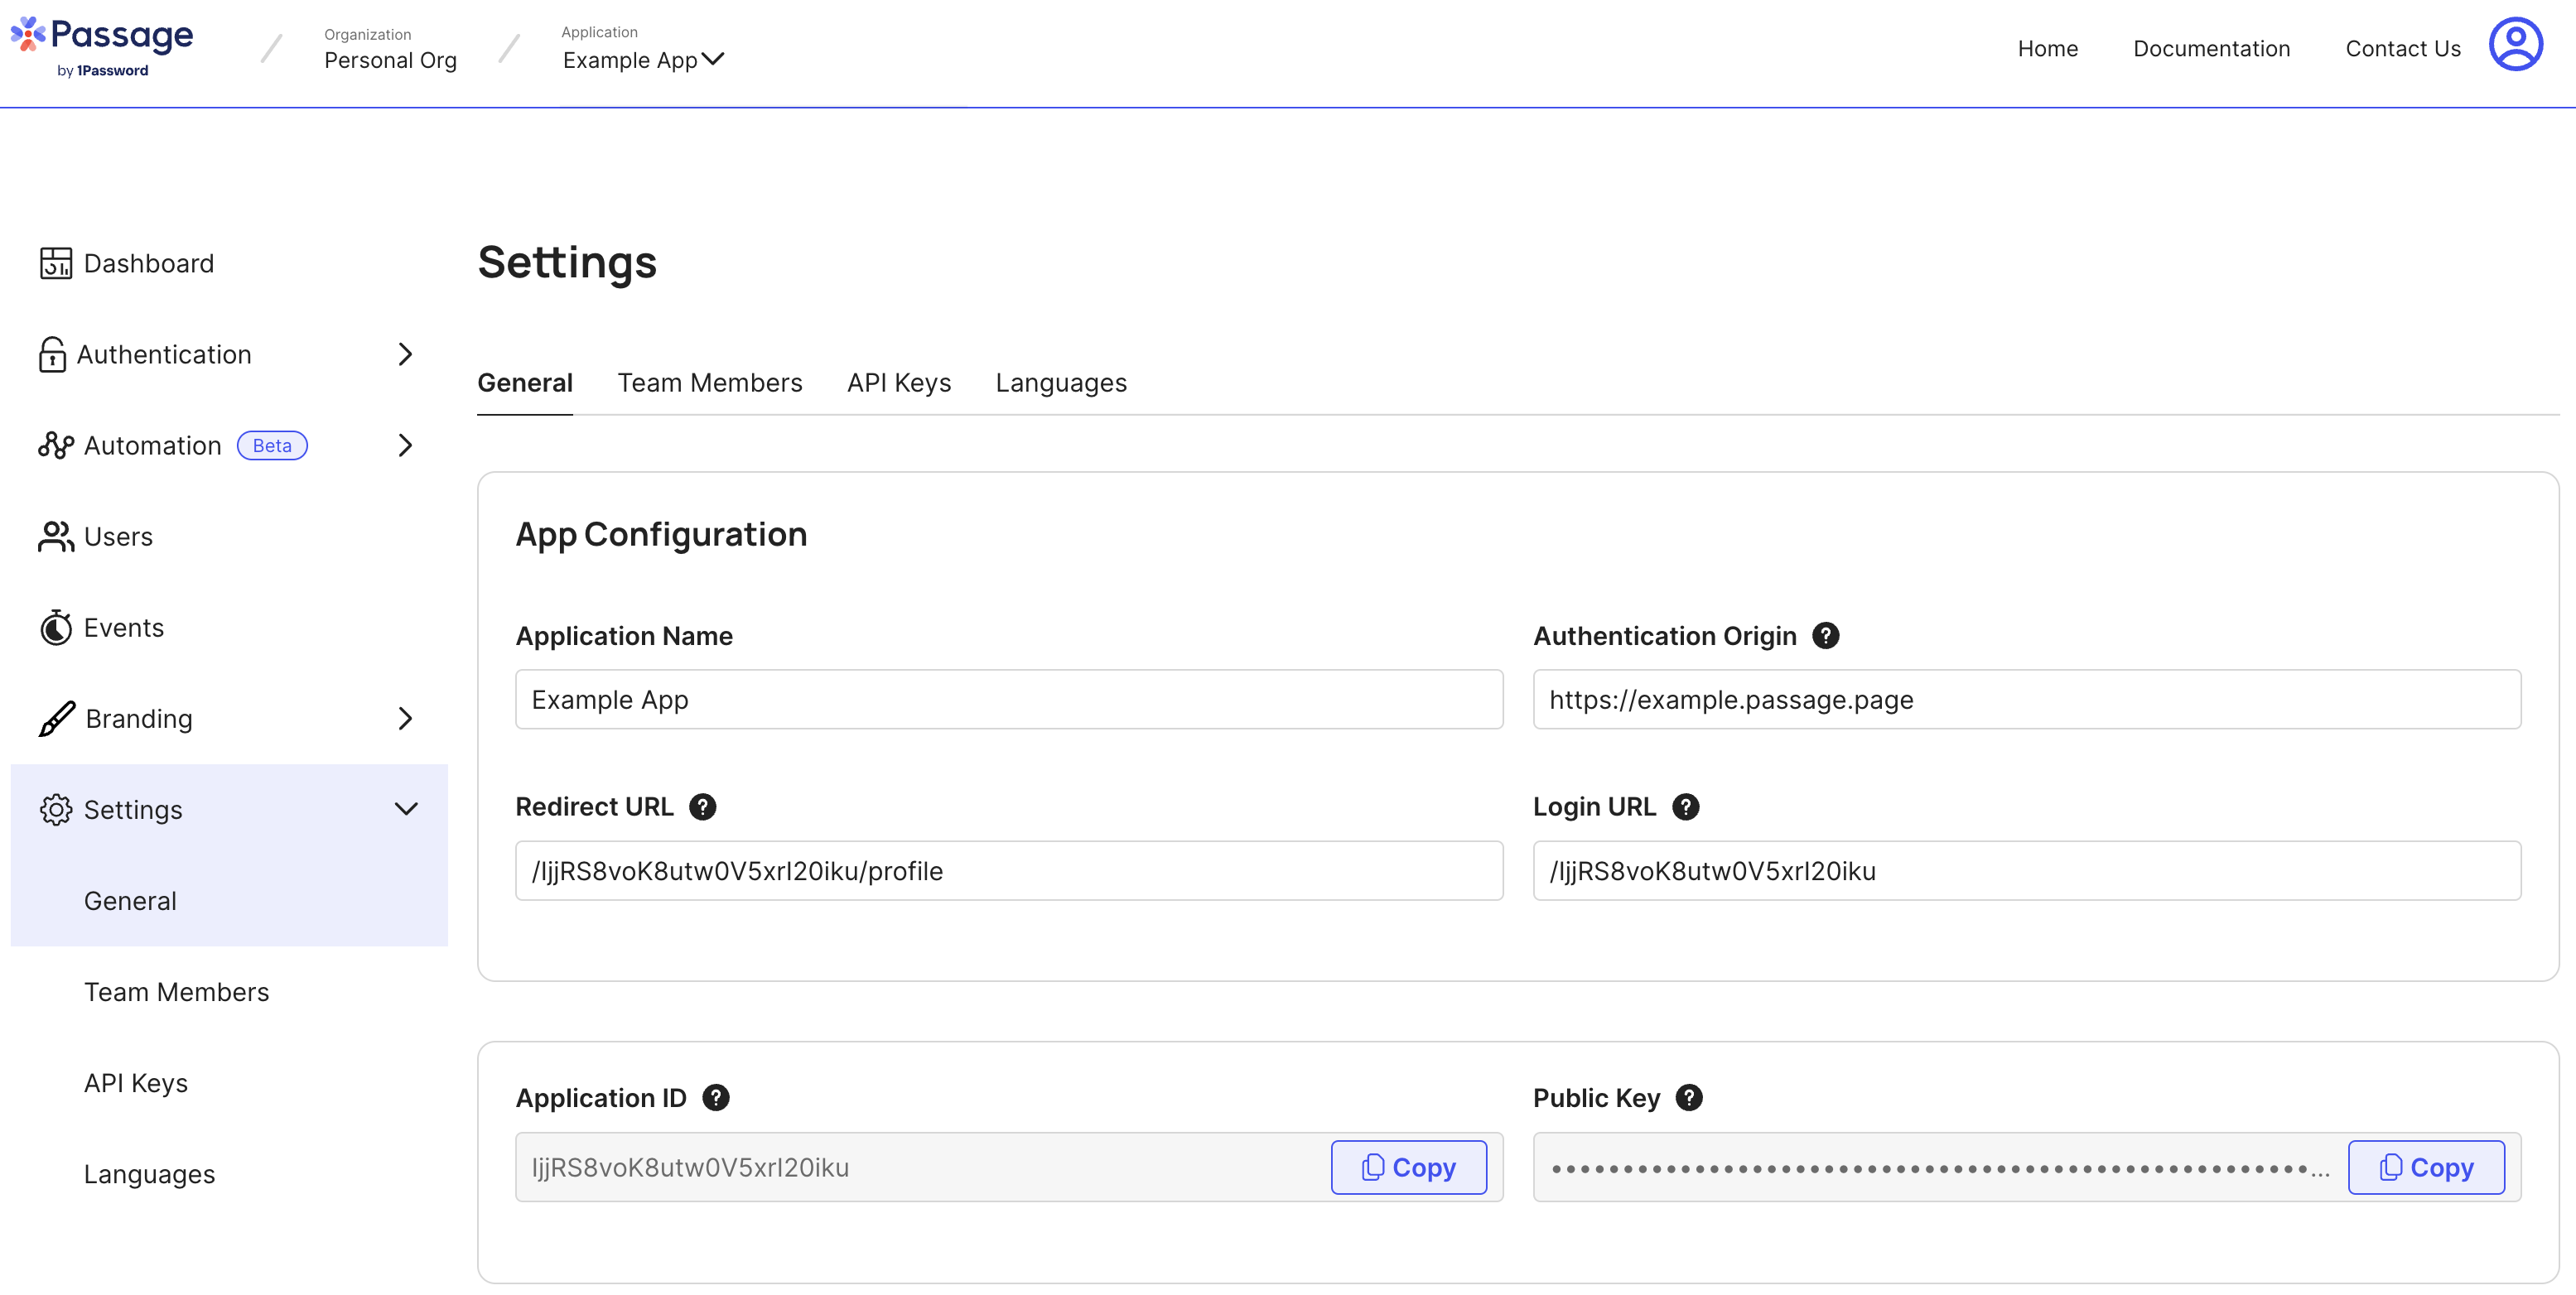
To get started with the boilerplate you'll first need to set up a Passage app. You can do this by visiting console.passage.id or following our quickstart guide.
You can reach out to the team for support via Discord.
To run this application, follow the instructions below to install and start the application.
- Rename the EXAMPLE.env file to .env for both the frontend and backend directories
- Replace the example variables for each .env file with your own Passage App ID and API Key. You can get these from the Passage Console.
npm run bootstrapStart the express server
npm run start-backendStart the React application
npm run start-frontendThe application will run on http://localhost:3000, which you can navigate to in your browser.
Navigate to http://localhost:3000 and see what it's like authenticating users using Passage with React and an Express.js backend!
Import passage from npm:
const Passage = require("@passageidentity/passage-node");Instantiate the Passage class:
const passage = new Passage({
  appID: process.env.PASSAGE_APP_ID,
  apiKey: process.env.PASSAGE_API_KEY,
  authStrategy: "HEADER",
});
Declare an Express route and use the instantiated Passage class to authenticate users!
app.post("/auth", async (req, res) => {
  try {
    const userID = await passage.authenticateRequest(req);
    if (userID) {
      // user is authenticated
      const { email, phone } = await passage.user.get(userID);
      const identifier = email ? email : phone;

      res.json({
        authStatus: "success",
        identifier,
      });
    }
  } catch (e) {
    // authentication failed
    console.log(e);
    res.json({
      authStatus: "failure",
    });
  }
});The easiest way to add authentication to a web frontend is with a Passage Auth custom element. First you'll need to install the passage-elements package from npm:
npm i --save @passageidentity/passage-elements
Then import the package in the module where you intend to use the custom element
import '@passageidentity/passage-elements/passage-auth'
Importing this script will register the Passage custom element for use in your React components. For more information about custom elements refer to the online documentation.
Its then just a matter of embedding the passage-auth element into your component that will handle login. This is done in this example in the home component:
<div className="form-container">
  <passage-auth app-id="{process.env.REACT_APP_PASSAGE_APP_ID}" />
</div>
