
![]()


eShopOnSteroids is a well-architected, distributed, event-driven, cloud-first e-commerce platform powered by the following building blocks of microservices:
- API Gateway (Spring Cloud Gateway)
- Service Discovery (HashiCorp Consul)
- Distributed Tracing (Sleuth, Zipkin)
- Circuit Breaker (Resilience4j)
- Message Bus (RabbitMQ)
- Database per Microservice (PostgreSQL, MongoDB, Redis)
- Centralized Monitoring (Prometheus, Grafana)
- Control Loop (Kubernetes, Terraform)
This code follows best practices such as:
- Unit Testing (JUnit 5, Mockito)
- Integration Testing (Testcontainers)
- Design Patterns (Builder, Singleton, PubSub, ...)
microservices, event-driven, distributed systems, e-commerce, domain-driven-design, spring cloud, spring boot, spring cloud gateway, hashicorp consul, hashicorp vault, spring cloud sleuth, zipkin, resilience4j, postgresql, mongodb, redis, cache, kubernetes, k8s, prometheus, grafana, rabbitmq, terraform
Note: If you are interested in this project, no better way to show it than ★ starring the repository!
The architecture proposes a microservices oriented implementation where each microservice is responsible for a single business capability. The microservices are deployed in a containerized environment (Docker) and orchestrated by a control loop (Kubernetes) which continuously compares the state of each microservice to the desired state, and takes necessary actions to arrive at the desired state.
Each microservice stores its data in its own database tailored to its requirements, such as an In-Memory Database for a shopping cart whose persistence is short-lived, a Document Database for a product catalog for its flexibility, or a Relational Database for an order management system for its ACID properties.
Microservices communicate externally via REST through a secured API Gateway, and internally via
- gRPC for synchronous communication which excels for its performance
- a message bus for asynchronous communication in which the receiving microservice is free to handle the message whenever it has the capacity
Below is a visual representation:

- All microservices are inside a private network and not accessible except through the API Gateway.
- The API Gateway routes requests to the appropriate microservice, and validates the authorization of requests to all microservices except the Identity Microservice.
- The Identity Microservice acts as an Identity Issuer and is responsible for storing users and their roles, and for issuing authorization credentials.
- All microservices send regular heartbeats to the Discovery Server which helps them locate each other as they may have multiple instances running hence different IP addresses.
- The Cart Microservice manages the shopping cart of each user. It uses a cache (Redis) as the storage.
- The Product Microservice stores the product catalog and stock. It's subscribed to the Message Bus to receive notifications of new orders and update the stock accordingly.
- The Order Microservice manages order processing and fulfillment. It performs a gRPC call to the Product Microservice to check the availability of the products in the order pre-checkout, and publishes a message to the Message Bus when an order is placed successfully.
- The gRPC communication between the microservices is fault-tolerant and resilient to transient failures thanks to Resilience4j Circuit Breaker.
Admin services include:
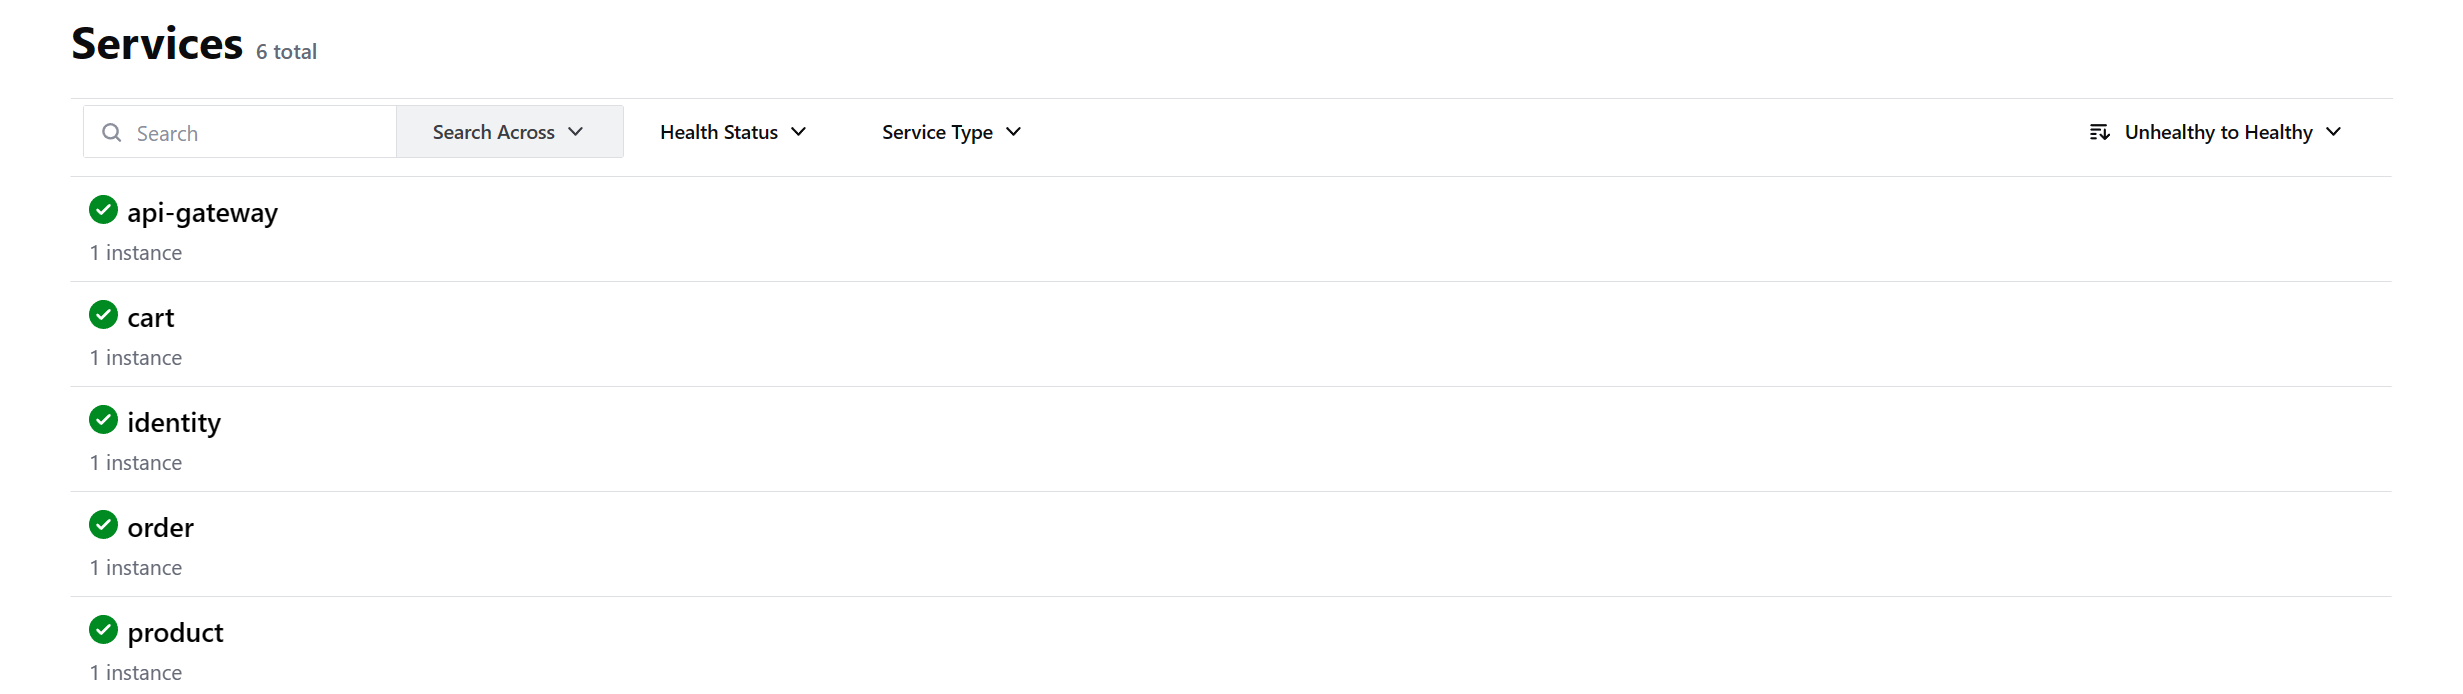
- Consul dashboard to monitor the availability and health of microservices
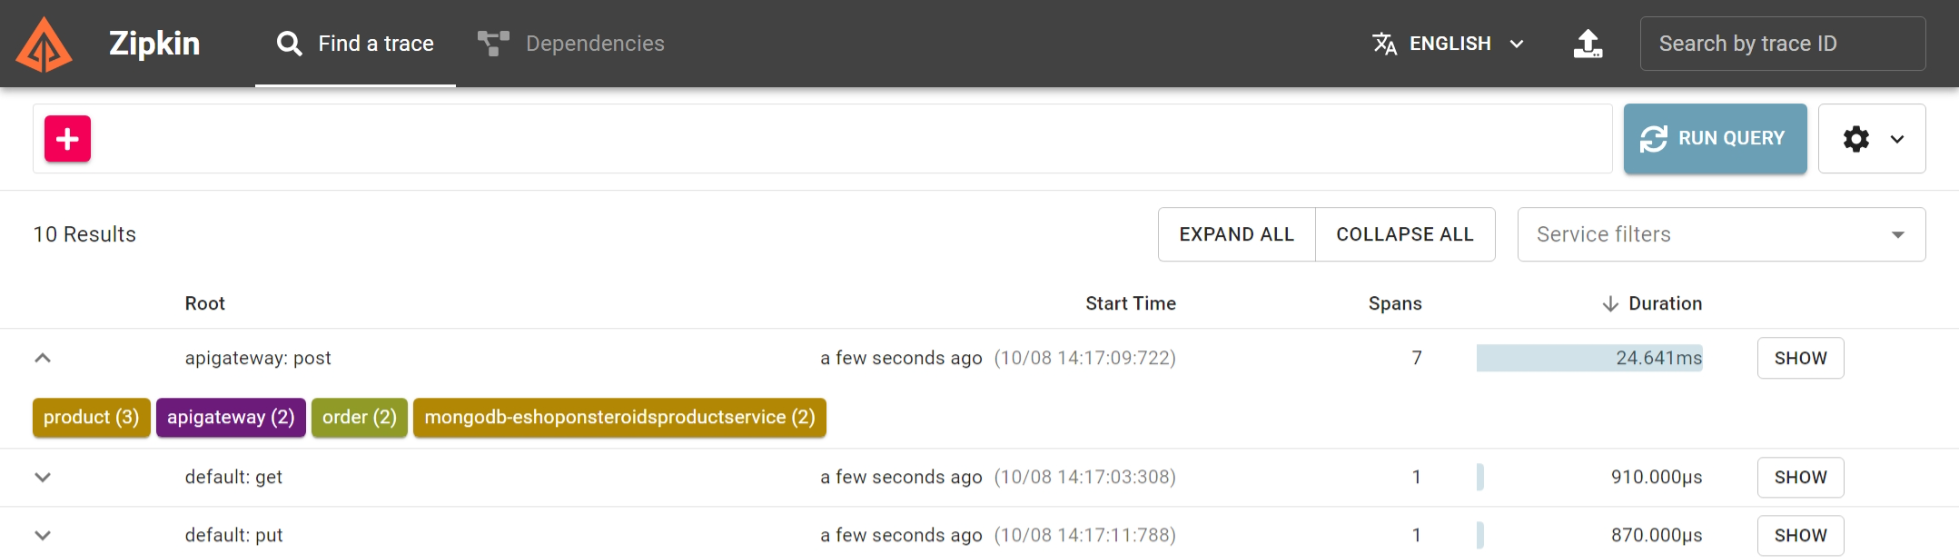
- Zipkin dashboard for tracing requests across microservices
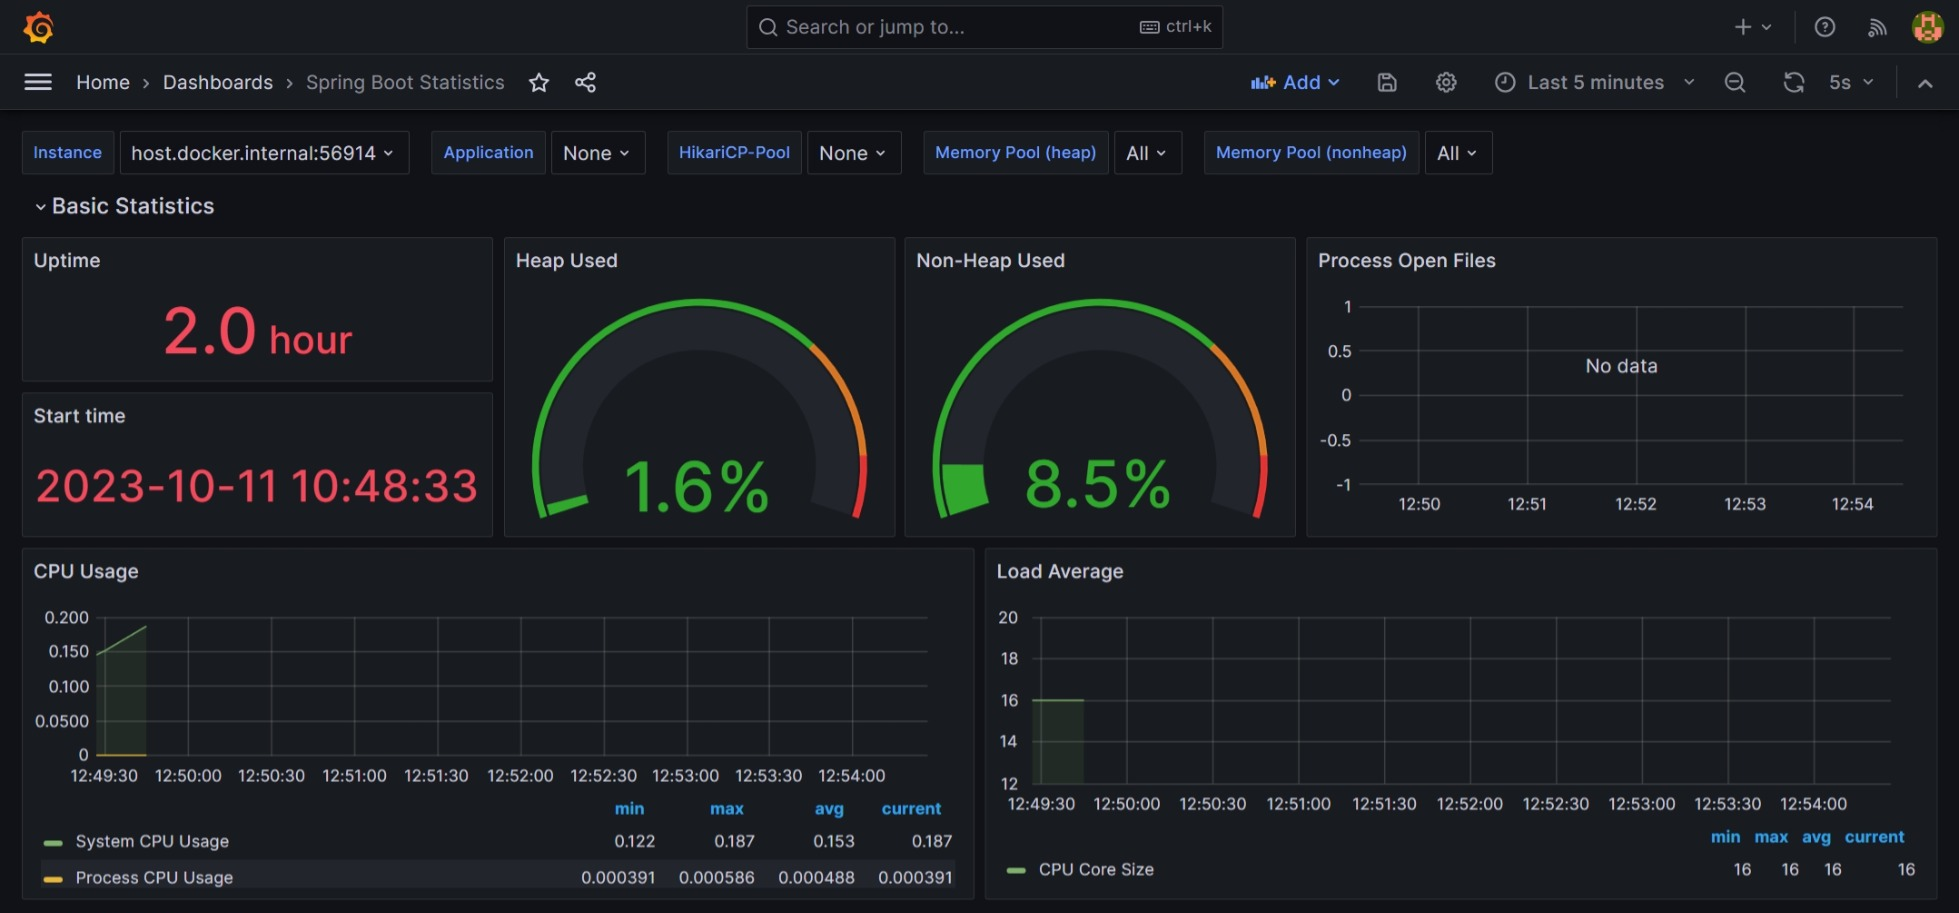
- Grafana dashboard for visualizing the metrics of microservices and setting up alerts for when a metric exceeds a threshold


-
Create the env file and fill in the missing values
cp .env.example .env
vi .env
...
Then:
-
(Optional) Run the following command to build the images locally:
docker compose build
It will take a few minutes. Alternatively, you can skip this step and the images will be pulled from Docker Hub.
-
Start the containers
docker compose up
You can now access the application at port 8080 locally
-
Ensure you have enabled Kubernetes in Docker Desktop as below:
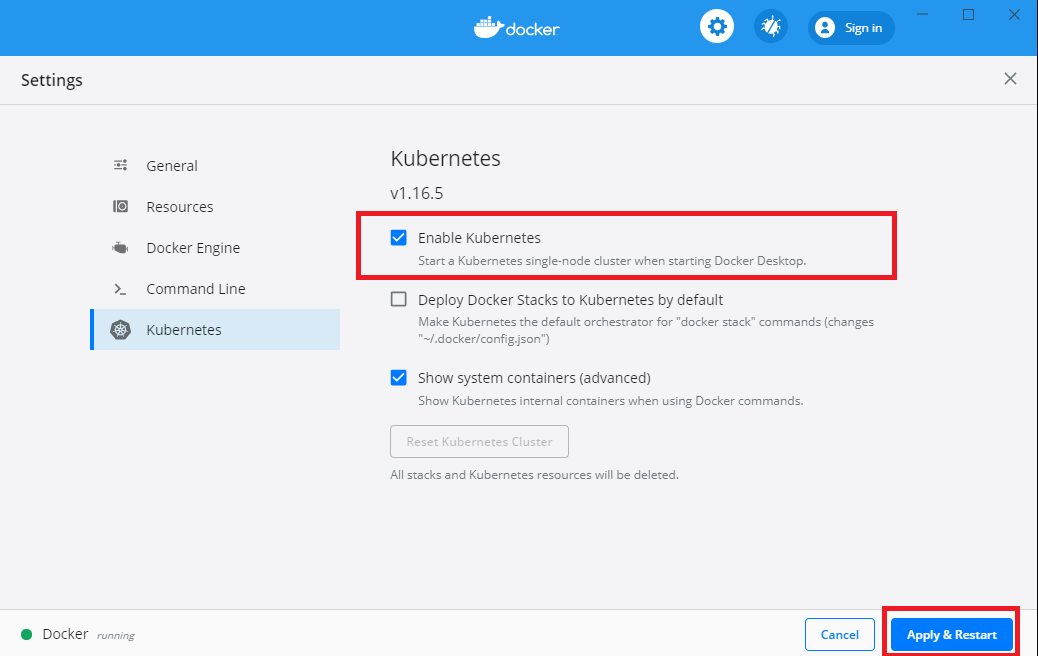
(or alternatively, install Minikube and start it with
minikube start)Then:
-
Enter the directory containing the Kubernetes manifests
cd k8s -
Create the env file and fill in the missing values
cp ./config/.env.example ./config/.env
vi ./config/.env
...
-
Create the namespace
kubectl apply -f ./namespace
-
Change the context to the namespace
kubectl config set-context --current --namespace=eshoponsteroids
-
Create Kubernetes secret from the env file
kubectl create secret generic env-secrets --from-env-file=./config/.env
-
Apply the configmaps
kubectl apply -f ./config
-
Install kubernetes metrics server (needed to scale microservices based on metrics)
kubectl apply -f https://github.com/kubernetes-sigs/metrics-server/releases/latest/download/components.yaml
-
Deploy the containers
kubectl apply -f ./deployments
-
Expose the API gateway and admin services
kubectl apply -f ./networking/node-port.yml

You can now access the application at port 30080 locally
To tear everything down, run the following command:
kubectl delete namespace eshoponsteroidsFuture work:
- Simplify the deployment process by templating similar manifests with Helm
- Overlay/patch manifests to tailor them to different environments (dev, staging, prod, ...) using Kustomize
Typically, DevOps engineers provision cloud resources, and developers only focus on deploying code to these resources. However, as a developer, to be able to design cloud-native applications such as this one, it's important to understand the basics of the infrastructure on which your code runs. That is why we will provision our own Kubernetes cluster on AWS EKS (Elastic Kubernetes Service) for our application.
For this section, in addition to Docker you will need:
- Basic knowledge of the AWS platform
- An AWS account
- AWS IAM user with administrator access
- AWS CLI configured with the IAM user's credentials (run
aws configure)
Here is a breakdown of the resources we will provision:
- VPC (Virtual Private Cloud): a virtual network where our cluster will reside
- Subnets: 2 public and 2 private subnets in different availability zones (required by EKS to ensure high availability of the cluster)
- Internet Gateway: allows external access to our VPC
- NAT Gateway: allows our private subnets to access the internet
- Security Groups: for controlling inbound and outbound traffic to our cluster
- IAM Roles: for granting permissions to our cluster to access other AWS services and perform actions on our behalf
- EKS Cluster: the Kubernetes cluster itself
- EKS Node Group: the worker nodes that will run our containers
To provision the cluster, we will use Terraform as opposed to AWS Console or eksctl. What is Terraform and how does it simplify infrastructure management? All the above resources are already defined as terraform manifests and what is left to do is to apply them to our AWS account.
Thus far we have applied the approach used by Terraform to create and manage resources (called a declarative approach) in Docker Compose and Kubernetes. Its main advantage is that it is reusable and always yields the same results.
Let us start by installing Terraform (if you haven't already):
Windows (20H2 or later):
winget install HashiCorp.TerraformMac:
brew tap hashicorp/tap
brew install hashicorp/tap/terraform
Linux:
curl -O https://releases.hashicorp.com/terraform/1.6.2/terraform_1.6.2_linux_amd64.zip
unzip terraform_*_linux_amd64.zip
sudo mv terraform /usr/local/bin/
terraform -v    # verify installation
Then:
-
Enter the directory containing the terraform manifests
cd terraform -
Initialize Terraform
terraform init
This step downloads the required providers (AWS, Kubernetes, Helm, ...) and plugins.
-
Generate an execution plan to see what resources will be created
terraform plan -out=tfplan
-
Apply the execution plan
terraform apply tfplan
This step will take approximately 15 minutes. You can monitor the progress in the AWS Console.
-
Configure kubectl to connect to the cluster
aws eks update-kubeconfig --region us-east-1 --name eshoponsteroids
-
Verify that the cluster is up and running
kubectl get nodes
The output should be similar to:
NAME                                      STATUS   ROLES    AGE   VERSION
ip-10-0-8-72.us-east-1.compute.internal   Ready    <none>   10m   v1.28.1-eks-55daa9d
Let us now deploy our application to the cluster:
-
Go back to the root directory of the project
cd .. -
Execute steps 2 to 9 of Deploy to local Kubernetes cluster.
-
Run
kubectl get deployments --watchandkubectl get statefulsets --watchto monitor the progress. -
Request a load balancer from AWS to expose the application's API gateway outside the cluster once deployments are ready
kubectl apply -f ./networking/load-balancer.yml
Run
kubectl get svc | grep LoadBalancerto get the load balancer's address. It should be similar to:load-balancer LoadBalancer 172.20.131.96 a890f7fb3c6da8536b7dbdbdf3281d23-94553621.us-east-1.elb.amazonaws.com 8080:31853/TCP,8500:32310/TCP,9411:30272/TCP,9090:32144/TCP,3000:31492/TCP 60s
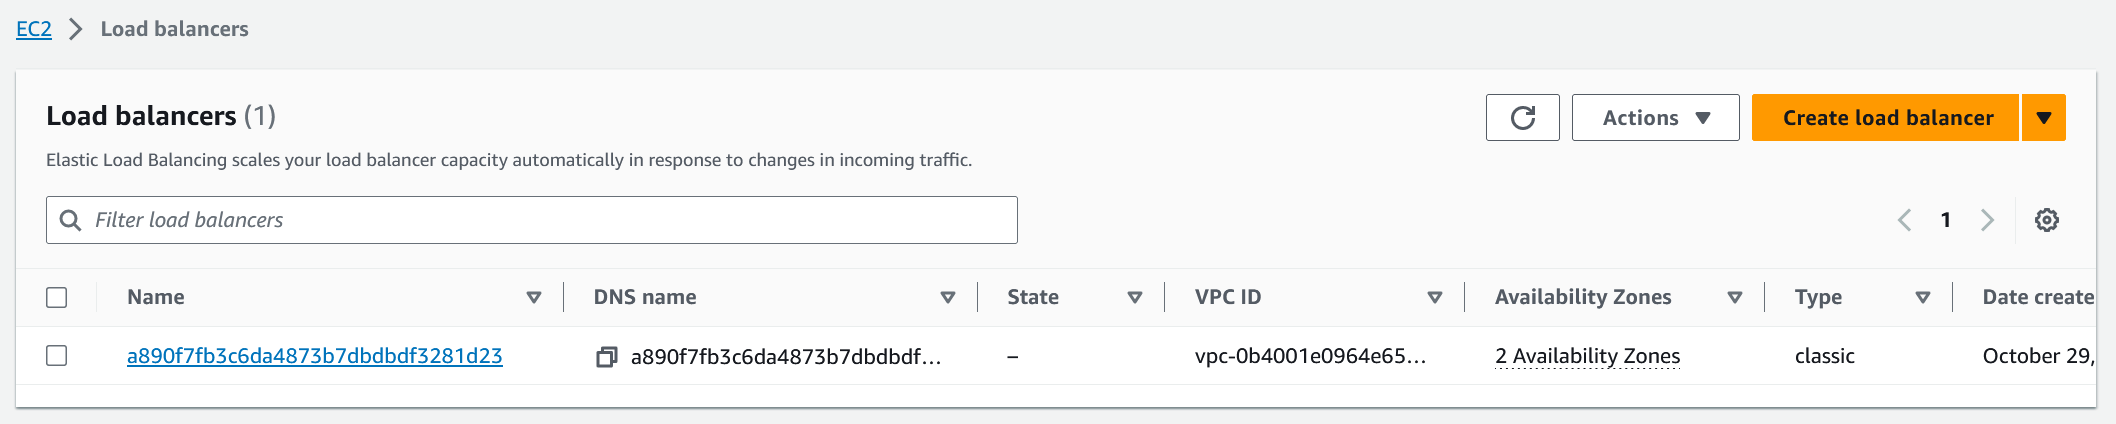
The fourth column is the load balancer's address. Go to the AWS EC2 Console's Load Balancer feature and verify that the load balancer has been created.

You can now access the application at port 8080 with the hostname as the load balancer's address. You can also access the admin services with their respective ports.
To tear down the infrastructure, run the following commands:
kubectl delete namespace eshoponsteroids
terraform destroy
Remember to Change the context of kubectl back to your local cluster if you have one:
kubectl config get-contexts
kubectl config delete-context [name-of-remote-cluster]
kubectl config use-context [name-of-local-cluster]
Future work:
- Add AWS EKS CSI driver to terraform which will allow provisioning of AWS EBS volumes for Kubernetes PVCs
- Use an Ingress Controller (e.g. Nginx) instead of a Load Balancer to expose the API Gateway outside the cluster
The interface (a Single-Page Application) is still a work in progress, but the available endpoints can be found in the API documentation which post-deployment can be accessed at:
- http://[host]:[port]/api/v1/[name-of-microservice]/swagger-ui.html

- Java 17+
- Docker
To run the unit tests, run the following command:
mvnw test- Make sure you have Docker installed and running
- Run the following command to start the testcontainers:
mvnw verify