In this developer journey we will create a Virtual Reality game based on Watson's Speech-to-Text and Watson's Conversation services.
In Virtual Reality, where you truly “inhabit” the space, speech can feel like a more natural interface than other methods. Providing speech controls allows developers to create more immersive experiences. The HTC Vive is the 3rd most popular head-mounted VR devices (not including Google Cardboard) and an ideal candidate for Speech interaction, selling roughly 400 thousand units in 2016.
When the reader has completed this journey, they will understand how to:
- Add IBM Watson Speech-to-Text and Conversation to a Virtual Reality environment build in Unity.
Want to take your Watson app to the next level? Looking to leverage Watson Brand assets? Join the With Watson program which provides exclusive brand, marketing, and tech resources to amplify and accelerate your Watson embedded commercial solution.
- IBM Watson Conversation: Create a chatbot with a program that conducts a conversation via auditory or textual methods.
- IBM Watson Speech-to-Text: Converts audio voice into written text.
- Unity: A cross-platform game engine used to develop video games for PC, consoles, mobile devices and websites.
On your local machine:
git clone https://github.com/IBM/vr-speech-sandbox-vive.gitcd vr-speech-sandbox-vive
In Bluemix:
- Create a Speech-To-Text service instance.
- Create a Conversation service instance.
- Once you see the services in the Dashboard, select the Conversation service you created and click the
 button.
 - After logging into the Conversation Tool, click the
 button.
 - Import the Conversation
workspace.jsonfile located in your clone of this repository.
If you followed the previous steps you should already be inside your local clone and ready to get started running the app from Unity.
git clone https://github.com/watson-developer-cloud/unity-sdk.git- Open Unity and inside the project launcher select the
 button.
 - Navigate to where you cloned this repository and open the "Creation Sandbox" directory.
- If prompted to upgrade the project to a newer Unity version, do so.
- Follow these instructions to add the Watson Unity SDK downloaded in step 1 to the project.
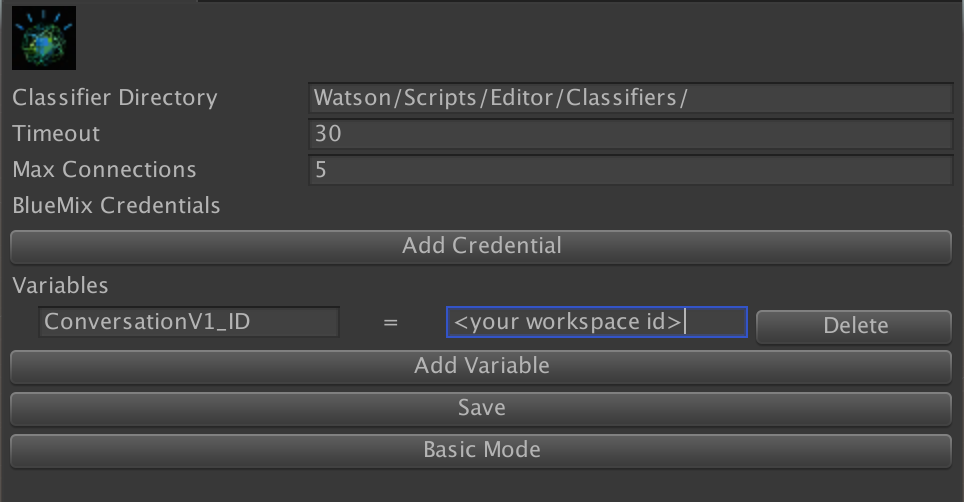
- Follow these instructions to add your Speech To Text and Conversation service credentials (located on IBM Bluemix).
- Select
Advanced Modein the configuration window. - Click
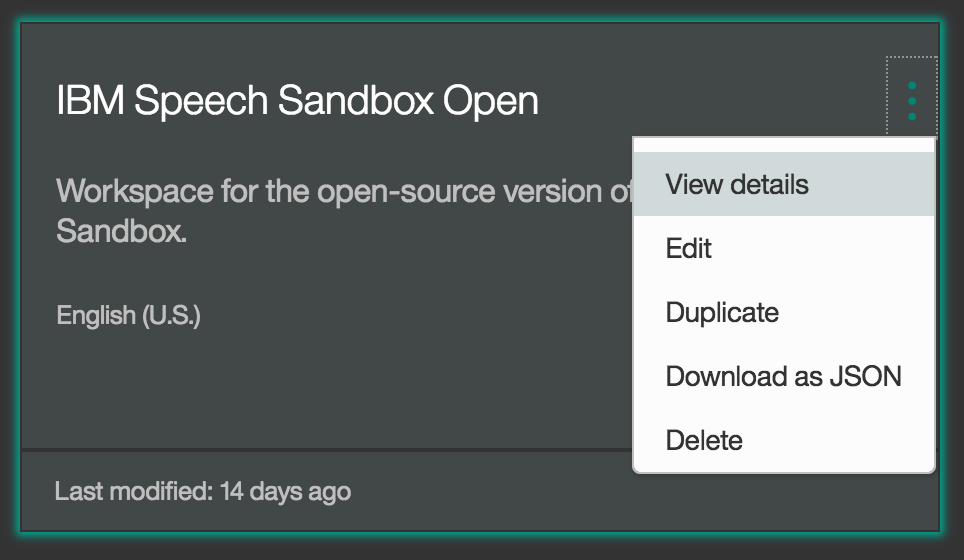
Add Variableand name your new variableConversationV1_IDthen set its value to the Workspace ID of your Conversation workspace. You can find your workspace ID by selecting the expansion menu on your conversation workspace and selecting
 View details.
- In the Unity editor project tab, select Assets->Scenes->MainGame->MainMenu and double click to load the scene.
- Press Play

