This is a guide for individuals to use to be able to safely transfer their crypto from an exchange such as CoinBase into an offline hardware wallet This guide is meant to serve as a walkthrough for individuals who want to safely transfer their crypto out of an exchange such as Coinbase into an offline hardware wallet. Below are the steps taken in spring of 2022 using a Ledger Nano Device. Enjoy!
First steps are to download the ledger live application. The link can be found at typing in the search engine “ledger live” or browsing to https://www.ledger.com/
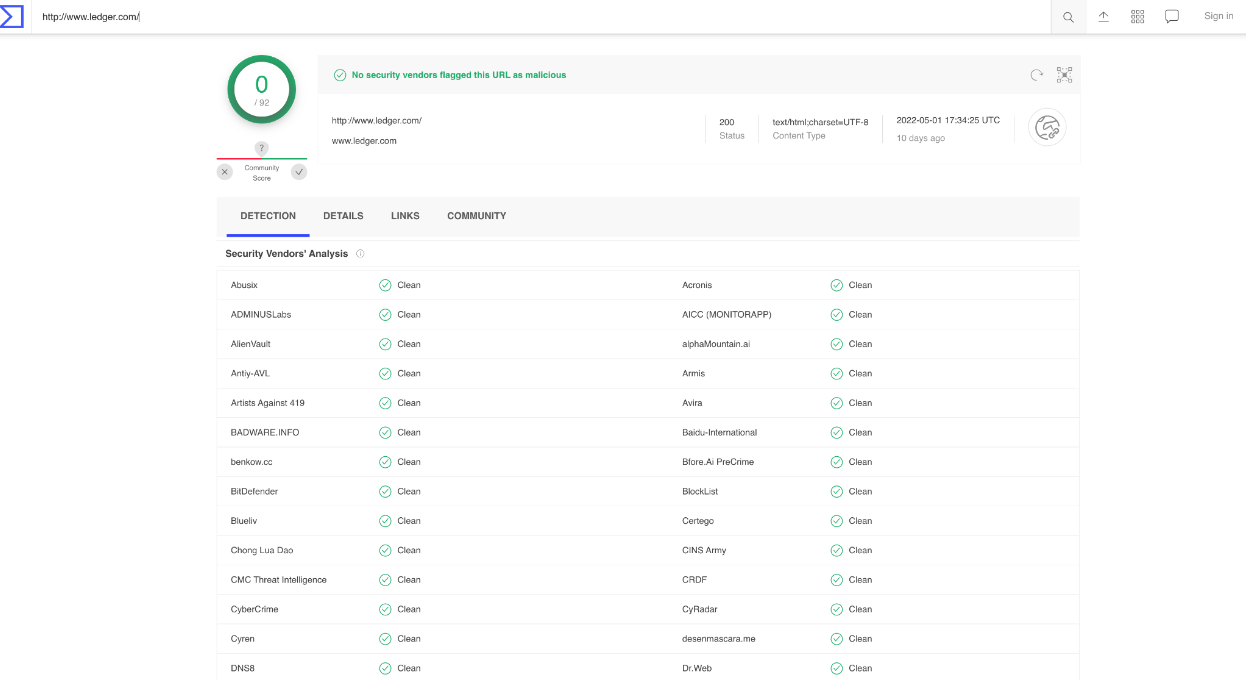
As a precautionary measure, to ensure that you didn’t click on the wrong link. Visit www.virustotal.com and copy the link above to run it against 90 or so security products to determine the URL is not infected.
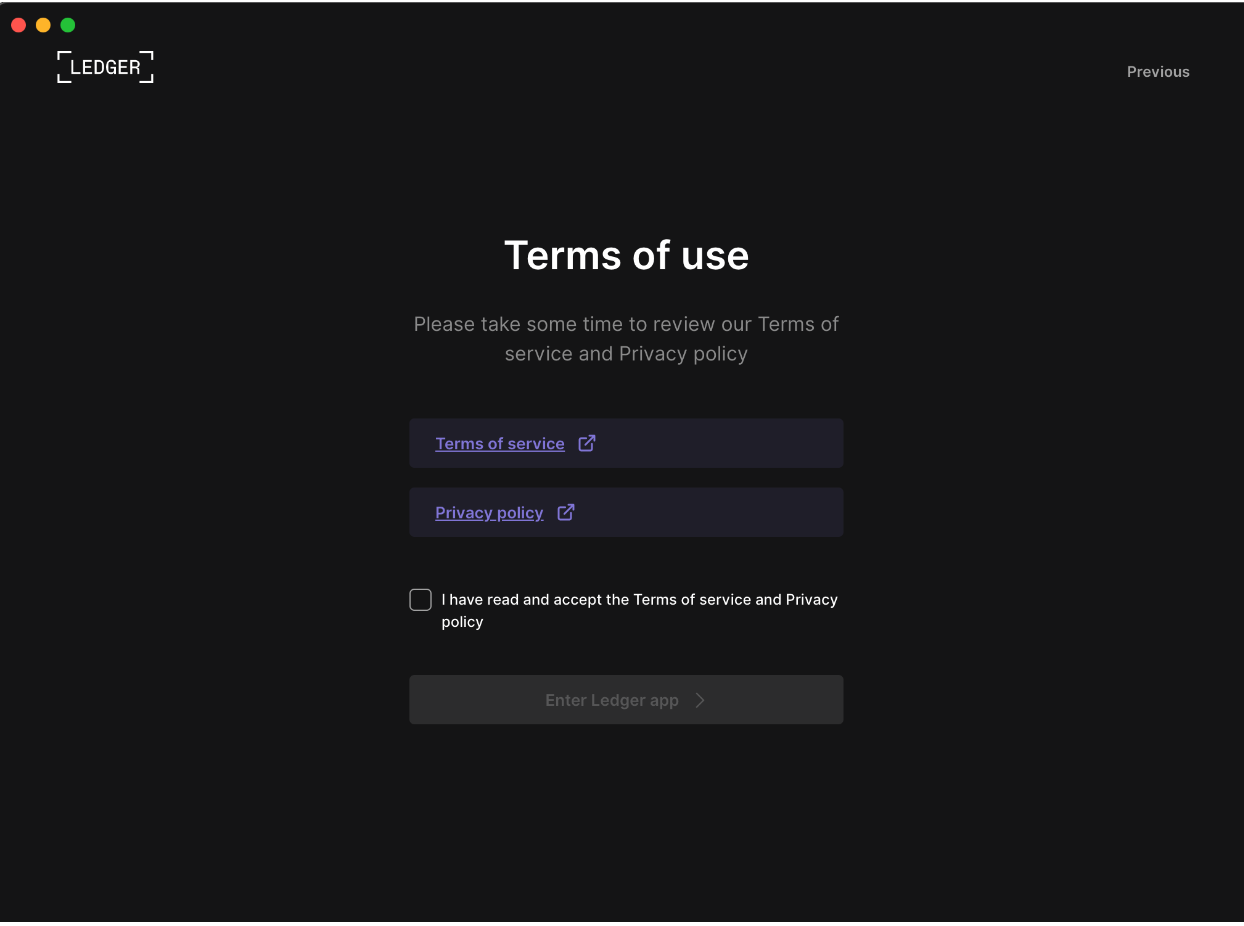
After downloading the application, in this case I’m on a MacOS. You will be greeted with the terms of use & privacy policy. Accept to move forward.
Next Select the device where you will be storing your crypto

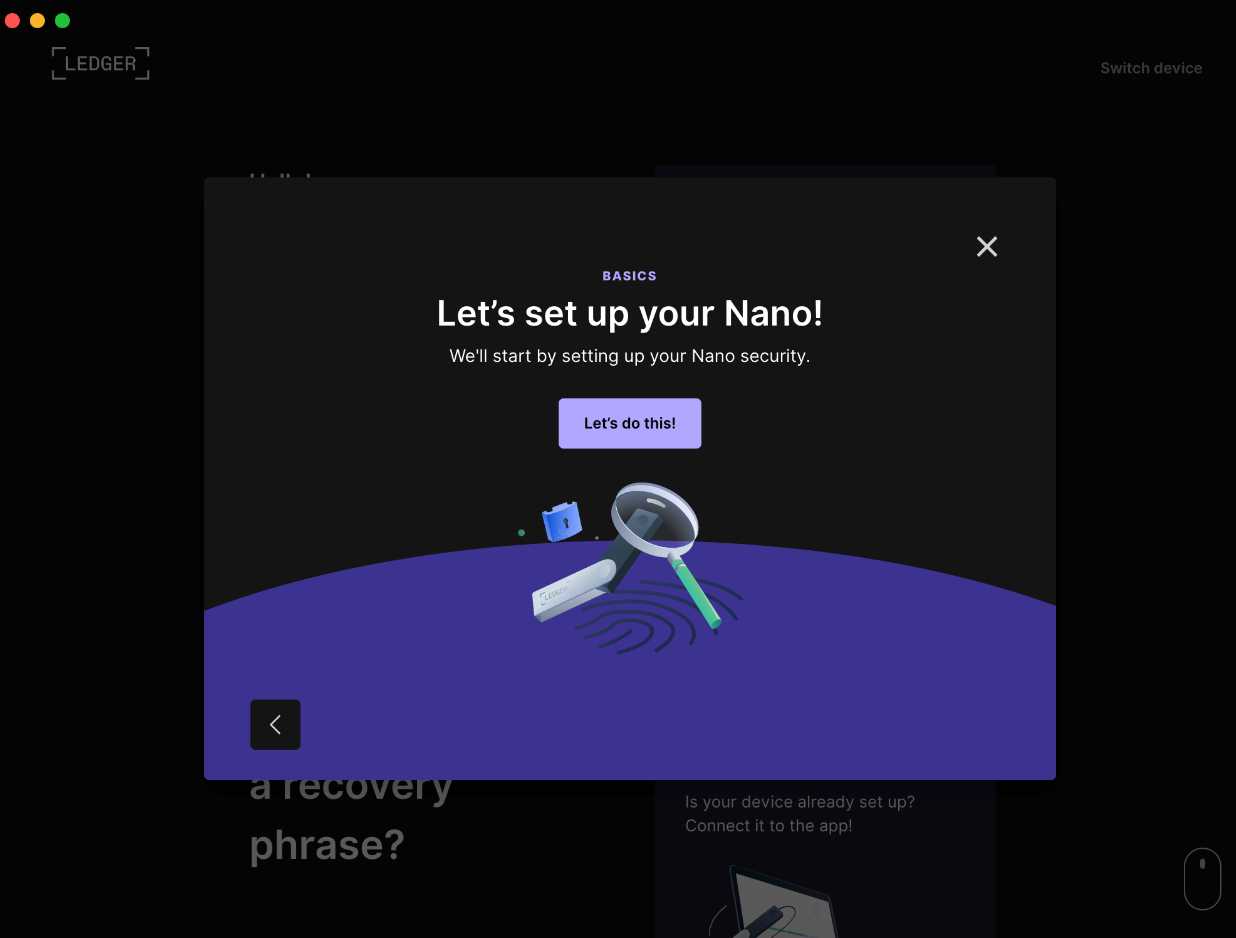
Next you will be prompted with steps for first time users or connecting a previously setup device. In this case you will be setting up for the first time.
Click “Lets do this!” to move forward

Do you have 30 minutes to dedicate the setting up of your hardware wallet? If you’re tight on time I suggest bookmarking this and returning at a later time.
Follow the steps on the screenshot below. First step is to connect your hardware wallet to your laptop through the USB Cable. Go to your device and follow steps prompted to you

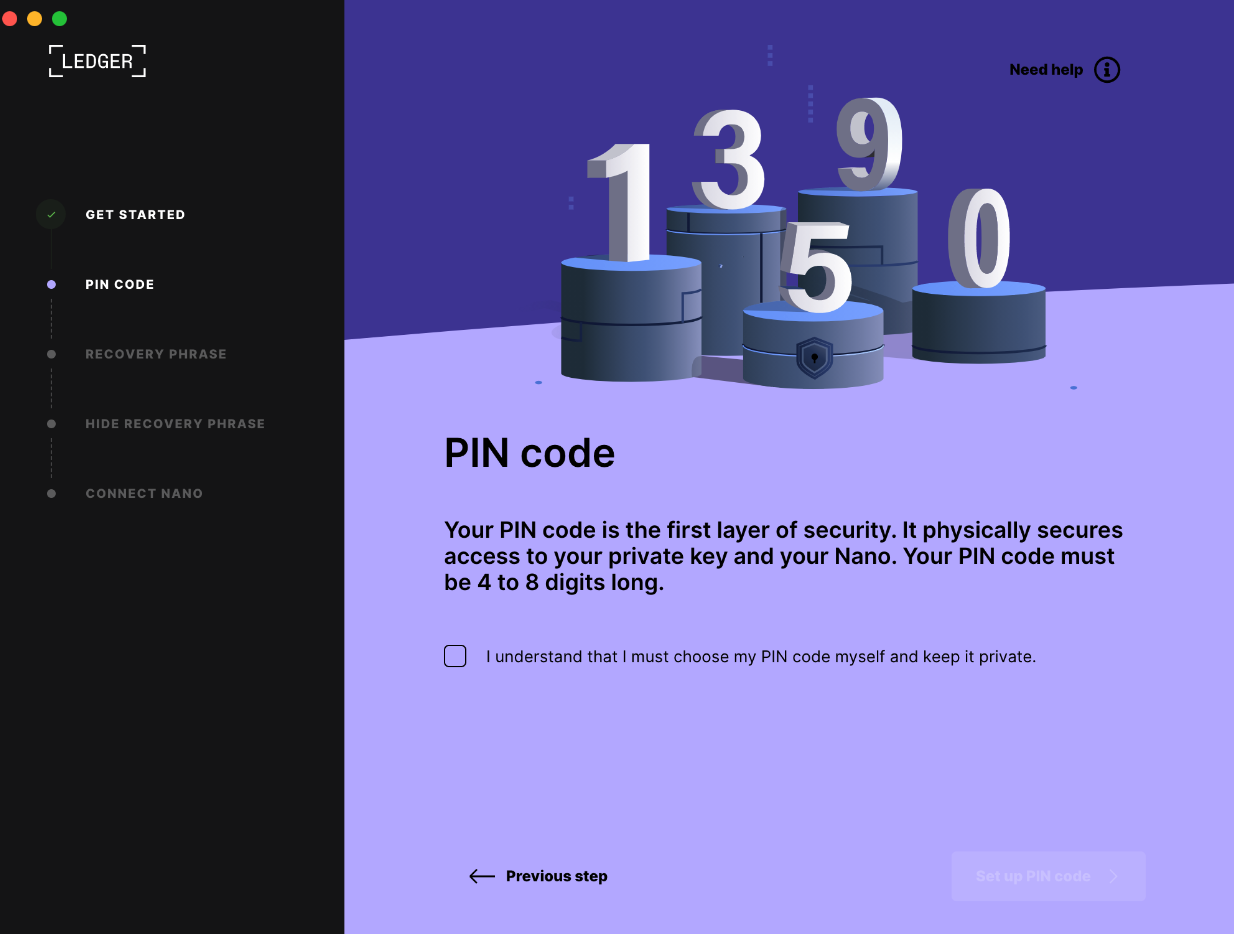
From personal experience I suggest using a password manager to store all your unique passwords including the PIN code for your hardware wallet. Ideally don’t name it “Crypto Pin” put it under something discreet such as “Thread Count for Sheets”
The nano device you purchased should’ve arrived with a few confidential documents where you can store your 24 words recovery phrase. Use it or find an alternative where you can safely keep track of these words in numerical order.
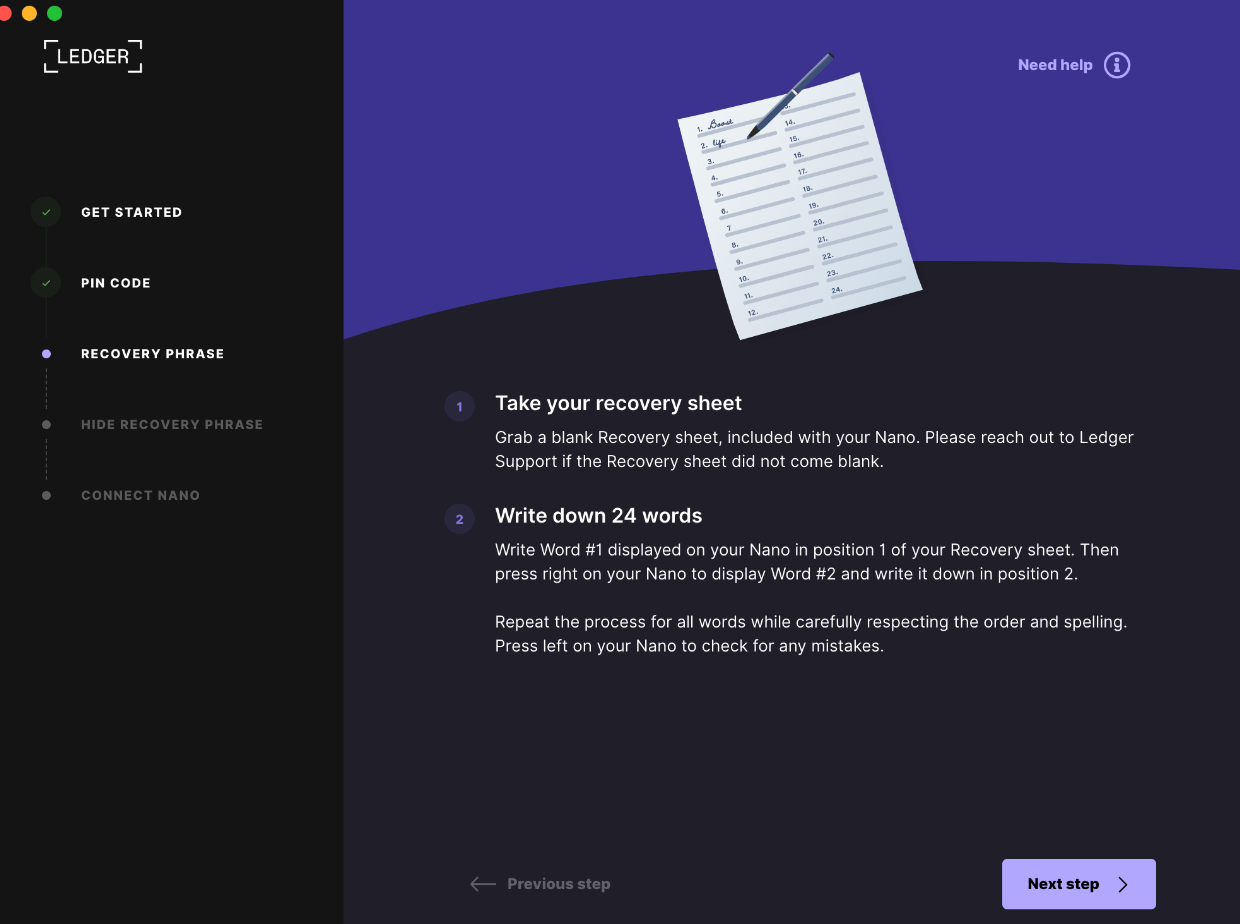
After going writing down Recovery Phrase 1-24, you will be prompted to verify them so ensure you get the order correct.
Confirm recovery phrase
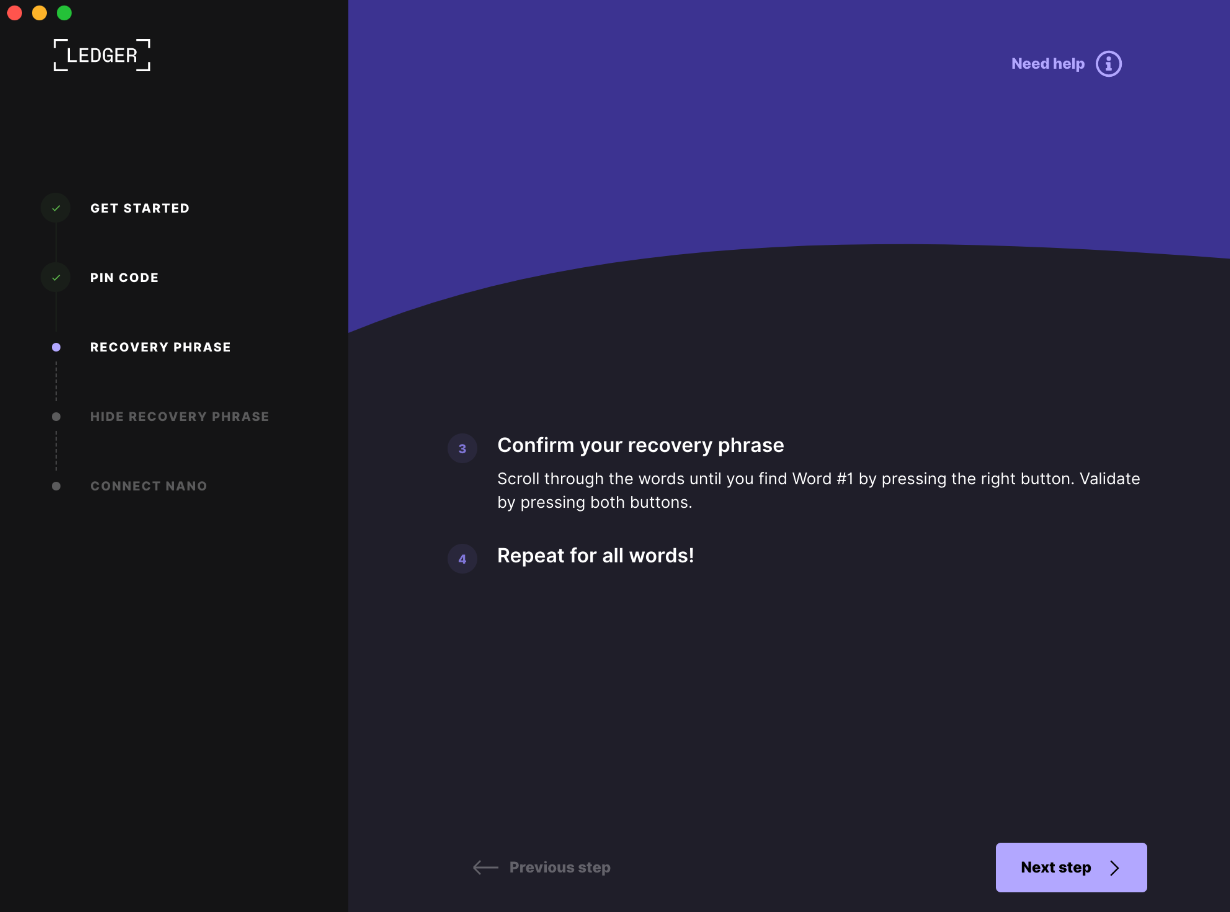 Whether you have a vault or a place where you store your sensitive documents, I suggest placing this in a location where it will not get lost as you won’t be able to access your crypto in the event you lose your pin.
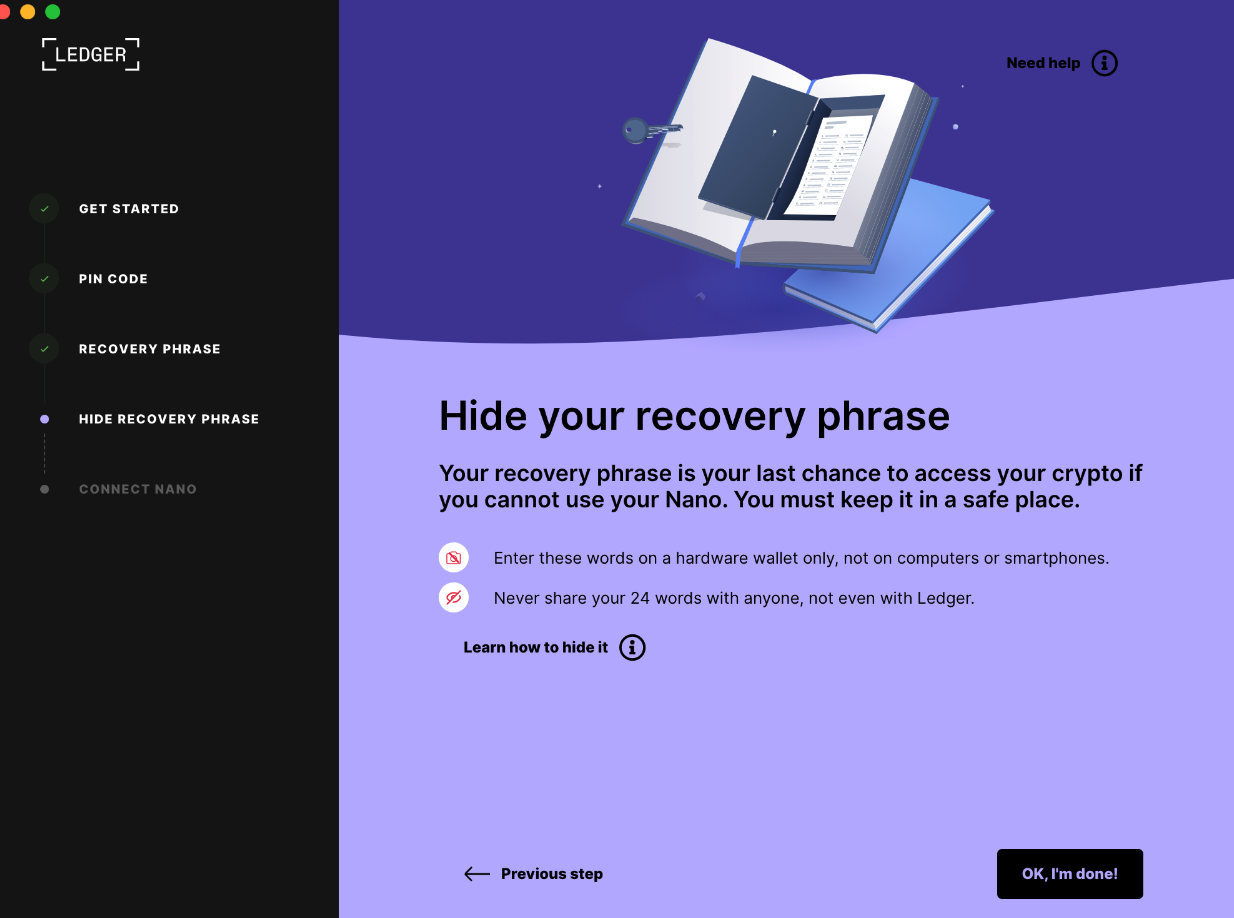
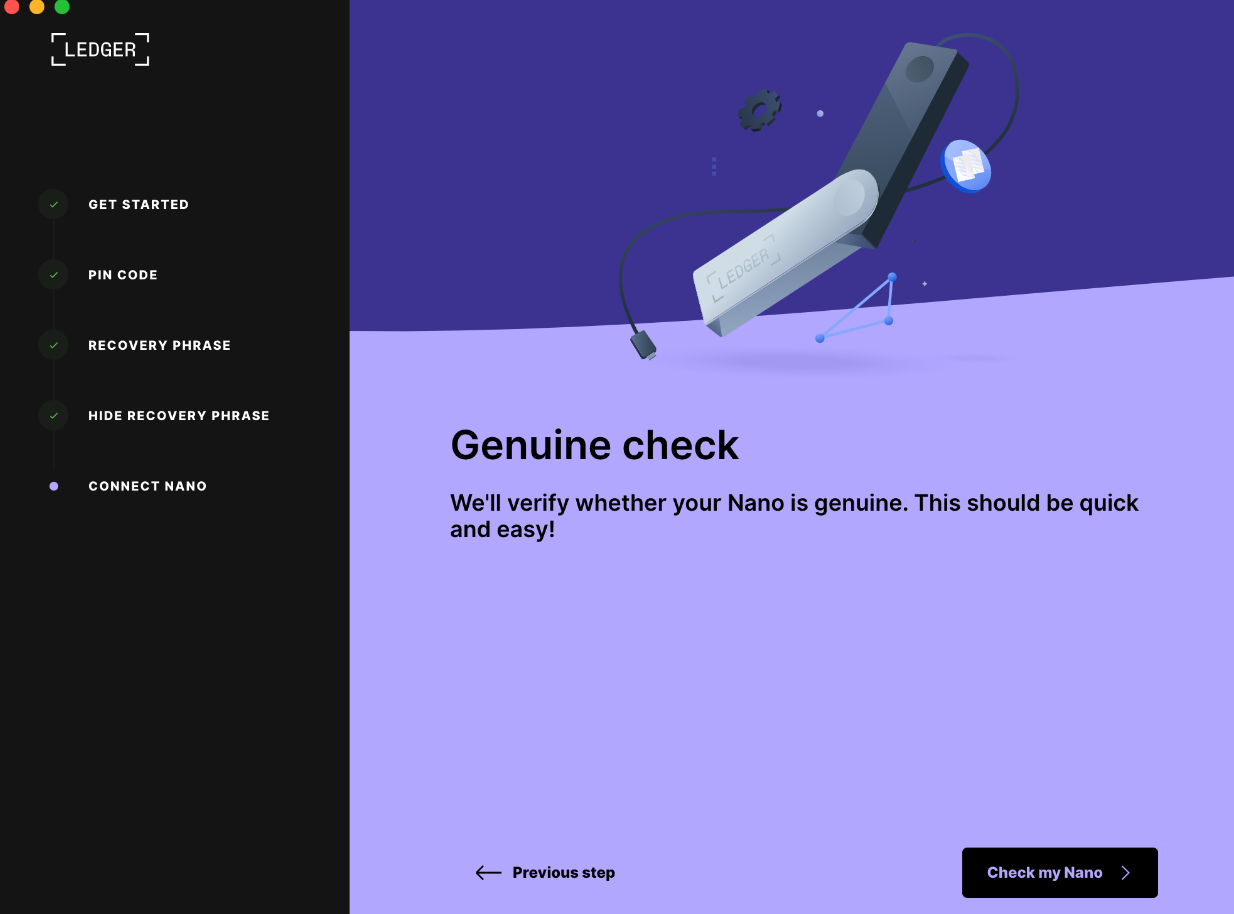
This is the fun part. We know that hardware devices can be tampered by threat actors and hackers. Ledger appears to be doing a check to ensure that it’s a genuine product. I presume it’s checking the cryptographic keys stored on the device against its database or checking a vendor hash.
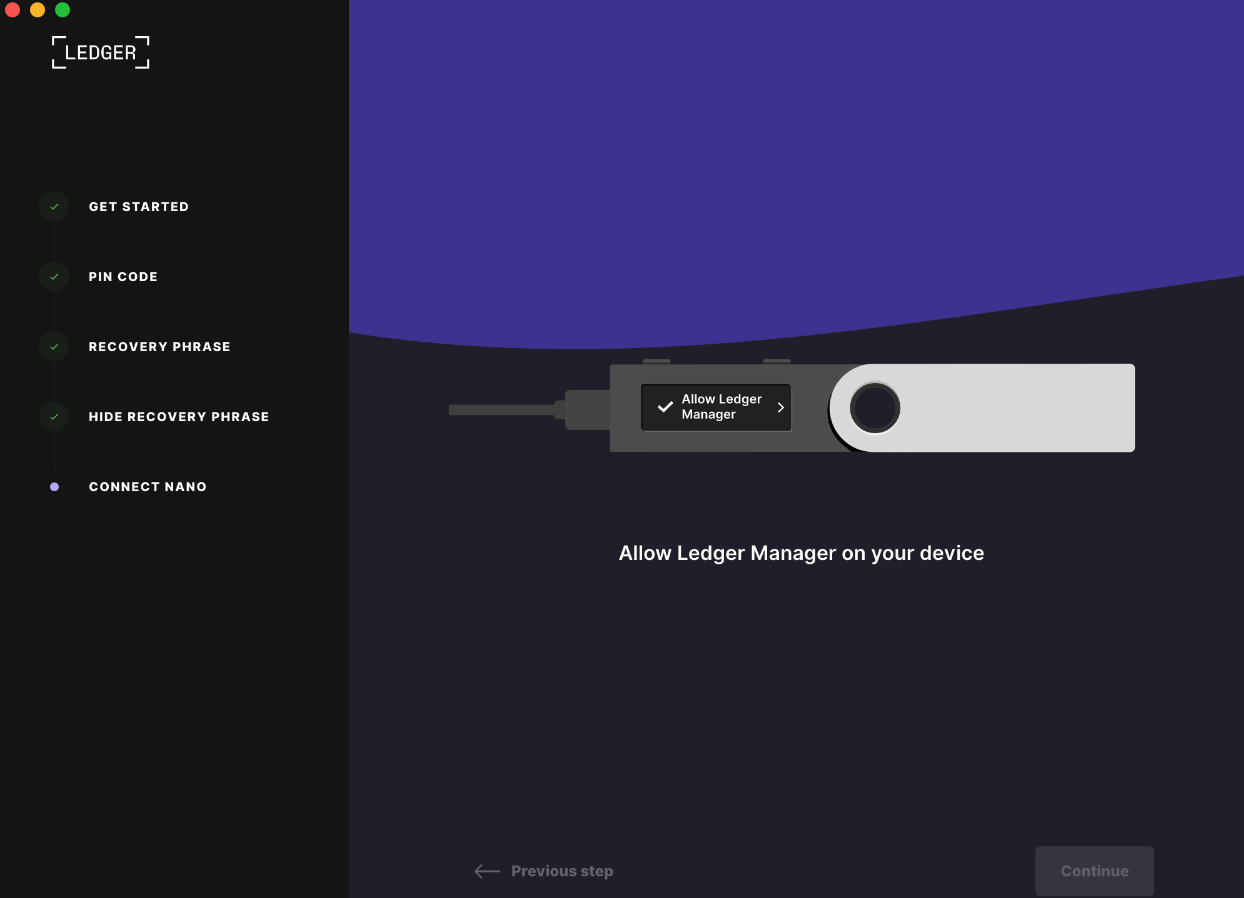
Allow the Ledger Manager access to your hardware wallet. You will be prompted to type in your PIN code on the wallet.
Looks like you’re ready and through the hard part, woohoo!

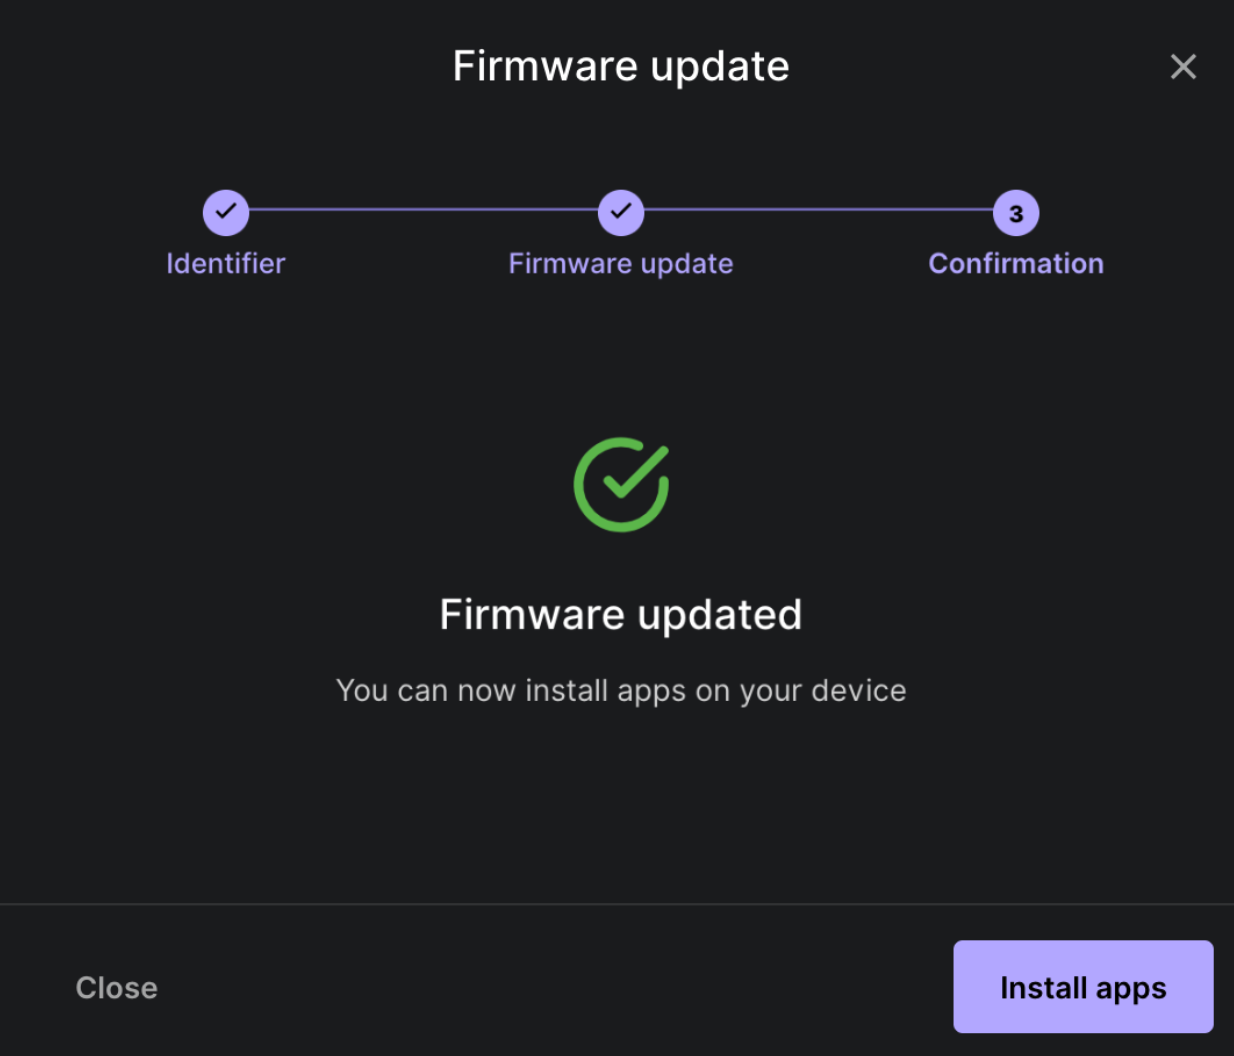
First things first, if you’re hardware wallet has been sitting around there’s a high likelihood that the vendor will have a new firmware update by the time you connect it. It’s highly recommended to keep your software & firmware up to date!
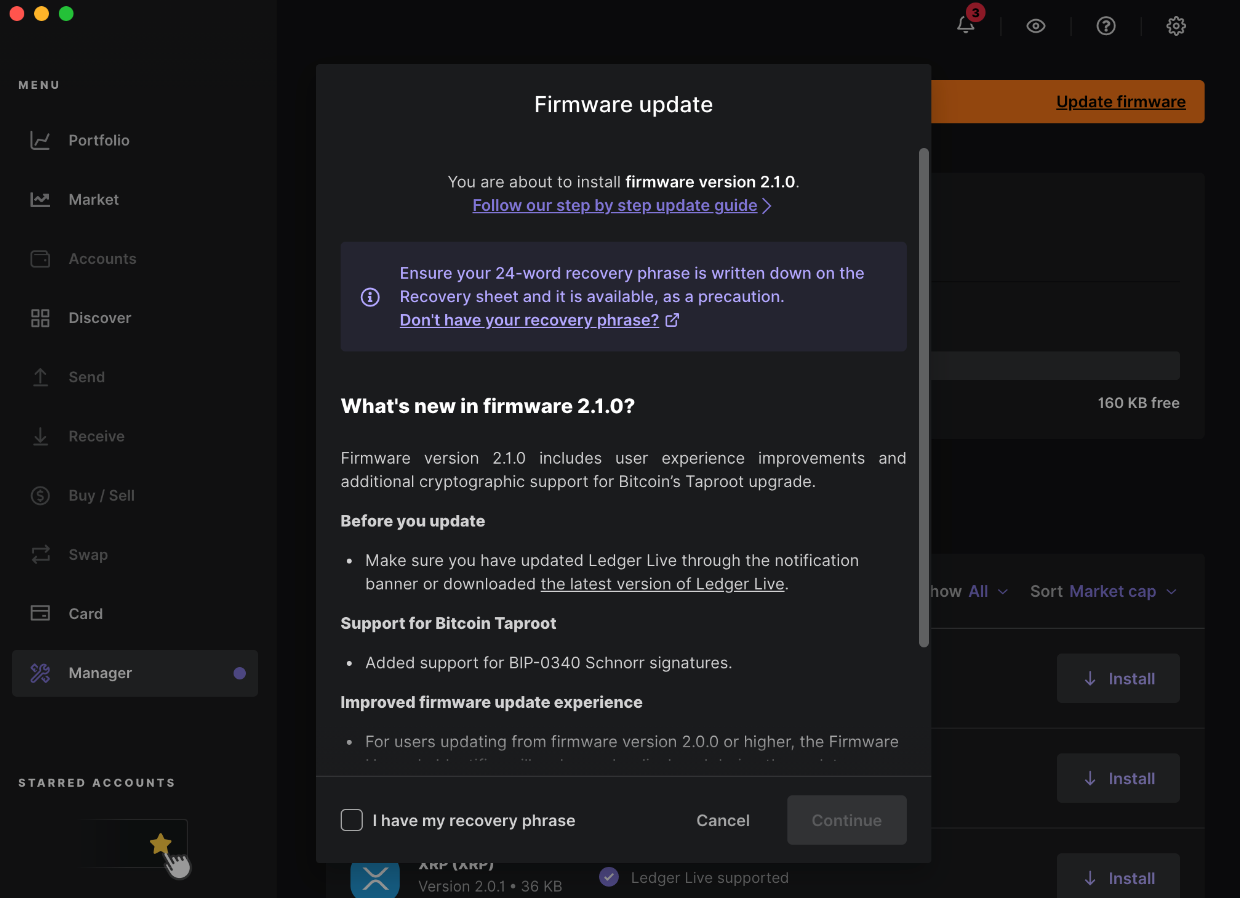
Downloading update, should only take a few minutes.
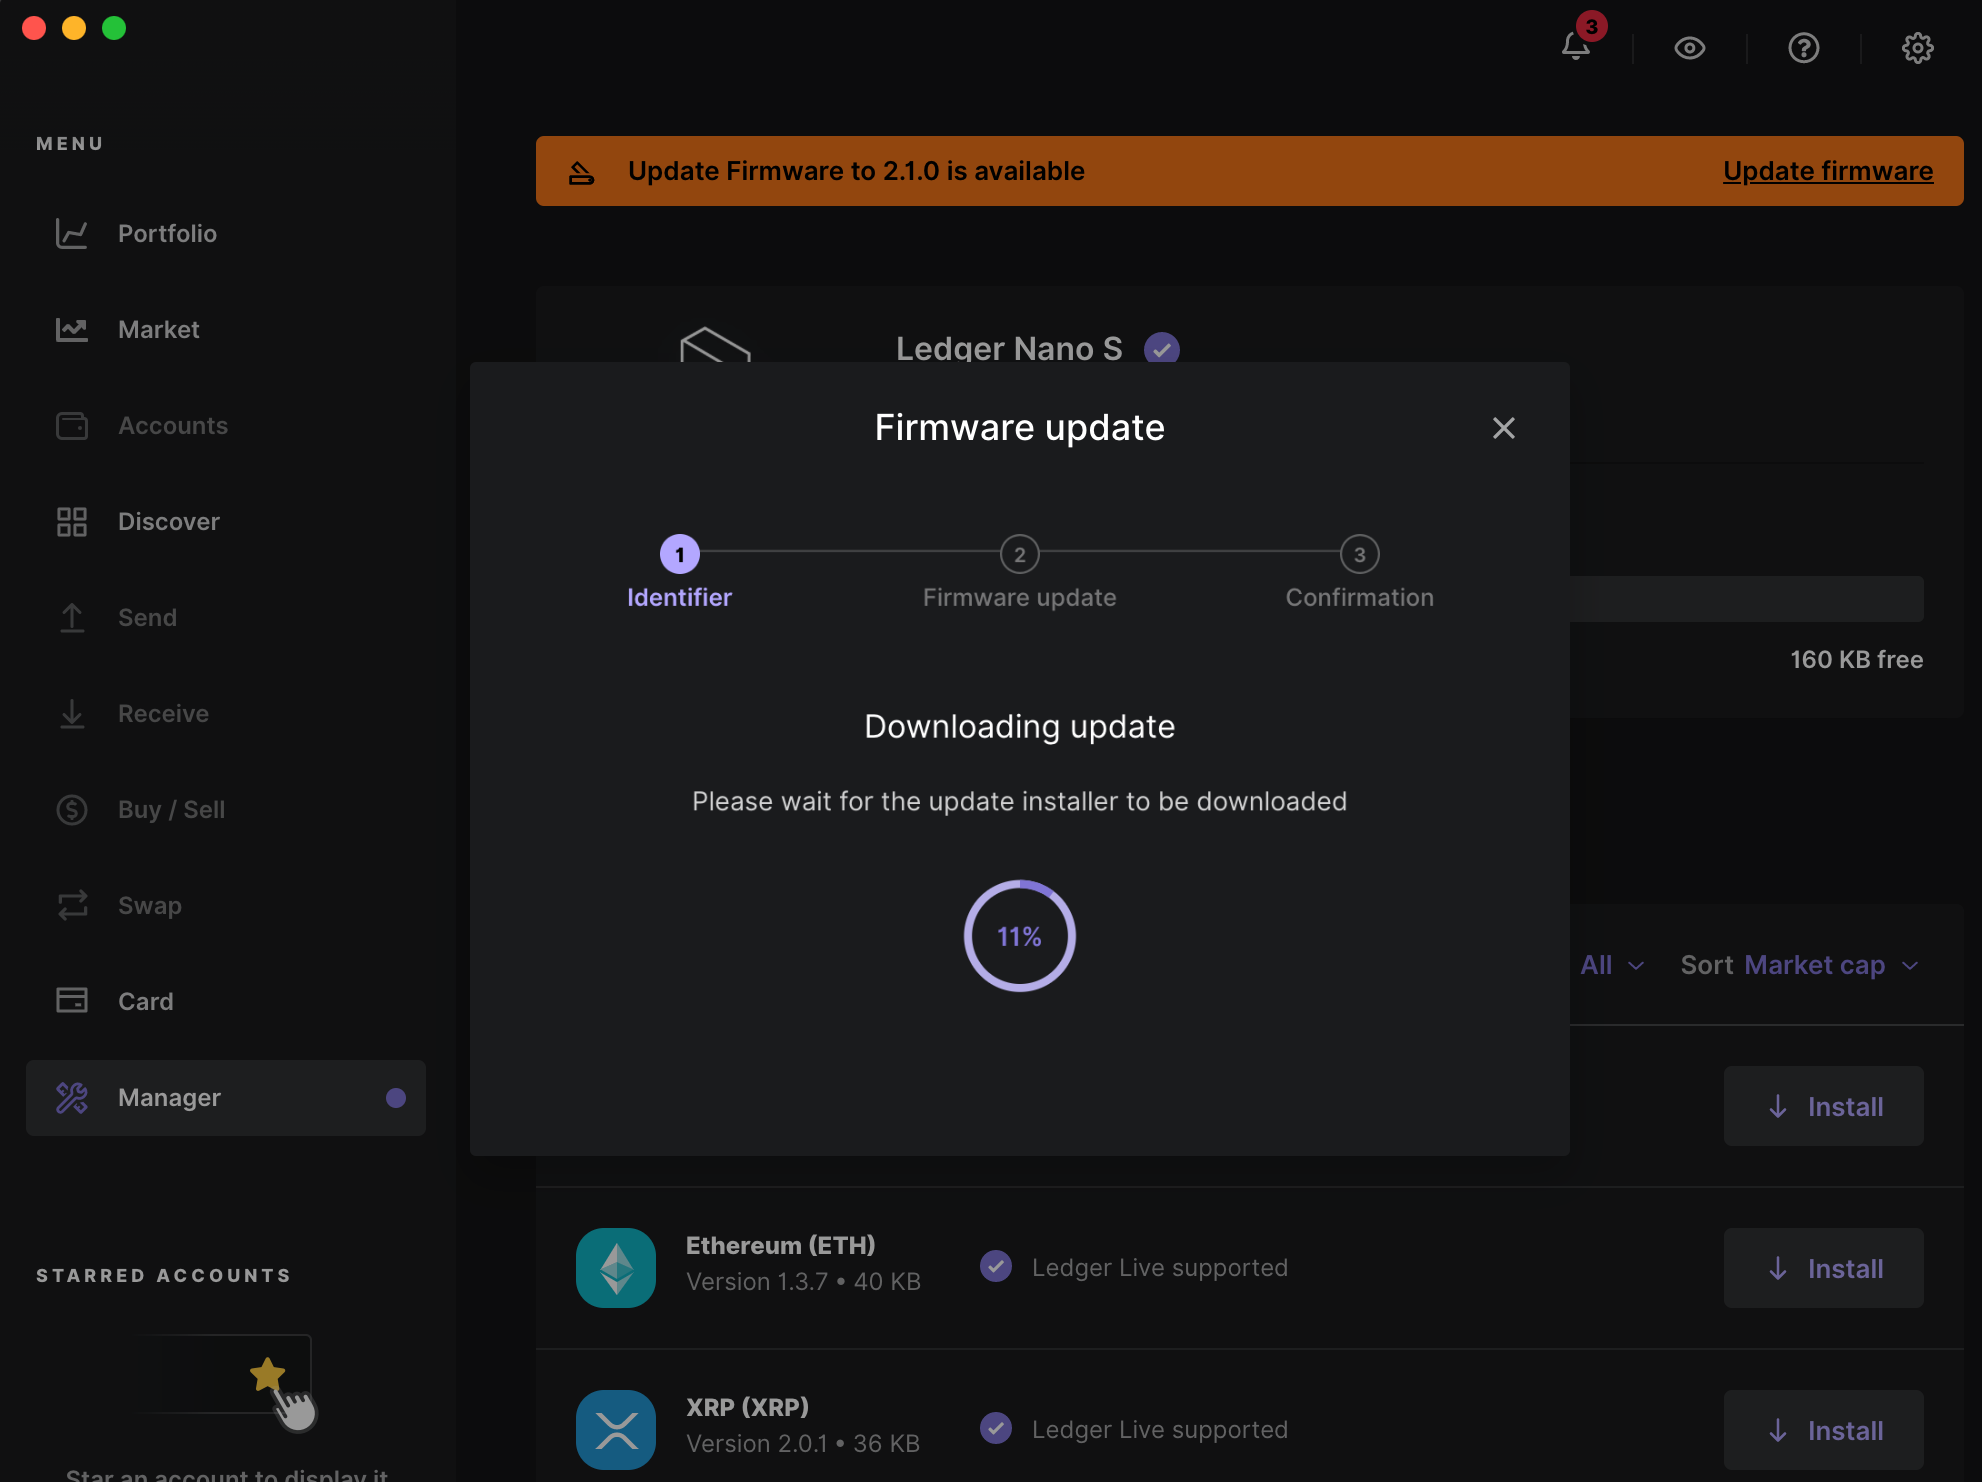
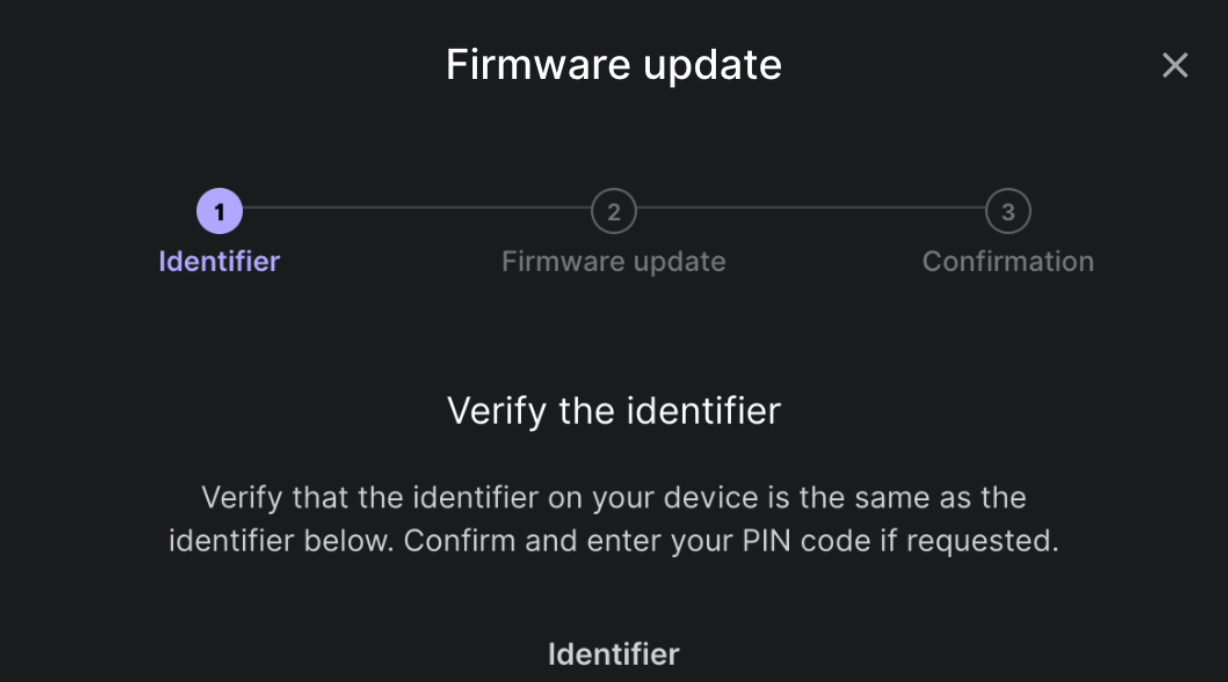
You will be prompted to verify your identifier, I purposely cut mine out. Verify that the ID on the screen matches the one presented in your hardware wallet screen.
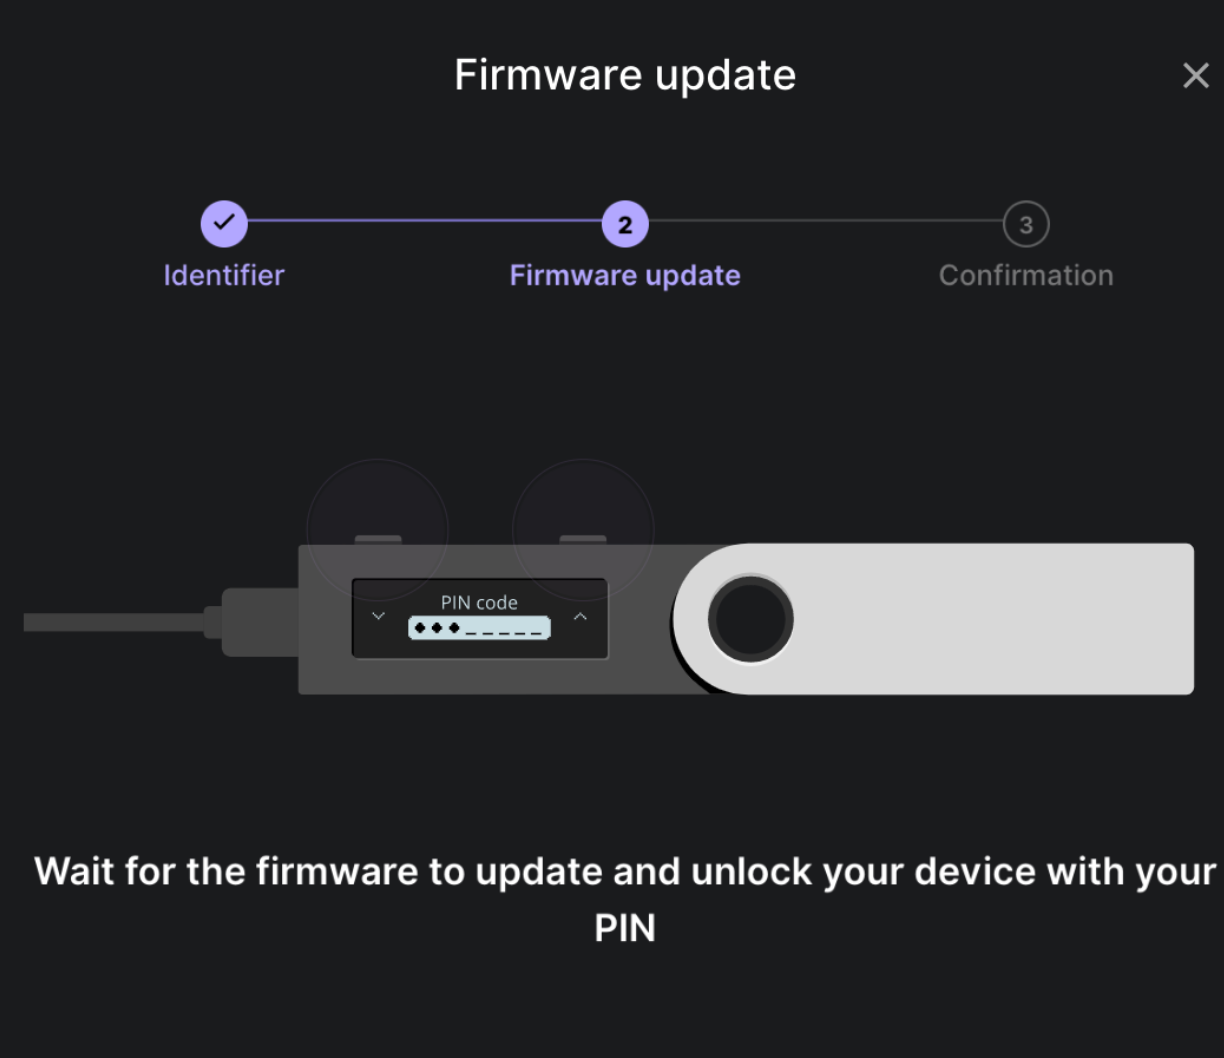
Waiting for firmware update to be completed
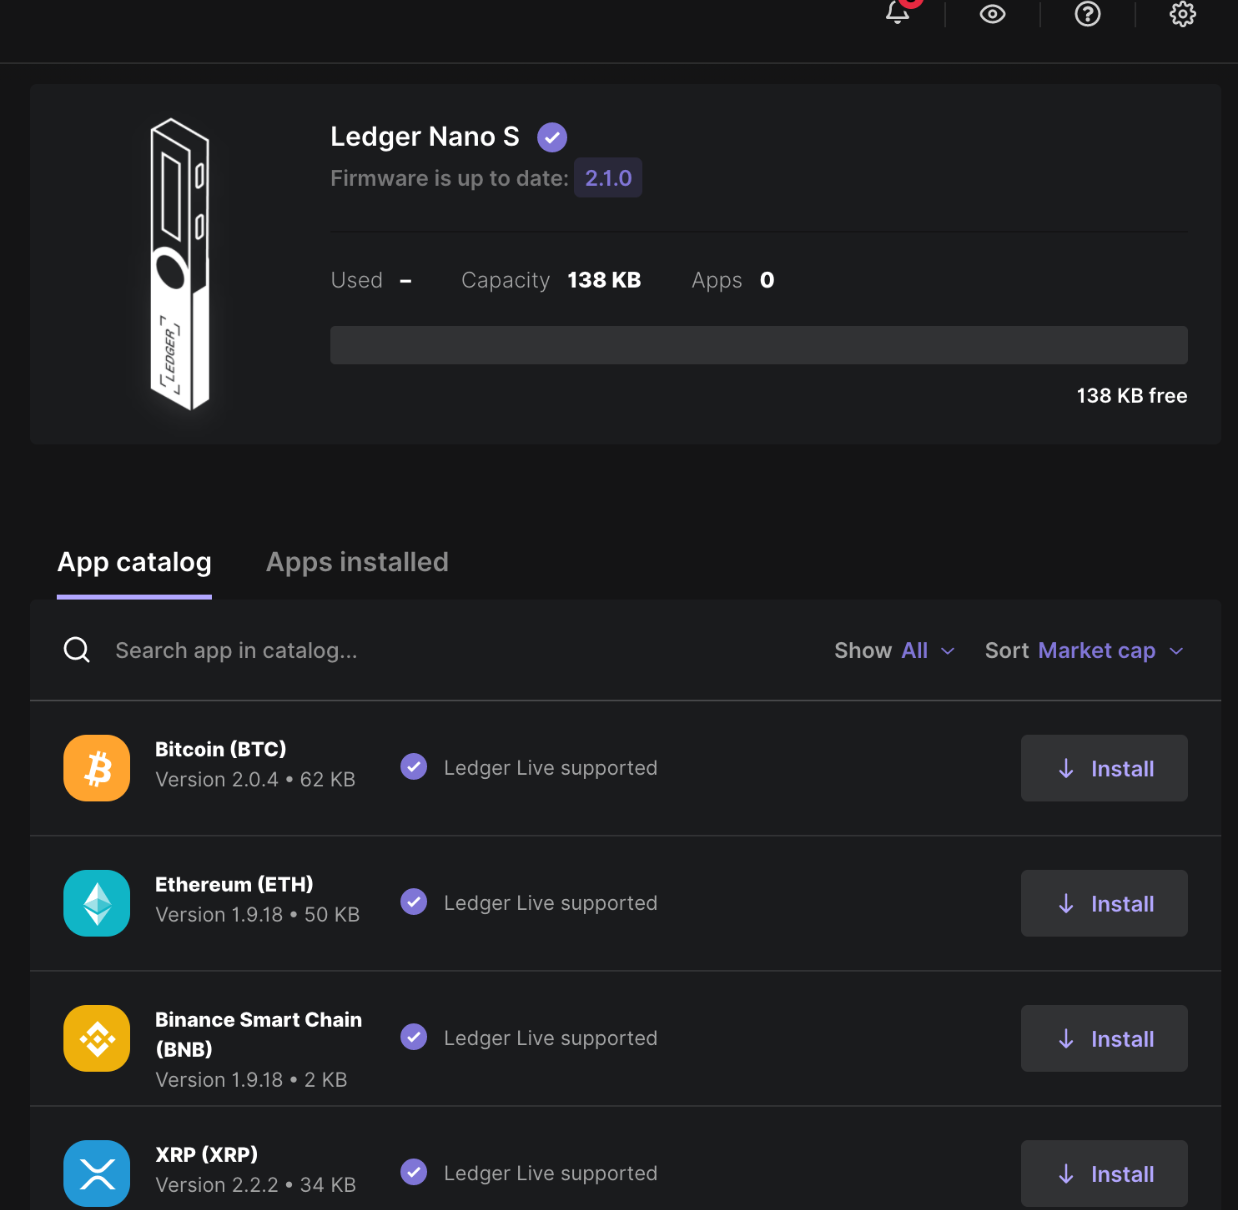
Next steps is the fun part. The hardware wallet will not have any pre-installed applications so to store your crypto you will need to download the app for your assets first. Let’s click on Bitcoin!
I clicked on the default option “Native Segwit”, let the device synchronize
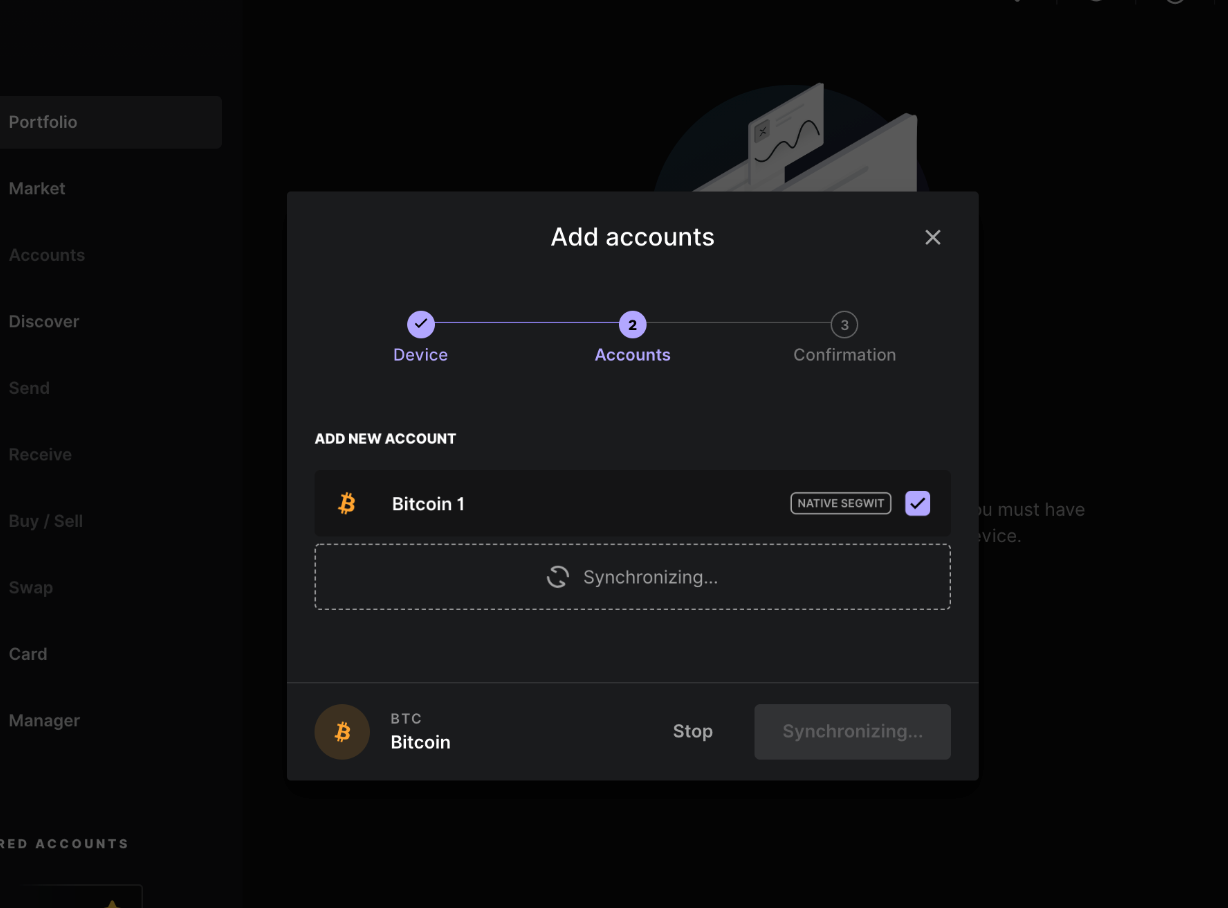
The account has been added to the application and you’re almost ready to send BTC into your hardware wallet

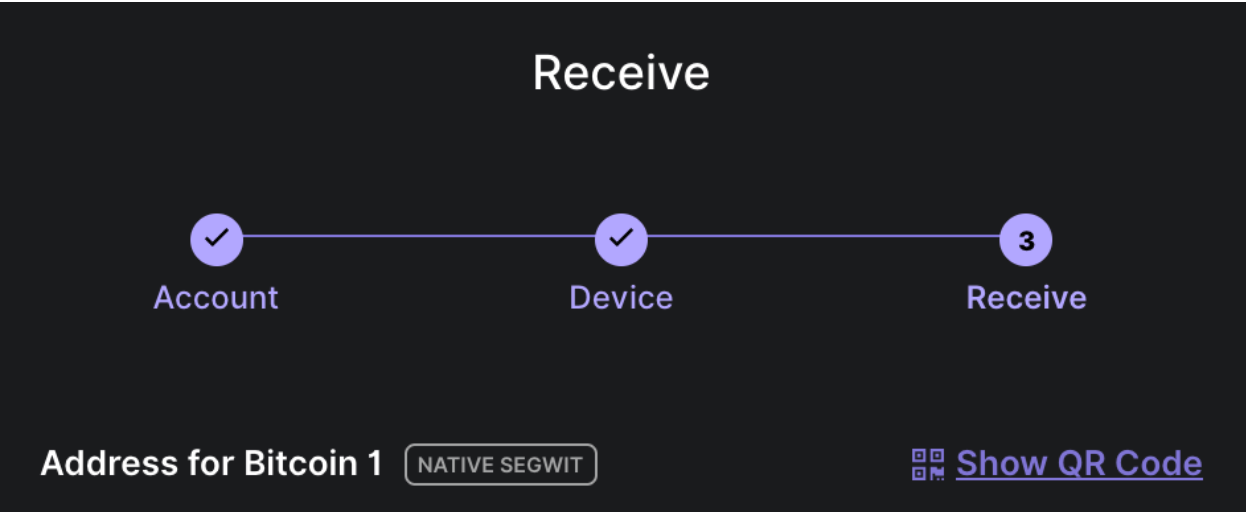
In this step you will be prompted to ensure that the address of your hardware wallet matches the one identified by the Ledger Live application. I’ve intentionally left mine out, unless you want to send me money, DM me. I clicked on show QR code, because it’s easier than copying it and pasting it.
While your QR code is up on your laptop screen you will need to follow the steps below:
Go to Coinbase Dashboard
click on Send
Select Digital Currency you’d like to send
Select Amount
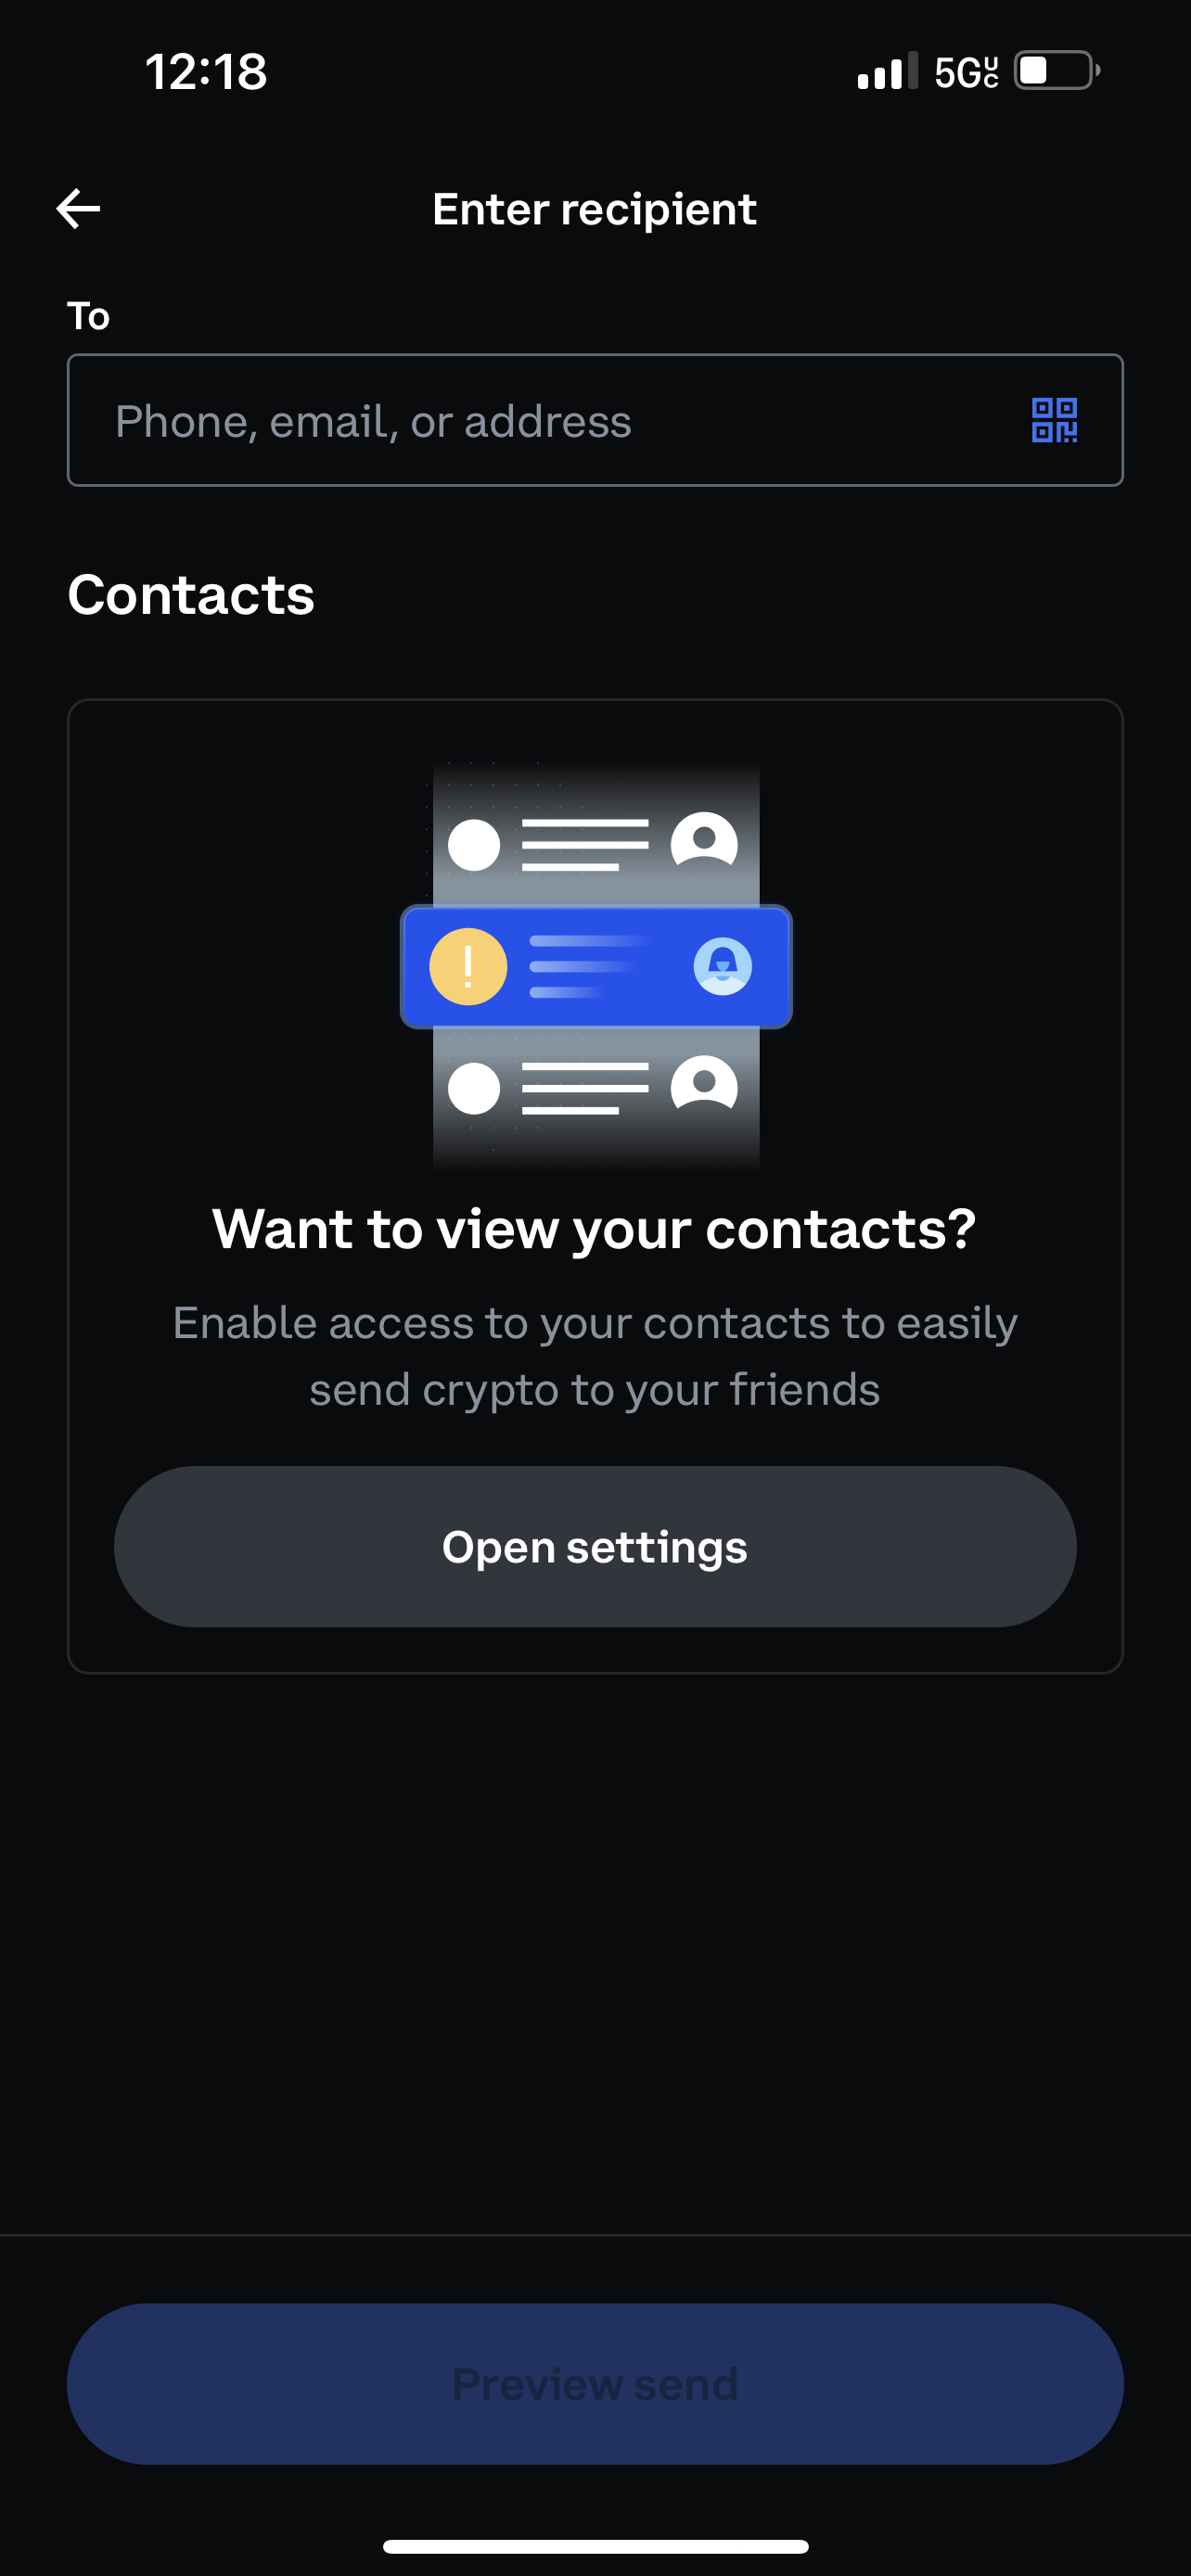
Click QR or enter address
Unfortunately for CB, you will need to provide front and back of ID and a selfie to ensure you’re the person who wants to send the crypto out of your account
Add message (optional)
Send
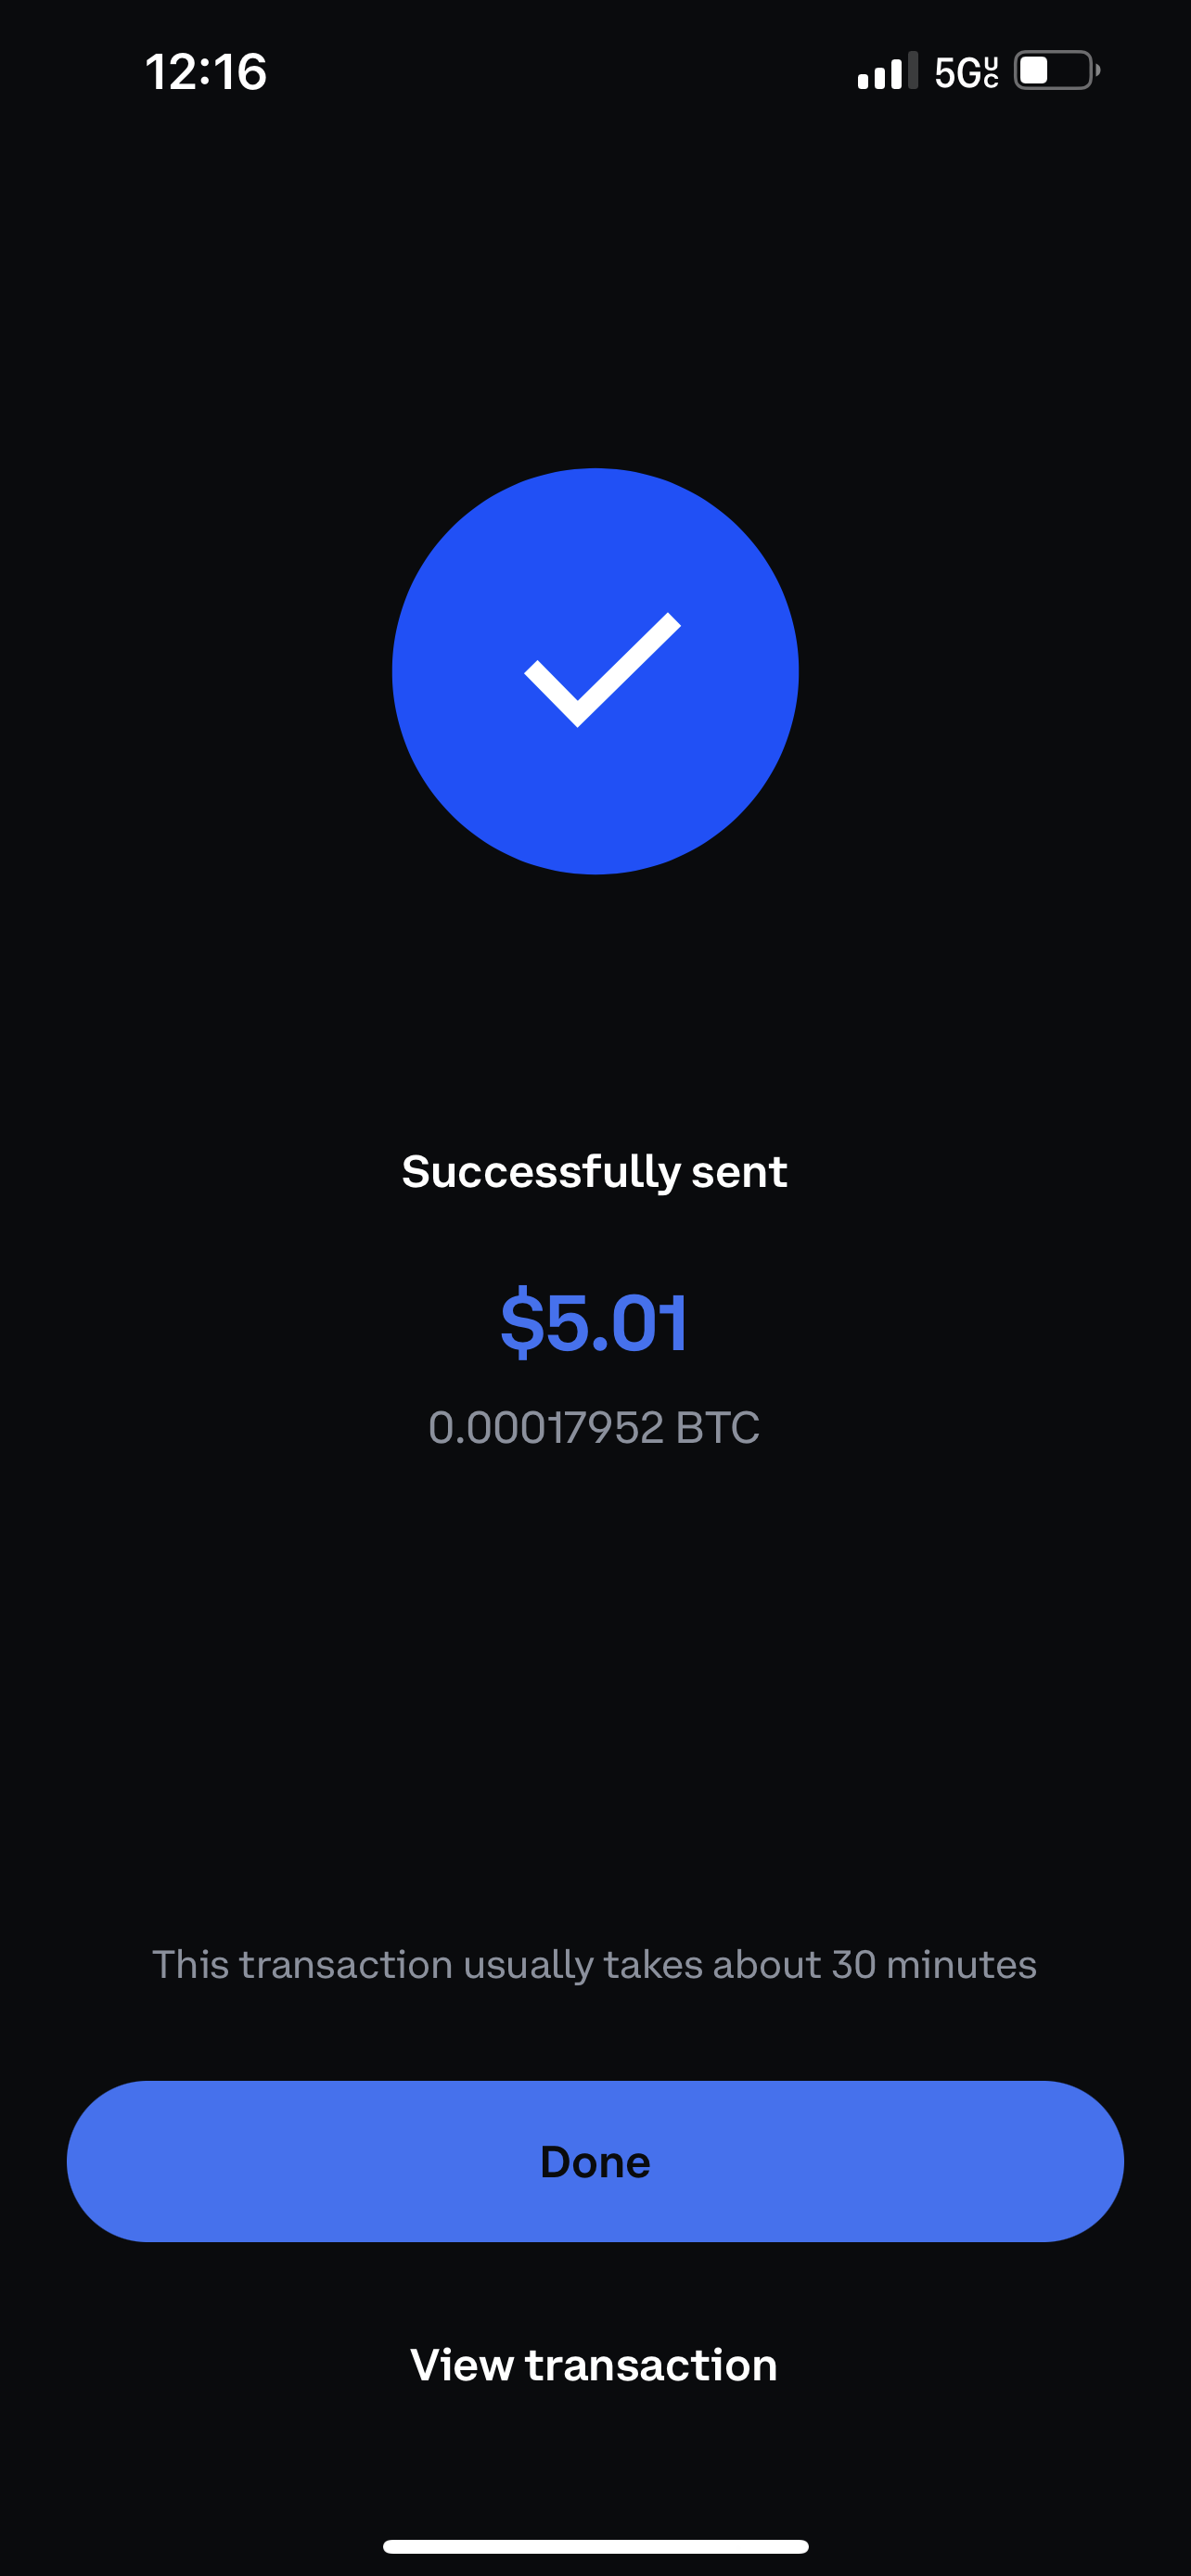
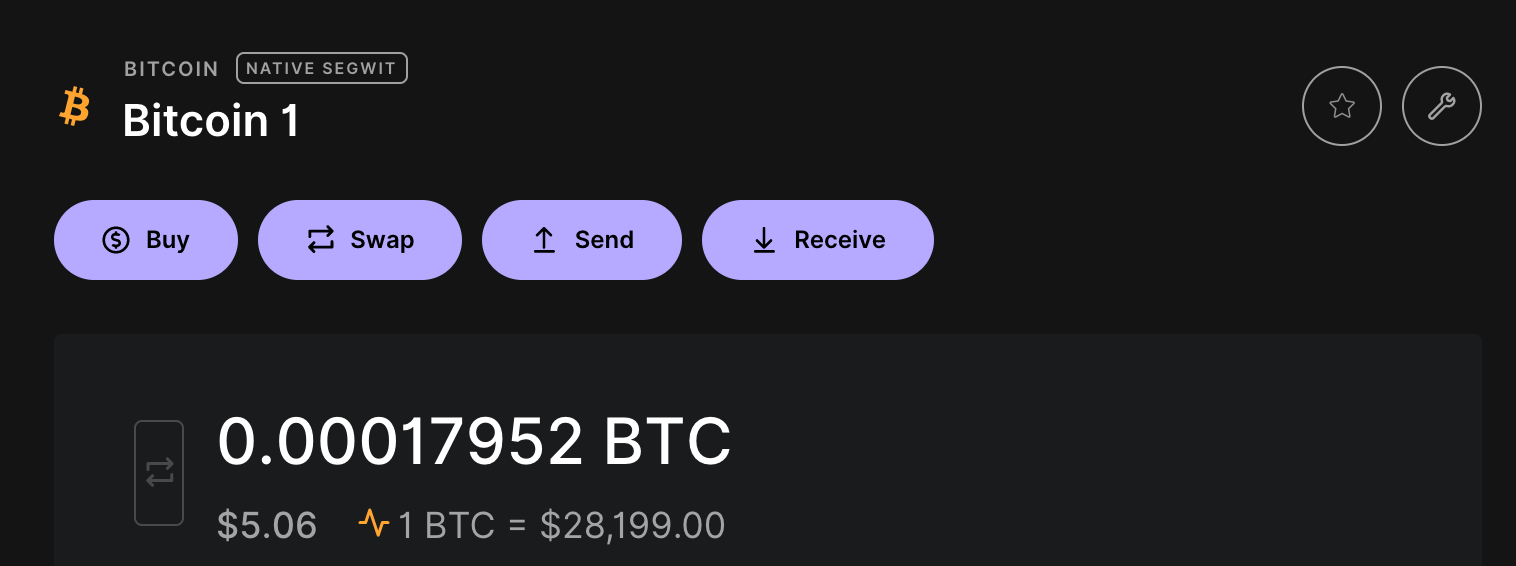
After a few minutes, my Ledger Live is updated with the recent transaction that was sent to my hardware wallet
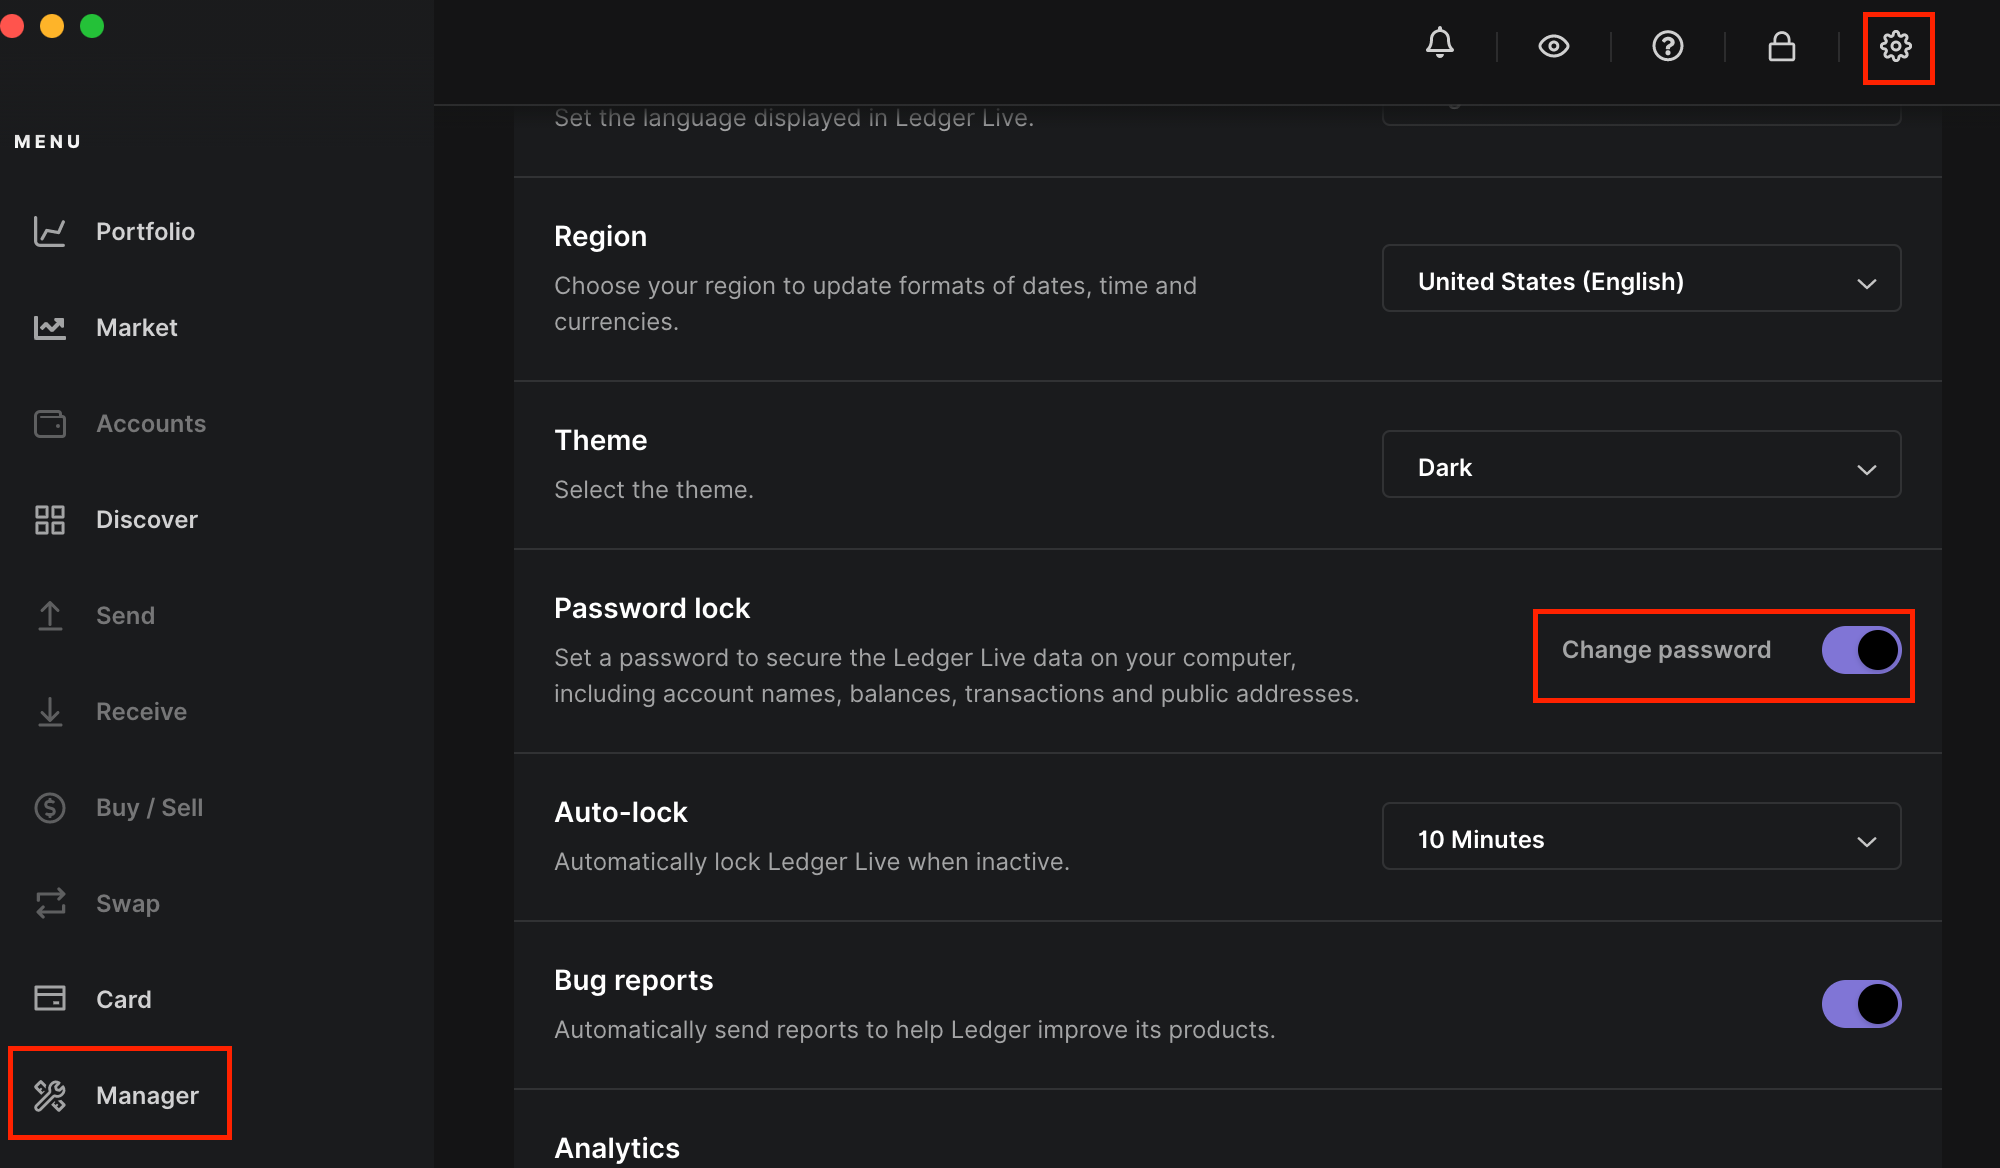
Now that the money has been transferred, you will want to add a password to log into the dashboard of the Ledger Live application on your laptop. This will ensure that in order to use the application a password is prompted, then the PIN on your hardware wallet is provided as a multi-factor to do your crypto transactions.
