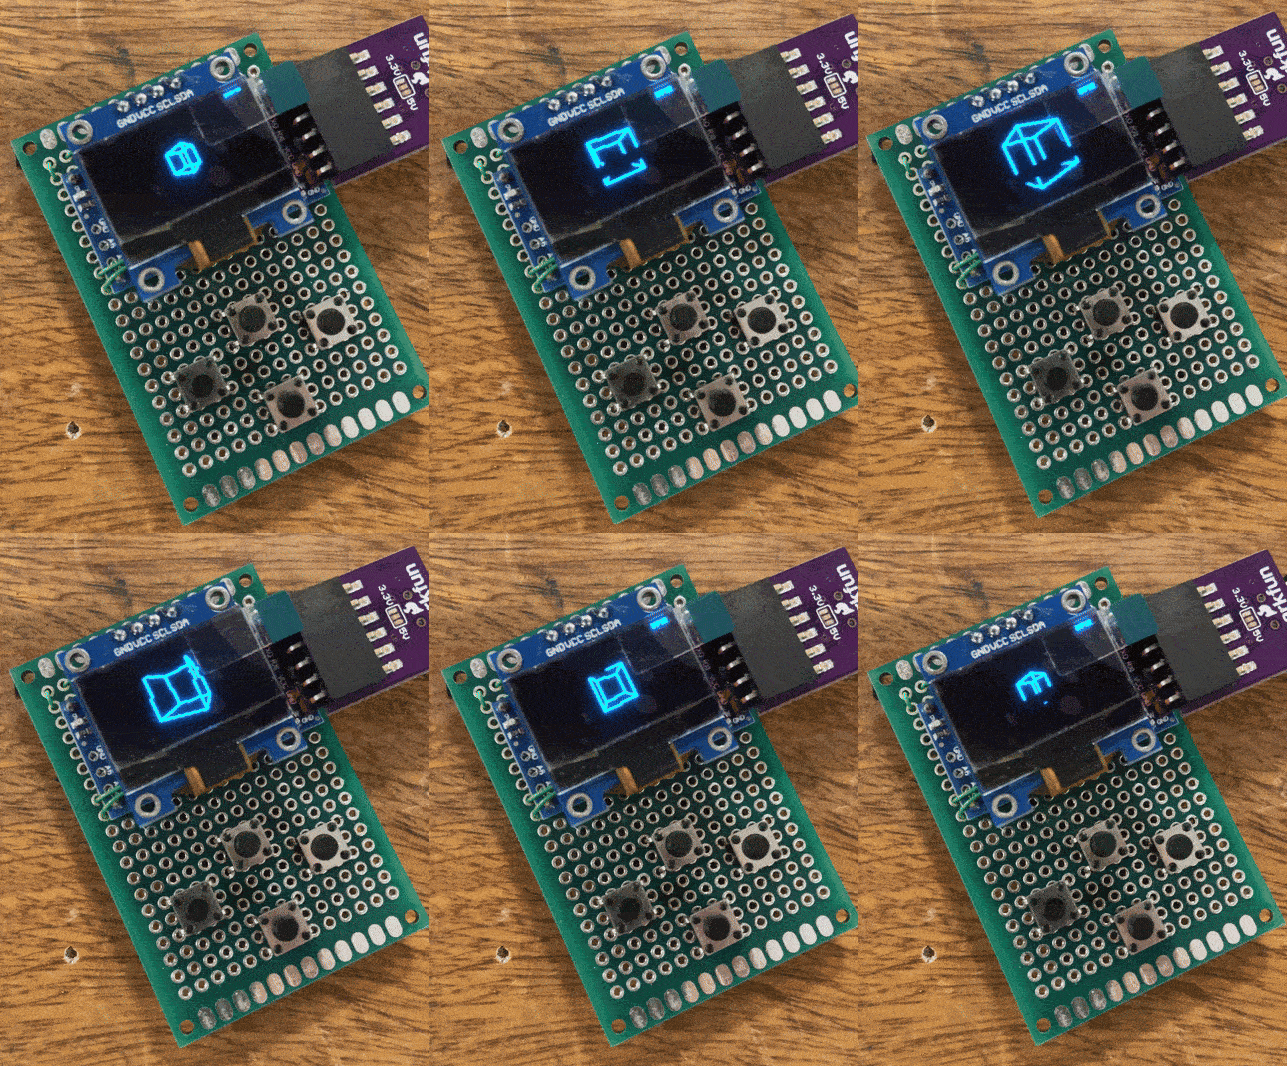
The Arduino is placed underneath the OLED display here. If you look closely, you can see it sticks out on the left end, and the FTDI connects from the right.
This project pushes the boundaries of microcontroller capabilities, combining creative coding, interaction design, and physical computing to render a captivating 3D spinning cube animation on a compact OLED display, all powered by an Arduino Pro Mini.
- Arduino Pro Mini: A tiny powerhouse running at 16 MHz
- 128x64 OLED Display: Supports both I2C and SPI interfaces
The Arduino Pro Mini, with its modest 16 MHz clock speed and mere 2 KB of SRAM, presents a formidable challenge for 3D graphics. This project demonstrates how to squeeze impressive visual performance out of limited hardware resources.
- 3D cube rotation around the Y-axis
- Dynamic cube size oscillation
- Perspective projection for a 3D effect
- Efficient code optimized for low-power microcontrollers
- Implements a basic 3D engine on a microcontroller with just 32 KB of flash memory
- Achieves smooth animations despite limited processing power
- Demonstrates efficient memory usage to prevent stack overflow
- Uses fixed-point arithmetic to avoid costly floating-point operations
- Implements optimized trigonometric functions
- Employs clever algorithms to reduce computation time
- Utilizes direct port manipulation for faster I/O operations
- Implements efficient display update routines to maximize frame rate
When working with this project, it's crucial to maintain the correct file structure for successful compilation and uploading:
- Ensure all necessary
.h(header) files are in the same directory as the main.inofile. - The Arduino IDE requires the main
.inofile to be in a folder with the same name. - Example file structure:
- SpinningCube/
- ├── SpinningCube.ino
- ├── U8glib.h
- └── [Any other required .h files]
- When uploading to the Arduino Pro Mini, select the correct board and port in the Arduino IDE.
Maintaining this structure ensures that the Arduino IDE can find all necessary files during compilation, preventing missing header errors and ensuring a smooth upload process.
- Add potentiometers to control rotation speed or cube size
- Incorporate an accelerometer for motion-based interactions
- Expand with additional shapes or more complex 3D models (within memory constraints)
This project serves as an excellent case study for:
- Embedded systems programming
- Graphics programming on constrained hardware
- Optimization techniques for microcontrollers
- Creative coding within strict hardware limitations
- Implement more complex 3D models while maintaining performance
- Explore power optimization techniques for battery-powered operation
- Investigate ways to further push the limits of the Pro Mini's capabilities
Dive into the code to discover how mathematics, clever programming, and hardware knowledge combine to create this impressive display on such limited hardware. This project demonstrates the art of maximizing performance on minimal resources, a crucial skill in embedded systems and physical computing.