中文 | English
Welcome to the QuecPython DTU Solution repository! This repository provides a comprehensive solution for developing DTU device applications using QuecPython.
QuecPython has launched a solution for DTU, including multi-protocol data transmission (TCP/UDP/MQTT/HTTP, etc.), integration with common cloud platforms, and support for parameter configuration of DTU using upper computer tools.
- Multi-Protocol Data Transmission: Supports data transmission via TCP/UDP/MQTT/HTTP protocols, configurable as command mode or transparent transmission mode.
- Integration with Common Cloud Platforms: Supports integration with Alibaba Cloud, Tencent Cloud, Huawei Cloud, AWS, and other cloud platforms.
- Parameter Configuration and Storage: Supports parameter configuration of the device using a dedicated DTU tool, with persistent storage on the device.
Before you begin, ensure you have the following prerequisites:
-
Hardware:
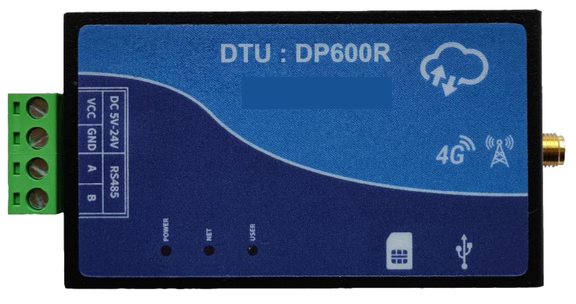
- QuecPython development board kit or DTU device.
- USB Data Cable (USB-A to USB-C).
- PC (Windows 7, Windows 10, or Windows 11).
-
Software:
-
Clone the Repository:
git clone https://github.com/QuecPython/solution-DTU.git cd solution-DTU -
Flash the Firmware: Follow the instructions to flash the firmware to the development board.
-
Connect the Hardware:
- Use a USB data cable to connect the development board to the computer's USB port.
-
Download Code to the Device:
- Launch the QPYcom debugging tool.
- Connect the data cable to the computer.
- Press the PWRKEY button on the development board to start the device.
- Follow the instructions to import all files within the
codefolder into the module's file system, preserving the directory structure.
-
Run the Application:
- Select the
Filetab. - Select the
dtu.pyscript. - Right-click and select
Runor use the run shortcut button to execute the script.
- Select the
solution-DTU/
├── CHANGELOG.md
├── code/
│   ├── __init__.py
│   ├── dtu.py
│   ├── dtu_config.json
│   ├── dtu_transaction.py
│   ├── modules/
│   │   ├── __init__.py
│   │   ├── aliyunIot.py
│   │   ├── common.py
│   │   ├── history.py
│   │   ├── huawei_cloud.py
│   │   ├── logging.py
│   │   ├── mqttIot.py
│   │   ├── net_manager.py
│   │   ├── quecthing.py
│   │   ├── remote.py
│   │   ├── serial.py
│   │   ├── socketIot.py
│   │   └── txyunIot.py
│   ├── settings.py
│   └── settings_user.py
├── docs/
│   ├── en/
│   │   ├── DTU_GUI_Tool_User_Guide.md
│   │   ├── DTU_OTA_Upgrade_User_Guide.md
│   │   ├── DTU_Solution_Development_Guide.md
│   │   └── media/
│   └── zh/
│       ├── DTU GUI 工具使用说明.md
│       ├── DTU OTA 升级用户指导手册.md
│       ├── DTU 公版方案用户开发手册.md
│       └── media/
├── dtu_tool/
│   ├── build.sh
│   ├── cloud_config.py
│   ├── dtu_tool.py
│   ├── LICENSE
│   ├── quectel.ico
│   └── translation/
│       ├── __init__.py
│       ├── language
│       └── zh_CN.json
├── LICENSE
├── readme.md
└── readme_zh.md
We welcome contributions to improve this project! Please follow these steps to contribute:
- Fork the repository.
- Create a new branch (
git checkout -b feature/your-feature). - Commit your changes (
git commit -m 'Add your feature'). - Push to the branch (
git push origin feature/your-feature). - Open a Pull Request.
This project is licensed under the Apache License. See the LICENSE file for details.
If you have any questions or need support, please refer to the QuecPython documentation or open an issue in this repository.
