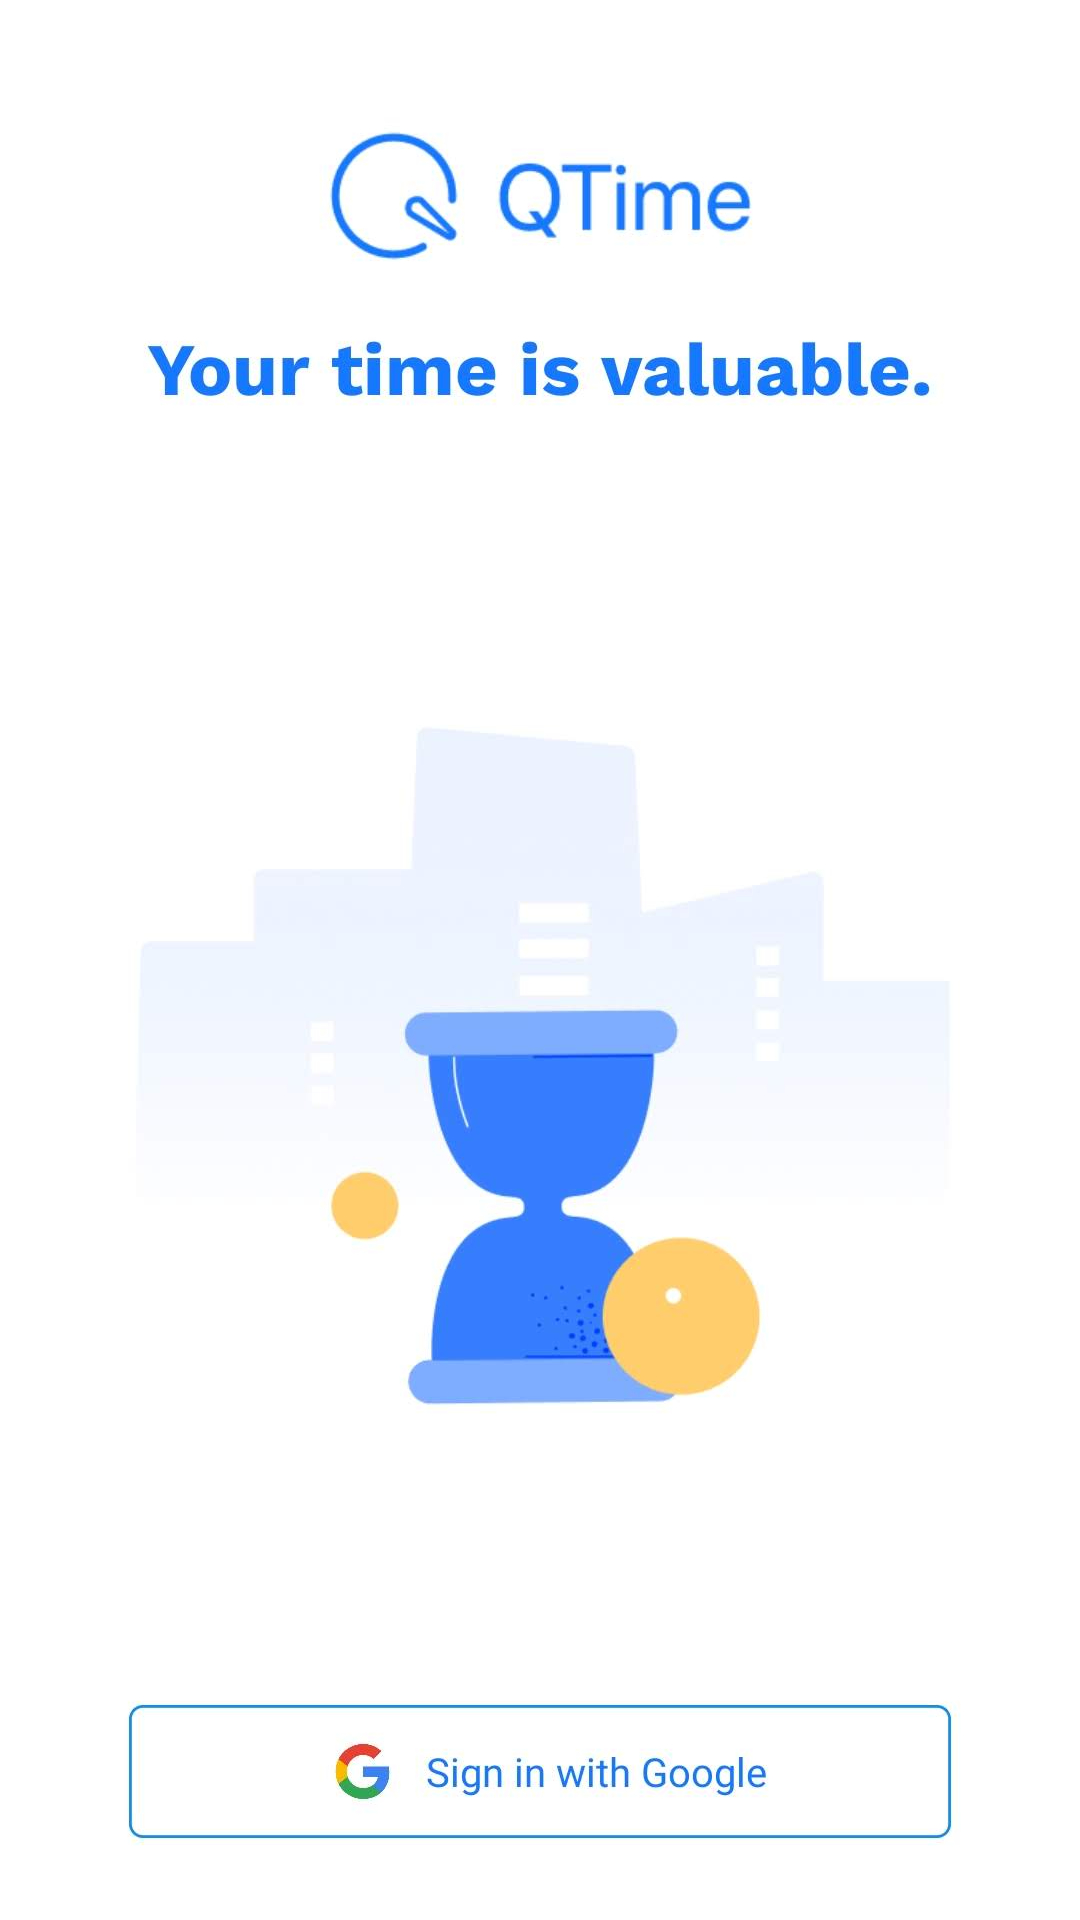
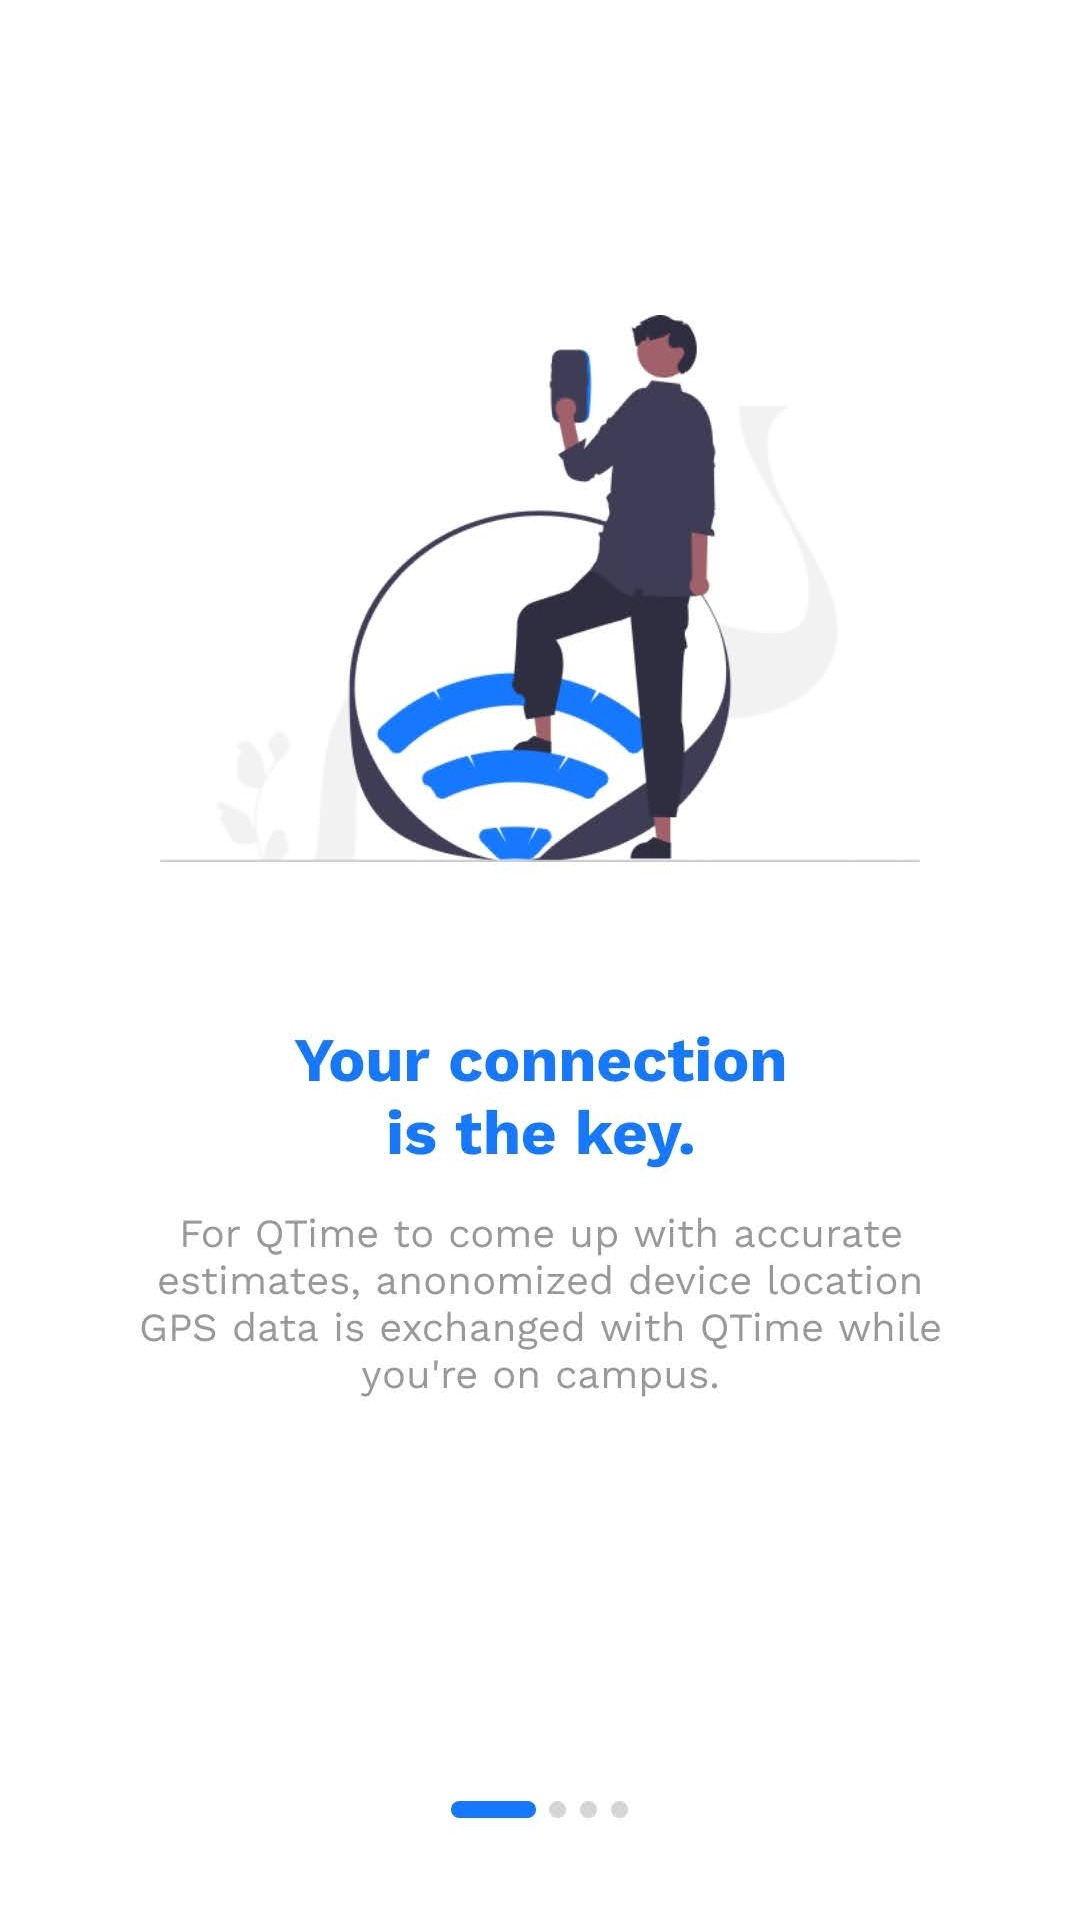
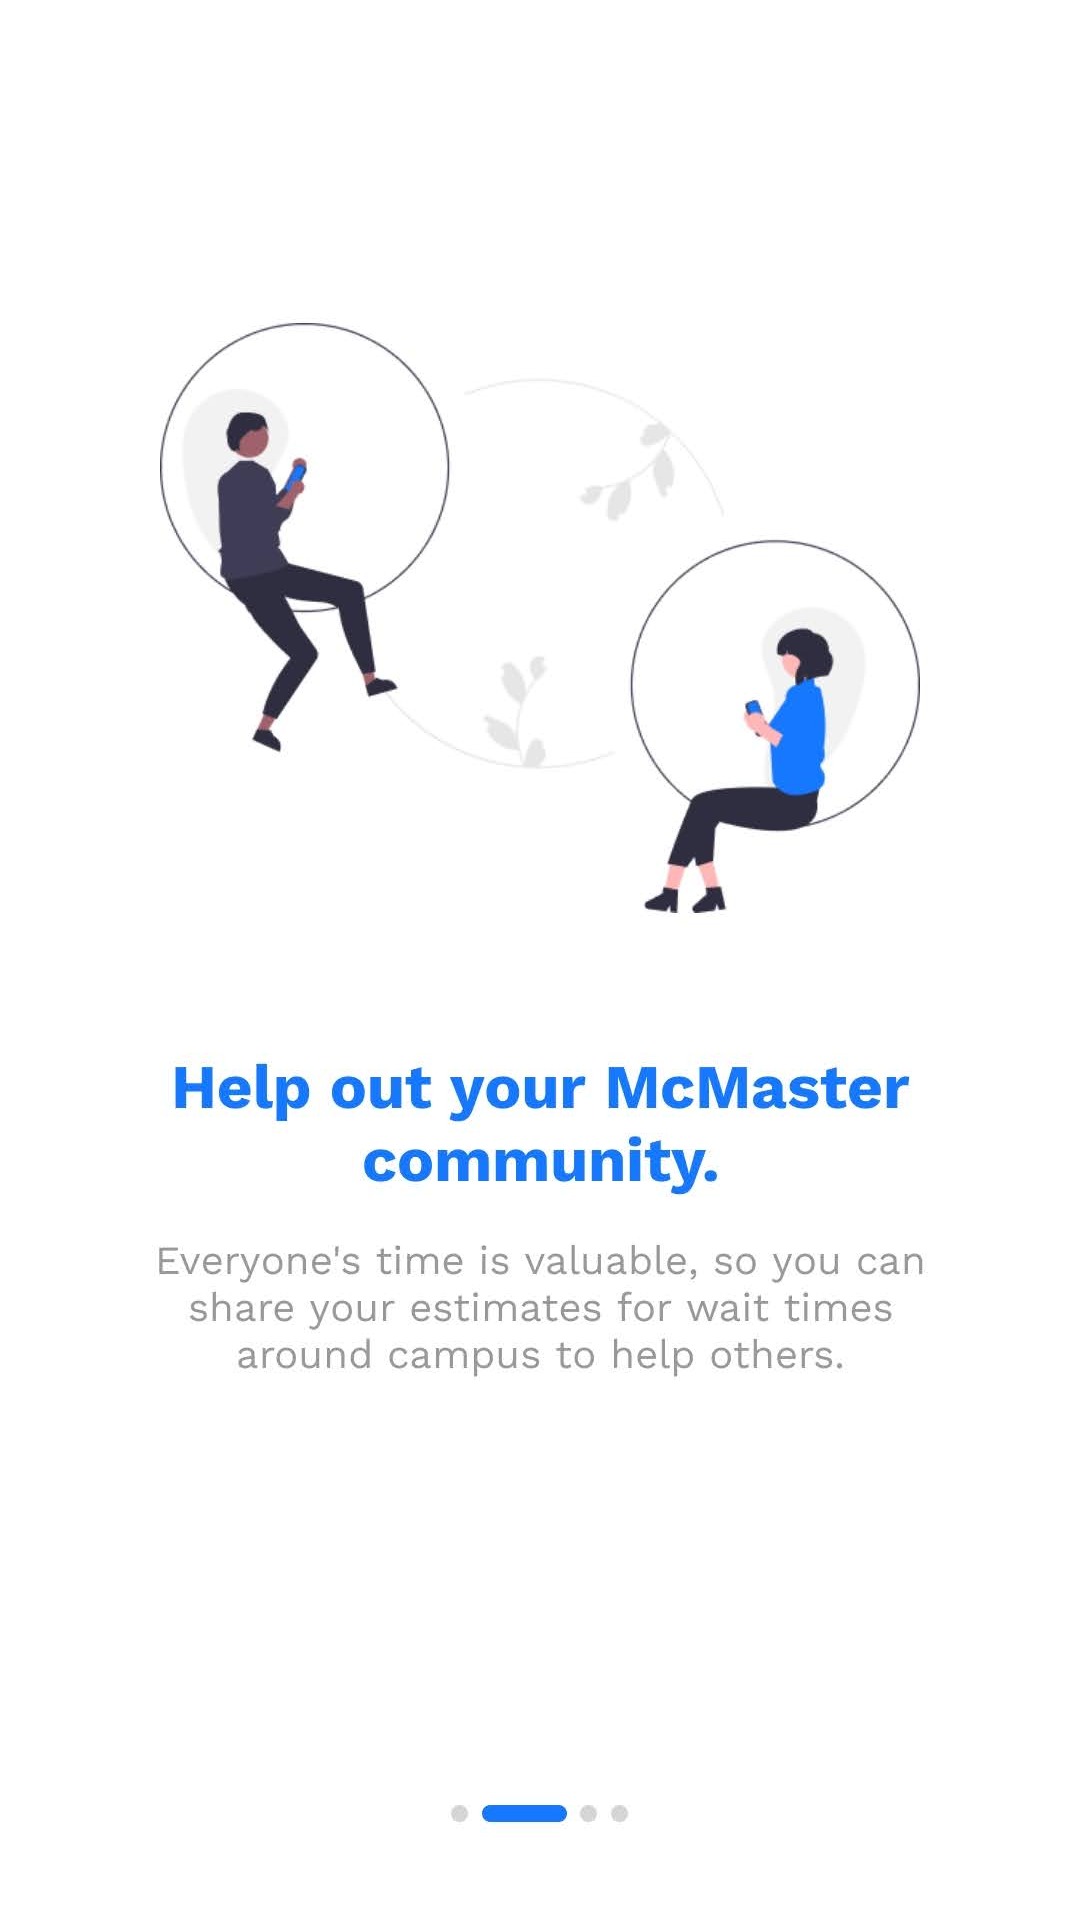
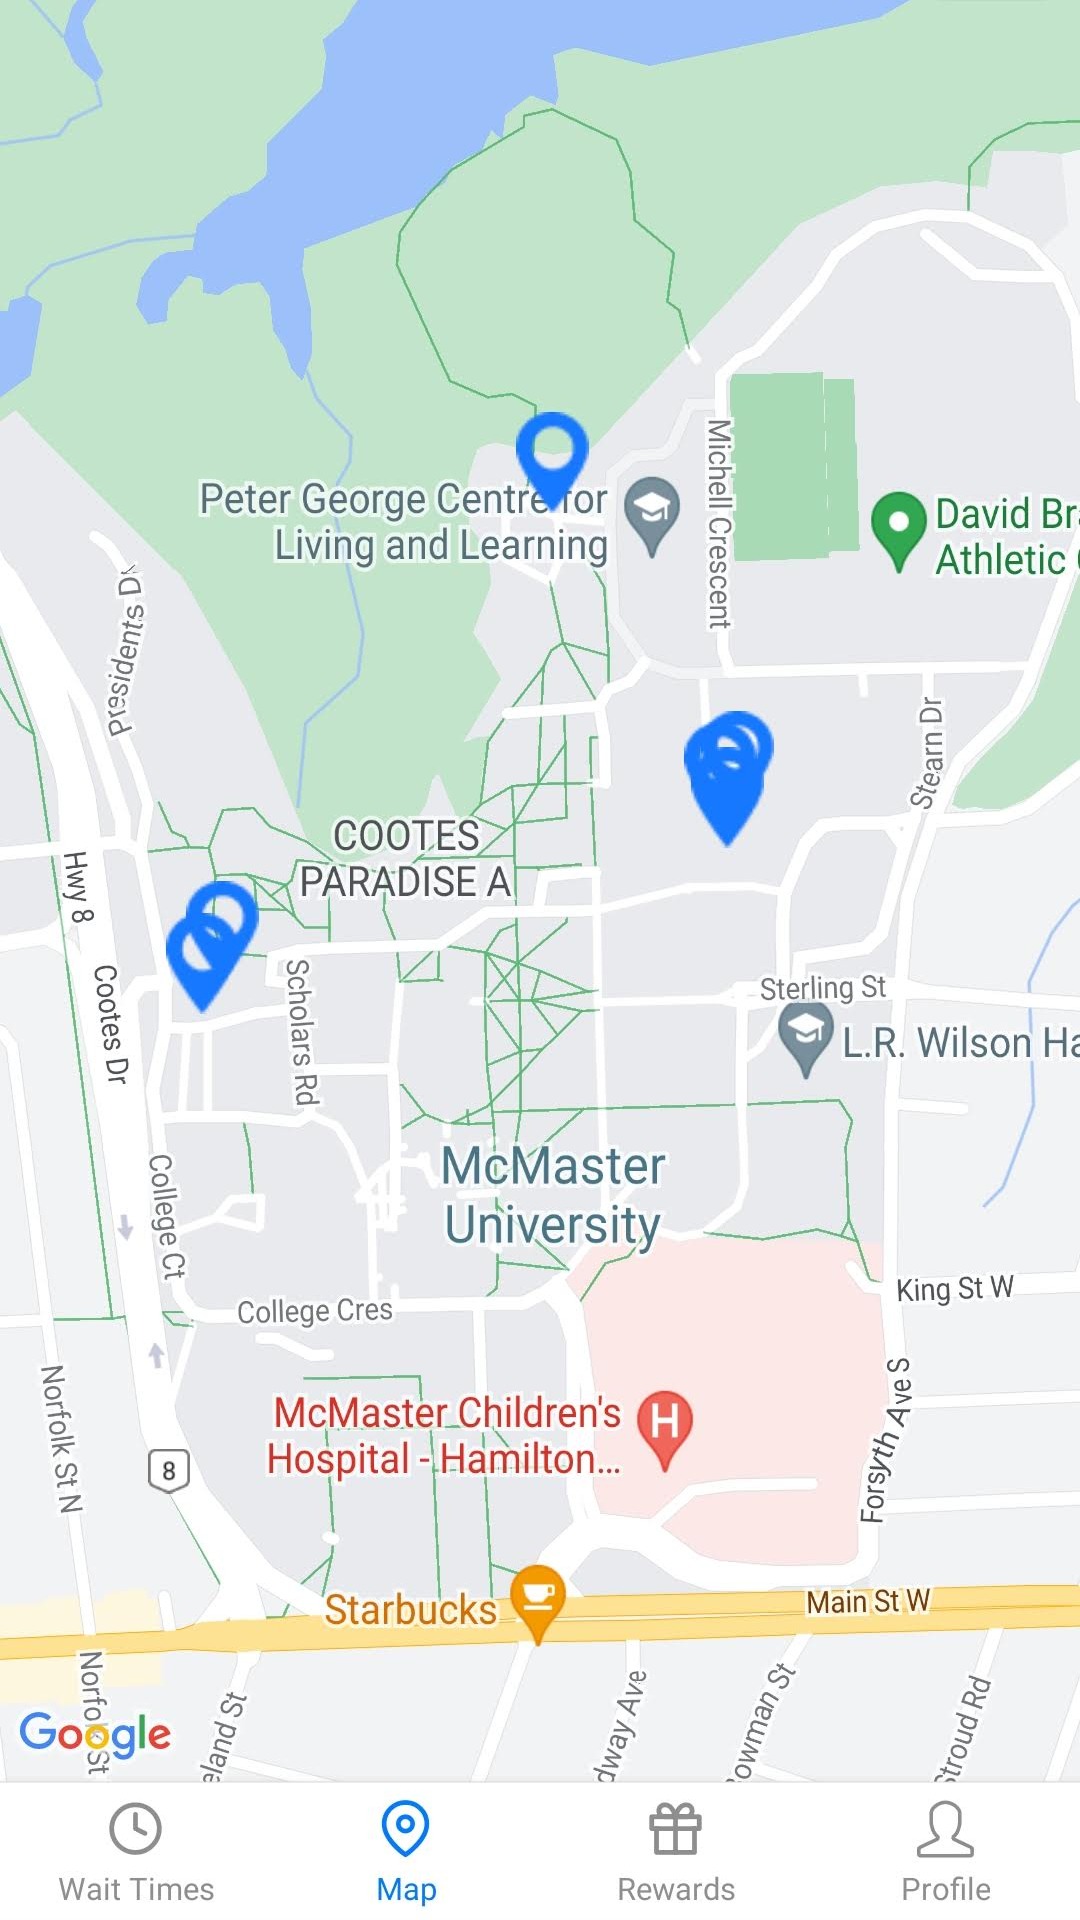
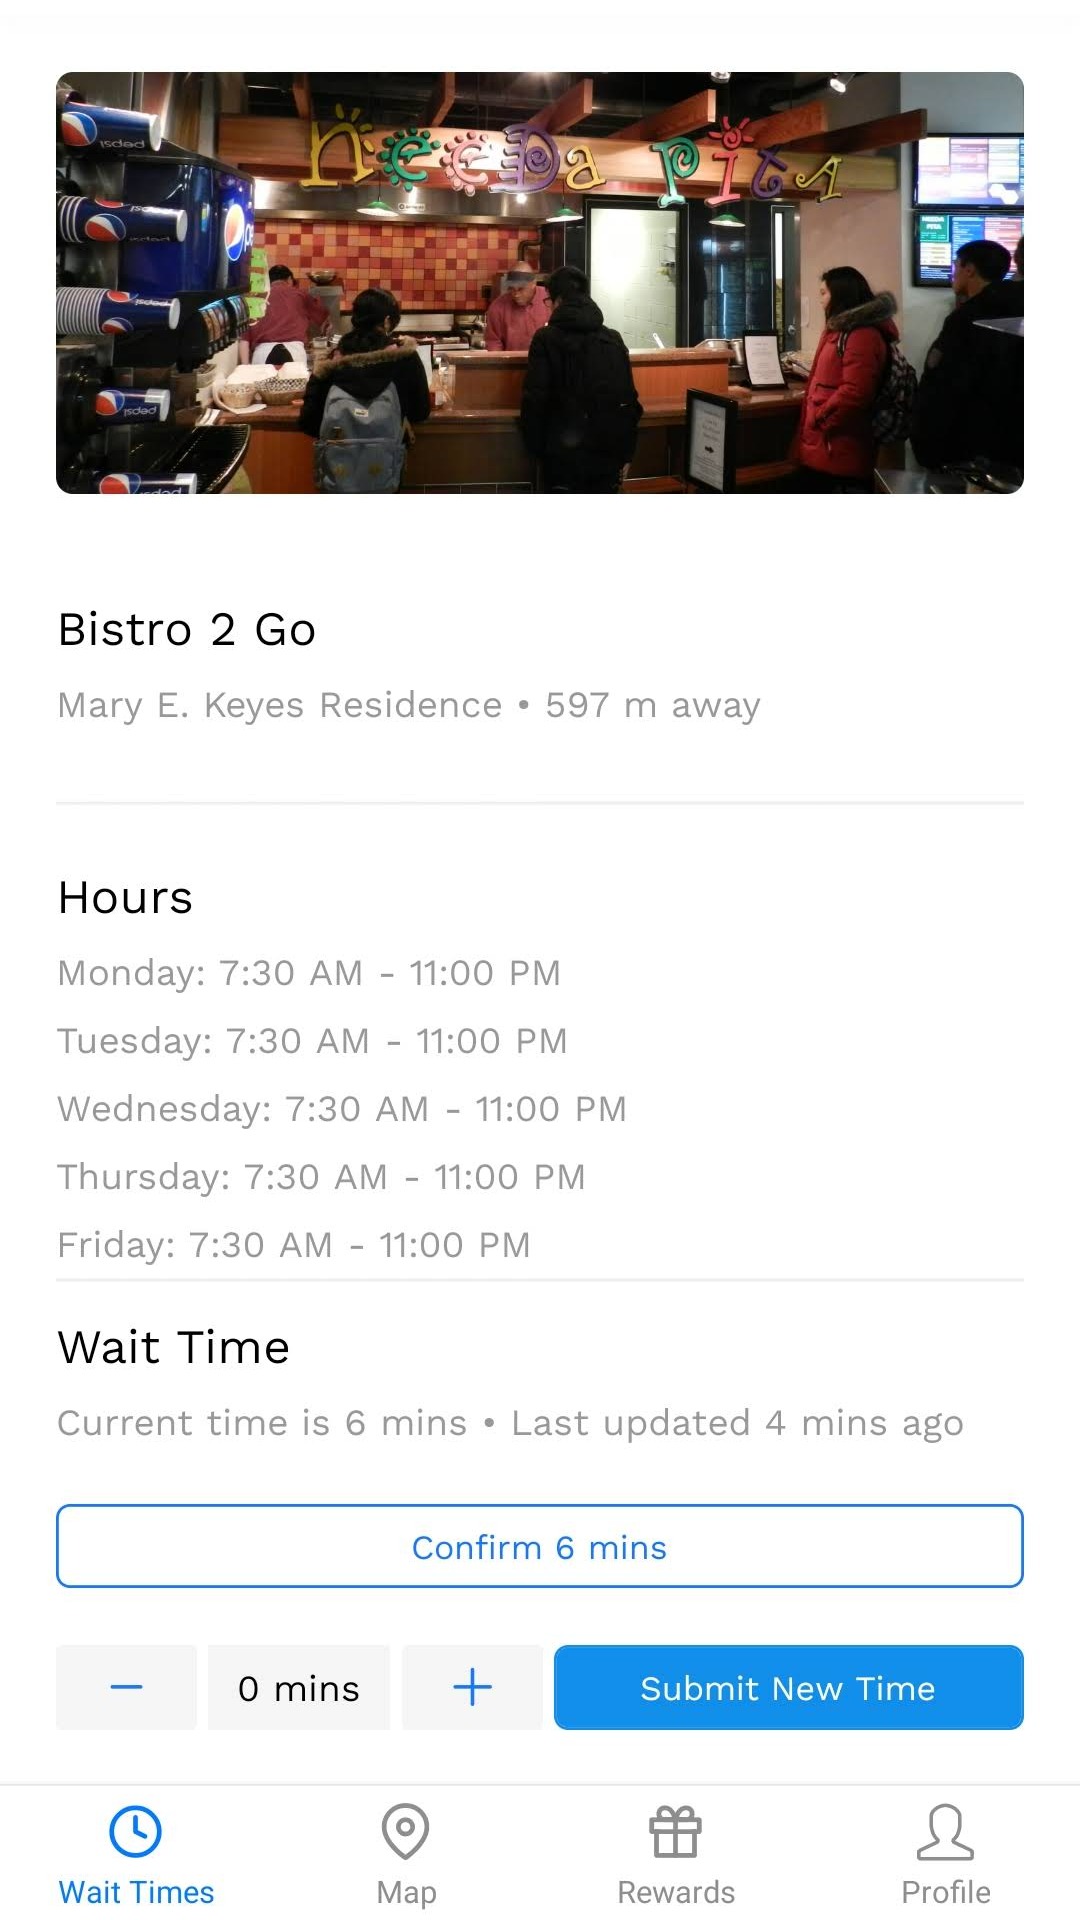
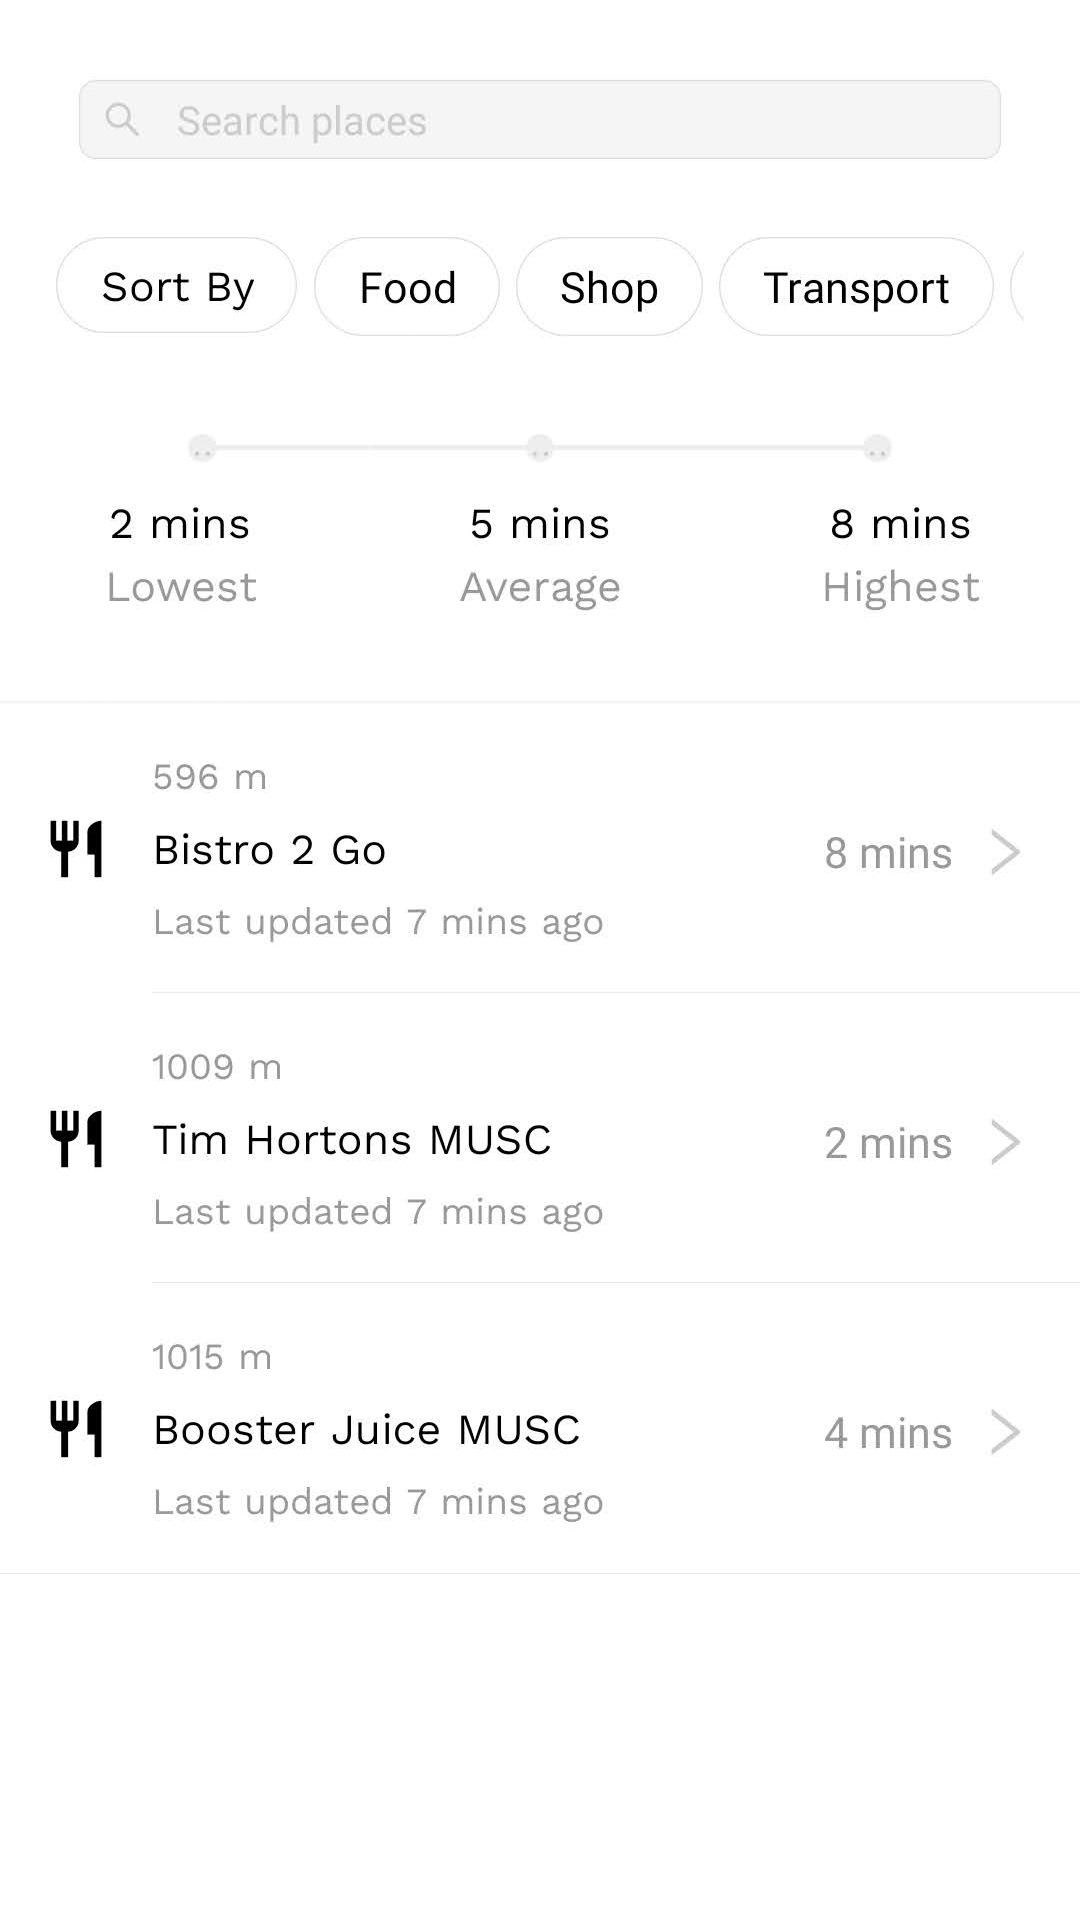
QTime (QueueTime) is a mobile application designed to track wait times and occupancy levels for services across McMaster's campus to help students plan their day.
React Native frontend of the QTime mobile application.
- Clone the project:
git clone https://github.com/QueueTime/qtime-frontend.git
- Install Node.js. Run
node -vto verify installation. Requiresnode >= 12.x. - Install expo-cli. Run
npm i -g expo-cli. - Install eas-cli. Run
npm install -g eas-cli. This is required to build native code with expo. - Download packges with
npm i. - Once packages are downloaded, create a
.envfile in the root and fill in all environment values.BASE_URLis the backend API base url.ENVIRONMENTis the environment to run in. Options aredevandprod.
In order to use native packages and code with the expo framework we leverage development builds. For native packages (e.g. Google sign-in) to work you need to generate a build whenever the underlying native code changes.
Generate a build file using eas:
- Create an expo account at https://expo.dev/signup. This is where your builds will show up.
- Sign in to eas using your expo account. Run
eas login. - Start a build of the project
- For android simulator or physical device:
npm run build:android - For ios simulator:
npm run build:ios - For ios physical devices: First run
eas device:createto register the device. Note: You must have an Apple developer membership. Then runeas build --profile development --platform ios.
- For android simulator or physical device:
- The above command will kick off a development build of the app. Go to https://expo.dev/ to watch your build. Should take between 5-15 minutes.
Apply the build file (.apk for Android or .app for iOS):
- Once the build is complete download and apply the build file to your device or emulator/simulator.
- For emulators/simulators follow the eas development simulator steps.
- For physical devices follow the eas development device steps.
We use expo's expo-dev-client to run development builds to iterate quickly for non-native code changes. This allows hot-reload of changes.
- Start the development server for the QTime app locally
npm start. Expo should generate a QR code and provide a list of options. - If you have restrictive network settings (e.g. WSL) you can use tunneling to host the development server. Install
npm i -g @expo/ngrokthen runnpm run tunnelto start the dev server.
Run on your phone
- Download the Expo app on Android or on iOS.
- With the app running scan the QR code
- Android - Using the scanner option in the app
- iOS - Using the built-in QR scanner in the camera app
Run on android emulator
- Follow the Expo Android guide steps to setup your Android virtual device.
- Open Android Studio's Virtual Device Manager. Launch your preferred emulated device.
- With your app running locally use the
acommand to connect to the emulated device. Reload the app with thercommand.
Run on iOS emulator
- Follow the Expo iOS guide steps to setup your iOS virtual device.
- In the simulartor launch your device under File > Open Device > iOS version > Device Name.
- With the app running locally use the
icommand to connect to the emulated device. Reload the app with thercommand.
QTime leverages the Ant Design Mobile React Native Component Library.
QTime leverages an API interface designed with OpenAPI 3.0 exposed by its backend. Regenerate the api client code with @openapitools/openapi-generator-cli using the following command:
npm run generate:api "<PATH TO spec.json>"Replacing the path/url to the openapi 3.0 json spec to use when generating the client code. Generated code is found in src/api/generated.
To emulate the firebase backend used for authentication and database calls we use firebase emulators to emulate a firebase instance.
- Follow the install steps to setup firebase emulators.
- Note: You don't need to run the
firebase initcommand. - Run
firebase --versionto ensure you installed the firebase cli.
- Note: You don't need to run the
- Setup the firestore emulator with the following command
firebase setup:emulators:firestore
- Start the emulators with the command
npm run emulators
- You should now be able to visit the firestore emulator UI and firebase auth emulator UI pages. See the QTime backend for sample data and instructions on importing/exporting.
This project leverages jest to run unit and snapshot tests of components. You can run all tests in this repo with npm run tests. The following libraries are installed to use when writing tests:
react-test-renderer: React renderer that can be used to render React components to pure JavaScript objects, without depending on the DOM or a native mobile environment.@testing-library/react-native: testing library for React Native inspired byReact Testing Library.
Tip: Install the jest vscode extension to simplify running single tests directly from the editor.
