OpensPides 


Official website — Download — Community — Trello board
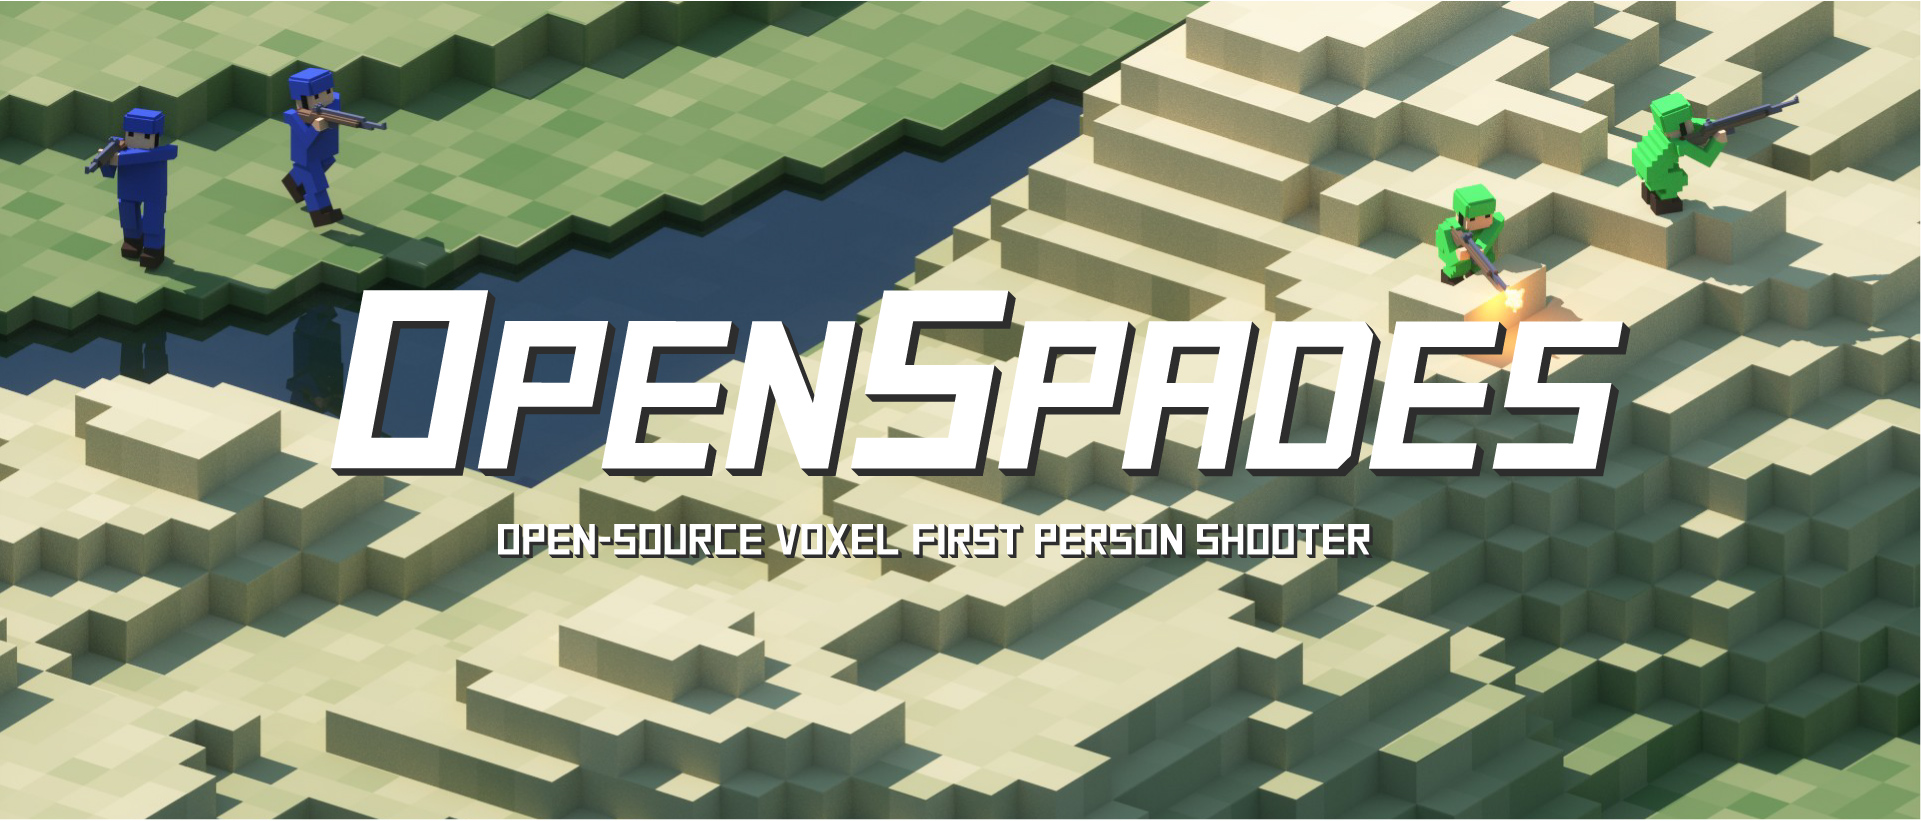
What is it?
OpenSpades is a compatible client of Ace of Spades 0.75.
- Can connect to a vanilla/pyspades/pysnip server.
- Uses OpenGL/AL for better experience.
- Open source, and cross platform.
OpensPides is simply a clone of OpenSpades, with a few slight tweaks to get it to run on the Pi
How to Build/Install?
Before you start: In case you're having issues to build OpenSpades, it may be because this README file is outdated, if so:
- See the Building Guide, which may be up to date
- Or open an issue if the problem persists
On Linux/Raspberry Pi
Installer
This version of OpenSpades comes with an installer which should allow you to install OpenSpades on the Raspberry Pi without any tweaking.
Requirements: -Raspberry Pi 2 or 3 (Might work on other Pi's, but probably not at a speed that makes it worth trying.) -Raspbian -Sudo privileges -An internet connection -Adequate storage space on your Hard Drive (Hopefully at least 500MB, not sure...). A flash drive is preferred as opposed to an SD Card as the primary drive -Patience. The Installer will take a few hours to run
First, download the installer with:
wget https://raw.githubusercontent.com/R2D2FISH/OpensPides/d1a3cb1a40d1052e18a05c48166db7a2c1d2b4e6/openspades-installer.sh
Then navigate to the directory where the installer was created, and type:
chmod +x openspades-installer.sh
and:
bash openspades-installer.sh
Although you can run the installer as root, it is not recommended, as you will be unable to access the installer's files.
The installer has a few notable command line arguments. If you do not want it to attempt to update your system to the latest version, add -noupdate. To prevent it from installing its dependencies (for whatever reason) add -nodependencies. To prevent it from installing SDL or SDL_image, add -nosdl and -nosdl_image, respectively.
The installer can also be used to reinstall or update OpensPides. As long as you do not delete the files in the ~/OpensPides/InstallerFiles directory, it will automatically skip reinstalling its dependencies. And if the Pi crashes mid-installation, the program picks up where it left off.
The installer can also be used on a non-Pi Linux system, but this is not recommended.
Snap package
On snap enabled systems, the latest pre-built stable release of OpenSpades can be installed with:
snap install openspadesOnce installed, you'll be able to launch OpenSpades from inside the desktop menu or from your terminal with the openspades command.
Building and installing from source
GCC 4.9 / Clang 3.2 or later is recommended because OpenSpades relies on C++11 features heavily.
-
Install dependencies:
On Debian-derived distributions:
sudo apt-get install pkg-config libglew-dev libcurl3-openssl-dev libsdl2-dev \
  libsdl2-image-dev libalut-dev xdg-utils libfreetype6-dev libopus-dev libopusfile-dev cmake
(because of a bug in some distributions, you might also have to install more packages by
sudo apt-get install libjpeg-dev libxinerama-dev libxft-dev)On other distributions: Install corresponding packages from your repository (or compile from source).
-
Clone OpenSpades repository:
git clone https://github.com/yvt/openspades.git && cd openspades
-
Create directory
openspades.mkin cloned/downloaded openspades repo and compile:mkdir openspades.mk cd openspades.mk cmake .. -DCMAKE_BUILD_TYPE=RelWithDebInfo && make
-
Install OpenSpades (optional but recommended):
sudo make installnote: If you have a previous installation of OpenSpades, you have to uninstall it manually by
sudo rm -rf /usr/local/share/games/openspadesbefore installing a new one. -
Launch:
openspades(if installed) orcd $REPO_DIRECTORY/openspades.mk; bin/OpenSpadesand enjoy
On Windows (with Visual Studio)
- Get the required software if you haven't already:
- CMake 2.8+
- PowerShell 5.0
- Integrated with Windows 10.
- Older versions are not tested, but might work
- Visual Studio 2015
- VS2013 is no longer supported, but might work
- VS2017 is not yet supported, but might work
- Grab the source code:
- From a release: https://github.com/yvt/openspades/releases
- Latest development version (0.1.0): https://github.com/yvt/openspades/archive/master.zip
- Extract or checkout the source
- All examples will assume
E:/Projects/openspades, update paths in the examples to reflect yours
- Get (pre-compiled) copies of glew, curl, sdl2 and zlib, and place them in
E:/Projects/openspades/Sources/Externals
- See the file
E:/Projects/openspades/Sources/Externals/readme.txtfor details and links to pre-compiled sets of libraries for your version of Visual Studio
- Run CMake:
- Source:
E:/Projects/openspades - Binaries:
E:/Projects/openspades/OpenSpades.msvc - Generator: Visual Studio 14 (2015) (not Win64!)
- Open
E:/Projects/openspades/OpenSpades.msvc/OpenSpades.slnin Visual Studio. - Build the solution.
- The recommended build configuration is
MinSizeRelorReleaseif you're not an developer - The default build output directory is
E:/projects/OpenSpades/OpenSpades.msvc/bin/BUILD_TYPE/
- Copy all
.dllfiles fromSource/Externals/libto the build output directory. - To get audio working, download a Windows release of OpenSpades, extract it, and copy the following dlls to the build output directory:
- For OpenAL audio:
openal32.dll - For YSR audio:
YSRSpades.dll,libgcc_s_dw2-1.dll,libstdc++-6.dll,pthreadGC2.dll
- Download the Non-free pak, extract it, and copy
Nonfree/pak000-Nonfree.pakto theResourcesfolder inside your build output directory, which is probablyE:/Projects/openspades/openspades.msvc/bin/BUILD_TYPE/Resources. You can also copy the paks contained inOfficial Mods/folder of OpenSpades 0.0.12b to add more fonts and improve localization support of your build. - Copy
Resources/PackageInfo.jsonto theResourcesfolder inside your build output directory.
On Mac OS X (with Xcode)
- Get the latest version of Xcode and OpenSpades source.
- Get (pre-compiled) copies of libraries, and place them in
Sources/Externals
- See the file
Sources/Externals/readme.txtfor details
- Download OS X release of OpenSpades, show the package contents, and copy
libysrspades.dylibtoSources/Externals/lib. - Download and extract the Non-free pak. After that, copy
Nonfree/pak000-Nonfree.pakandfont-unifont.paktoResources/. - Open
OpenSpades.xcodeprojand build.
Troubleshooting
For troubleshooting and common problems see TROUBLESHOOTING.
Licensing
Please see the file named LICENSE.