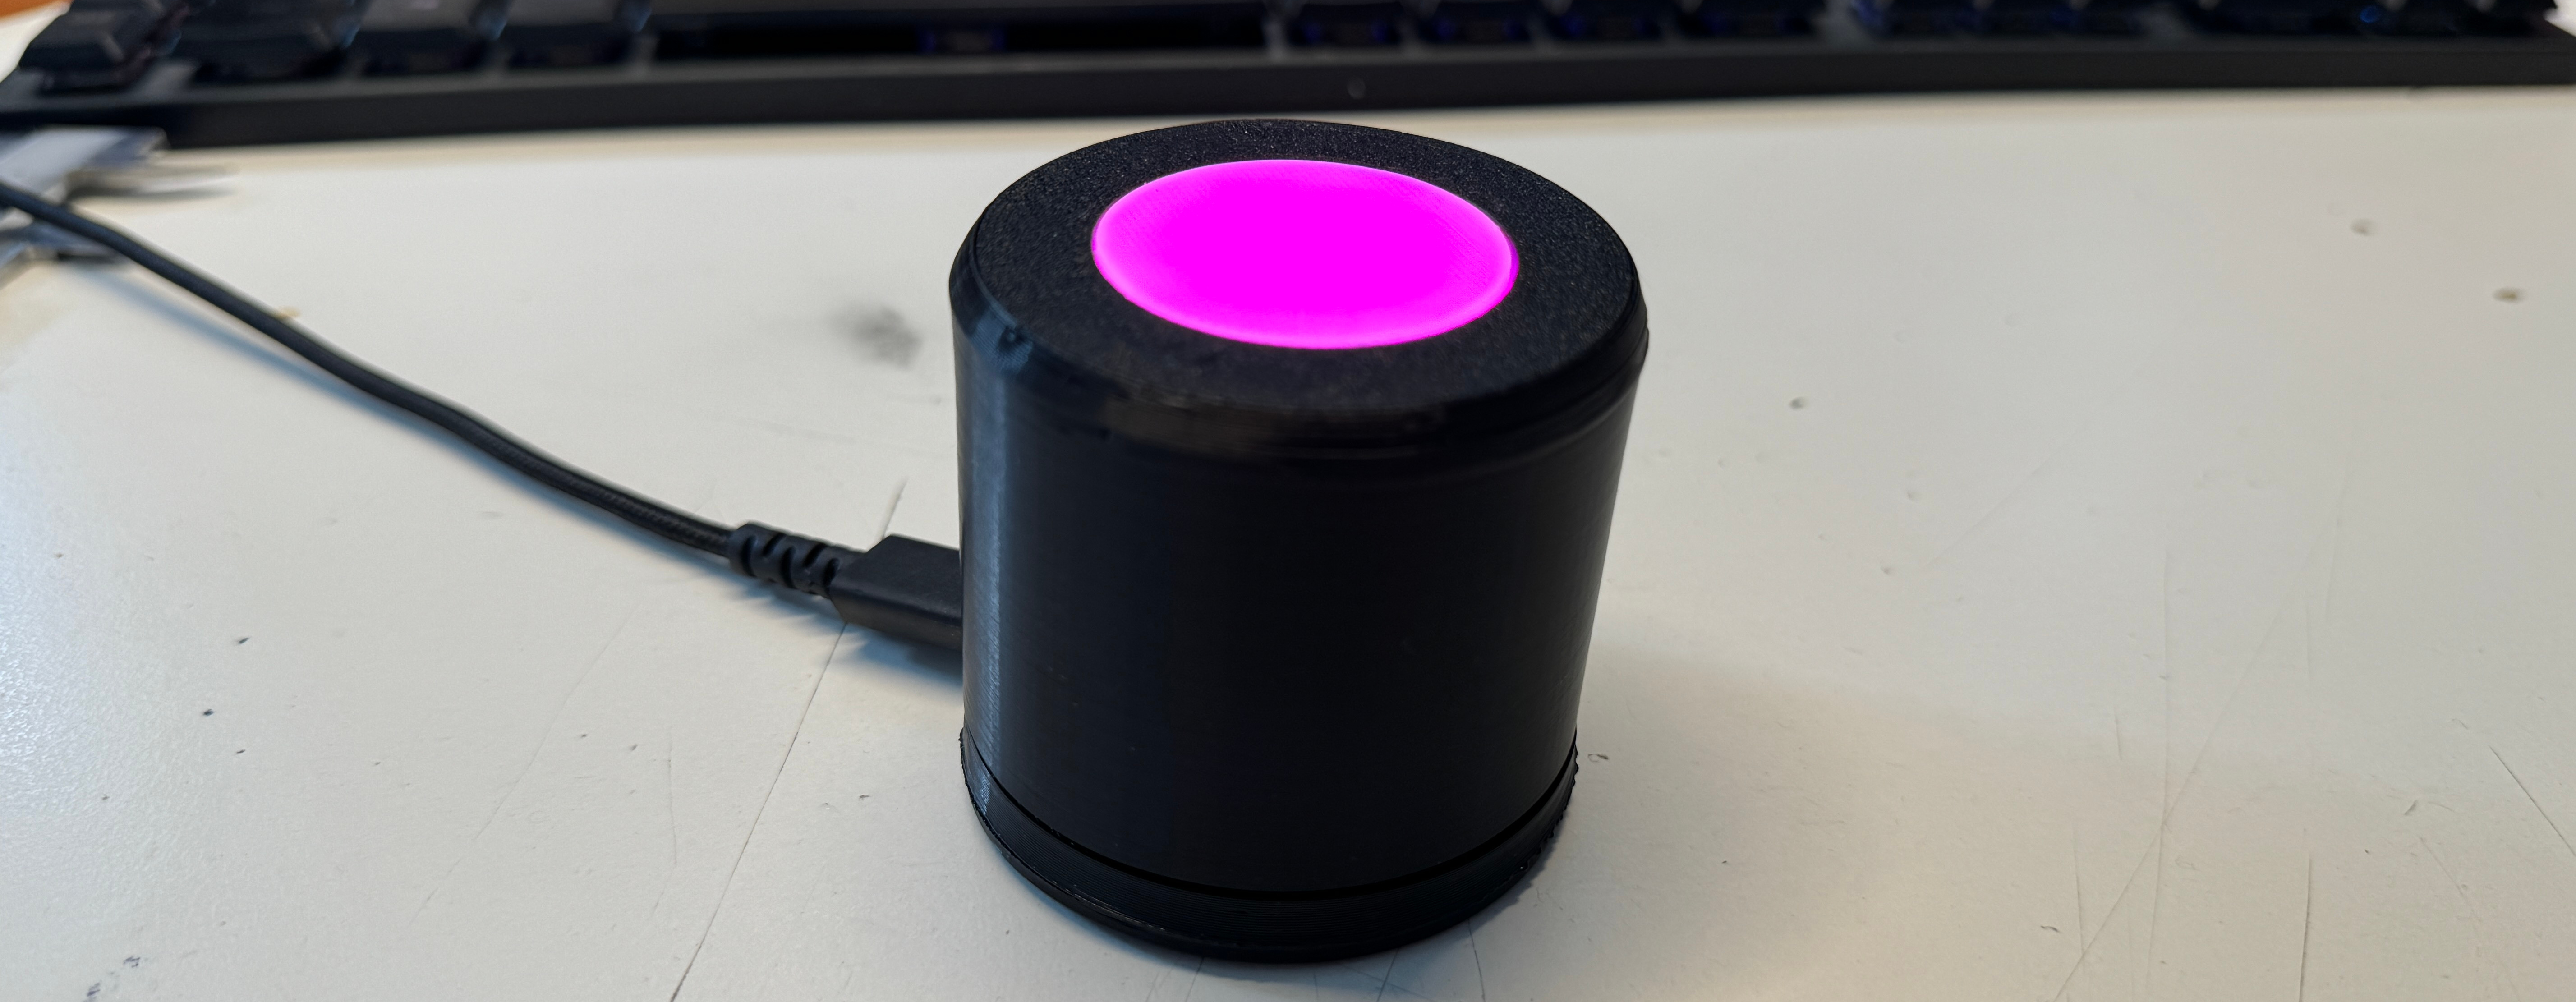
Experience a revolutionary gaming experience with our 3D-printed Fidget Volume Knob! Bring your music to life and heighten your sensory perception with every twist. The LED effects add a visual dimension that lights up your room and lifts your mood. Perfect for audiophiles, gamers and anyone who wants to keep their fingers busy. Get the ultimate companion for your music and gaming session today!
- Interactive design: Twist, feel and enjoy - The Fidget Volume Knob offers a tactile experience that engages your fingers and stimulates your senses. High quality material: Made from durable and lightweight 3D printed material that is both sturdy and aesthetically pleasing.
- Compatibility: The Volume Knob is compatible with a wide range of devices, including speaker systems, amplifiers, computers and more. Advanced compatibility allows you to utilize the full potential of your audio equipment.
- Simple setup: Setup is a breeze and requires no special tools. Only a 3D printer some screws and wires are needed for construction. Software is plug&play.
- Ergonomic design: The ergonomic design of the volume knob ensures comfortable handling and a comfortable gaming experience, whether you're listening to music for hours or enjoying intense gaming sessions.
- Stylish design: With its modern and futuristic design, the Fidget Volume Knob is not only a functional accessory, but also an eye-catcher in any room.
- Versatile use: Whether for listening to music, gaming or simply to relieve stress - the Fidget Volume Knob with LED effects is a versatile accessory that is suitable for any occasion. Thanks to the microcontroller used, all kinds of functions can be realized.
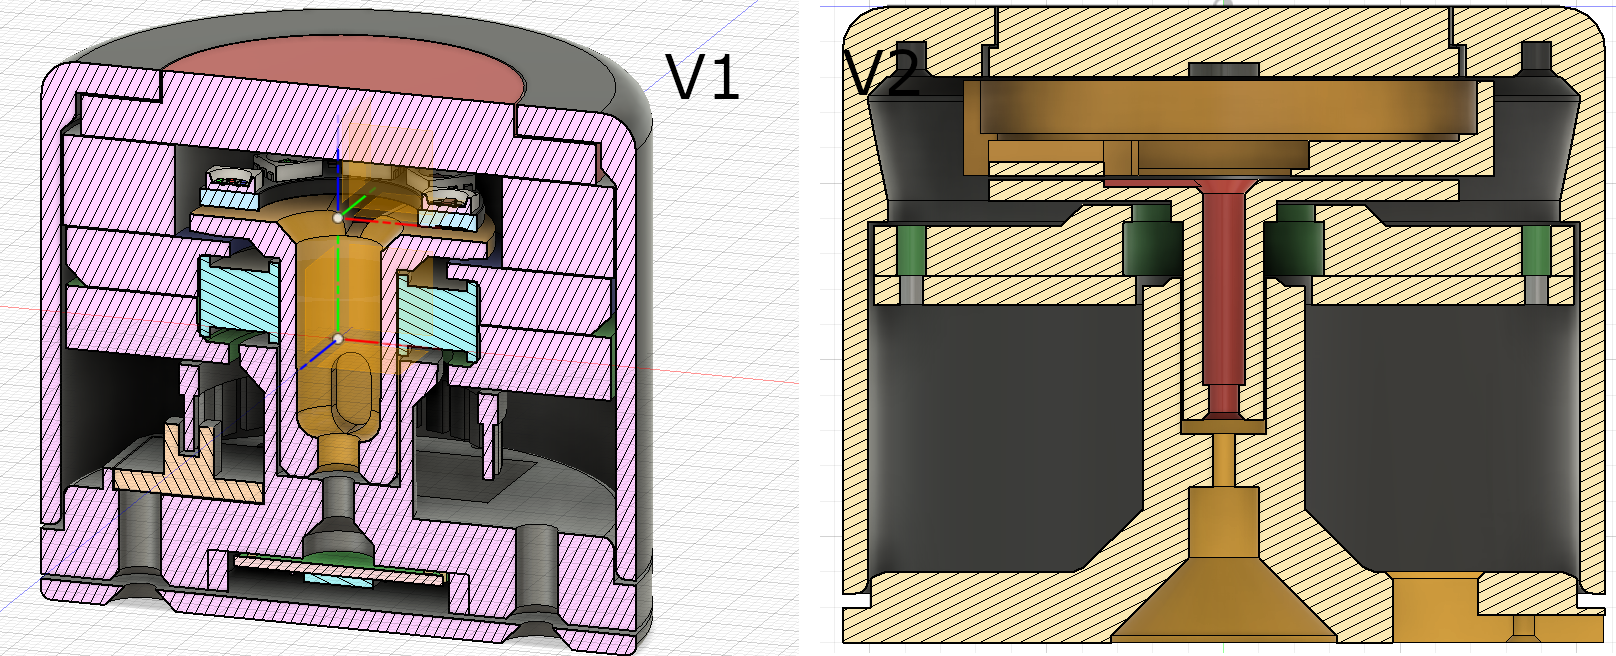
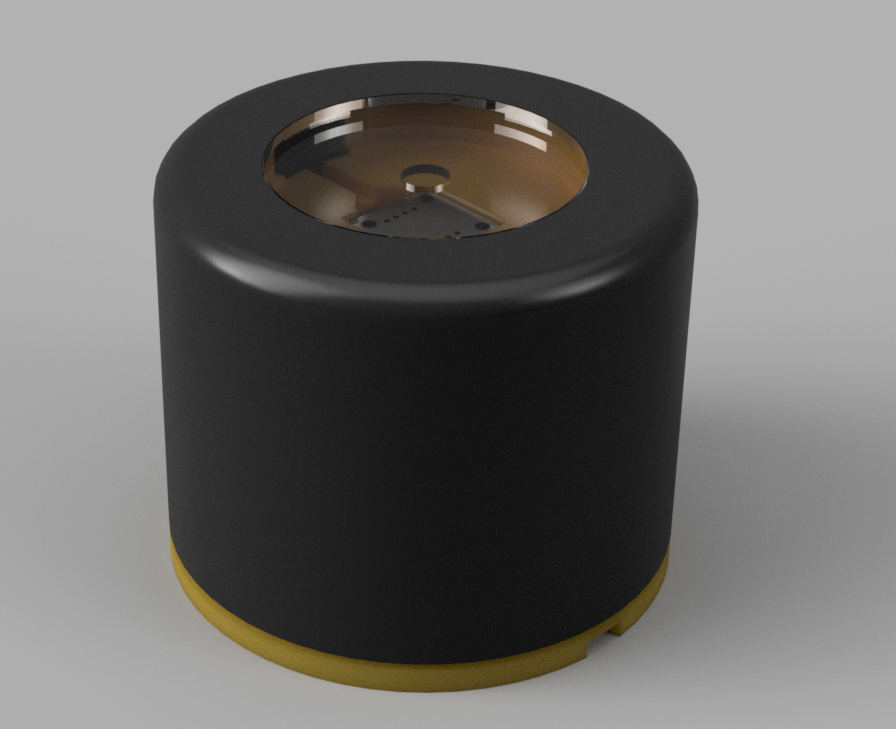
Currently there are two different versions of the SmartVolumeKnob labeled v1 and v2.
The key difference is the size and complexity of the mechanical strucutre.
V1 is the small variant of the SmartVolumeKnob with a footprint of arounf 60mm in diameter, but the mechanical parts are designed with limited tolerances.
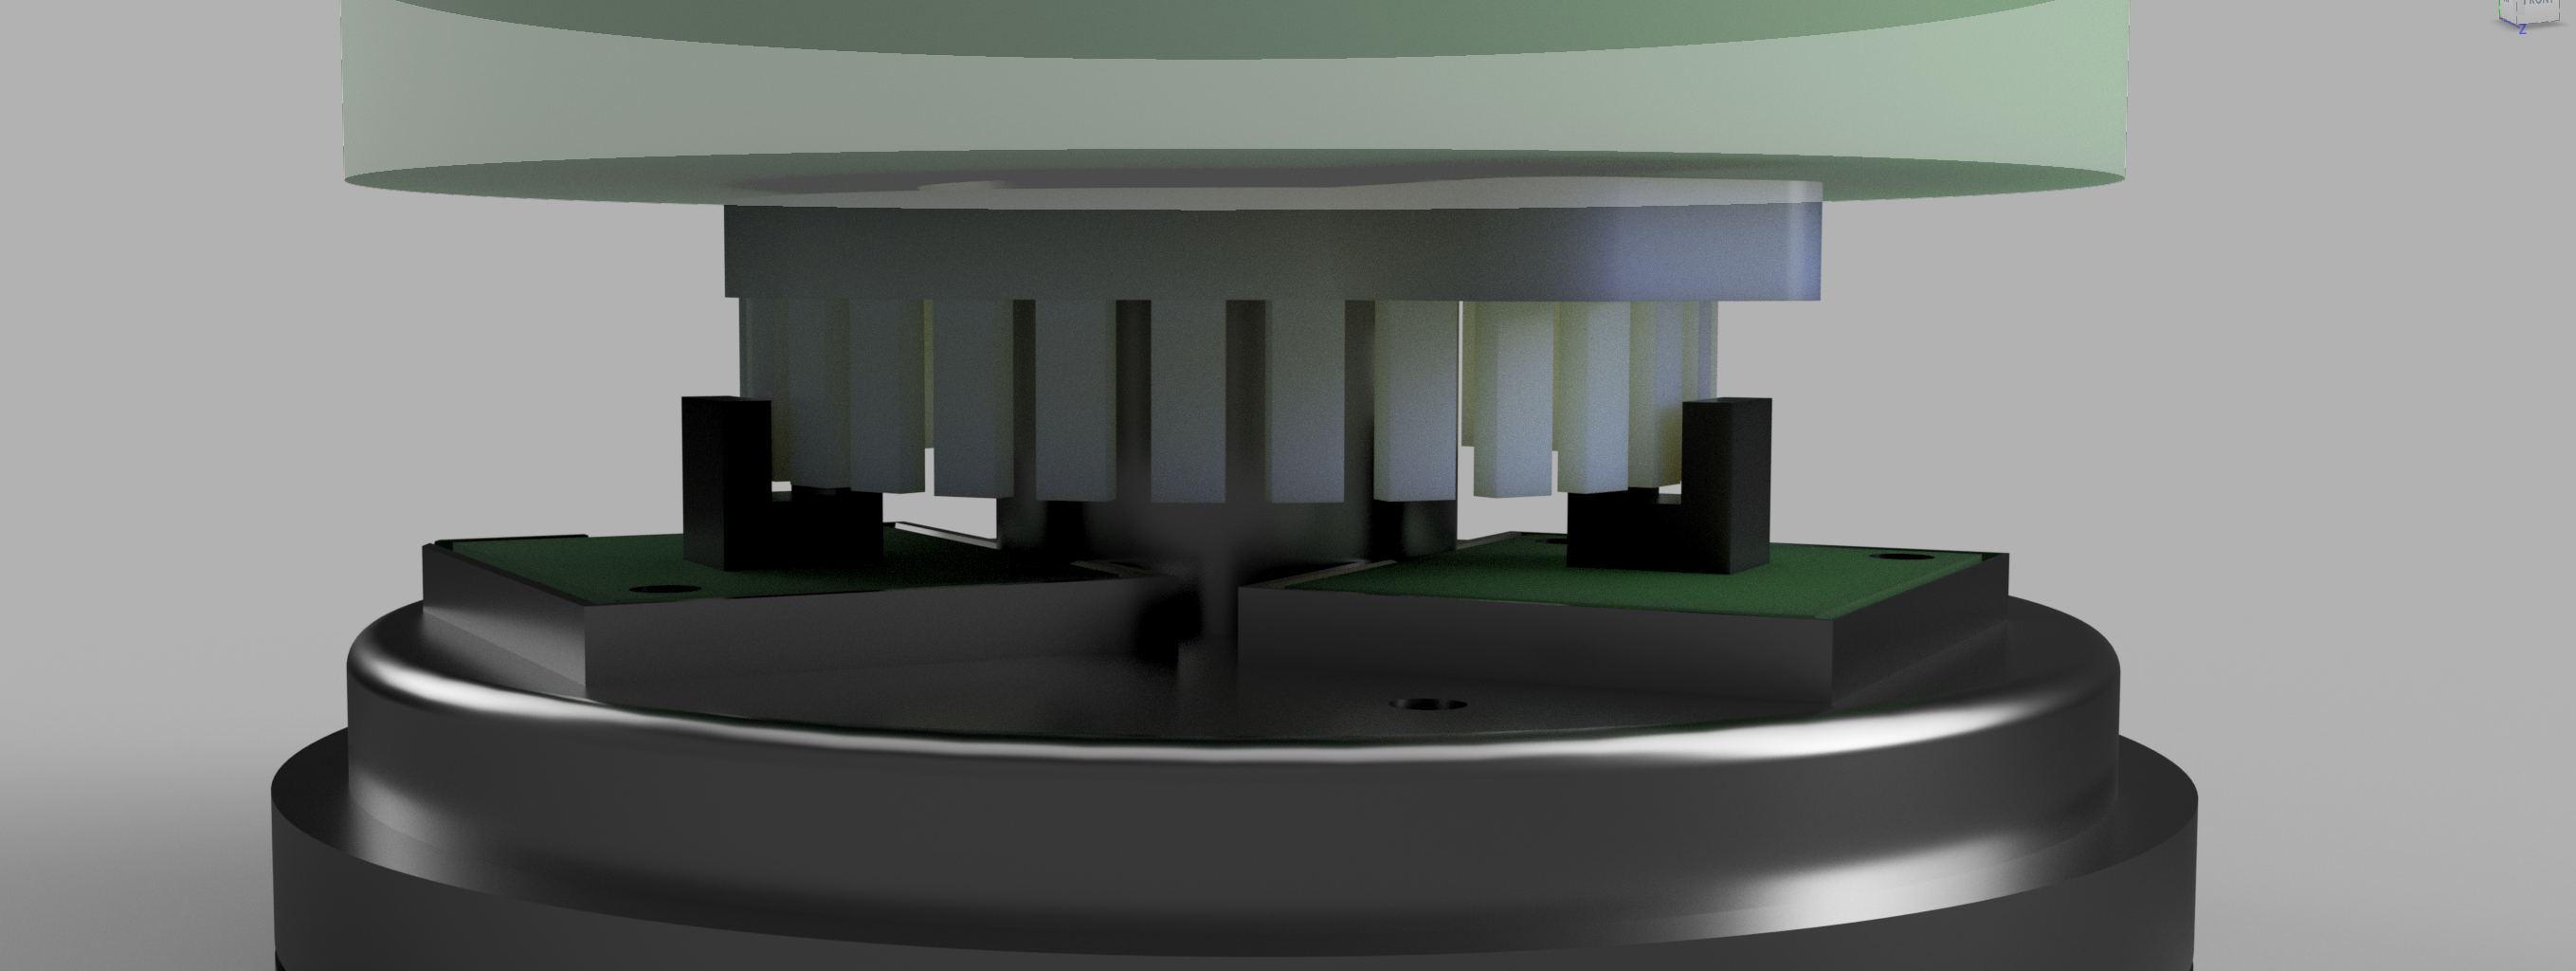
It uses a 3d printed optical encoder consists of one encoder disc and two light barrier modules to form a incremental encoder.
The V2 is a huge and more simplified design with a footprint of around 110mm in diameter.
To further simplify the design a magnetic absolute encoder is used here instead of the more complicated diy encoder design.
- Layer height: 0.2mm or 0.1mm for better shell quality
- Support: Support on buildplate only
- Inflill: 10% - 20%
- The screw holes are designed without any large tolerances. So may run a X-Y compensation on your printer first or drill them to size after printing.
For additional haptic and quality improvement, you can print the * *_shell.stl parts using a SLA / SLS printer!
All exported .stl files can be found in the src/cad/<VARIANT>/stl. All parts as .step and the Fusion360 project files can be found in the parent folder.
After printing all parts use an debringing tool on all parts with inner holes ( especially on bearing_*.stl parts).
For both versions there are at least two different filament colors required. One for the base color of the shell and one for the lightpath (white/transparent)
For all inner parts the color can be anything, due these are not visible from the outside.
PLA is used on all 3D printed parts here. All files are designed for a 120x120x190mm buildplate, such as the Voron V0.
- accent color for outher shell -
shell_*.stlandbottom*.stl,baseplate*.stl - transparent or white for the lightguide parts -
illuminator_*.stl - unspecified color - all other
*.stlfiles
- Soldering Iron
- Cables
- Superglue
- Debringing tool
- Small zip ties
- Some wires to connect the individual modules
- Micro USB cable
- 1x
electronic_bay.stl - 1x
electronic_clamp.stl - 1x
bottom.stl - 1x
bearing_mount_bottom.stl - 1x
bearing_mount_top.stl - 1x
illuminator_bearing_connector.stl - 1x
illuminator_bottom.stl- Lightguide - use white or transparent filament! - 1x
illumniator_top.stl- Lightguide - use white or transparent filament! - 1x
outher_shell.stl - 1x
illuminator_spacer.stl- optional but helps a lot with assembly
- 13x Heat inserts
M3 Short - 1x Bearing
6001RS 12mm x 28mm x 8mm - 9x
M3x10 FHCS - 4x
M3x40 SHCS - 2x - 4x
M2x8to secure theRaspberry Pi Pico, or just use a bit of hotglue or superglue aluminium foilfor the light reflector
- 1x
Raspberry Pi Pico - 21cm of
WS2812 RGB strip(more LEDs/m equals to more brightness :) - 1x
AS5600 Magnetic Angle Encoderwithdiamagnetic magnet
baseplate.stlbearing_clamp_bottom.stlbearing_clamp_top.stlbottom_plate.stlencder_disc.stl- print with 0.1mm and remove any stringing!illuminator.stl- Lightguide - use white or transparent filament!illuminator_spacer.stlled_holder.stlouther_shell
- 7x Heat inserts
M3 Short - 5x
M3x10 FHCS - 2x
M3x25 SHCS - 2x - 4x
M2x8to secure theRaspberry Pi Pico, or just use a bit of hotglue or superglue - 1x Bearing
6001RS 12mm x 28mm x 8mm
- 2x
KY-010- Light Barrier Module or 1xAEDR-8300optischer optical encoder - 1x
Raspberry Pi Pico - 1x
WS2812 RGB LED Ring 8 LEDsorCJMCU-2812-7
Please see additional images of the build process located in documenation/images/<VARIANT>/.
For further help it is possbile to open the complete assembled cad model src/cad/<VARIANT>/SmartVolumeKnob.*.


