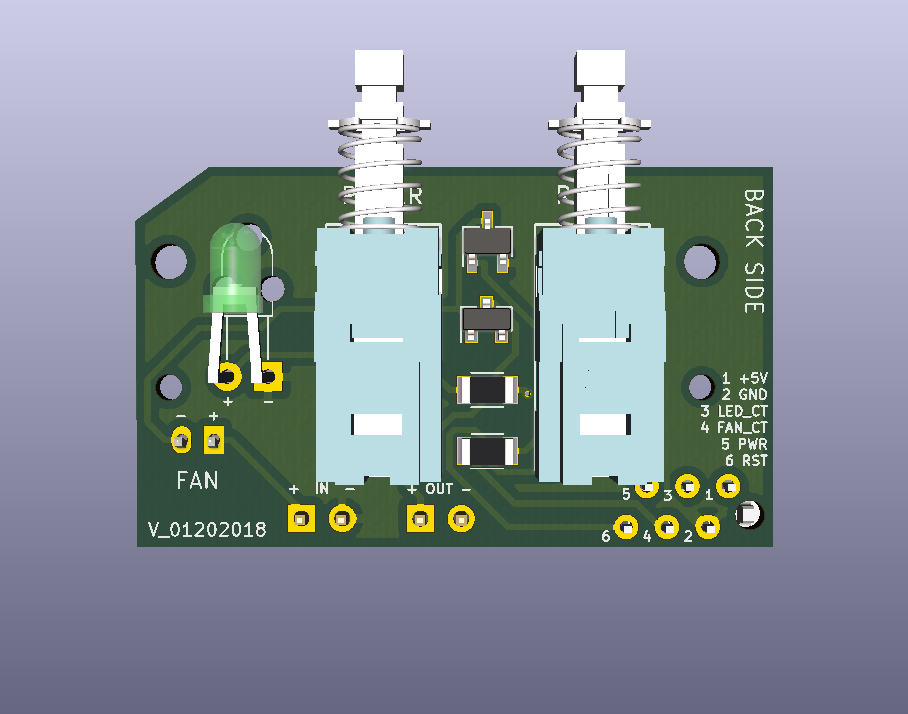
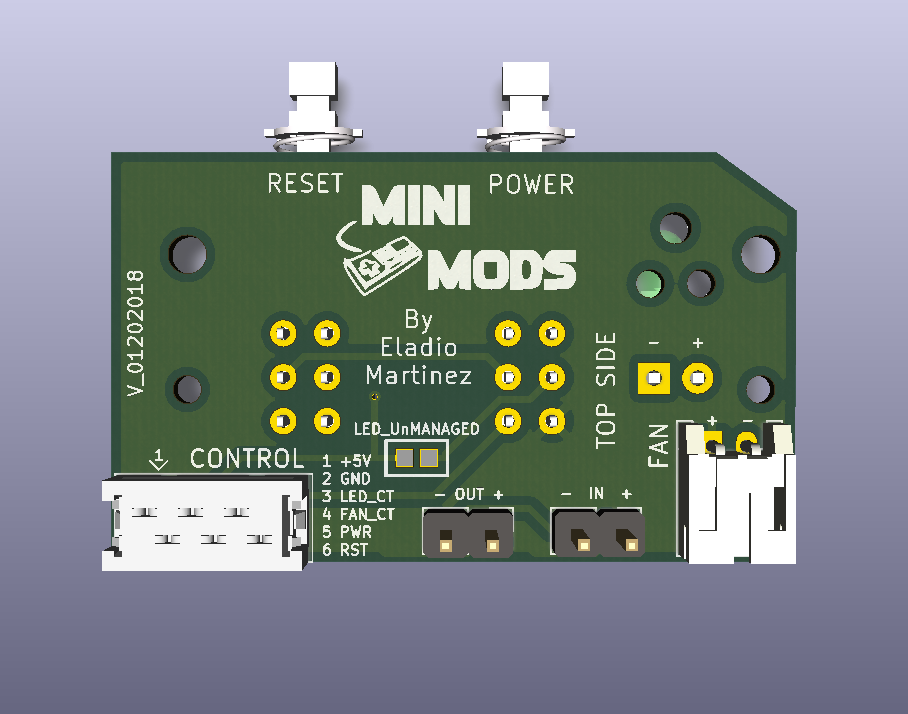
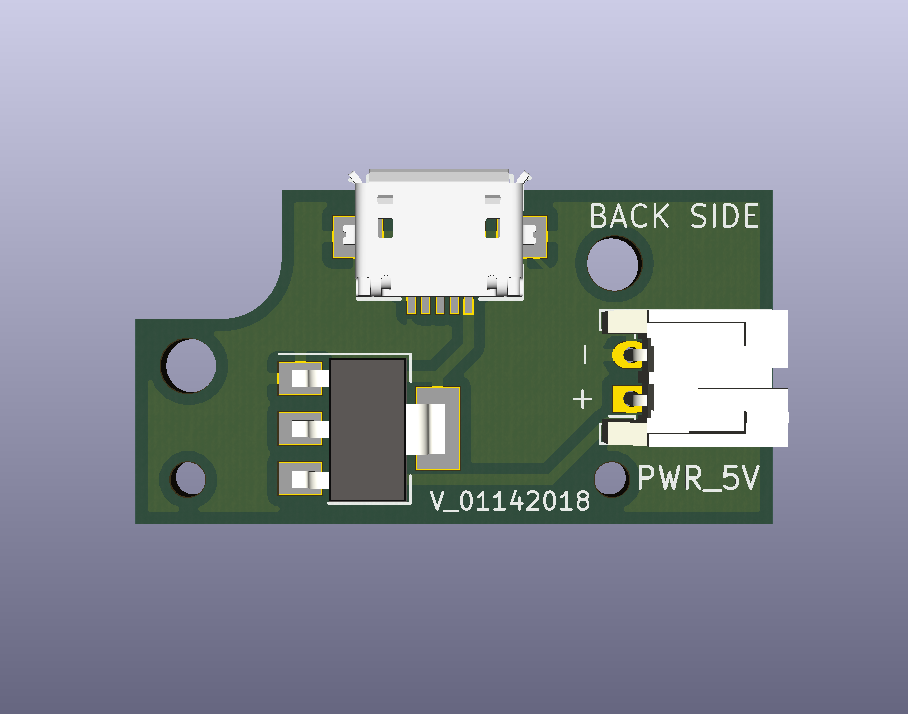
This is an enhancement board for the RetroFlag NESPi case, this PCB add missing functionality to the system.
This project is licensed under the Attribution-NonCommercial-ShareAlike CC BY-NC-SA 4.0 license. The full legal text of the license may be found in the LICENSE.txt file in this repository. For more information about this license, please visit the Creative Commons Foundation (https://creativecommons.org/licenses/by-nc-sa/4.0/).
-
Soft-shutdown Pi from power switch
-
Reboot Pi from reset switch
-
Easy Temperature Control
-
2 wire fan control
-
Gracefully finish EmulationStation, letting it save all metadata, in every system shutdown.
-
One-line script installation
-
You can buy the latest version of this board fully assembled from http://mini-mods.com
-
RetroPie
To install Retropie you may download the image for Raspberry Pi 3 and follow installation instruction at the retropie website.
-
Internet connection
Internet access via Ethernet or to set up your internet via WiFi, you can follow the instructions here.
-
Keyboard and screen, or any computer/laptop (via SSH)
To access your Pi via SSH, you can also follow this instructions here.
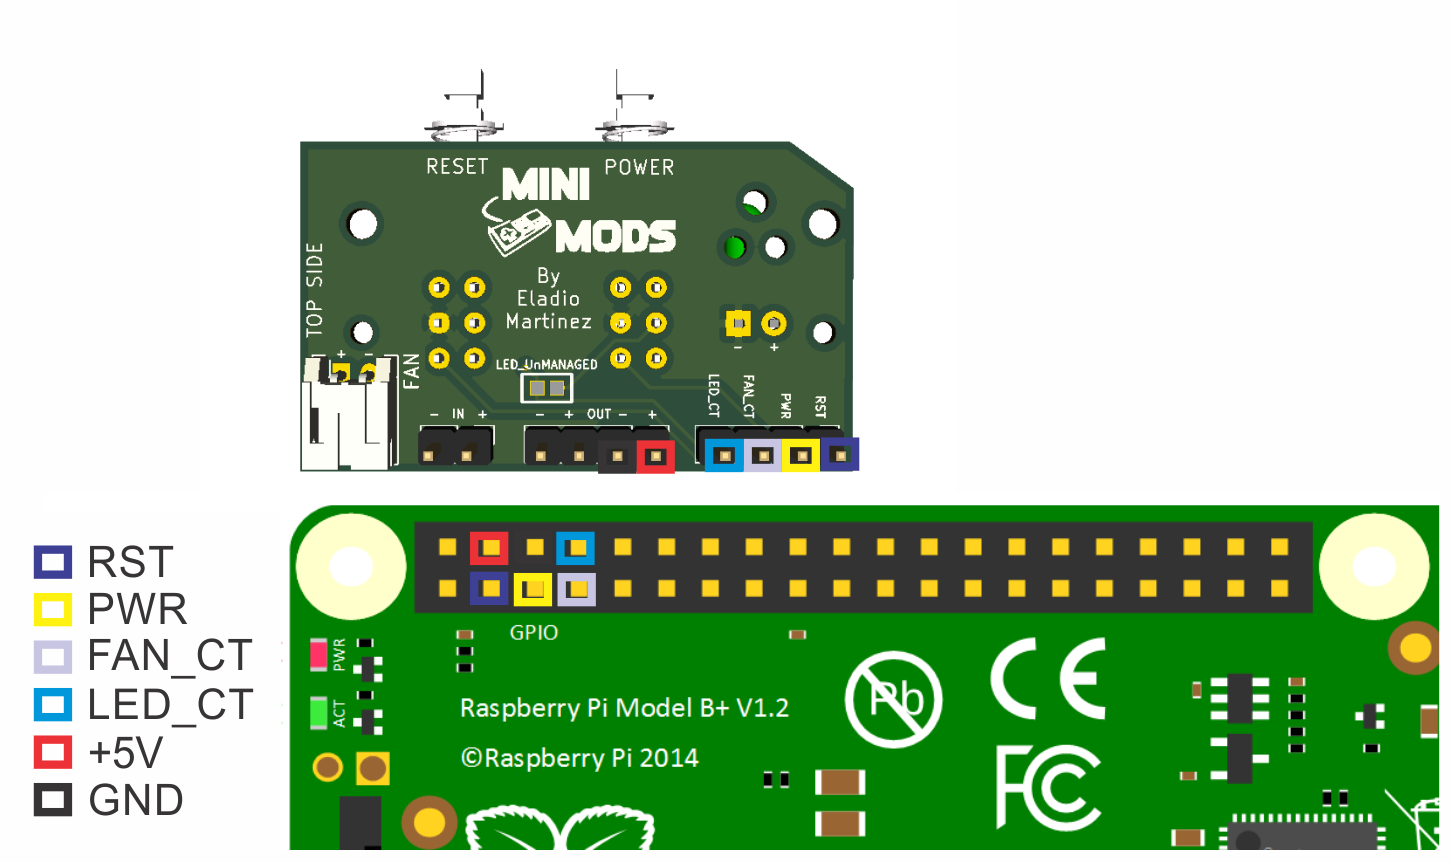
It's very important to follow the right pin configuration to prevent damage to your Pi.
RST Pin- Connect to GPIO 2 (RPI pin 3)PWR Pin- Connect to GPIO 3 (RPI pin 5)FAN_CT Pin- Connect to GPIO 4 (RPI pin 7)LED_CT- Connect to GPIO 14 (RPI pin 8)OUT + Pin- Connect to 5V (RPI pin 4)OUT - Pin- Connect to GND (RPI pin 6)- IN + Pin- Source 5v
Note: LED_CT pin is only available on PCB V_12062017 and up.
NOTE: This assumes that you have already connected the jumper wires to the correct PINS and ports; If you haven't, see the Hardware Installation section.
This instructions are a step-by-step guide to install necessary software for your Retroflag NESPi Front Panel Control Board. You can setup this via SSH or using the command line interface in your RetroPie. To enter the command line interface of RetroPie, PRESS F4 just after booting up.
Open your terminal and type the one-line installation command below:
$ wget -O - "https://github.com/mafe72/Retroflag-NESPi-Front-Panel-Control-Board/raw/master/install.sh" | sudo bashThe script will automatically install pertinent files and configure your Raspberry Pi to enable Retroflag NESPi Front Panel Control Board. Installation will automatically reboot once all processes are completed.
After rebooting, your Retroflag NESPi Front Panel Control Board is now fully functional.
-
POWER ON
While powered off Press (LATCH) POWER button LED will turn ON Wait for Raspberry Pi to boot -
POWER OFF
While powered on Press (Unlatch) POWER button LED will turn OFF Wait for Raspberry Pi to shutdown -
RESET
While playing a game Press RESET button to reboot current game No change on LED status -
RESET
  While playing a game
  	Hold RESET button for 3 seconds to quit game
  	LED will BLINK


