- Package and sign a helm chart with gpg Gnu Privacy Guard using OCI Build pipeline.
- Do an OKE deployment by verifying the packaged helm chart using the OCI Deployment pipeline.
- Demonstrate additional deployment options that are available via helm deployment stages.
-
We are using
GnuPG (gpg)to set up the key for signing and verifying the helm chart. Read more about gpg here. -
We are going to install gpg and the instruction here is related to a Linux machine. You may change the procedure accordingly - https://www.gnupg.org/howtos/card-howto/en/ch02.html.
-
Download the stable version of gpg onto
OCI Cloud shell.
$ mkdir ~/gpg
$ cd ~/gpg
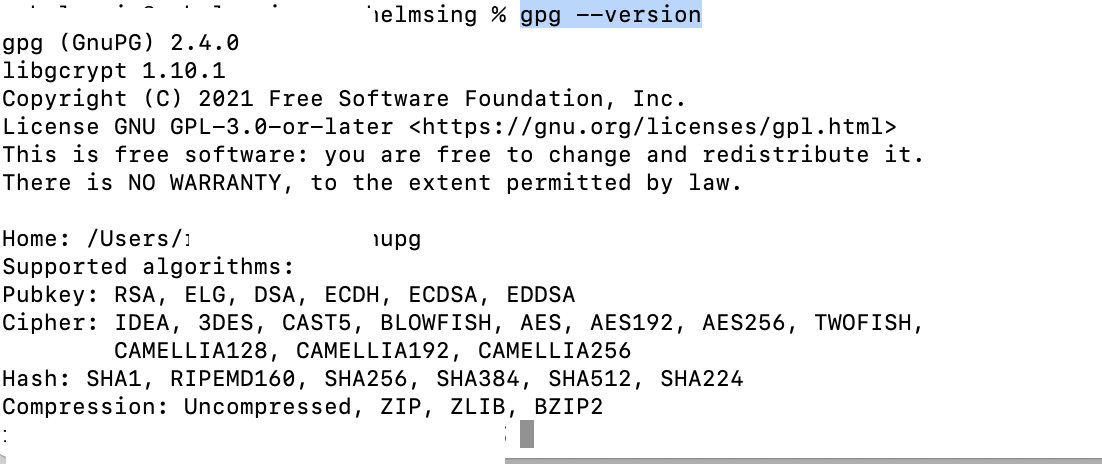
$  curl -O https://gnupg.org/ftp/gcrypt/gnupg/gnupg-2.4.0.tar.bz2 (Use the latest version)
$ tar xvf gnupg-x.y.z.tar.bz2
$ cd gnupg-x.y.z
$ ./configure, make, make install
$ gpg --version- Refer the template-file for the configuration about our gpg key.You may change the values accordingly.
- Setup a passphrase for the key
$ passphrase="AStrongPassword@198"
$ echo "Passphrase: ${passphrase}" >> ./gpg_template.txt- Generate a gpg key.
$ gpg --gen-key --batch ./gpg_template.txt
$ rm -f ./gpg_template.txt- Fetch the keys and files, we will be using the private key to sign the chart and the public key and passphrase for the OCI Vault as secrets to verify during the deployment.
$ echo "use-agent" > ~/.gnupg/gpg.conf
$ echo "pinentry-mode loopback" >> ~/.gnupg/gpg.conf
$ echo "allow-loopback-pinentry" > ~/.gnupg/gpg-agent.conf
$ echo RELOADAGENT | gpg-connect-agent
$ echo $passphrase | gpg --batch --no-tty --export-secret-keys  --passphrase-fd 0 helm_user >./secring.gpg
$ gpg --output ./helm-attestation-public-key.pgp --export helm_user- The file
./secring.gpgcontains the private key and./helm-attestation-public-key.pgpcontains the public key. You won't be able to read them unless convert into a base64 format.
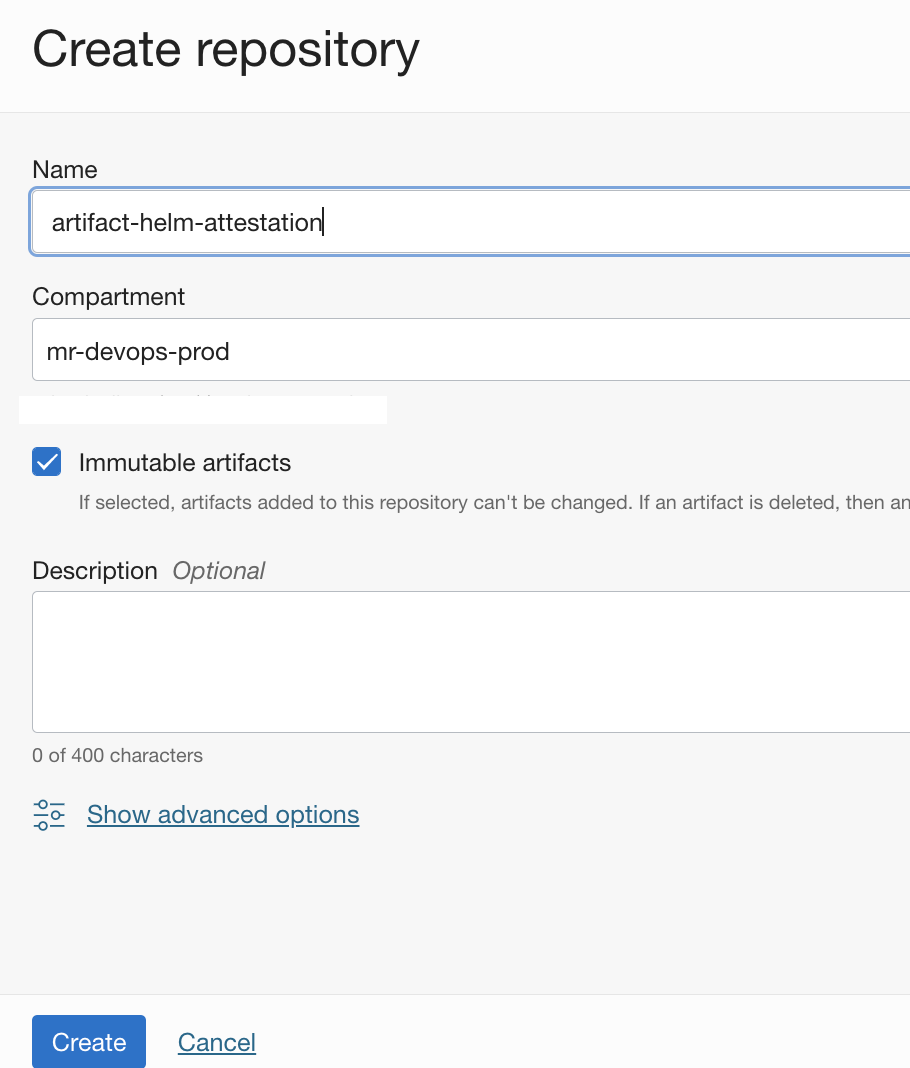
- Create an OCI Artifact registry repo. - https://docs.oracle.com/en-us/iaas/Content/artifacts/create-repo.htm#create-repo
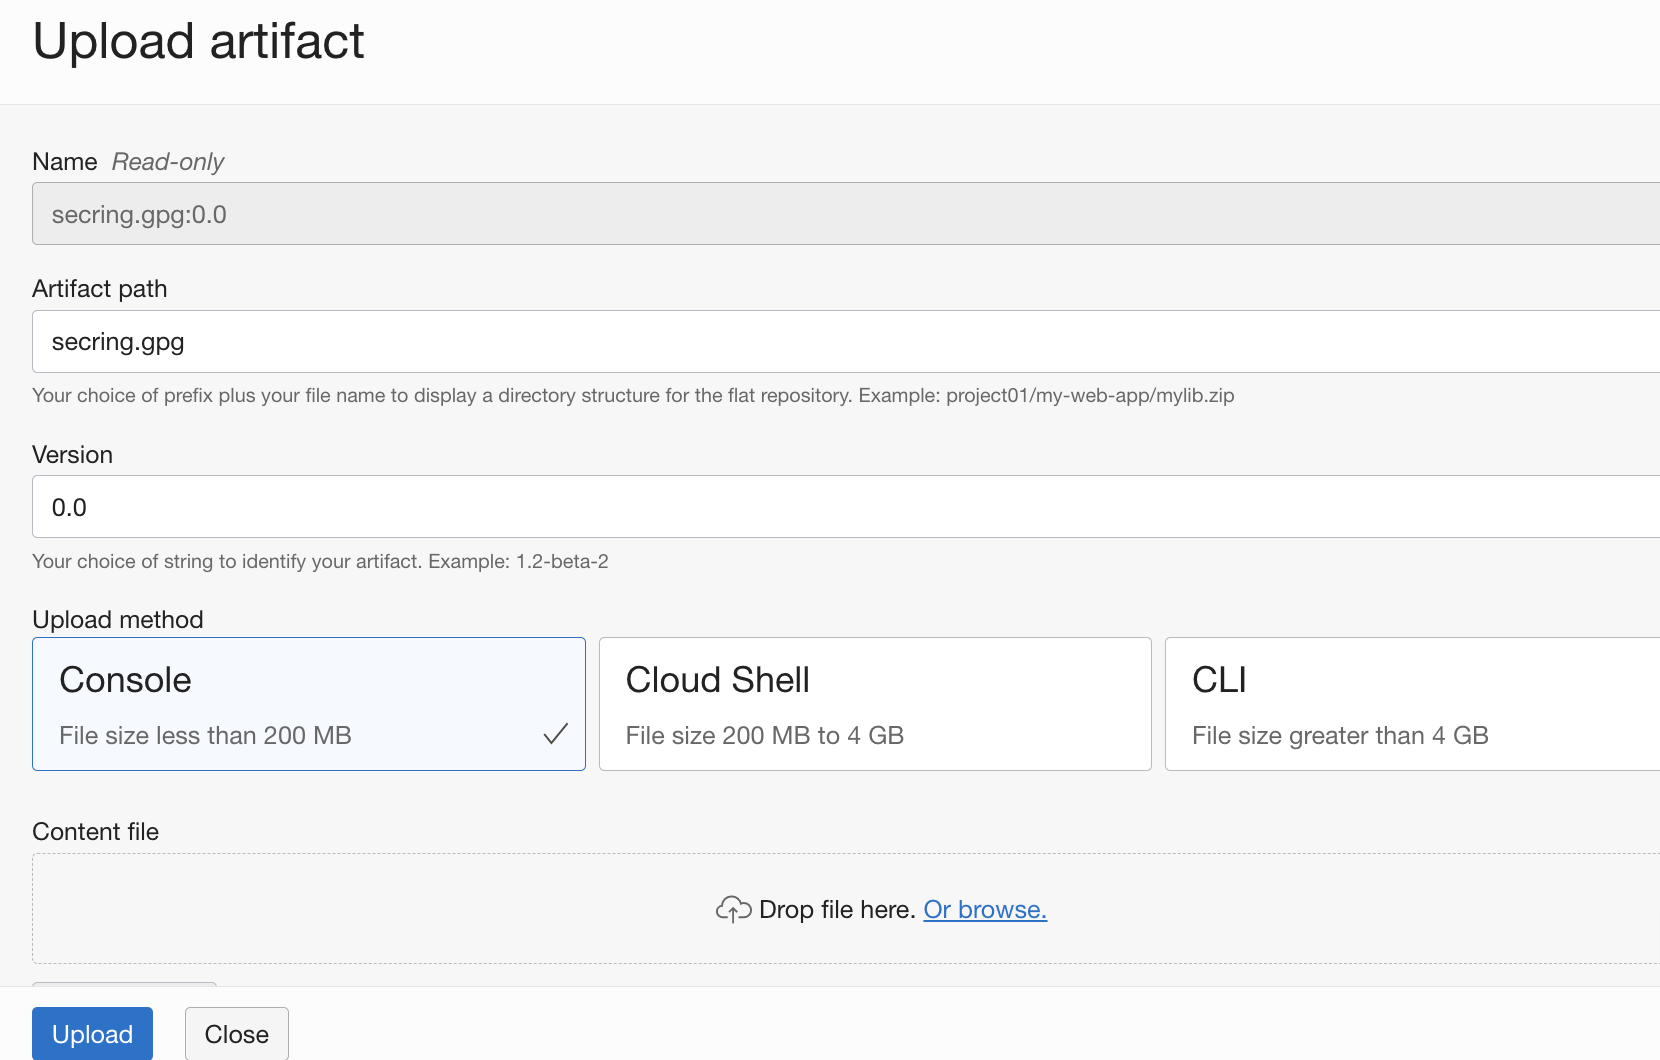
- Upload the file
./secring.gpgto the artifact repo. You may use version0.0with any name.
- We need to create a token for the respective user to access the
oci container registryas helm repo to push the packages. - https://docs.oracle.com/en-us/iaas/Content/Registry/Tasks/registrygettingauthtoken.htm
- We will be using OCI Vault to store the
base64value of the gpg public key and thepassphraseto sign and verify the helm chart. - Create an OCI Vault and a Master key - https://docs.oracle.com/en-us/iaas/Content/KeyManagement/Tasks/managingvaults_topic-To_create_a_new_vault.htm#createnewvault
- Fetch the
base64value of filehelm-attestation-public-key.pgp
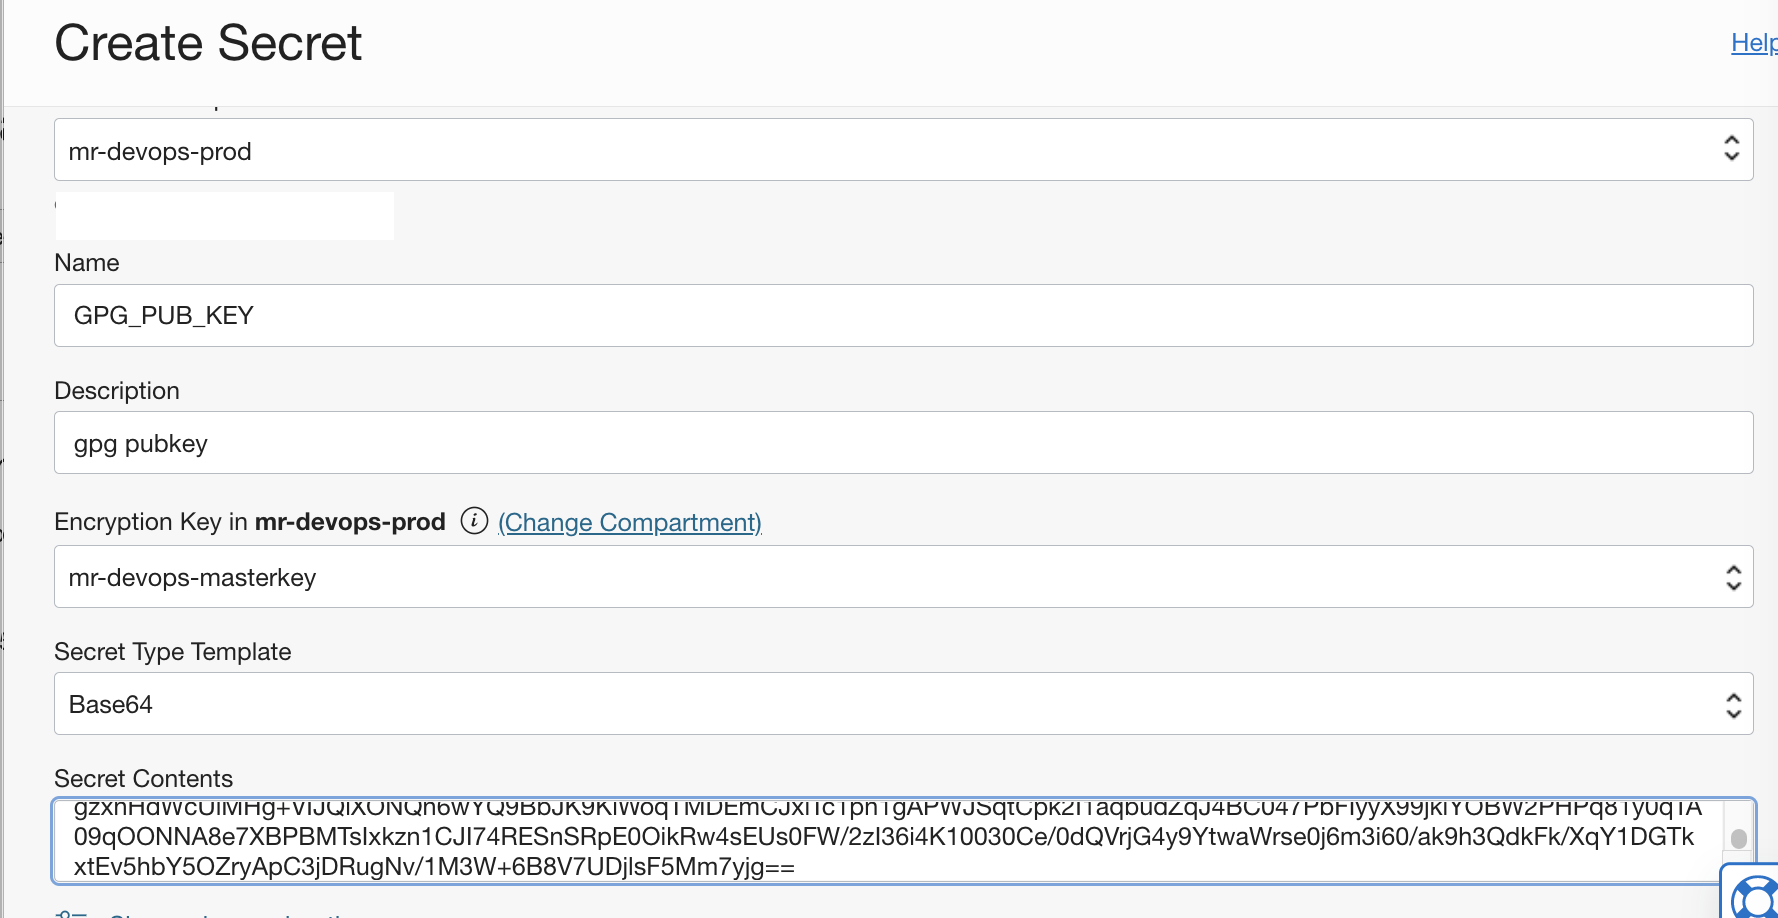
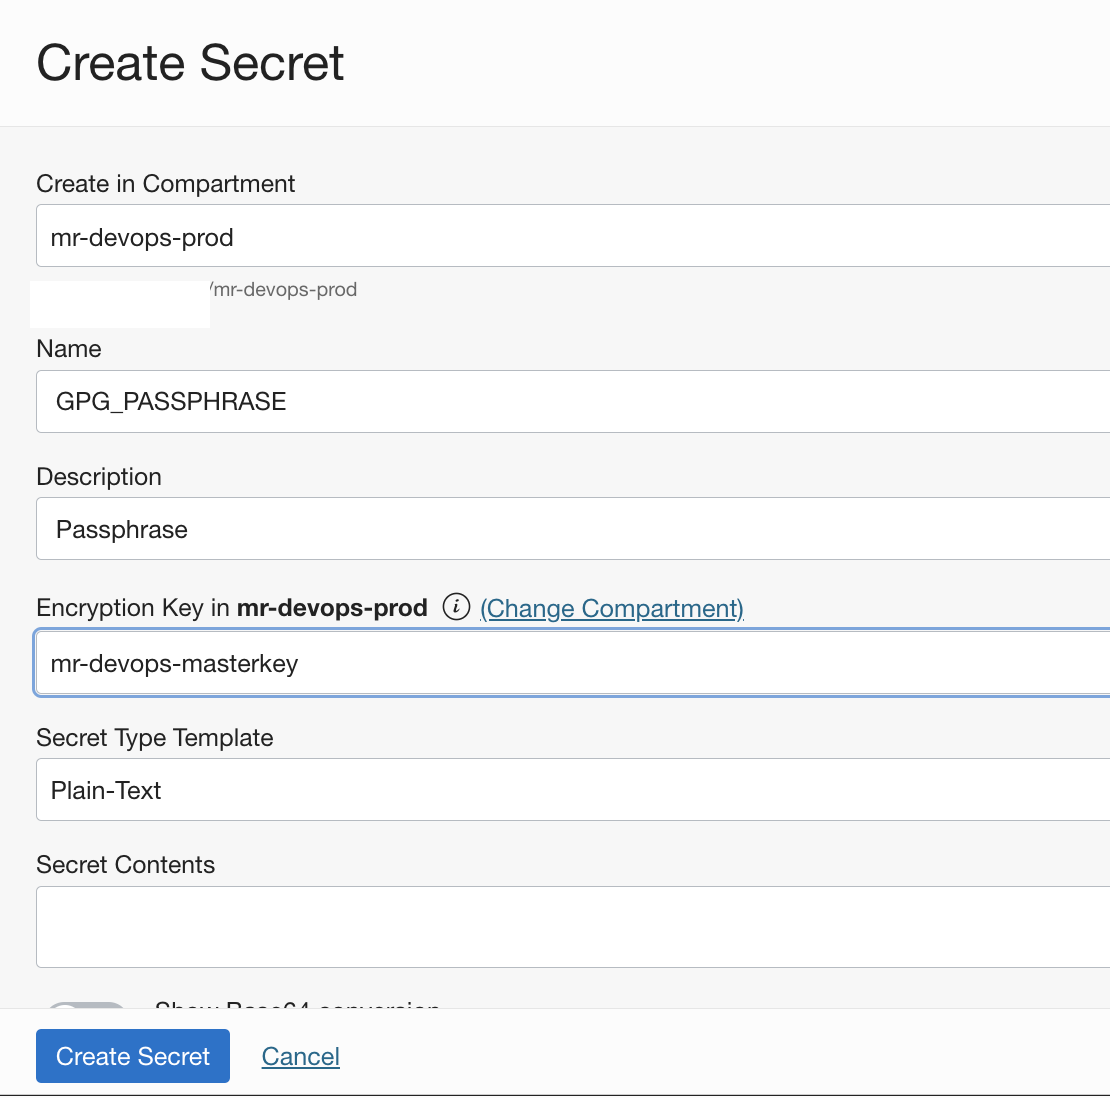
$ base64 -i helm-attestation-public-key.pgp - Create a secret for the
public keyand copy thebase64value to it. Ensure to use thesecret Type TemplateasBase64.
- Create a secret for the
helm verification passphrase.The value should be the same as that used while creating thegpg key
- Create two more secrets and store the value of the
user auth tokenand theuser to login to OCI container registry
# For a federated user (single sign-on with an identity provider), enter the username in the following format: TenancyName/Federation/UserName.
# For example, if you use OCI's identity provider, your login would be, Acme/oracleidentitycloudservice/alice.jones@acme.com.
#If you are using OCI's direct sign-in, enter the username in the following format: TenancyName/YourUserName. For example, Acme/alice_jones. Your password is the auth token you created previously.
- Create an OCI Dynamic group with the below rules.
ALL {resource.type = 'devopsbuildpipeline', resource.compartment.id = 'OCID OF OCI COMPARTMENT'}
ALL {resource.type = 'devopsdeploypipeline', resource.compartment.id = 'OCID OF OCI COMPARTMENT'}- Create an OCI Policy with the below statements.
Allow dynamic-group <NAME OF THE DYNAMIC GROUP> to read secret-family in compartment <NAME OF THE OCI COMPARTMENT>
Allow dynamic-group <NAME OF THE DYNAMIC GROUP>to manage on-topics in compartment <NAME OF THE OCI COMPARTMENT>
Allow dynamic-group <NAME OF THE DYNAMIC GROUP> to manage all artifacts in compartment <NAME OF THE OCI COMPARTMENT>
Allow dynamic-group mr-DevOps-dg to manage cluster-family in compartment <NAME OF THE OCI COMPARTMENT>
Allow dynamic-group mr-DevOps-dg to manage repos in compartment <NAME OF THE OCI COMPARTMENT>- You may need additional policies if the target OKE is
private.
- Create an OKE using Quick or Custom workflow - https://docs.oracle.com/en-us/iaas/Content/ContEng/Tasks/contengcreatingclusterusingoke_topic-Using_the_Console_to_create_a_Quick_Cluster_with_Default_Settings.htm#create-quick-cluster
- Connect to the OKE and create a namespace for the deployment.
kubectl create ns <NAME Of NAMESPACE>- Update file
build_spec.yamlfor the below values.
  vaultVariables:
    HELM_REPO_USER: ocid1.vaultsecret.ocX.yyyy.zzzz # OCID of SECRET contains USER Info
    USER_AUTH_TOKEN: ocid1.vaultsecret.ocX.yyyy.zzzz # OCID of SECRET contains USER Token
GPG_PASSPHRASE: ocid1.vaultsecret.ocX.yyy.zzzz # OCID of SECRET contains gpg Passphrase-
Create an OCI Notification topic - https://docs.oracle.com/en-us/iaas/Content/Notification/Tasks/create-topic.htm#top
-
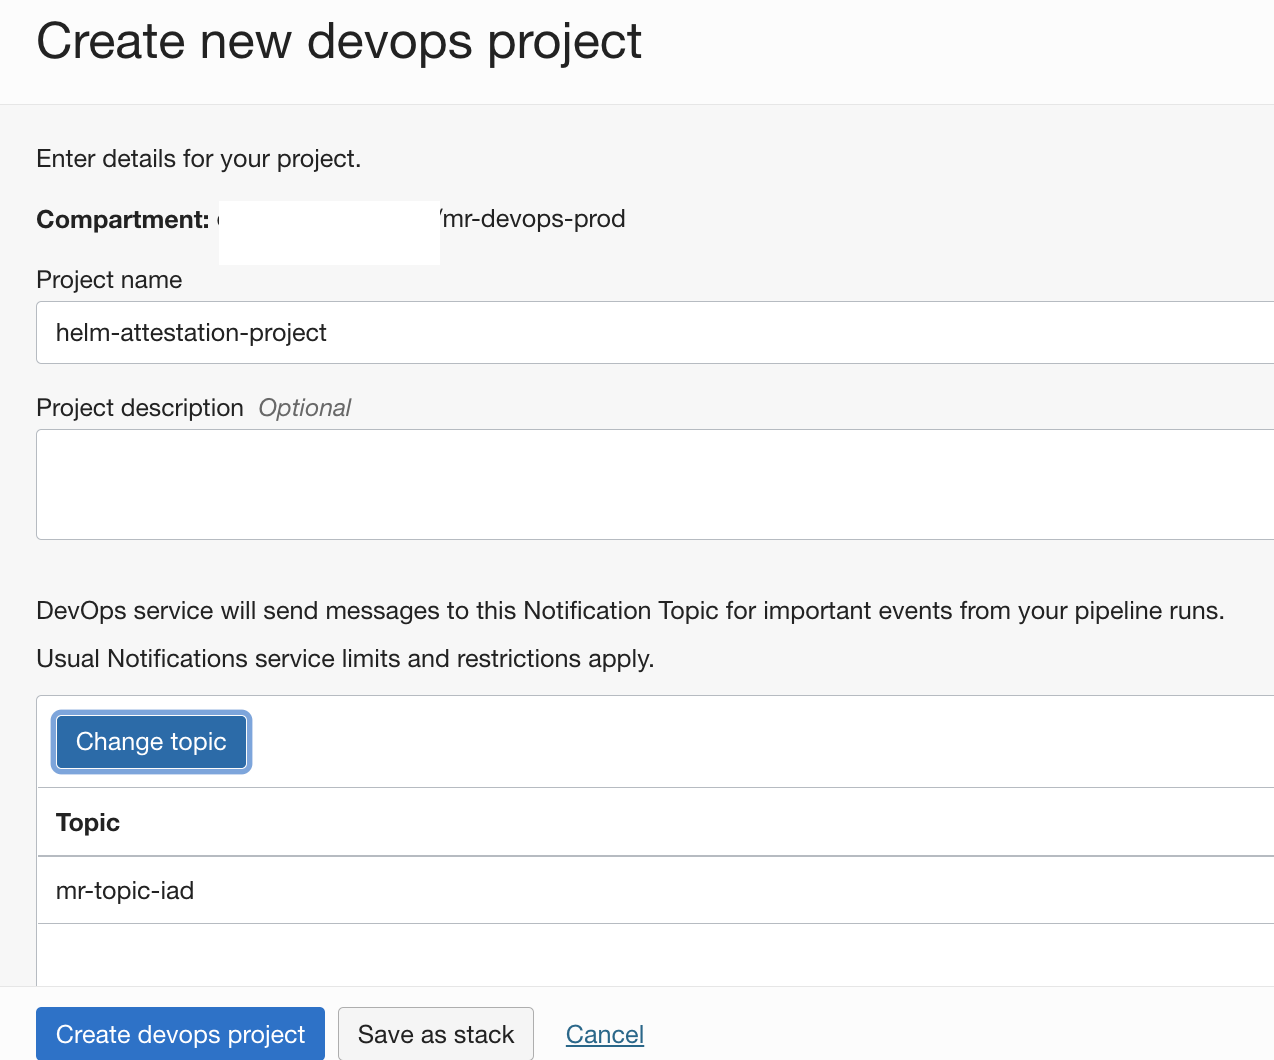
Create an
OCI DevOps Projectand associate it with a notification topic. - https://docs.oracle.com/en-us/iaas/Content/devops/using/create_project.htm#create_a_project
- Enable
loggingfor the project.
-
Create a
DevOps environment for Kubernetes cluster- https://docs.oracle.com/en-us/iaas/Content/devops/using/create_oke_environment.htm#create_oke_environment -
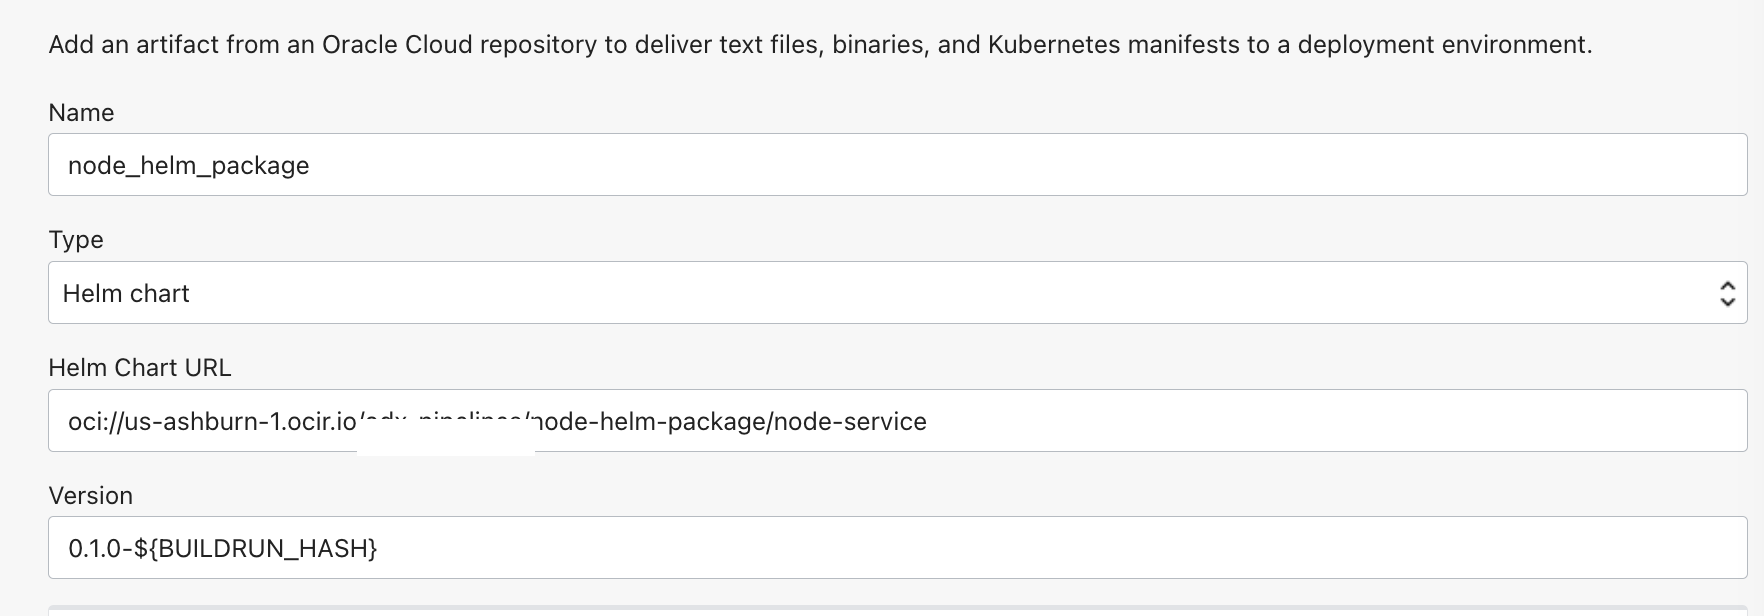
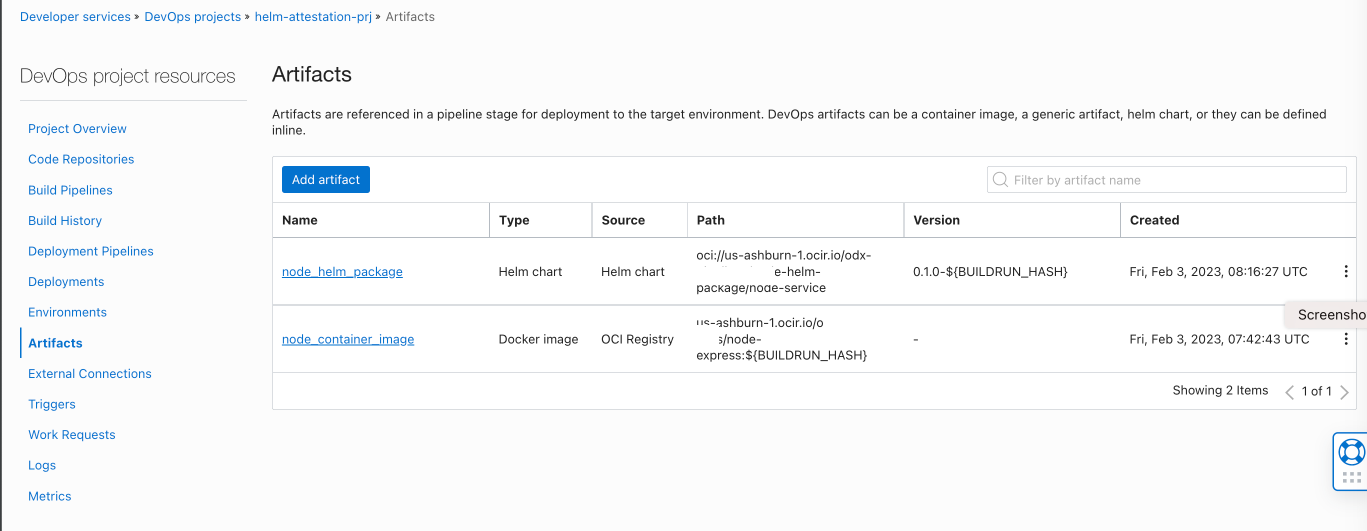
Create a DevOps artifact of type
Helm chart.Use the below format for your helm chart URL and version as0.1.0-${BUILDRUN_HASH}
oci://<OCI REGION>.ocir.io/<OCIR NAMESPACE>/node-helm-package/node-service- Use
vaultas Helm chart verification method. Select theVaultand the secret name that we created for the public key. Ensure to enable the optionAllow parameterization.
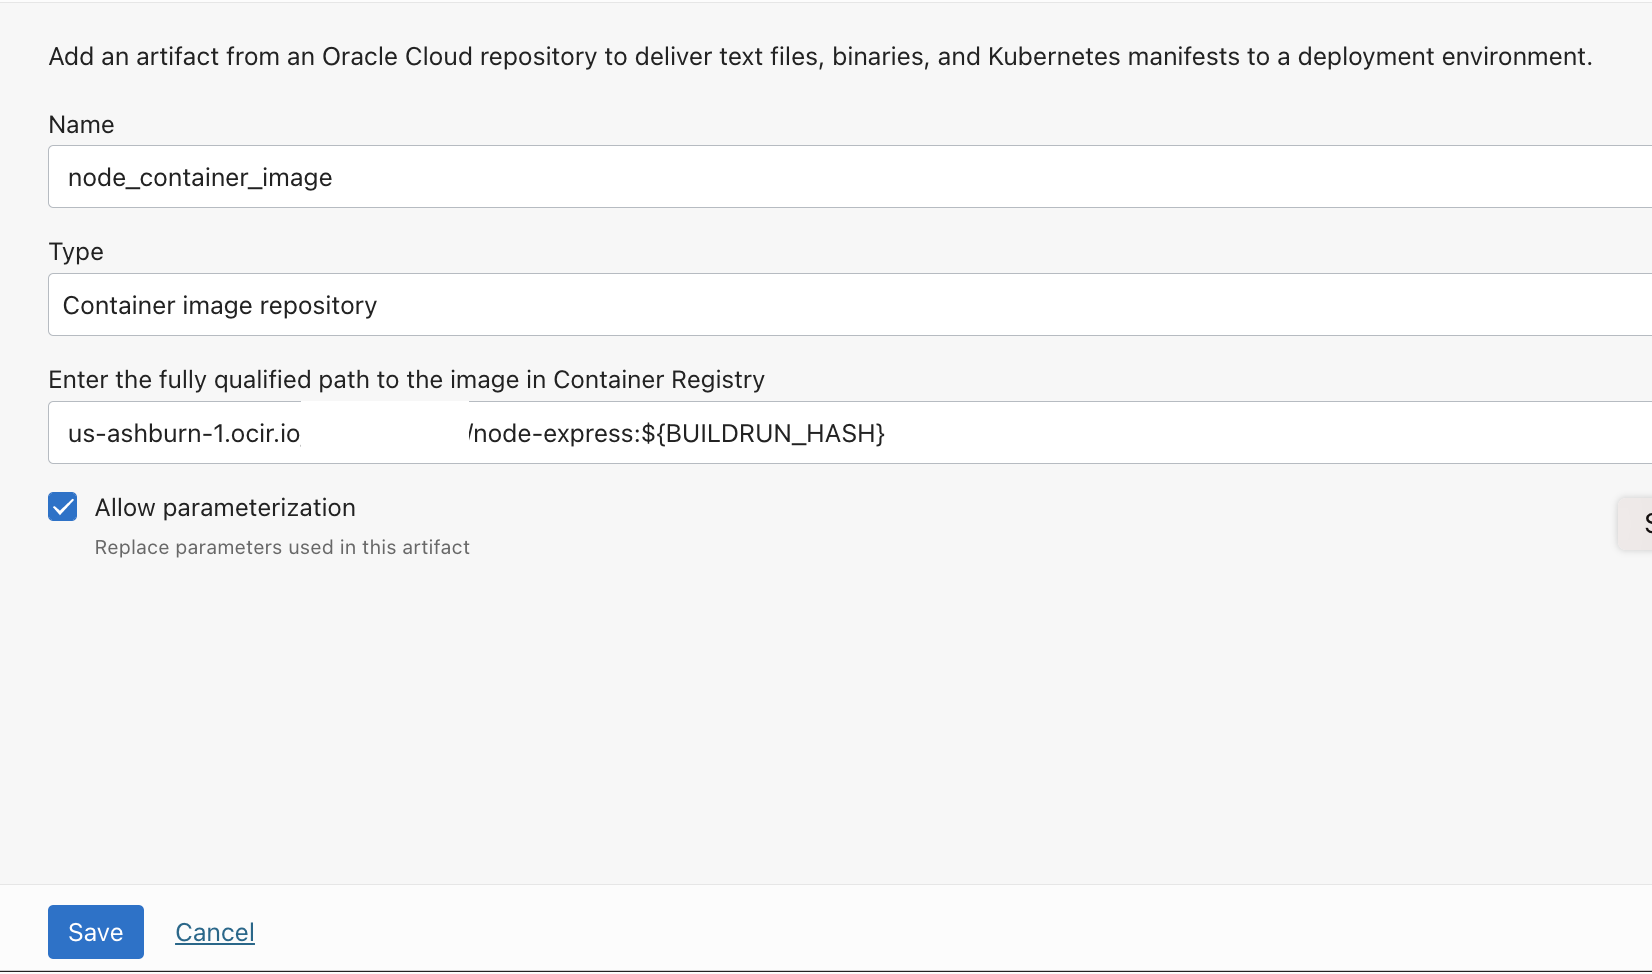
- Create another artifact of type
Docker image.Provide the path below. Ensure to enable the optionAllow parameterization.
<OCI REGION>.ocir.io/<OCIR NAMESPACE>/node-express:${BUILDRUN_HASH}-
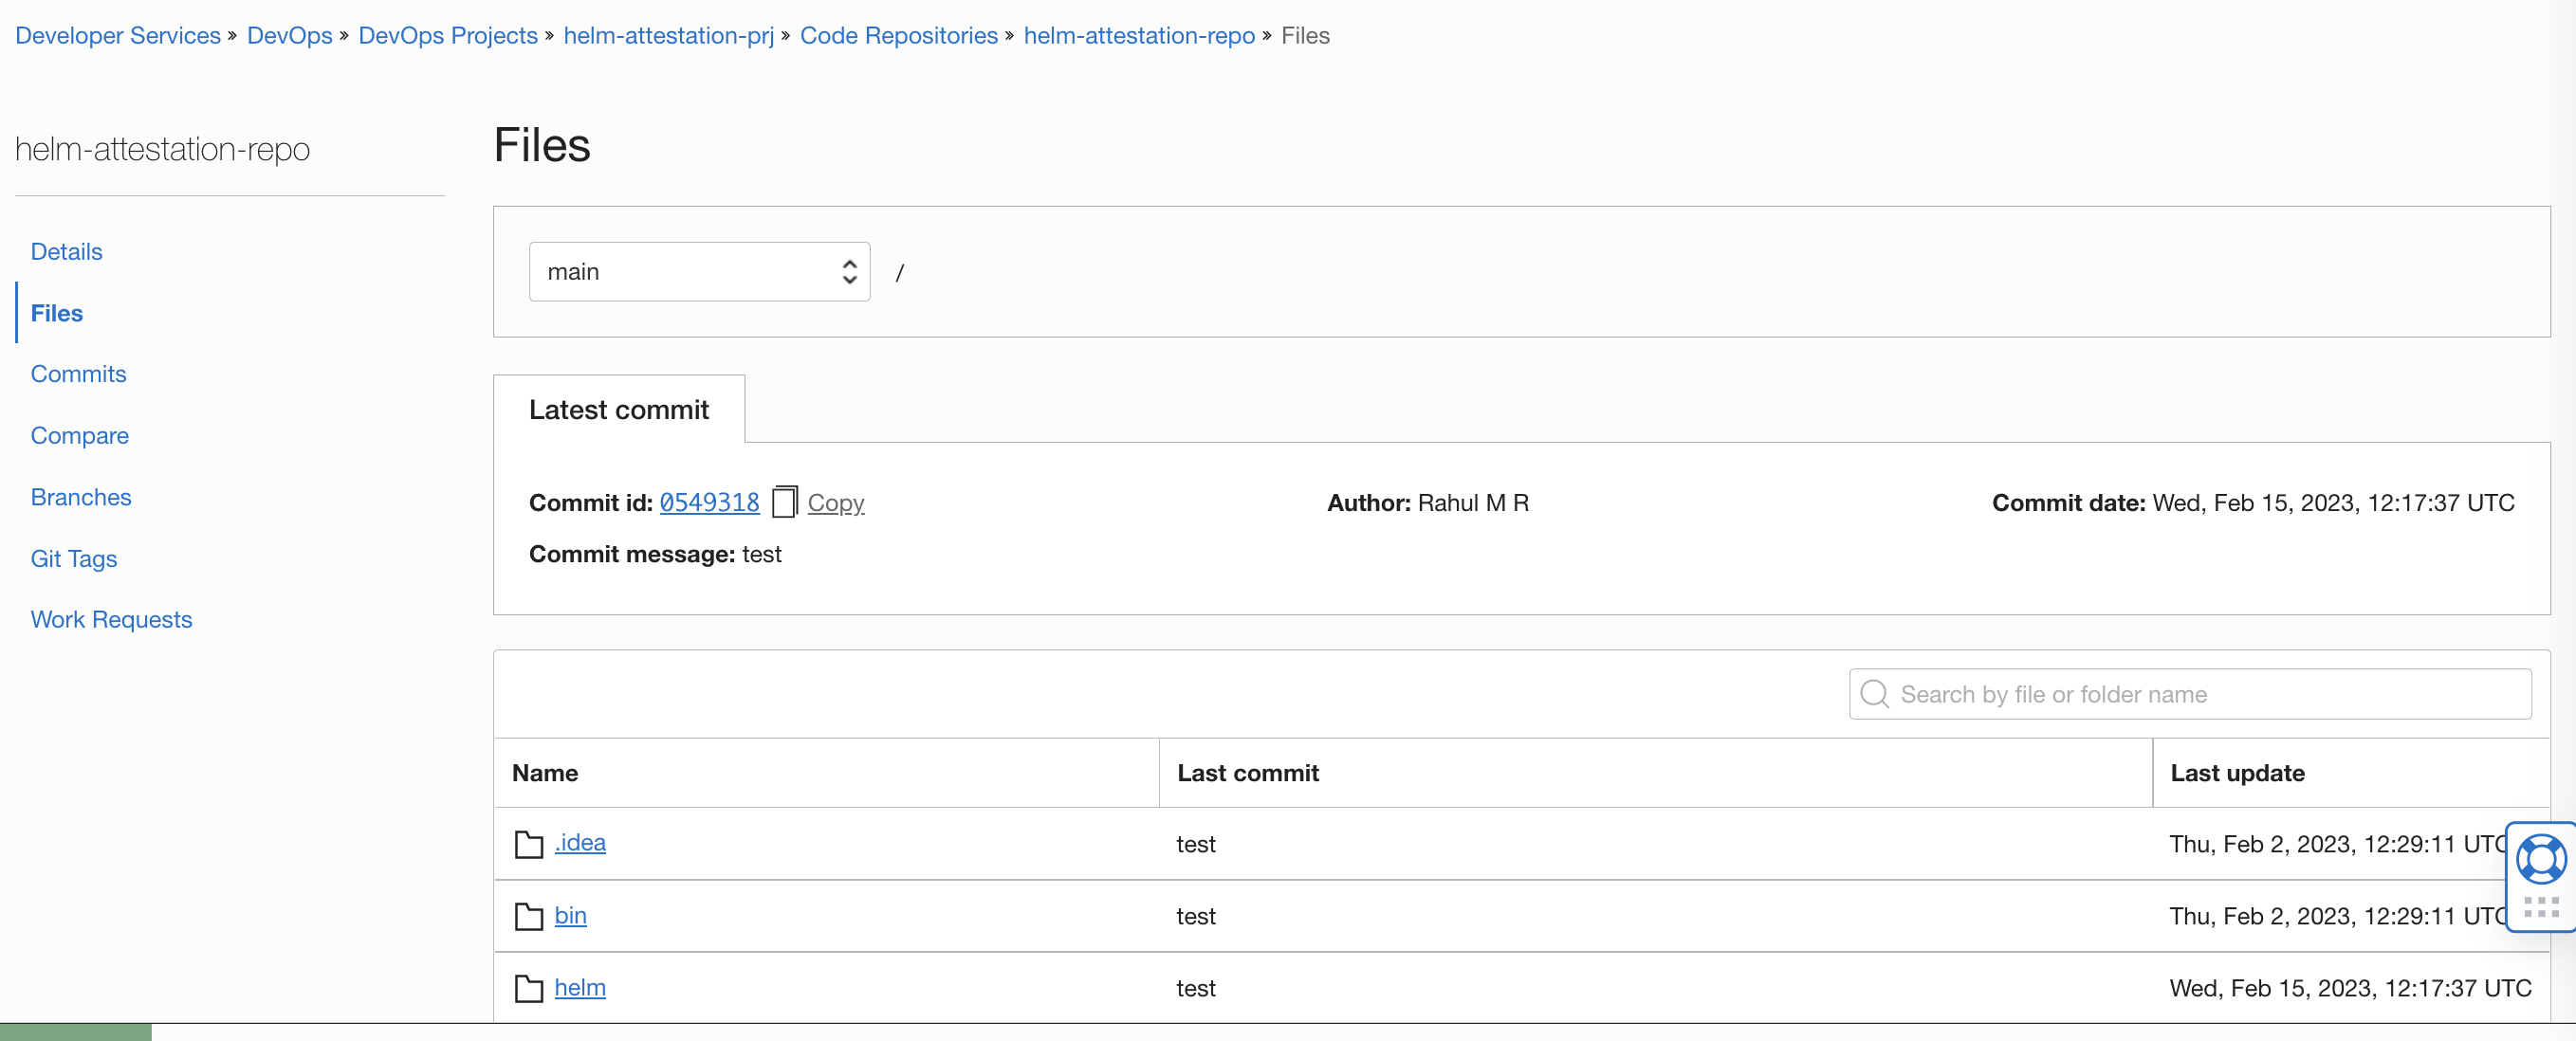
Create a
Code repository- https://docs.oracle.com/en-us/iaas/Content/devops/using/create_repo.htm#create_repo -
Push the whole content to the code repo.
-
Create a
build pipeline- https://docs.oracle.com/en-us/iaas/Content/devops/using/create_buildpipeline.htm -
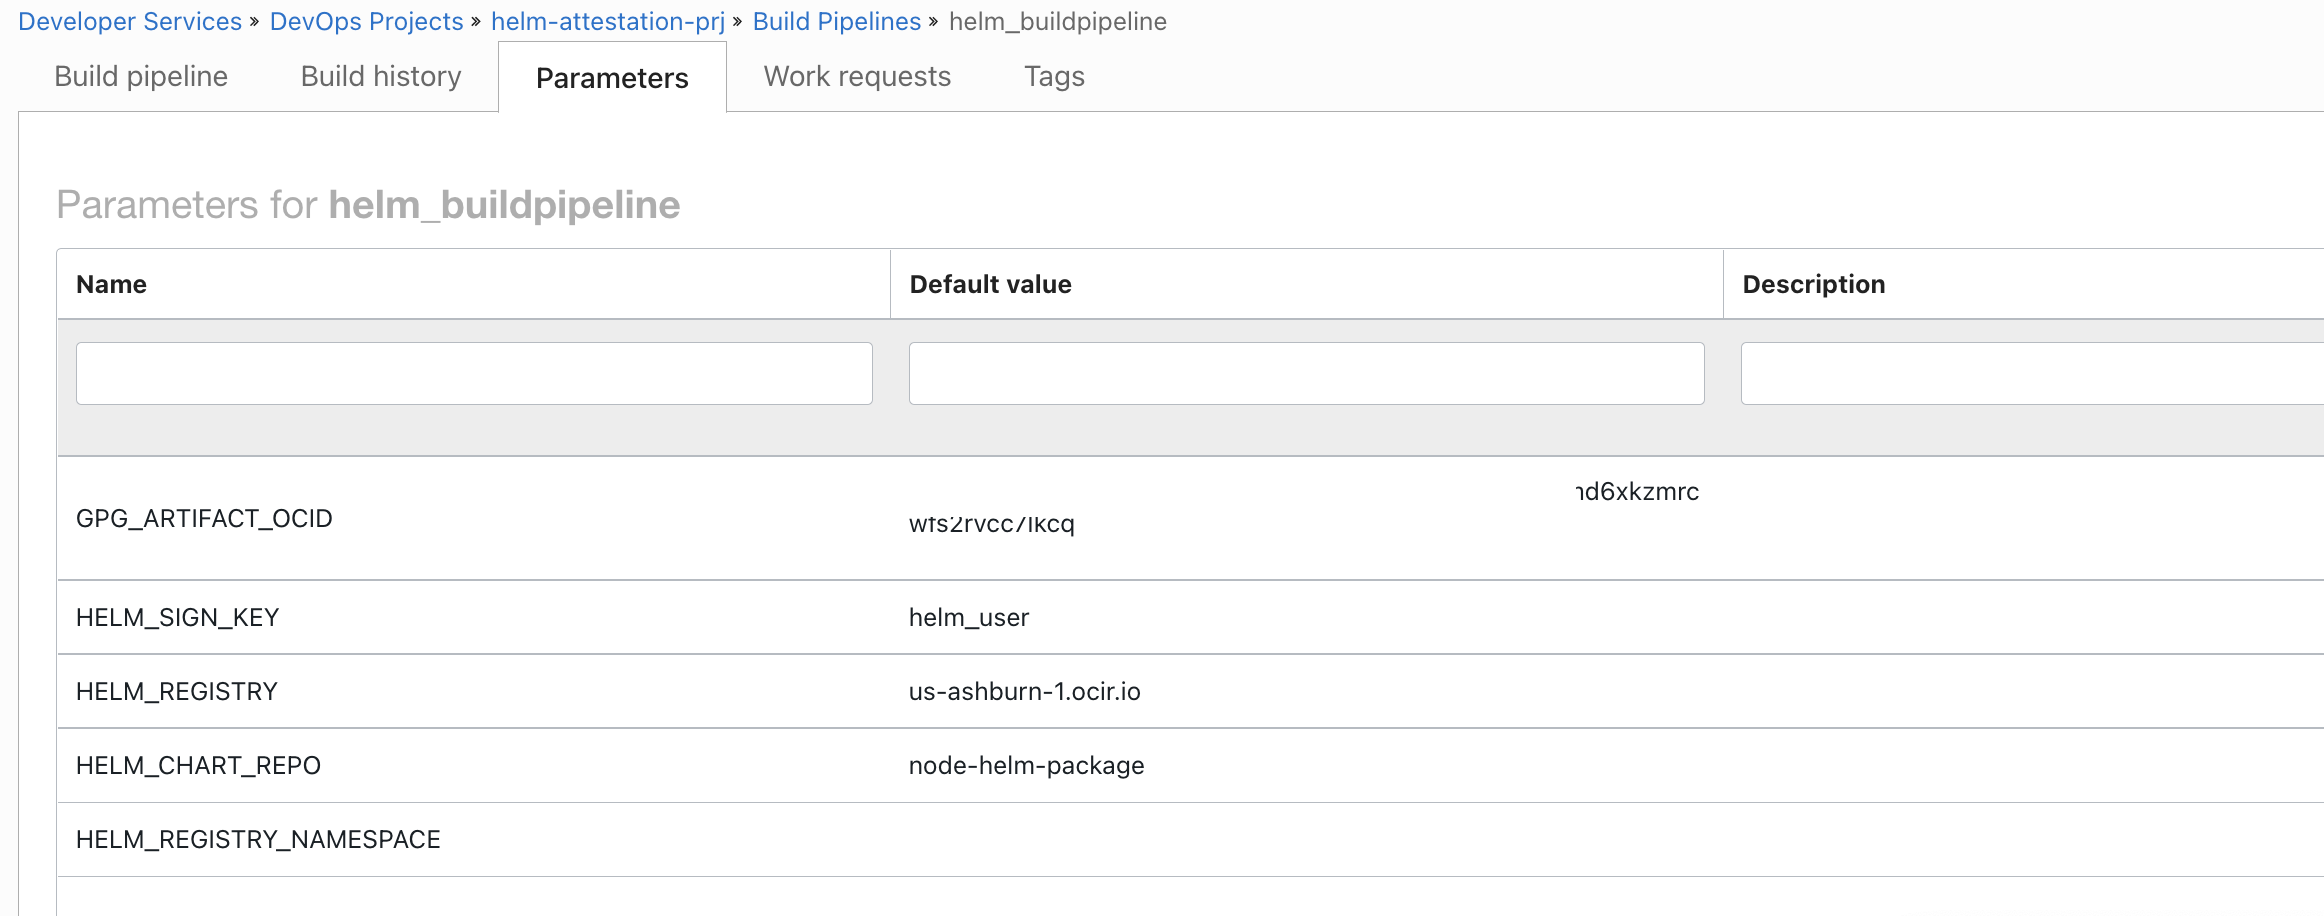
Within the pipeline, define these parameters.
- GPG_ARTIFACT_OCID # OCID of the Artifact (Private key) uploaded.class
- HELM_SIGN_KEY - helm_user /The Name-Real vaule with in gpg_template.txt file.
- HELM_REGISTRY - <OCI REGION>-1.ocir.io
- HELM_CHART_REPO - node-helm-package
- HELM_REGISTRY_NAMESPACE - The namespace for your OCI Container registry.- use
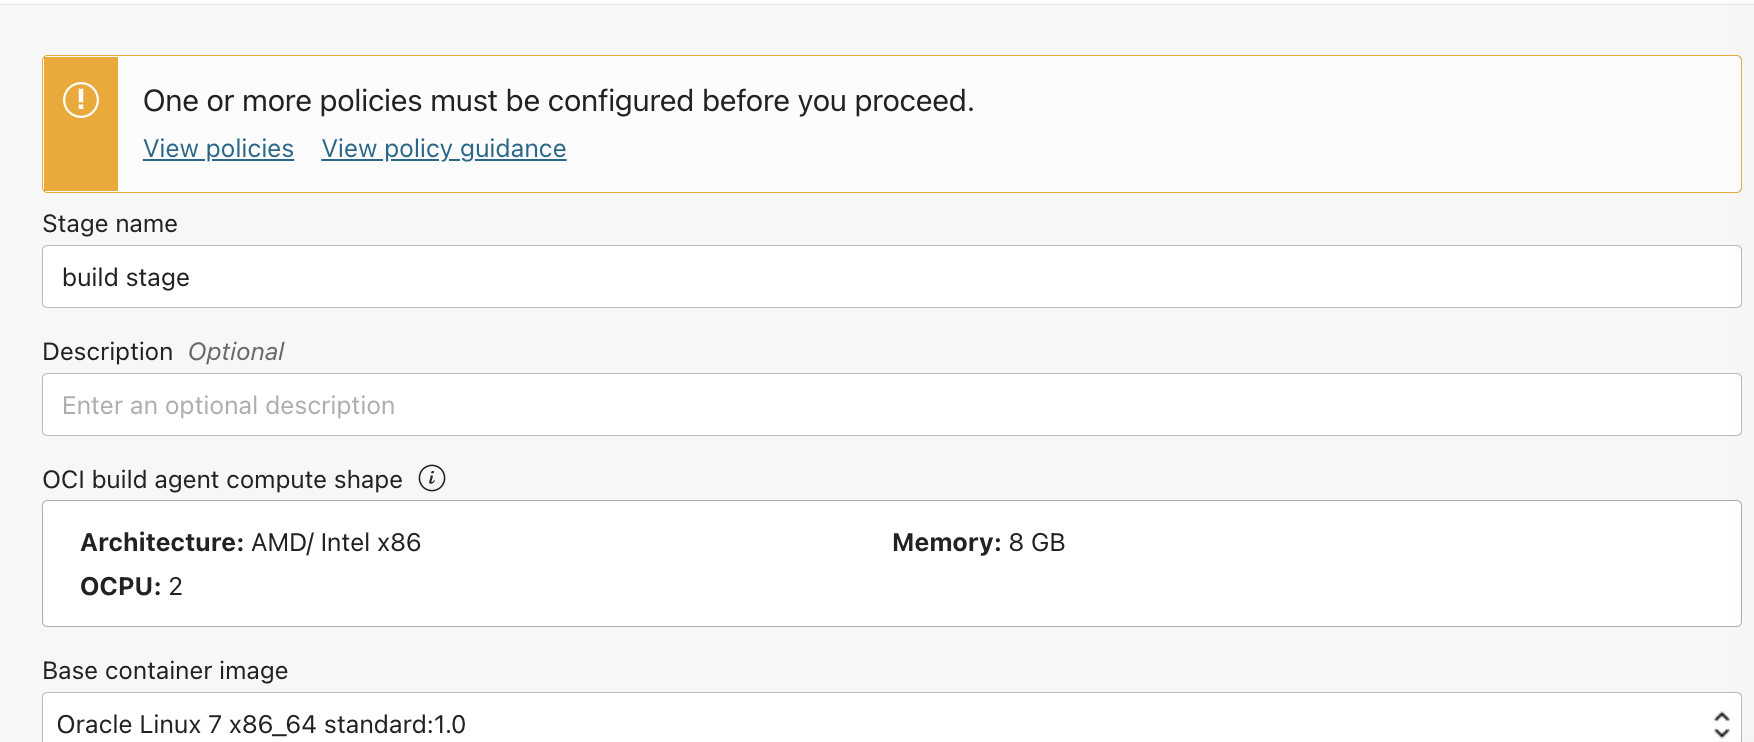
+and add a stage of typeManaged Build
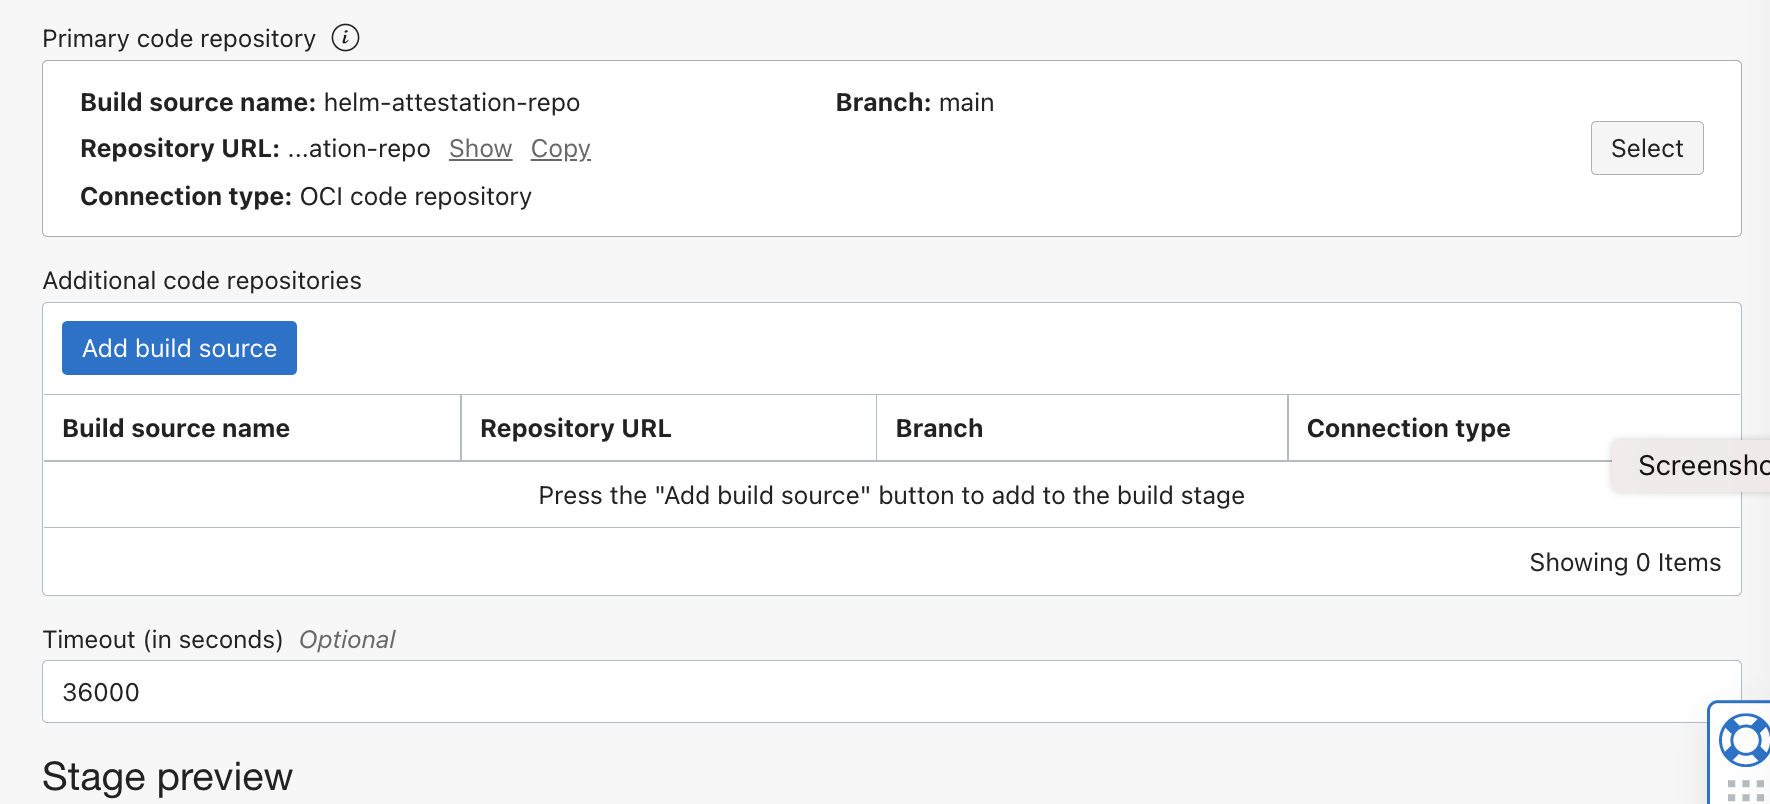
- Select the code repo as the
Primary code repository
- Using
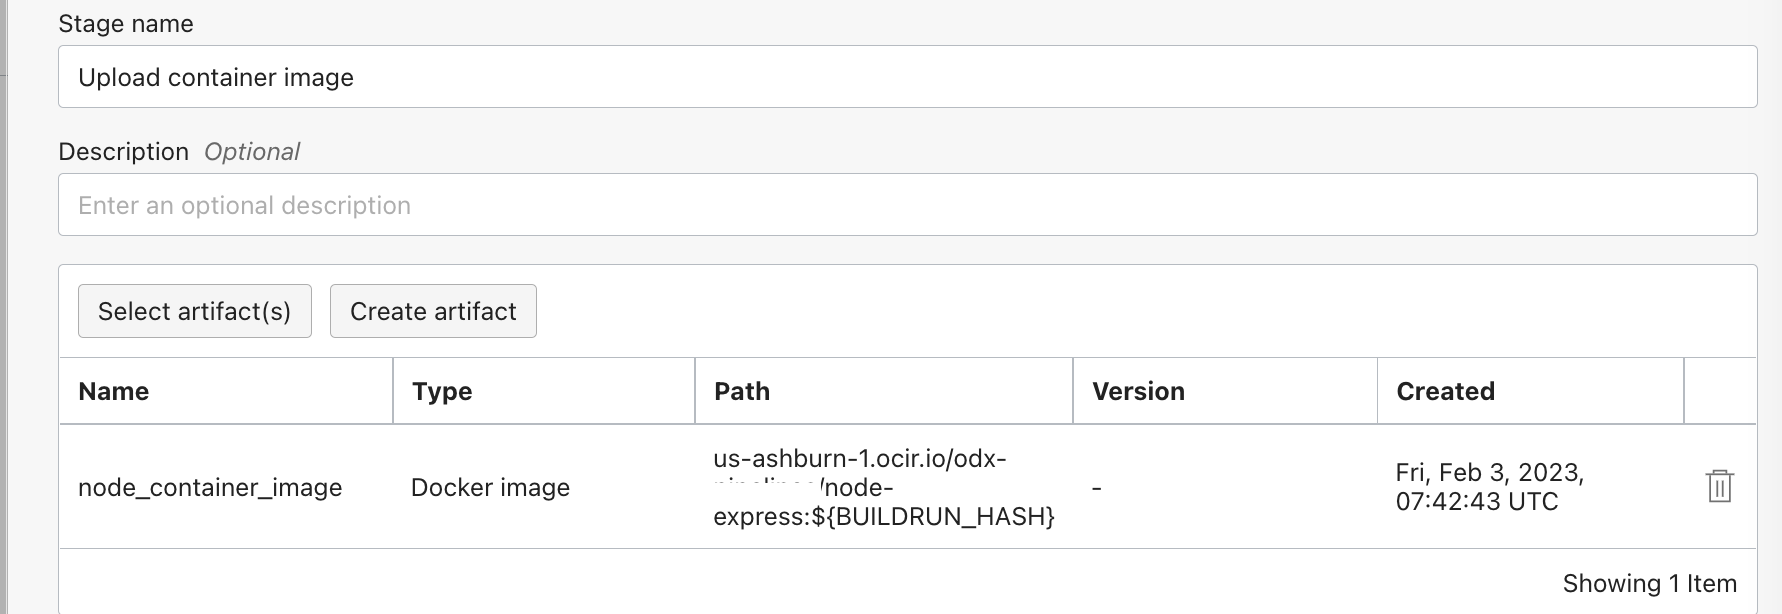
+and add a build stage of typeDeliver artifacts.Select the artifact created for typeDocker image.
- Associate with the
outputArtifactname - APPLICATION_DOCKER_IMAGE .The values comes from build_spec.yaml file's outputArtifacts section.
outputArtifacts:
  - name: APPLICATION_DOCKER_IMAGE
    type: DOCKER_IMAGE
    # this location tag doesn't effect the tag used to deliver the container image
    # to the Container Registry
location: node-express-getting-starter:latest-
Create a deployment pipeline - https://docs.oracle.com/en-us/iaas/Content/devops/using/deployment_pipelines.htm
-
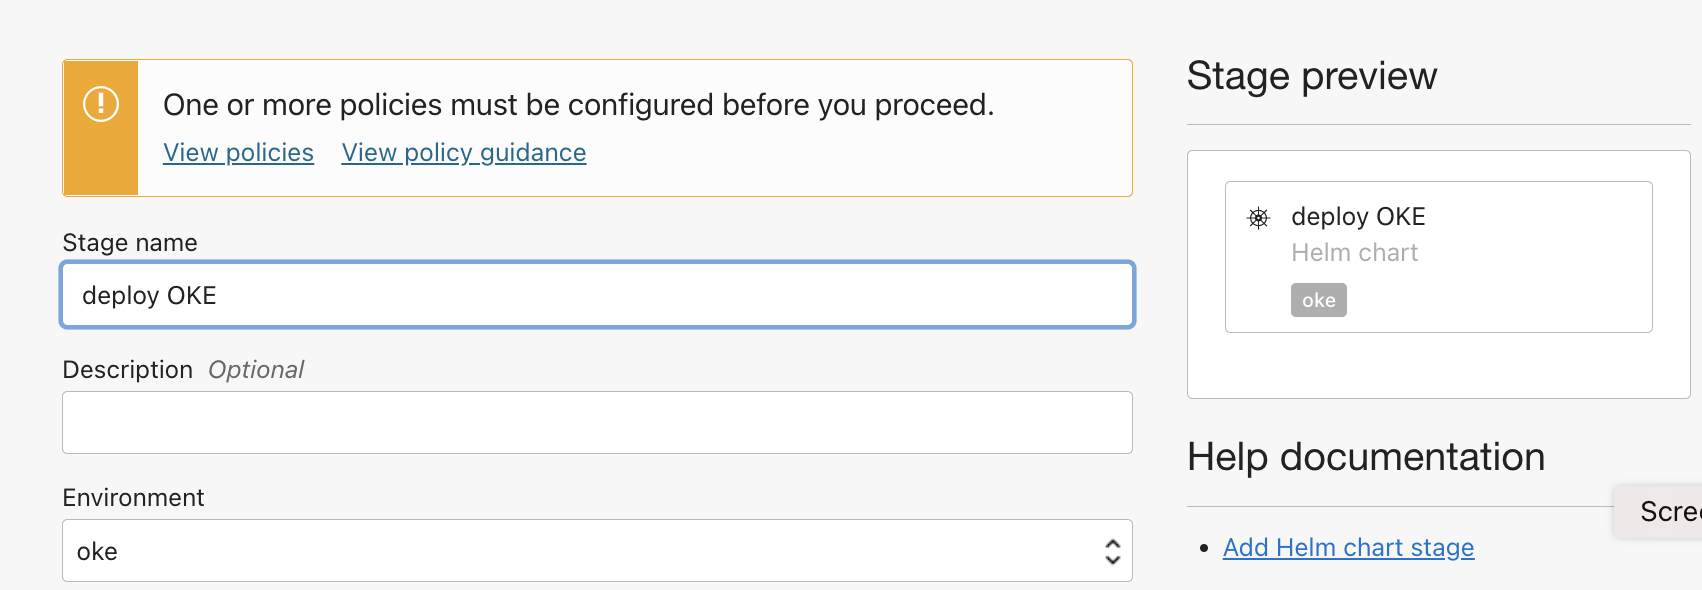
Use
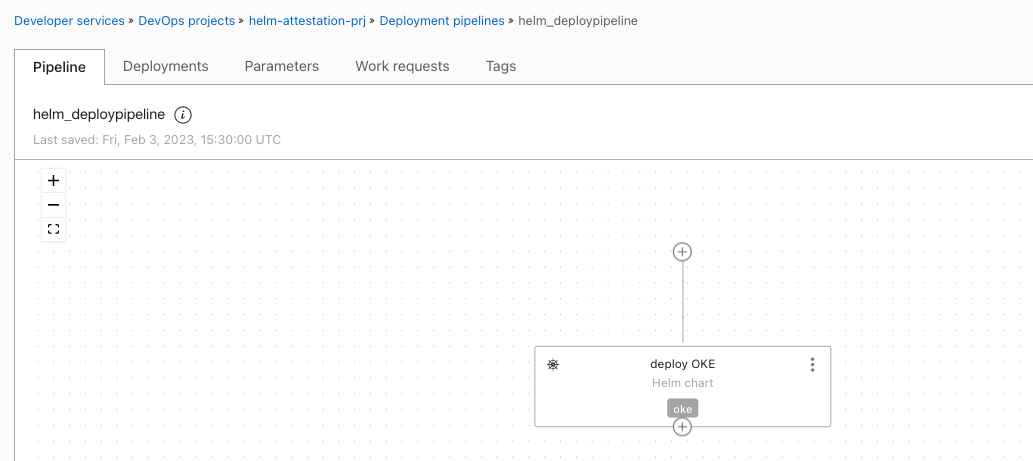
+and add a deployment stage of typeHelm chart. -
Provide a name and associate with the
OKE Environmentcreated.
- Provide a helm
release name, associated with the artifact of typeHelm chart.
- Provide the
OKE namespacecreated for the namespace override.
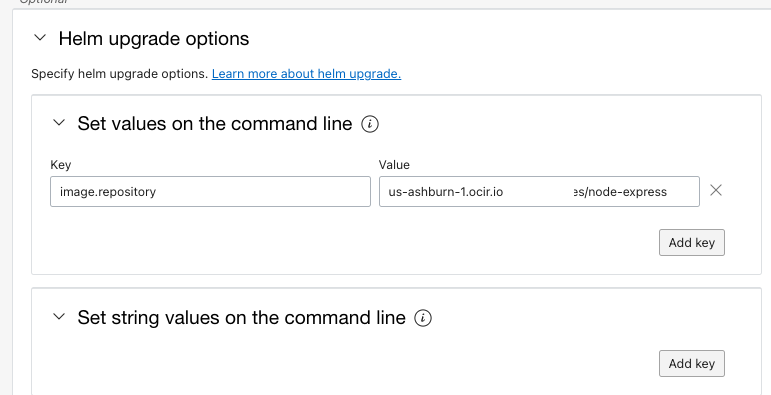
- We will be using
helm upgrade optionsto provide some values dynamically -Read more about helm upgrade here.
key: image.repository
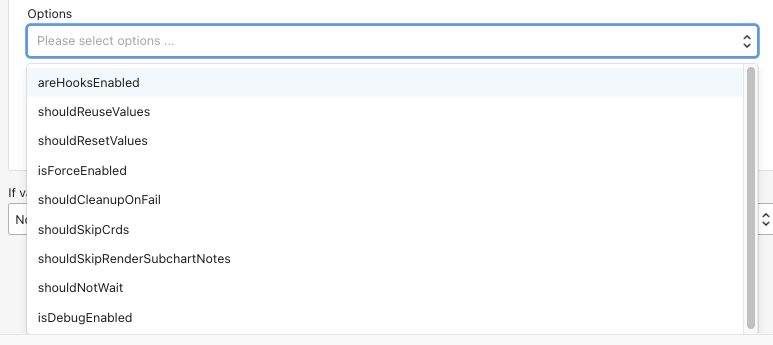
value: <OCI REGION>-1.ocir.io/<OCI Container Registry NAMESPACE>/node-express- You select any number of options to use during the helm upgrade.
- Add the stage.
- Switch back to
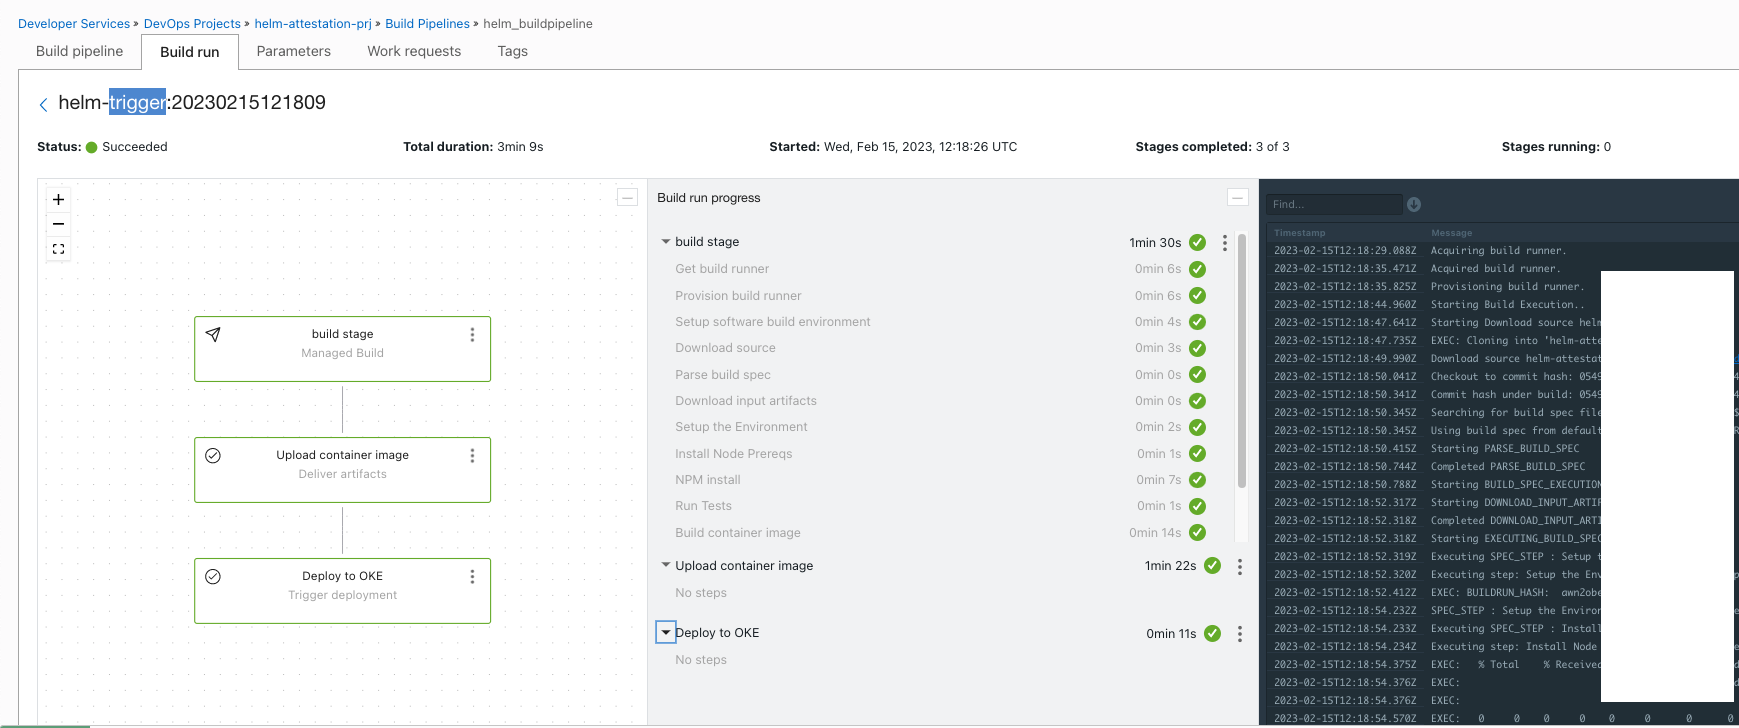
build a pipelineand add another stage of typetrigger deploymentserial to the previous stages. Select the deployment pipeline and associate. Ensure to enable the optionSend build pipelines parameters.
- Switch back to the DevOps project and create a basic trigger to associate the code repo and the build pipeline. - https://docs.oracle.com/en-us/iaas/Content/devops/using/trigger_build.htm
- Add an entry to readme file.
echo " " >>README.md- Add the files and push them back to the code repo.
- The build pipeline will get triggered at this stage. You can achieve this by using
Manual Runoption under the build pipeline. - Wait for all the stages to finish with the build run invoked.
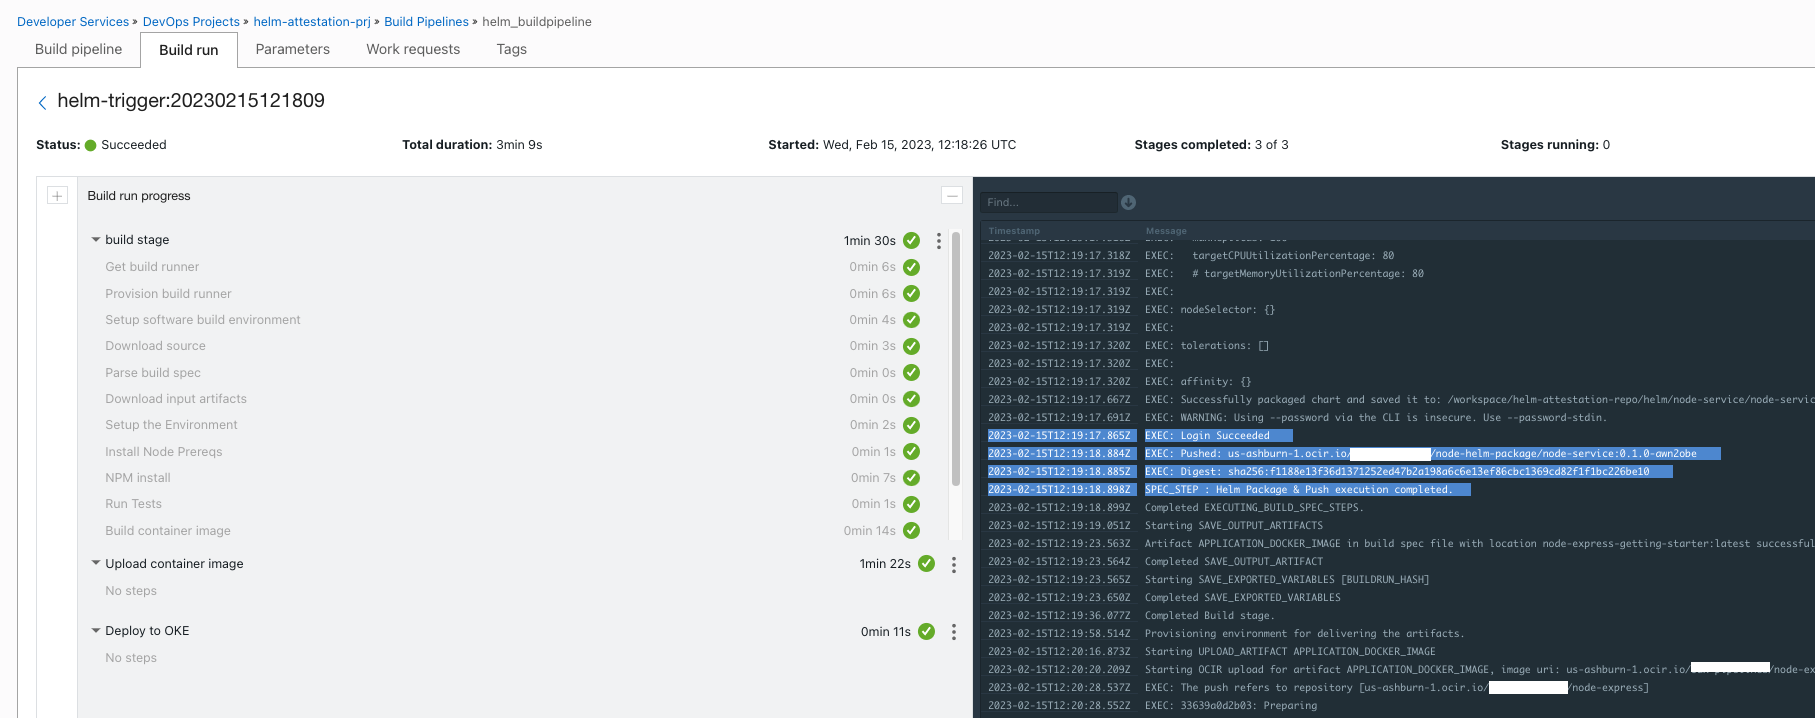
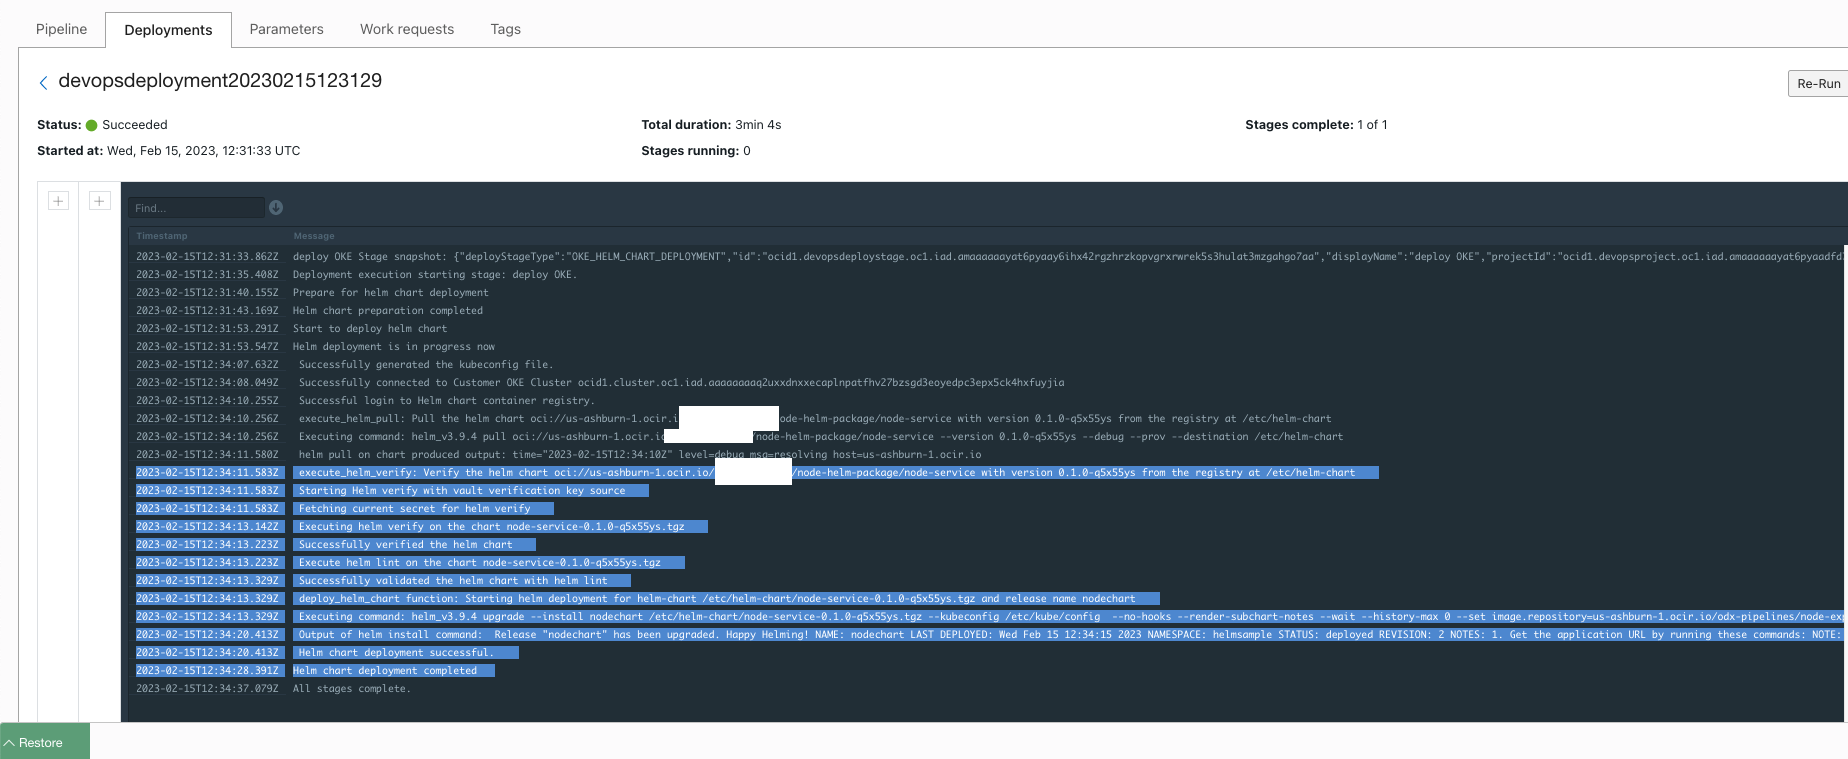
- Verify the logs for successful execution of helm package sign and push actions.
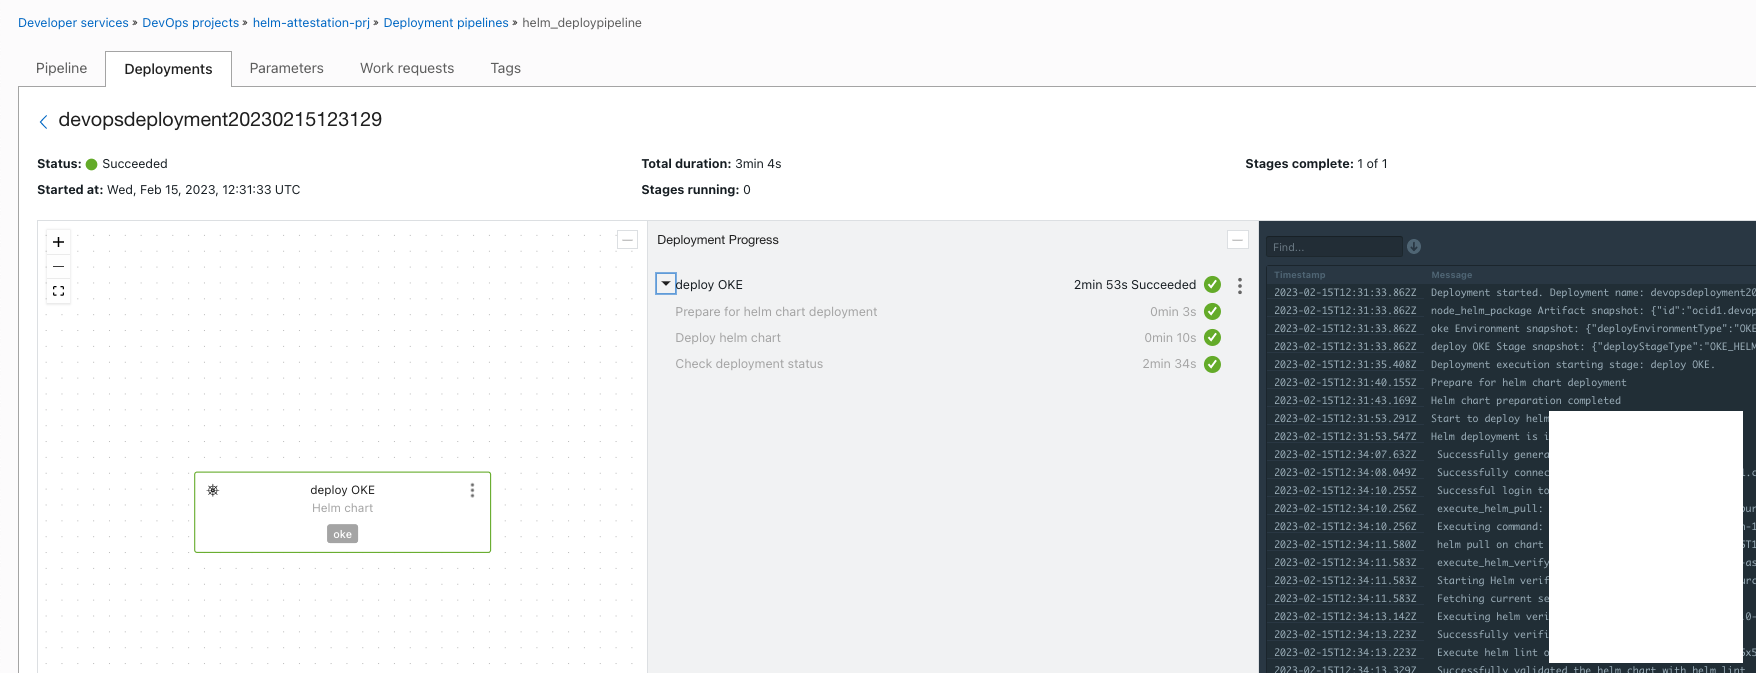
- Switch back to
Deploymentsand wait for all the stages to complete.
- You may refer to the logs to validate the execution.
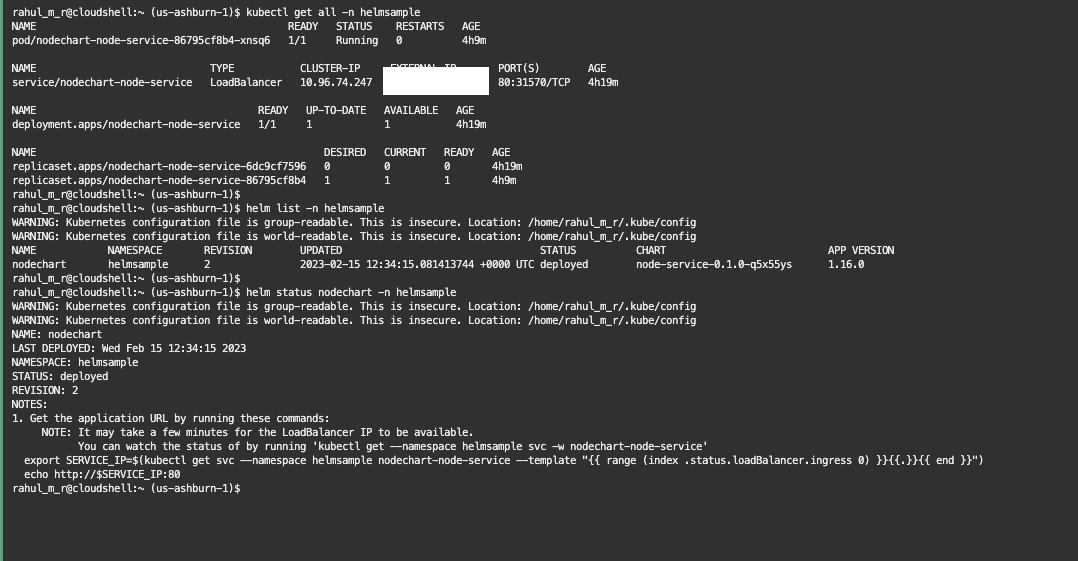
- Using a cloud shell or a bastion host, connect back to the
OKEand validate the deployments.
$ kubectl get all -n <KUBE_NAME_SPACE>
$ helm list -n <KUBE_NAME_SPACE>
$ helm status nodechart -n <KUBE_NAME_SPACE>- You may use the Loadbalancer IP (http://) to launch the sample application .
- For any error during build or deployment refer to the logs and act accordingly.
- OCI DevOps - https://docs.oracle.com/en-us/iaas/Content/devops/using/home.htm.
- OCI Reference architectures - https://docs.oracle.com/solutions/
- OCI DevOps samples - https://github.com/oracle-devrel/oci-devops-examples
- OCI DevOps helm chart deployments - https://docs.oracle.com/en-us/iaas/Content/devops/using/deploy-helmchart.htm
- Author: Rahul M R.
- Collaborators : NA
- Last release: Feb 2023
