Generated by the Very Good CLI 🤖
Audiobookshelf on your Android Wear!
ABS Wear is a standalone version for Android Wear OS 4.0, currently there is no plan to develop a version for Watch OS (Apple). This project is made for fun as a weekend project. This project is not part of the audiobookshelf core as it is written in Flutter instead of Vue. ABS Wear is a 3rd party project and is not affiliated with the original project.
Download the app from Play Store: ⌚ ABS Wear ⌚
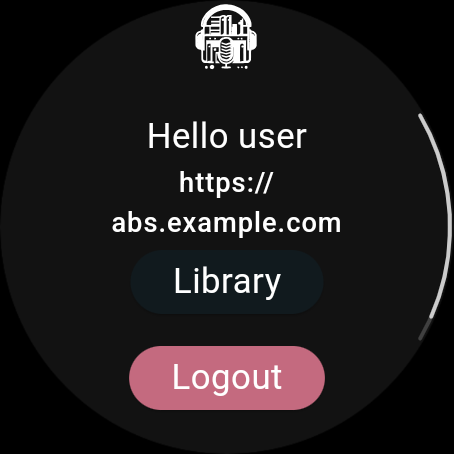
- Library: Browse your library and continue listening to your favorite audiobooks.
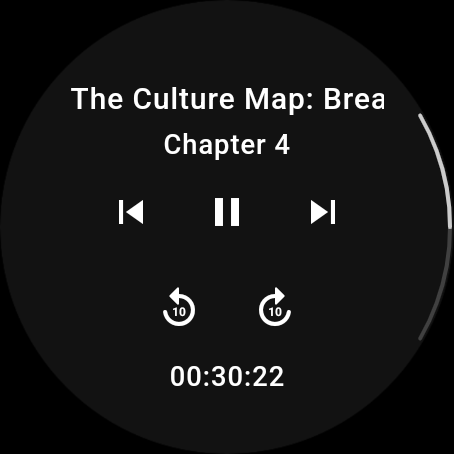
- Player: Control the playback of your audiobooks.
- Online Mode: Stream your audiobooks from the server (internet connection is required).
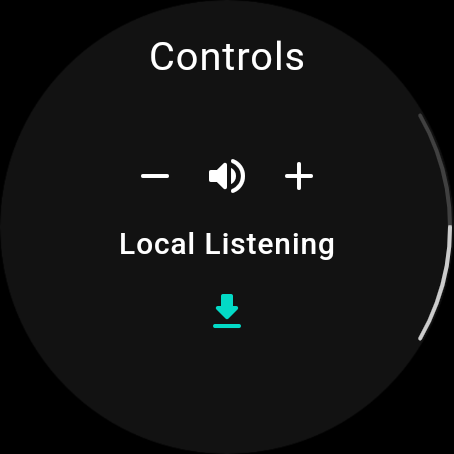
- Local Mode: Download your audiobooks and listen to them locally (internet connection is still required for syncing).
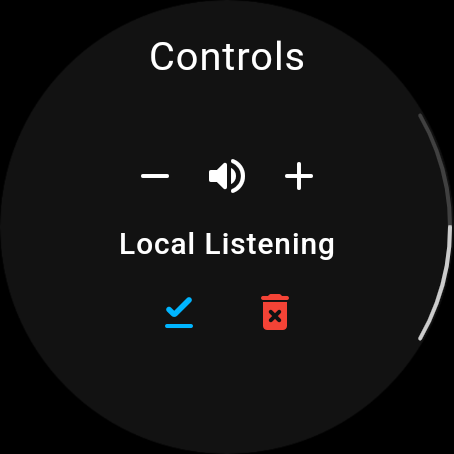
- Controls: Control the playback of your audiobooks with the built-in media controls.
Note
There are different types of APK files for Wear OS, depending on the device’s architecture and features. The most common ones are:
app-production-arm64-v8a-release.apk: This is for devices that use a 64-bit ARM processor, such as the Fossil Gen 5, TicWatch Pro 3, and Samsung Galaxy Watch 4.
app-production-armeabi-v7a-release.apk: This is for devices that use a 32-bit ARM processor, such as the Moto 360 (3rd Gen), TicWatch E2, and Fossil Sport.
app-production-x86_64-release.apk: This is for devices that use a 64-bit Intel processor, such as the LG Watch Urbane 2nd Edition and Asus ZenWatch 3.
To install the latest release from GitHub, follow the steps below:
-
Download the latest release from the releases page.
-
Connect your Android Wear device to your computer.
# Check if the device is connected
adb devices
# connect to the device, example:
adb connect 192.168.1.45:33553
-
Open a terminal and navigate to the directory where you downloaded the APK.
# Example
cd ~/Downloads
-
Install the APK using the Android Debug Bridge (ADB) tool. If you haven't installed ADB, you can download it from the Android developer site.
# Install the APK
adb install abs_wear.apk
# Disconnect from the device
adb disconnect
This project contains 3 flavors:
- development
- staging
- production
To run the desired flavor either use the launch configuration in VSCode/Android Studio or use the following commands:
# Development
$ flutter run --flavor development --target lib/main_development.dart

# Staging
$ flutter run --flavor staging --target lib/main_staging.dart

# Production
$ flutter run --flavor production --target lib/main_production.dart
*This template includes only the Android runner, as it is meant to run on Wear OS devices only.
To run all unit and widget tests use the following command:
flutter test --coverage --test-randomize-ordering-seed randomThis project relies on flutter_localizations and follows the official internationalization guide for Flutter.
-
To add a new localizable string, open the
app_en.arbfile atlib/l10n/arb/app_en.arb.{ "@@locale": "en", "serverUrlLabel": "Server URL", "@serverUrlLabel": { "description": "Label for the server URL input field" }, "usernameLabel": "Username", "@usernameLabel": { "description": "Username for the input field" }, "passwordLabel": "Password", "@passwordLabel": { "description": "Password for the input field" }, "hello": "Hello {username}", "@hello": { "description": "Hello text with parameter: username", "placeholders": { "username": { "type": "String", "example": "Bob" } } } } -
Then add a new key/value and description
{ "@@locale": "en", "serverUrlLabel": "Server URL", "@serverUrlLabel": { "description": "Label for the server URL input field" }, "usernameLabel": "Username", "@usernameLabel": { "description": "Username for the input field" }, "passwordLabel": "Password", "@passwordLabel": { "description": "Password for the input field" }, "hello": "Hello {username}", "@hello": { "description": "Hello text with parameter: username", "placeholders": { "username": { "type": "String", "example": "Bob" } } }, "library": "Library", "@library": { "description": "Text for Library" } } -
Use the new string
import 'package:abs_wear/l10n/l10n.dart';

@override
Widget build(BuildContext context) {
final l10n = context.l10n;
return Text(l10n.library);
}
