Ultimate Joint Generator
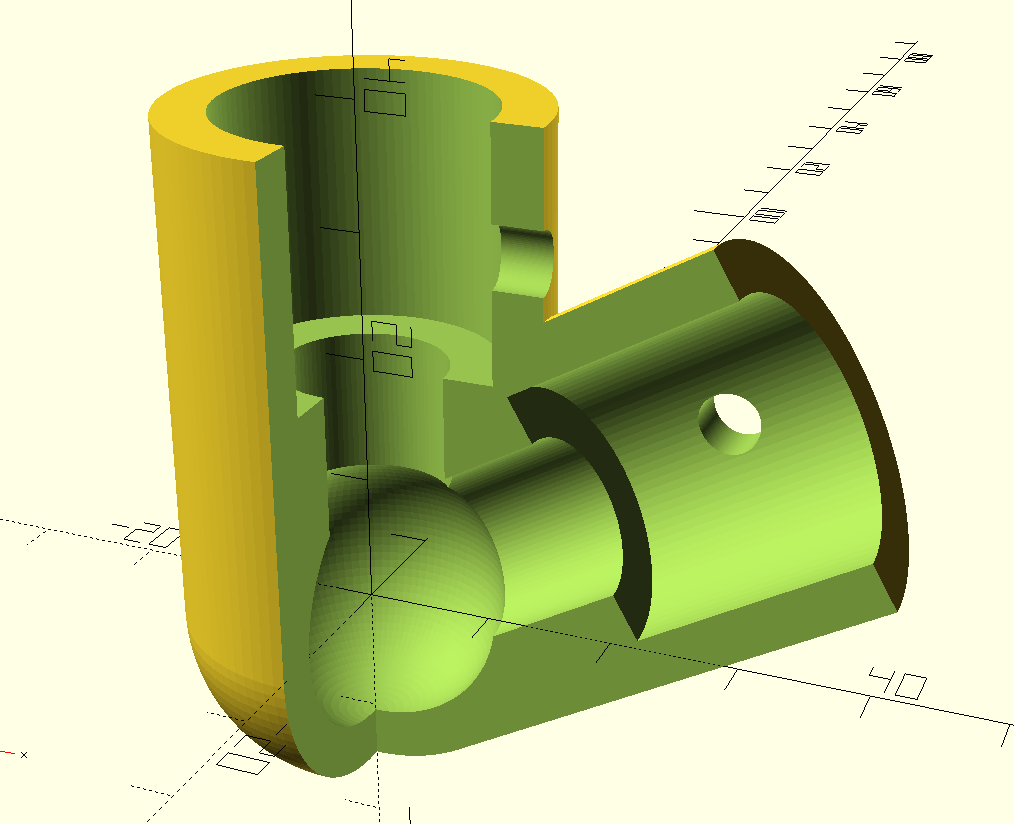
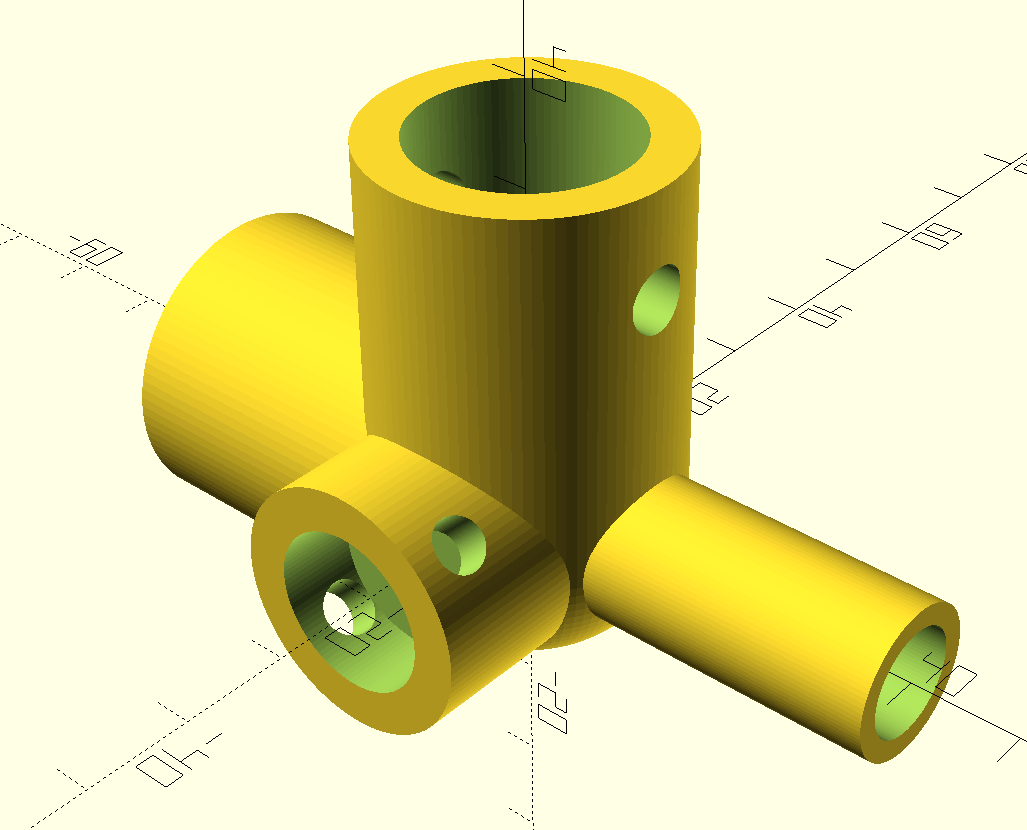
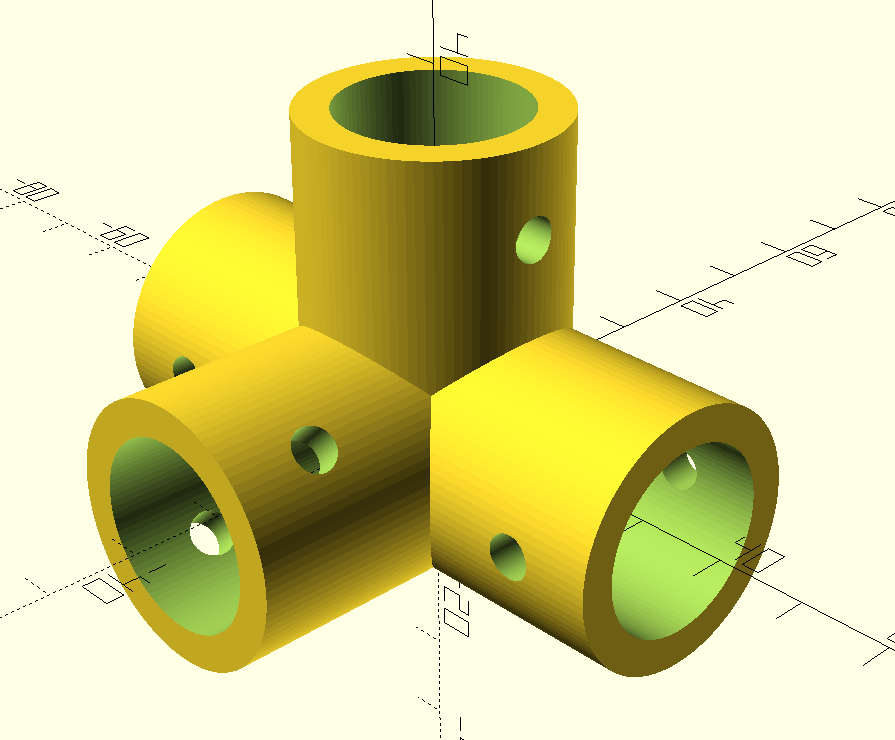
The Ultimate Joint Generator is an open source project that provides a way to generate STL files of joint connectors to build greenhouses, pipe connectors, or whatever structure you need.
 |
 |
|---|
✨ Features
💪 Getting started
The Ultimate Joint Generator is meant to be used by anyone and it's not neccessary to code, BUT you have to touch some values that are in the code. Don't worry, it's easy and very strightforward. Let's start!
⬇️ Download stuff
Fist of all you have to download several things:
- This repository by downloading it or by cloning it (we assume that if you use this method you know how to do it). Then unzip the files.
- OpenSCAD: the sofware we need to render and create our STL files.
🔨 Creating our first connector
Let's start by opening the file example.scad with OpenSCAD.
You will see some code but we only are interested in the parameters inside the section Parameters. Let's change some of them:
This defines an arm:
arm1 = [
    ["pipe_diameter", 20],
    ["wall_thickness", 4],
    ["height", 20],
    ["rotationX", 0],
    ["rotationY", 0],
    ["spin", 0],
    ["margin", 5],
    ["hole", 2],  // 0:Full opened,1:Ring,2:No hole
    ["screw_diameter", 5],
    ["color", "#ffffff"] // (Optional) hex format (e.g. #ffffff) or color name (e.g. white) always between "".
];
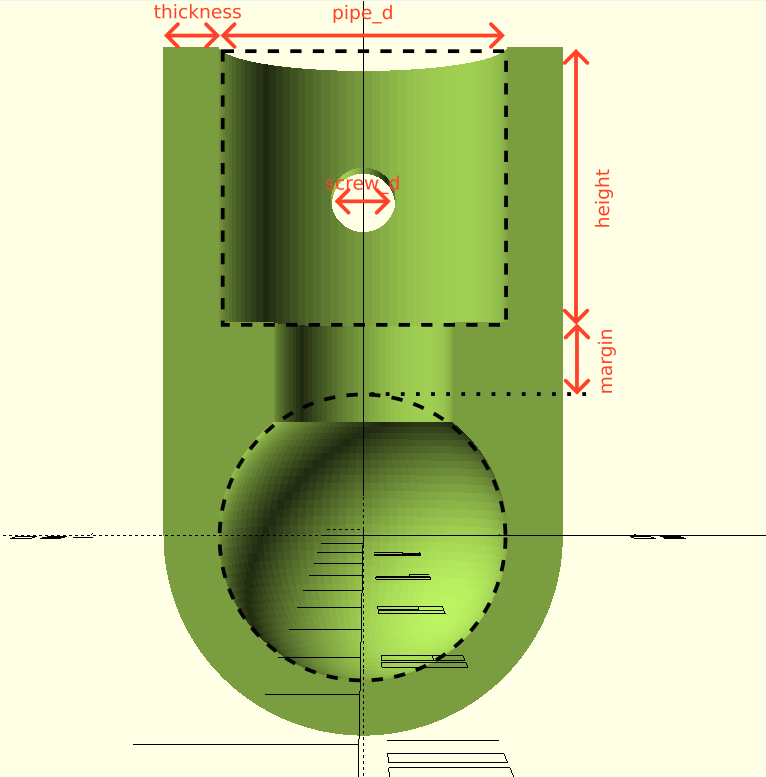
pipe_diametersets the inner diameter of each arm.wall_thicknessthis sets the wall thickness of each arm.heightsets the height (length) of each arm.rotationXsets the rotation in degrees in X plane of this arm.rotationYsets the rotation in degrees in Y plane of this arm.spinsets how many degrees rotates an arm over itself.marginsets the margin (see parameters cheatset)holesets which kind of hole will be used in this arm. It can take the values: 0 for full opened, 1 for ringed and 2 for no hole.screw_diameterif you want to use screws in an arm you should set this value to their diameter, if not set it to 0.color(Optional) paint the arm with the chosen html color. You can use hexadecimal notation (e.g."#ffffff") or color name (e.g."white"). It's optional so you don't need to set it.
If you use this values and render with OpenSCAD you will get something similar to the image in parameter cheatsheet.
But, probably you want to have more than an arm so let's add something like this below arm1 definition:
arm2 = [
    ["pipe_diameter", 20],
    ["wall_thickness", 4],
    ["height", 20],
    ["rotationX", 90],
    ["rotationY", 0],
    ["spin", 0],
    ["margin", 5],
    ["hole", 2],  // 0:Full opened,1:Ring,2:No hole
    ["screw_diameter", 5]
];
❗ Note that in this one there is no color parameter specified.
Finally add our new arm2 to the arms vector:
arms = [ arm1, arm2 ];
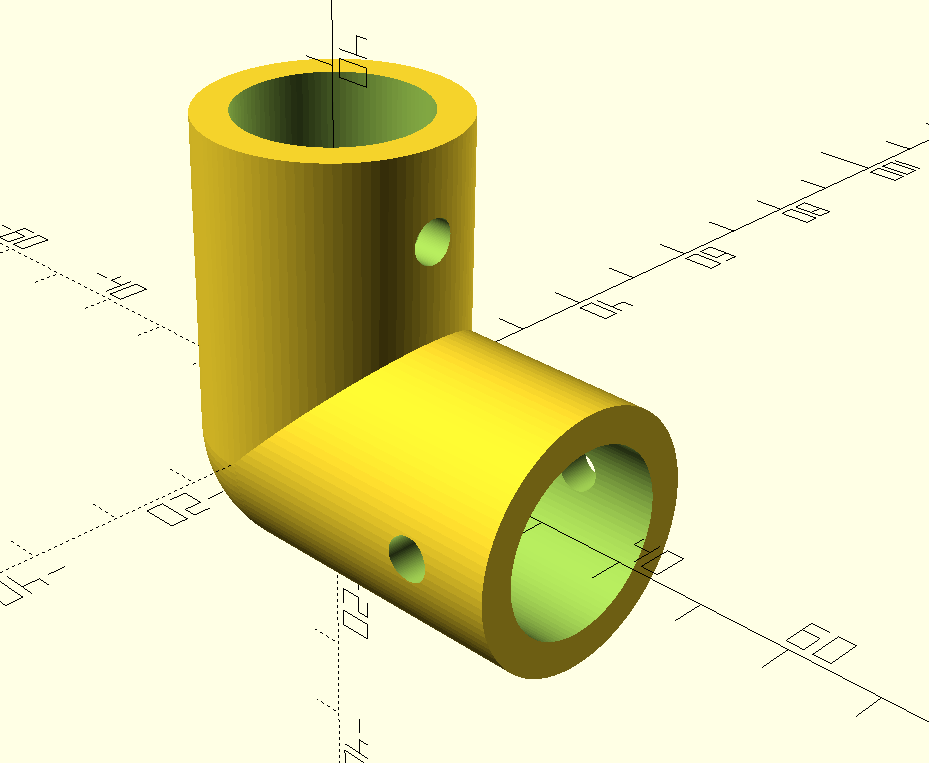
That's all! Render it and you will have a new arm.
Now it's your turn. Play with the parameters and try adding more arms, different rotations, spins, etc. Let's make something awesome!
⚙️ Parameters cheatsheet
Contributing
Feel free to contribute to this project as much as you want.
🚸 If you are new contributing we recommend you to start by playing with the core design file generator.scad.
📝 When you see something you want to add, modify or refactor first of all, you should create a new issue providing as much information as you can. We will appreciate if you can write as an user story (e.g. AS [a user persona], I WANT [to perform this action] SO THAT [I can accomplish this goal].)
🔀 Then you should create a fork of the project, clone it to your local, create a new local branch and you will be ready to start making changes. You'll need a recent version of OpenSCAD.
🚀 When you finish making changes go to pull requests and create a new one selecting your fork as source. More info on GitHub Docs: creating a pull request from a fork. Please add as much information as you can explaining what have you done, strategies you followed, which issue resolves, etc.
💬 Your PR will be commented, reviewed and, we hope, 🎉approved and merged into main branch🎉.
If you want to contribute but you feel lost with all this process please fell free to contact to any of the mantainers, they will help you a lot.

