About • Learning Objectives • Requirements • Installation • Basic Usage • More Info • Authors • License
Jokes Catalog is a Ruby on Rails application that implements a joke catalog with CRUD functionality using RESTful conventions: GET for viewing, POST for creating, PUT for updating, and DELETE for removing jokes.
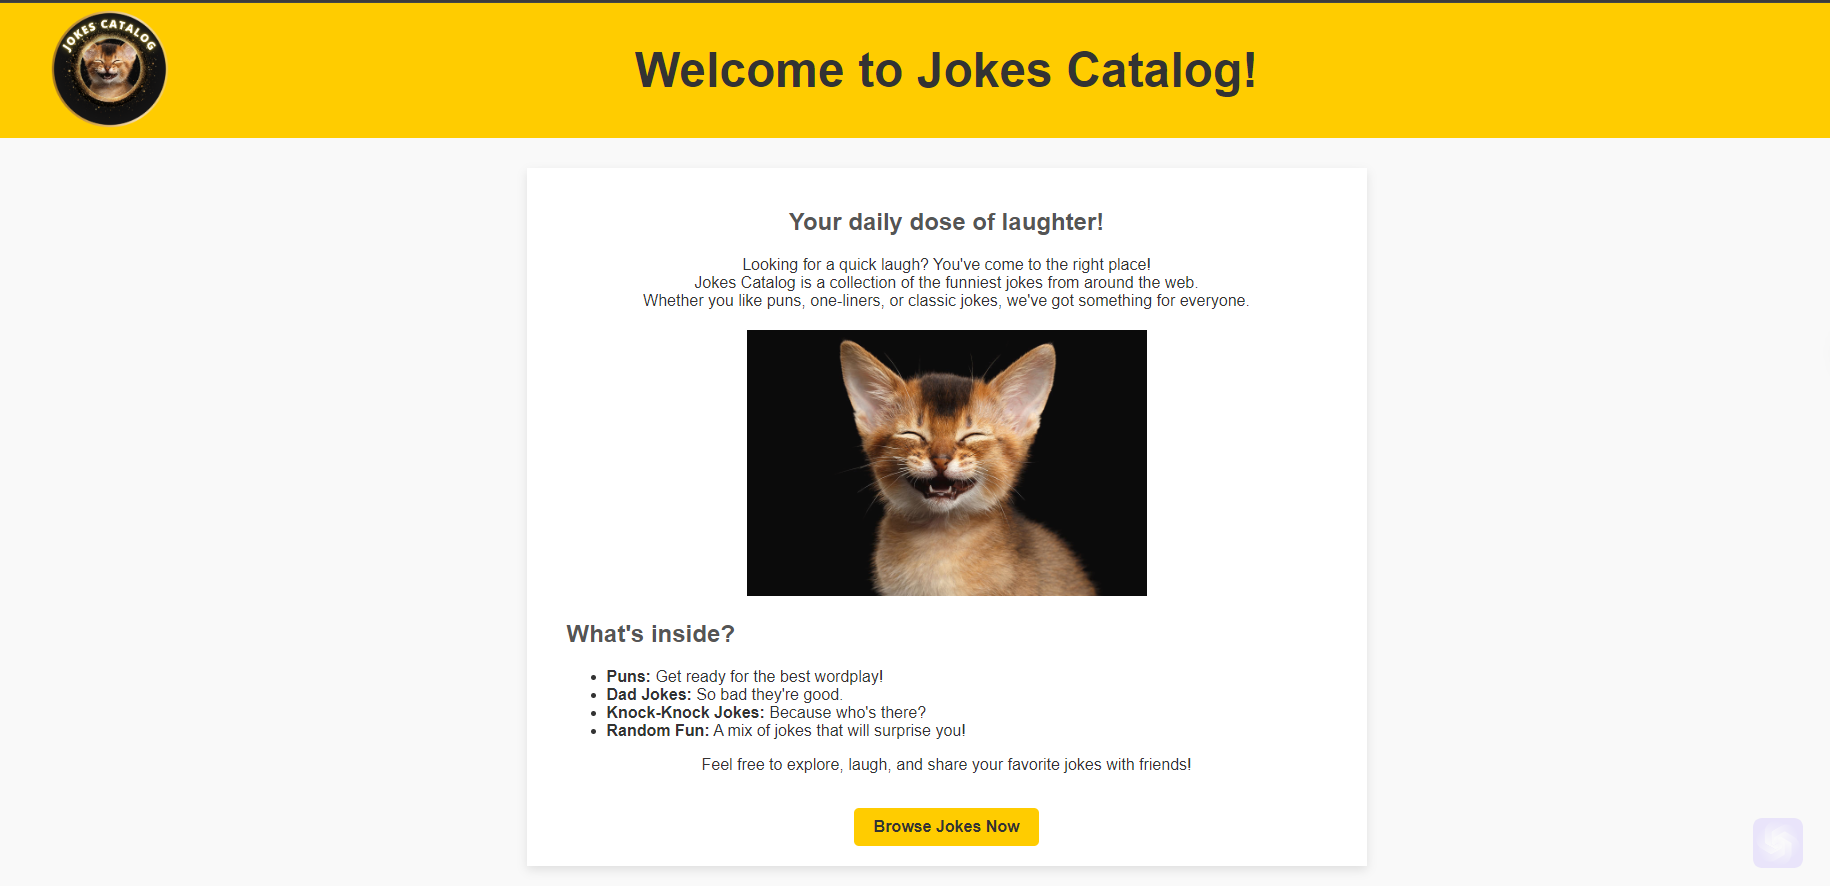
The app includes pages for listing all jokes, viewing individual jokes, creating new jokes, editing existing jokes, and a home page, all following the MVC architecture.
+ Implement a Ruby on Rails application following MVC architecture

+ Create RESTful routes for handling GET, POST, PUT, and DELETE requests

+ Develop CRUD functionality for managing database records

+ Build a user-friendly web interface for interacting with data
+ Ruby 3.2.0 (via RubyInstaller on Windows or using rbenv for Linux/Mac)

+ Rails 7.0.4

+ PostgreSQL
On macOS
- Install
Homebrew(if not installed):
/bin/bash -c "$(curl -fsSL https://raw.githubusercontent.com/Homebrew/install/HEAD/install.sh)"- Install
rbenv, aRubyversion management tool:
brew install rbenv- Configure
rbenvto add it to your shell:
echo 'export PATH="$HOME/.rbenv/bin:$PATH"' >> ~/.zshrc
echo 'eval "$(rbenv init -)"' >> ~/.zshrc
source ~/.zshrc- Install
Ruby 3.2.0:
rbenv install 3.2.0- Set it as the local version for this project:
rbenv local 3.2.0- Verify
Rubyinstallation:
ruby -vOn Windows
-
Install
RubyviaRubyInstaller:-
Go to the RubyInstaller website
-
Download the desired
Rubyversion (3.2.0) withDevkit(which includes tools for building nativegemextensions) -
During installation, check the option to add Ruby executables to your PATH
-
After installation, follow the prompt to set up
MSYS2, which provides the necessary development tools
-
- Verify
Rubyinstallation by checking the correct version:
ruby -vOn Linux
- Install
rbenv:
git clone https://github.com/rbenv/rbenv.git ~/.rbenv- Configure
rbenvto add it to your shell:
echo 'export PATH="$HOME/.rbenv/bin:$PATH"' >> ~/.bashrc
echo 'eval "$(rbenv init -)"' >> ~/.bashrc
source ~/.bashrc- Install
ruby-build, the plugin that helps installRubyversions:
git clone https://github.com/rbenv/ruby-build.git ~/.rbenv/plugins/ruby-build- Install
Ruby 3.2.0:
rbenv install 3.2.0- Set
Ruby 3.2.0as the local version for your project:
rbenv local 3.2.0- Verify
Rubyinstallation:
ruby -vgit clone https://github.com/RazikaBengana/Jokes_catalog.git- Navigate into the project directory:
cd Jokes_catalog- Install the necessary
Ruby gemsspecified in theGemfilewithbundler.
This ensures that all required libraries are available for the application to run:
gem install bundler

bundle install- Install
railsto create and run the application framework:
gem install rails-
Ensure PostgreSQL is installed and running on your system
-
Open the
config/database.ymlfile and configure it forPostgreSQL- Replace any
SQLite3configurations withPostgreSQLsettings:
- Replace any
default: &default
  adapter: postgresql
  encoding: unicode
  pool: <%= ENV.fetch("RAILS_MAX_THREADS") { 5 } %>
  username: your_postgresql_username
  password: your_postgresql_password
  host: localhost

development:
  <<: *default
  database: jokes_catalog_development

test:
  <<: *default
  database: jokes_catalog_test

production:
  <<: *default
  database: jokes_catalog_production
  username: your_production_username
password: your_production_password-
Replace with your actual
PostgreSQLcredentials:your_postgresql_usernameyour_postgresql_passwordyour_production_usernameyour_production_password
- Use the following commands to create the database, run migrations, and seed the database with initial data.
This prepares the database schema and populates it with any default data needed for the application:
rails db:create
rails db:migrate
rails db:seed- To open the
Railsconsole for database interaction:
rails console- To run a specific migration:
rails db:migrate:up VERSION=20210101010101- To rollback the last migration:
rails db:rollback- To reset the database:
rails db:reset- These steps should help you set up the application and interact with the database effectively.
- If you encounter any issues, ensure that
PostgreSQLis correctly installed and that yourdatabase.ymlfile is properly configured.
- Start the
Railsserver:
rails server- Visit http://localhost:3000 in your web browser
- Use the web interface to create, view, update, and delete jokes.
- No external services are required for this application.
- This application can be deployed to platforms like
Herokuor any other Rails-compatible hosting service.
- Ensure environment variables are properly set for the production environment.
Jokes Catalog project has no license specified.
2024


