This project includes a robot arm and a dashboard. Warning: The codes are still not very optimized and are still a little bit messy and (potentially) buggy. Be mindful when using the code.
Need to install live-server and esp-idf. To install esp-idf, see this. To install live-server, first open a powershell (in windows) , then type the following command:
npm install -g live-serverTest whether can start the server:
live-serverIf cannot start, try open a powershell as administrator, run the following cmd, then run the above command again in another powershell.
Set-ExecutionPolicy UnrestrictedTo run the dashboard without a physical robot, simply double click Software/start_server.bat.
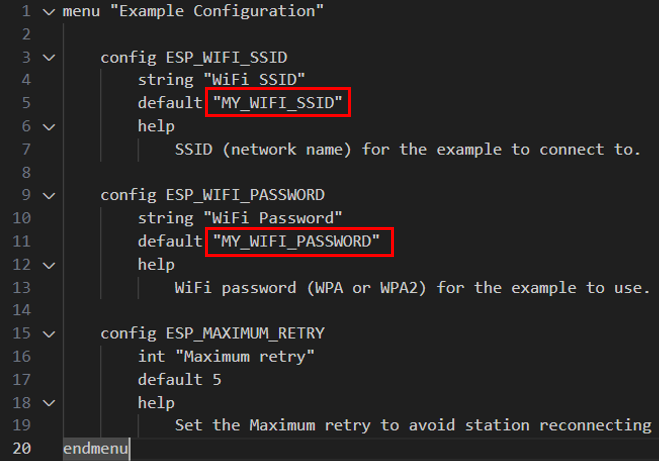
To run the dashboard with a physical robot, first open Firmware\esp32WifiWebpageServer\main\Kconfig.projbuild and enter the wifi ssid and password of your router to ensure your esp32 can connect to it.
Next, connect the esp32 of your robot to your PC, find the COM port of your esp32, modify the COM port in run_esp32.bat. Also, find the ip address of your PC (assume your PC is connected to the same router or in same local area network as the esp32), and enter the ip in Utils\webpage2string.py as shown below:
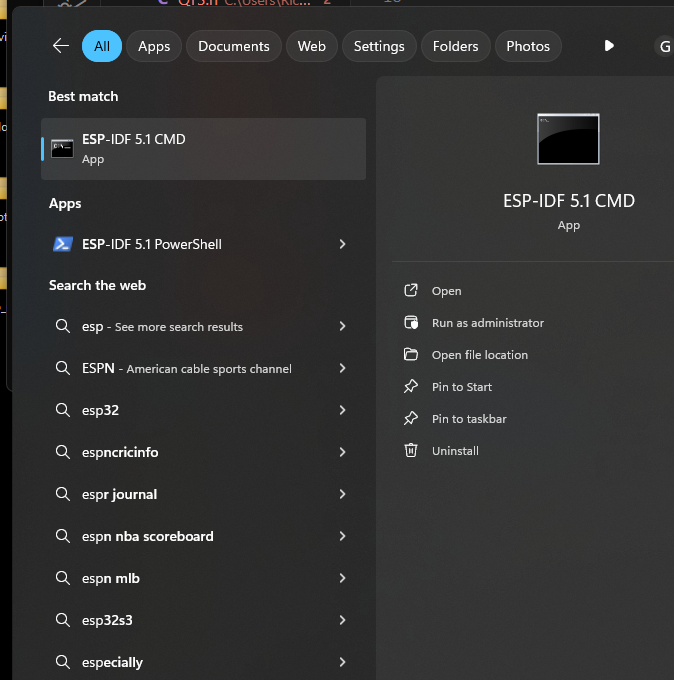
Next open esp-idf, and navigate to the directory of this repo.
then run run_esp32.bat to flash the esp32 with the firmware and start the dashboard server:
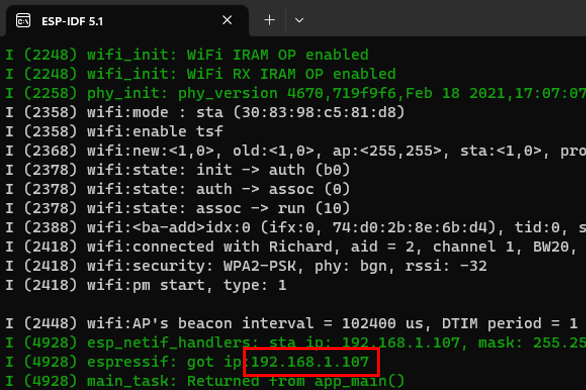
run_esp32.batIf successful, the ip address of the dashboard server will be displayed:
To connect to the server, first disable CORS checking in Chrome by first pressing Win + R, then enter the following command. A chrome borwser will then be automatically opened.
chrome.exe --user-data-dir="C://Chrome dev session" --disable-web-securityEnter the ip address of the dashboard server (found above) in the chrome borwser.


