- we have support for both python3 and MicroPython.
Tested python-version: [ "3.6.9" ]
Our code is specially developed for GT-521F32 and GT-521F52 series of sparkfun fingerprint sensors.
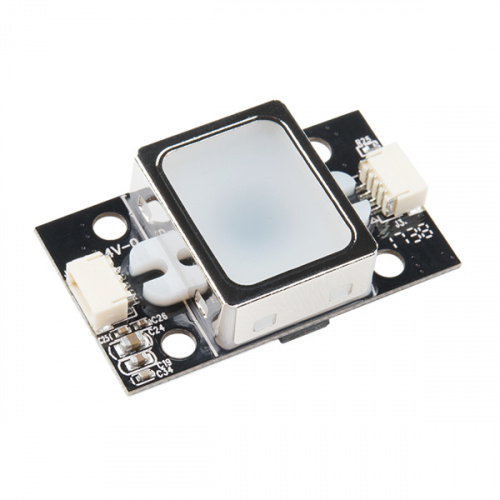
This fingerprint scanner has the ability to:
- Enroll a Fingerprint
- Identify a Fingerprint
- Capable of 360° Recognition
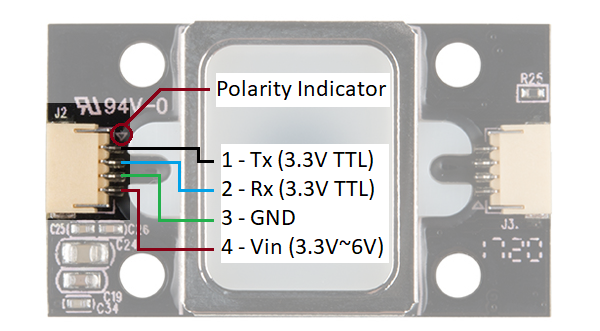
While the input voltage is between 3.3V and 6V, the UART's logic level is only 3.3V. You will need a logic level converter or voltage divider to safely communicate with a 5V device.
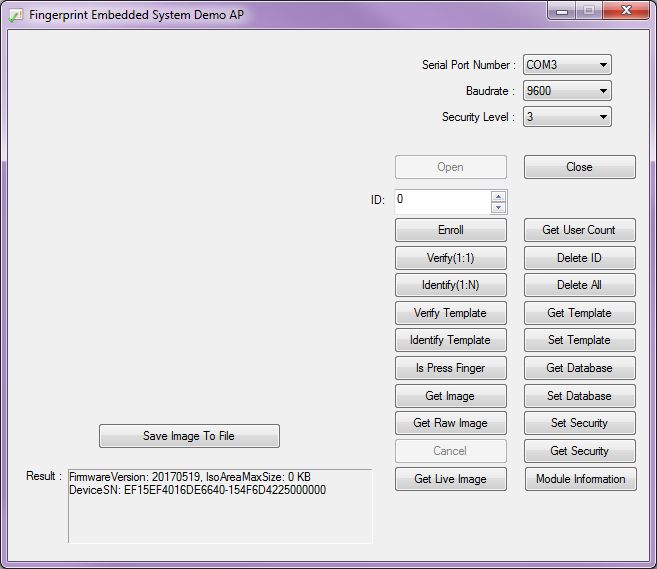
Fig.1 - SDK_DEMO.exe quick testing tool for windows.
- The
SDK_DEMO.exesoftware tool is owned by sparkfun.
>> intro to our repository
Directory structure:
fplib-GT521Fx2
______________
│
│   README.md
│   LICENSE
│   fplibMicro.py
│   test.py
│
└───fplib
│   │
│   │   __init__.py
│   │   fpmain.py
│
└───documents
│   │
│   │   GT-521F52_Programming_guide_V10_20161001.pdf
│   │   GT-521FX2_datasheet_V1.1__003_.pdf
│
└───junks
    │
    │   14518-04SerialPowerConnectorLabel.png
    │   MicroPython_logo_400x400.jpg
    │   ...
    │   python-logo-generic.svg
1. fplib folder
- This folder contains the python3 version of sensor library code.
- We have written the code in fpmain.py file.
- This code is developed by reffering programming guide for GT-521fxx fingerprint sensor, the pdf version of the guide is given in documents folder.
2. documents folder
- This folder contains 2 pdf files, a programming guide and a datasheet of the sensor we use.
- These 2 files are very important to get a better understanding about the working of the sensor and how to use them.
3. junks folder
- This folder contains many image files that we used in README.md file of this project/Repo.
4. fplibMicro.py file
- This is the implementation of sensor code specially written for MicroPyhton supported devices, such as raspberry pi pico , esp32 e.t.c.. . I have tested the code on both the board and it works fine.
5. test.py file
- In this file i have done testing of different functionalities that is supported by the sensor.
- You can look onto it, and get a better idea on how to use this library for your needs.
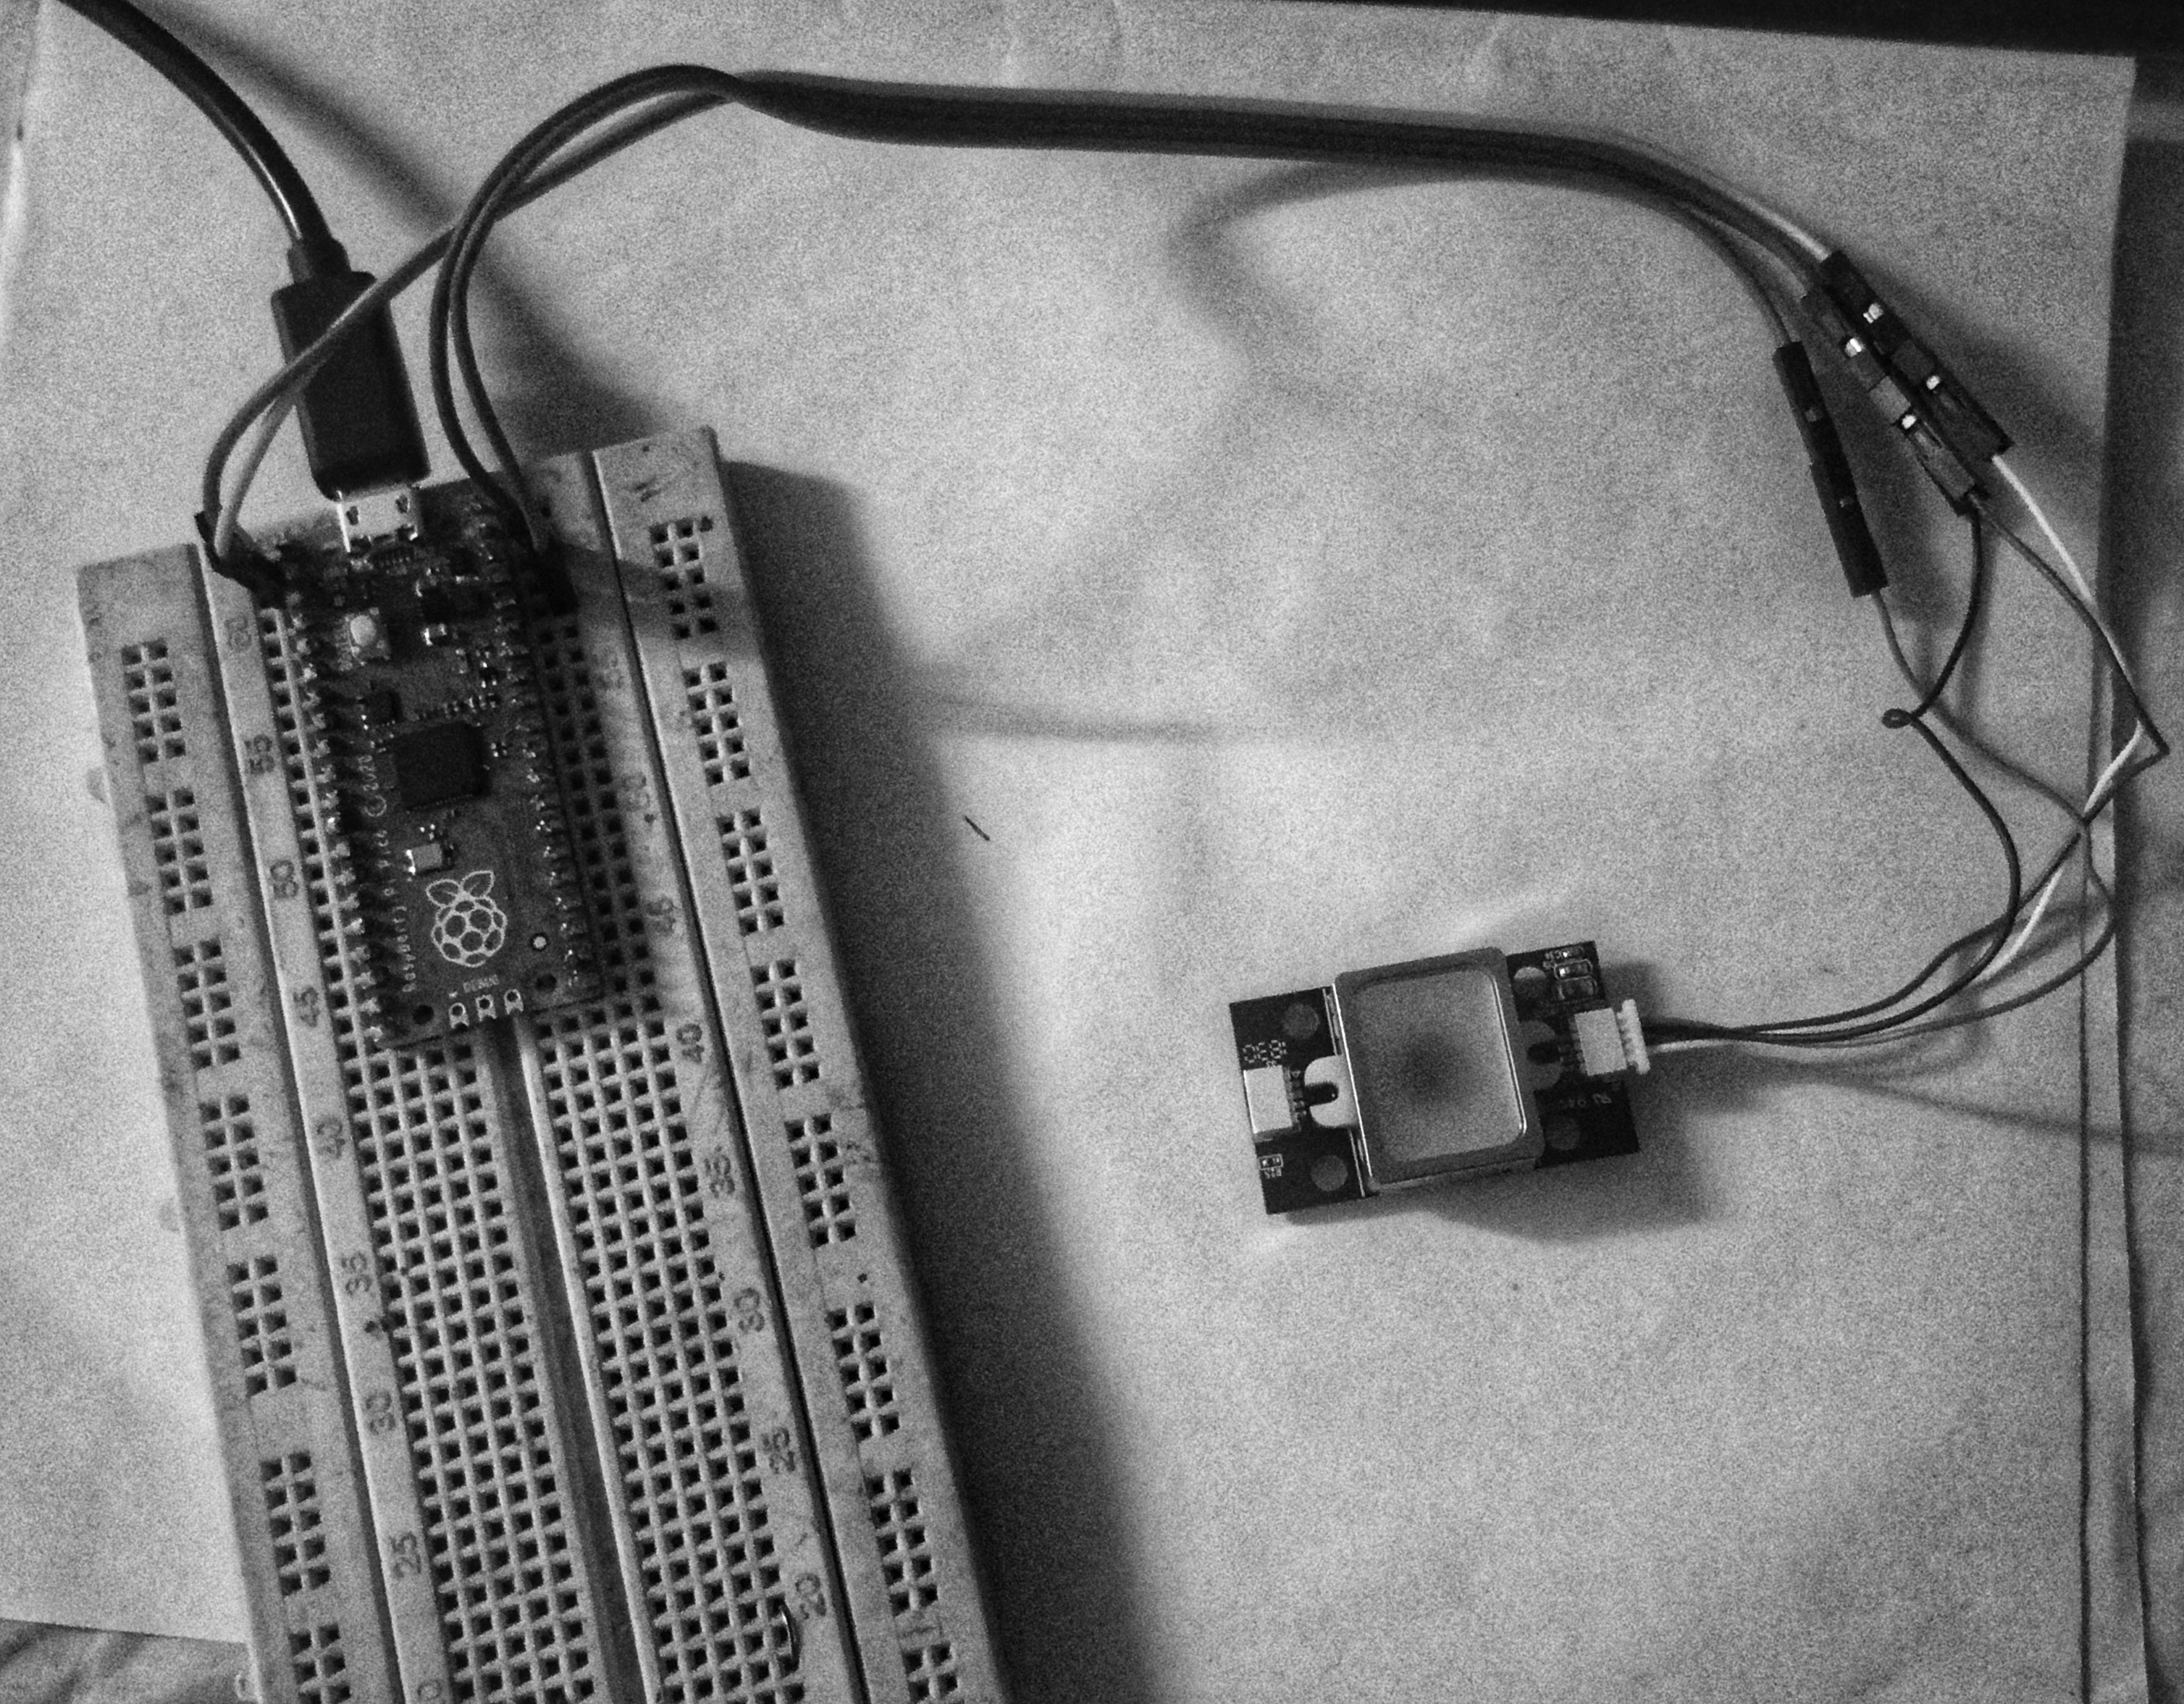
- First of all connect the device to your computer and make a note of the communication port allocated to the device.
Fig.2 - Sensor connected to a raspberry pi pico microcontroller.
- now we are importing the library to our python code.
from fplib import fplib- after calling the library we need to initialize communication with the device using the port id.
# fingerprint module variables
fp = fplib(port=0, baud=115200, timeout=3)

# module initializing
init = fp.init()
print("is initialized :", init)
OUTPUT:
is initialized : True
- so if the output is
Truethen the communication with the sensor is initialized successfully.
- To turn on the LED:
led = fp.set_led(True)
print("LED status :", led) - To turn off the LED:
led = fp.set_led(False)
print("LED status :", led) - for both the cases, if the sensor executes the instruction successfully will return
Trueas output.
Fig.3 - Sensor LED in ON state.
OUTPUT:
LED status : True
- It is required to check if finger is pressed or not before enrolling or collecting templates, so to do this:
pressed = fp.is_finger_pressed()
print("is finger pressed :", pressed)- if someone pressed on the surface of the sensor then the output will be
True.
OUTPUT:
is finger pressed : True
- We can collect fingerprint datas from different users using the following lines of code.
data, downloadstat =fp.MakeTemplate()
print(f"Is template fetched :", downloadstat)
img_arr = []
if downloadstat:
   data = bytearray(data)
   # converting bytes to integer
   for ch in data:
       img_arr.append(ch)
print("fetched template data: ", img_arr)- if the fetching process succeed then we will get
downloadstat as True. - And we will get a template data of length
502data points. - We can use this data to upload it to the sensor memory.
OUTPUT:
Is template fetched : True
fetched template data: [1, 0, 4, 16, 100, 0, .... , 0, 0, 106, 68, 24, 70]
- we can upload back the fetched template data to the device memory, so that the sensor can use this template to identify a user.
# the data should be of lenght 502 .
DATA = [1, 0, 4, 16, 100, 0, .... , 0, 0, 106, 68, 24, 70]
# idx -> is the id where we need to set the template.
fp.delete(idx=4)
status = fp.setTemplate(idx=4, data=DATA)
print("set template status :", status)
OUTPUT:
set template status : True
- if we get a status
Truethen the template is set on specified index (here it is 4). - So after setting the template we can identify the user .
- after collecting many templates using
MakeTemplate()and setting those templates to sensor memory usingsetTemplate()method we can use the sensor for identifyong users using the below code.
id = fp.identify()
print("identified id:", id)- This code will return the
idif a match was found.
OUTPUT:
identified id: 4
-
More functionalities are added to the library, you can find it in the code.
-
some of the functionalities are:
-
- get fingerprint image
-
- enroll new users
-
- verifying users
-
- recognizing users
-
- e.t.c ..,
-
-
Arduino code for this fingerprint sensor is available in official sparkfun repository : click here
