Name: .......
Rather then storing a single geometry normal for a triangle, it is often useful to store at each vertex a corresponding vertex normal. The advantage is that if we have a hit point on a triangle, the shading normal can be smoothly interpolated between the vertex normals. If neighboring triangles share the same vertex normals, a smooth appearance can be generated over non-smooth tesselated geometry.
Proceed as follows:
- Fork the current repository.
- Modify the README.md file in your fork and put your name (or names if you work in a group) above.
- Extend
CScene::ParseOBJ()to also support vertex normals. Take a look at the included .obj files in the data folder. - Turn off BSP-support by disabling the flag
ENABLE_BSPin types.h file or in cmake-gui.exe application. - Your ray class is extended with two additional
floatvalues callesRay::uandRay::v. - In
bool CPrimTriangle::Intersect(Ray& ray), store the computed barycentric coordinates intoRay::uandRay::v.
Note: As long as your other classes (e.g.CPrimSphere) don’t need local surface coordinates, there is no need to compute them yet. - In the framework is a new class
CPrimTriangleSmoothwhich stores the vertex normals (na,nbandnc) additionaly to the original vertex positions. - In
Vec3f CPrimTriangleSmooth::GetNormal(const Ray& ray)use the u/v coordinates of the hitpoint to interpolate between the vertex normals.
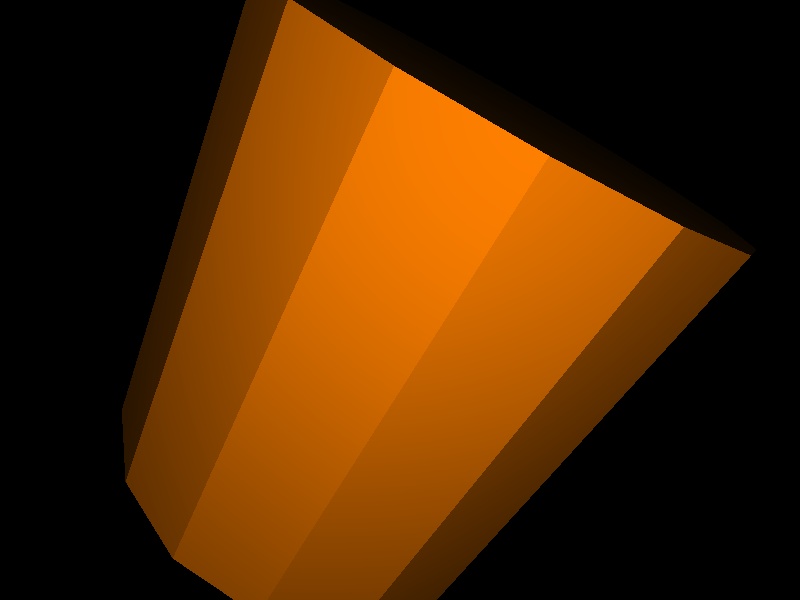
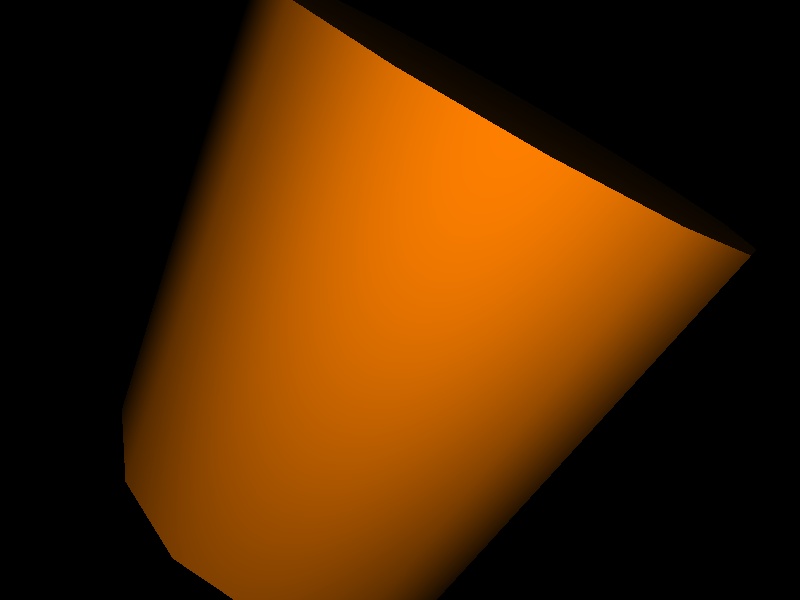
Note: Interpolating normalized vectors will not return a normalized vector! Make sure to normalize your interpolated normal! - Test your implementation with cylinder16.obj and cone32.obj using the appropriate camera you can choose in Scene.h. Compare the difference between the regular and the smooth triangles.
If everything is correct your images should look like this:
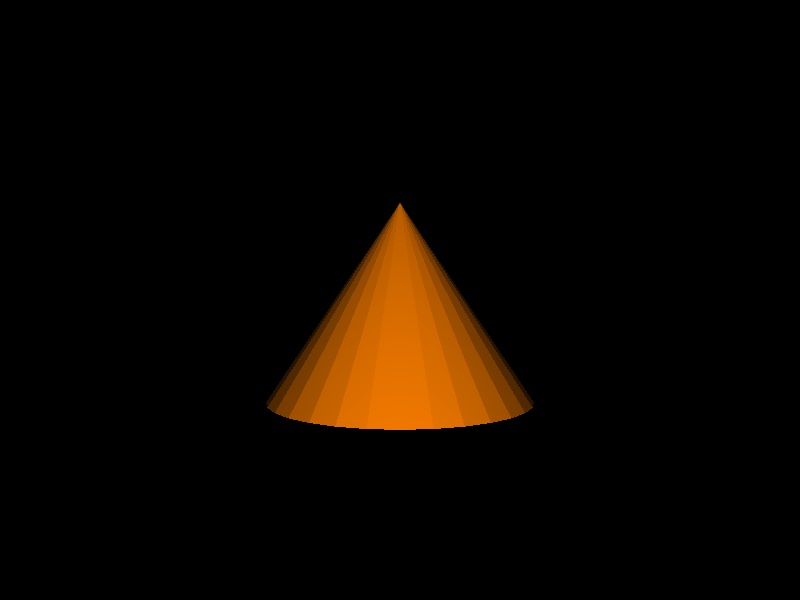
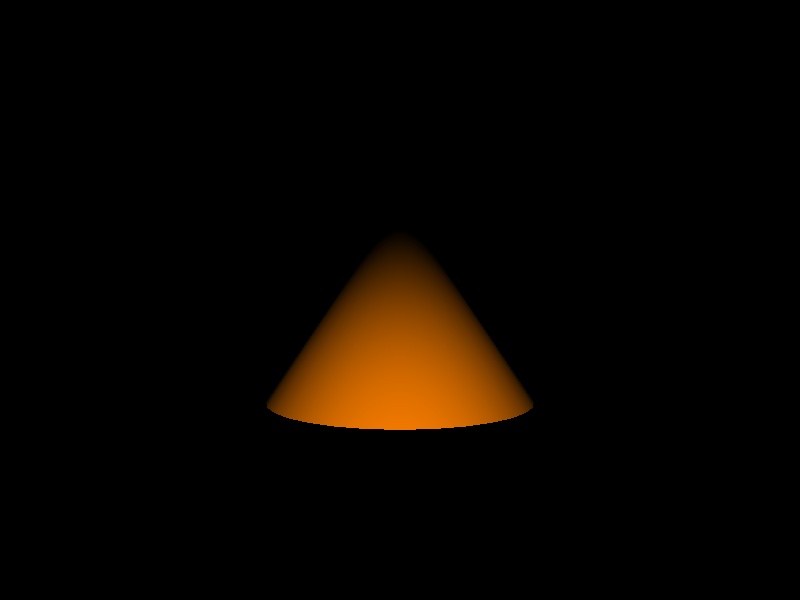
In the last exercise you have learned that the appearence of a surface can be changed by using a modified surface normal. In this exercise we will implement a technique called bump mapping which bumps the surface normal sideways such that a surface has the impression of beeing bumped. This often allows to generate the appearance of highly complex surface with only very few primitives. In order to do this, three parameters have to be known for each surface point:
- The original surface normal N.
- A local coordinate frame for this surface point. Though any coordinate frame can be used (as long as it is consistent), the usual way is to use the surface derivates in u and v direction, called dPdu and dPdv.
- The amount delta_u, delta_v of deviation along these tangent vectors. The deviation is usually either read from a texture, or is computed procedurally. The final normal during shading (also for reflections) is then N' = Normalized(N + delta_u * dPdu + delta_v * dPdv).
In this exercise, you will implement a very basic version of this:
- As surface derivatives, use dPdu = (1, 0, 0) and dPdv = (0, 0, 1).
- For the amount of deviation, use a simple procedural approach, by computing delta_u = 0.5 * cos(3 * H_x * sin(H_z)), delta_v = 0.5 * sin(13 * H_z). H denotes the hit point of the ray with the surface.
For your implementation, proceed as follows:
- Implement the Shade-method in ShaderPhongBumpMapped.h by first copying the
Shade()-method from the basic phong shader and then modifying the normal at the beginning of theShade()function, following the guidlines given above. If your shader work correct you should get an image like this using the scene description in main.cpp:
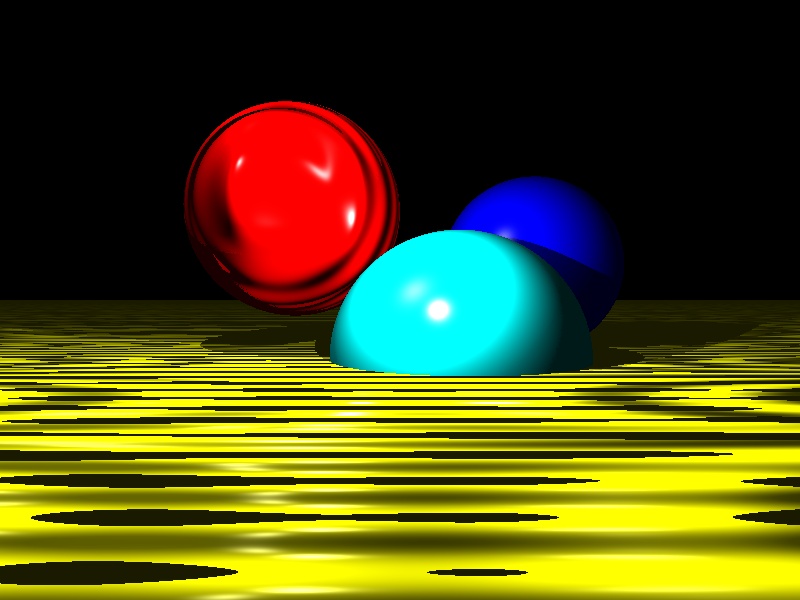
Tip: The concept for a local coordinate frame will also be necessary for many other shading concepts, like e.g. procedural shading. For the exam, you will probably need such a concept, as the above hardcoded version will not be powerful enough.
As getting the correct surface derivates can be somewhat complicated, there is also a simpler (though not as powerful) way of getting an orthonormal surface coordinate frame from the surface normal, which is similar to our way of generating the orthonormal camera coordinate frame from the camera direction. For a detailed discussion about surface derivatives you can also read Matt Pharr’s book Physically Based Rendering.
Until now we have only used one color per object. Nevertheless, in reality, e.g. in games, objects are very often colorful because of the usage of textures. This is also a way of making a surface look more geometrically complex. Usually, textures are used by storing texture coordinates at the vertices of each triangles, and interpolating those to find the correct texel that has to be used for a surface point.
- Turn BSP-support on
- In the framework is a new class
CPrimTriangleSmoothTextured(derived fromCPrimTriangleSmooth), that additionally has the three fieldsVec2f ta, tb, tc, which correspond to the texture coordinates at vertexa,b, andc, respectively. Here we will useVec2f’s to store the texture coordinates (notVec3f), because they require only 2 coordinates (barycentric coordinates). Add support for texture coordinates to your parser (CScene::ParseOBJ()). - Implemet the method
Vec2f CPrimTriangleSmoothTextured::getUV(const Ray& ray) constwhich is now a virtual method in your primitive base class. InCPrimTriangleSmoothTextured, implement this function to return the x and y coordinates of the interpolated vertex texture coordinates. (For other primitives, just ignore it for now, we’ll only use texture-shaders with triangles for now). - Implement the
CShaderEyelightTextured::Shade()method to use the texture coordinates returned bygetUV()and combine the texel color with the calculated eyelight color using the vector product.
Test your implementation on barney.obj with barney.bmp. If everything is correct your image should look like this:
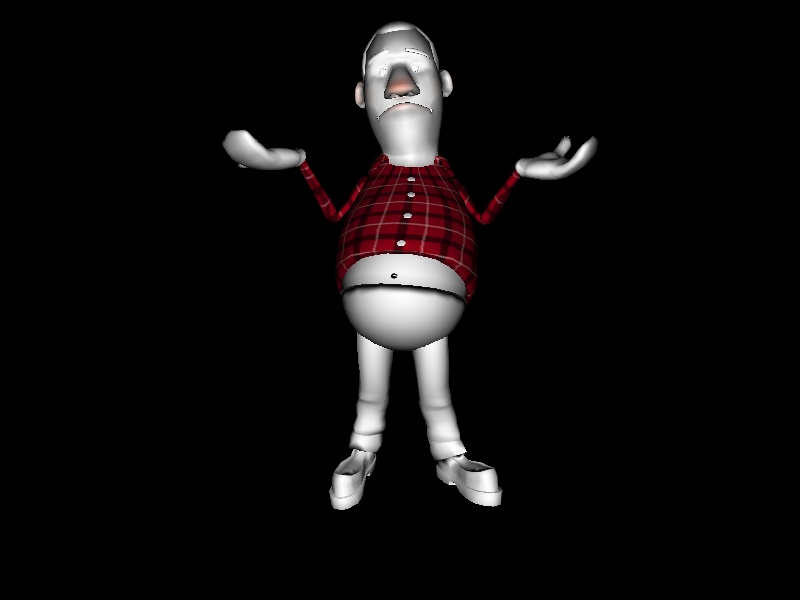
A pixel actually corresponds to a square area. Currently you are sampling the pixels only at their center, which lead to aliasing. As you have learned in the lecture, the most simple way for removing aliasing artifacts from your image is supersampling, i.e. to shoot more than one ray per pixels. The three most frequently used supersampling strategies are:
Regular Sampling: The Pixel is subdivided into n = m x m equally sized regions, which are sampled in the middle:
((i+0.5)/m, (j+0.5)/n) for i,j=[0 .. m-1]
Random Sampling: The Pixel is sampled by n randomly placed samples ei in [0; 1)
(ei,1,ei,2) for i=[0 .. n-1]
Stratified Sampling: Stratified sampling is a combination of regular and random sampling. One sample is randomly placed in each of the n = m x m regions with ei,1,ei,2 in [0, 1)
((i+ei)/m, (j+ej)/m) for i,j=[0 .. m-1]
In this exercise your task is to implement these sampling strategies:
- In the framework you can find an abstract base class
CSampleGeneratorwith one single virtual methodvoid SampleGenerator::GetSamples(int n, float *u, float *v, float *weight), which is supposed to works as follows: n is the number of samples to be generated for a pixel. One sample consists of two coordinates (u, v) that specify a position on a pixel. The n samples generated are then to be returned in the u and v arrays, where (u, v) should be in the domain [0 .. 1) X [0 .. 1). The weights for the individual samples should sum up to 1, here just use uniform weights withweight[i]=1.0f/n. - In your main loop, produce n samples, and fire n rays through the pixel at the respective sample position. The resulting color values must be weighted by
weight[i]and summed up, which yields the final pixel result. - Implement the
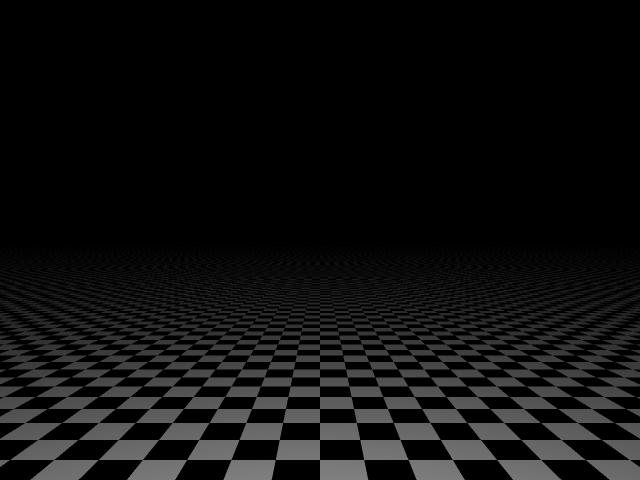
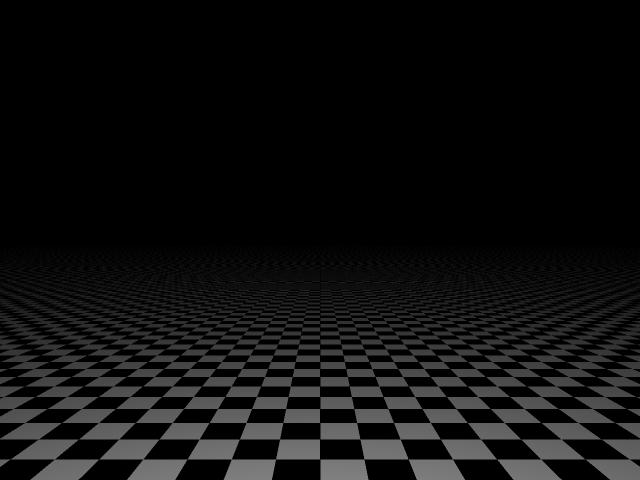
getSamples()method in SampleGeneratorRegular.h, SampleGeneratorRandom.h, and SampleGeneratorStratified.h which are derived classes fromCSampleGenerator. Use ground.obj and cb.bmp to render your image with 4 samples and compare them to the following images: (regular) (random) (stratified)
