Created by Christian Culanag and Miguel Muniz, this repository contains the application for the final Networking project for CPE 400.
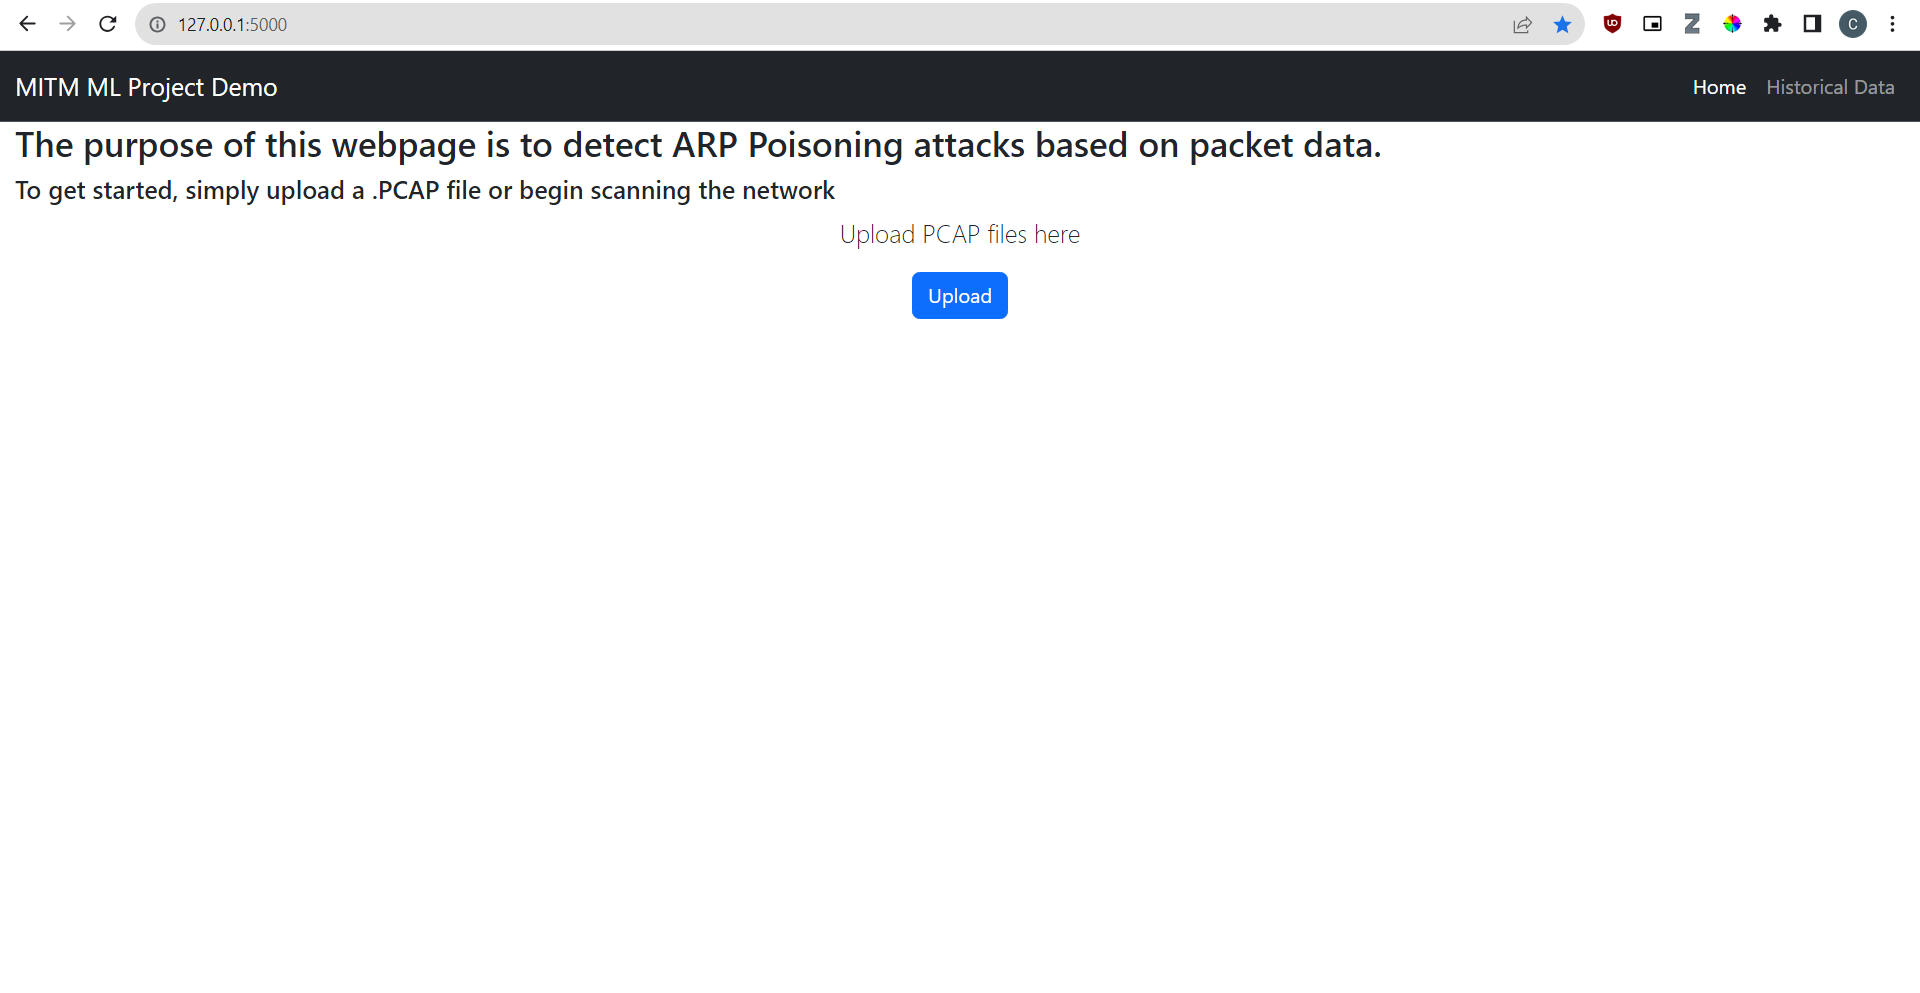
For our project, we trained an Long Short-Term Memory (LSTM) model to detect Man-in-the-Middle (MITM) attacks based on a series of network traffic data. Specifically, the network anomaly we will be focusing on is ARP poisoning attacks. A Flask Web Server application is used to interface with the LSTM model. The user is able to upload packet capture (PCAP) files, which will be analyzed by our trained model. The website will then highlight the packets the model determined to be suspicious for the user.
The application was created using Flask for the webserver and PyTorch + Lightning for the model.
Flask is a lightweight and extensible web framework for Python, designed to make it easy to build web applications quickly and with minimal boilerplate code. Flask is used to provide a simple user interface to interace with the LSTM model.
The Flask Web Application was designed with the Model-View-Controller pattern in mind. This allows for future extensibility and maintainability with the potential for future AI Models to be utilized in this application. For now, this repository only contains an ARP Poisoning LSTM model.
PyTorch Lightning is used to train the model. It is a lightweight PyTorch wrapper for high-performance AI research. We use its framework to structure and train the model.
Lightning was use in this project by first creating a LightningModule. This module contains the model for LSTM, the training loop with fowards and steps and finally the optimizer. The LightningModule is then passed to a Trainer. The Trainer handles the training loop and other training details.
After getting model configurations from Lightng module/clas, the model is then trained using the splited dataset. The model is trained for 10 epochs with a batch size of 64. The model is trained using the Adam optimizer with a learning rate of 0.001. The model is trained on a GPU if available.
After training, the model is tested on the test dataset.The model is tested using the split dataset from earlier and then tested. It then creates
To get the local Flask server up and running, follow these steps.
The application requires the following applications
-
Python 3.3 with PIP and venv
For Debian-based (Ubuntu) Systems:
sudo apt install -y python3
sudo apt install -y python3-pip
Python Versions < 3.3 do not come preinstalled with venv. The venv package is not necessary to install the application, but is convenient for ensuring isolated Python environments, especially when working on multiple projects.
If you'd like to install venv, the following command will work for Debian-Based Systems (version 3.10 of Python).
sudo apt install python3.10-venv
Here's how to utilize the application.
-
Clone the repo
git clone https://github.com/Rogue-King/MITM_ML_Project.git
-
Create a Python Virtual Environment
python3 -m venv .venv
-
Enable the Virtual Environment
source .venv/bin/activate -
Install the required packages
pip install -r requirements.txt
-
Run the Flask Webserver
flask run
or
python3 app.py
Once Finished
- Exit the Flask server
Ctrl + C
- Leave the Virtual Environment
Deactivate
To use the web application, follow the instructions found in the main page.
Upload a packet capture (PCAP) file, then press submit. Sample PCAP files can be found under the ARP_DATA folder. You will then be redirected to a different page, showcasing the model's predictions for potential ARP Poisoning packets.

