#Leveraging the Office Graph in a custom provider-hosted SharePoint Add-in

The following lab illustrates how you can leverage the Office Graph to build a custom provider-hosted SharePoint Add-in that shows documents trending in the site where the add-in is installed.
After you finish this lab you will have a fully-functional add-in that you can use with your own Office 365 tenant.
##Prerequisites
In order to complete this lab you will need an Office 365 tenant will First Release enabled so that you can use the Office Graph. Within this tenant you will need a developer site where you will be able to test your add-in through the development process. Additionally you will need a development environment configured for building SharePoint Add-ins.
##1. Creating the SharePoint Add-in
- In Visual Studio from the menu choose File/New/Project...
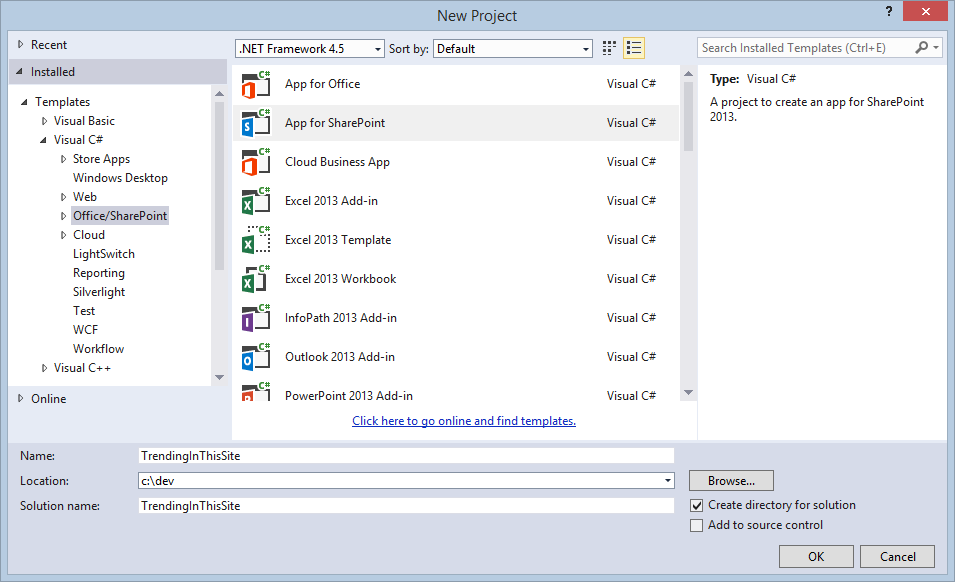
- In the New Project dialog, from the list of installed project template categories, select Templates/Visual C#/Office/SharePoint
- From the list of available templates select App for SharePoint. Name the project TrendingInThisSite and click the OK button.
- The New app for SharePoint wizard will be started to guide you through the process of configuring your add-in
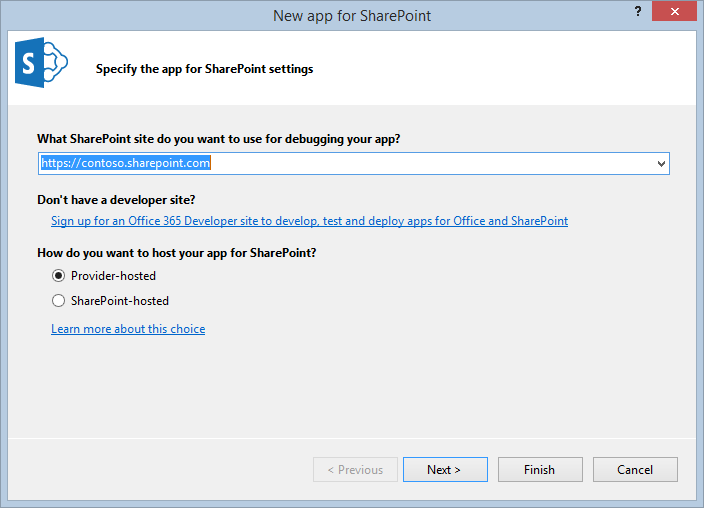
- On the Specify the app for SharePoint settings page enter the URL of your developer site and as the host type choose the Provider-hosted option and click the Next > button.
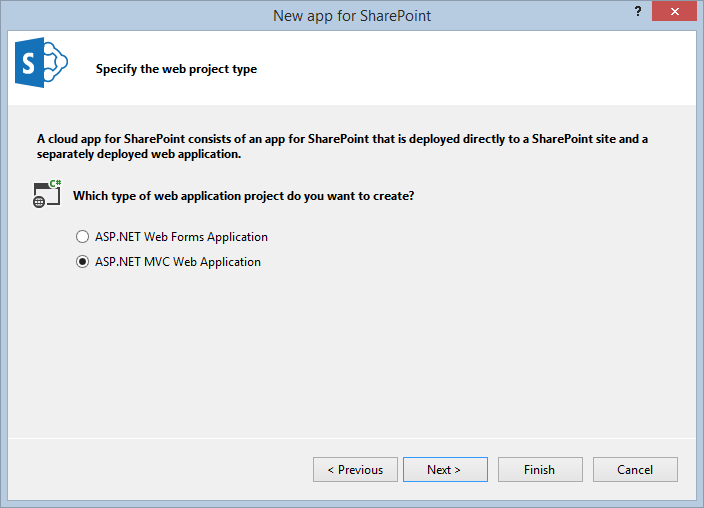
- On the Specify the web project type page as a type of web project choose the ASP.NET MVC Web Application option and click the Next > button.
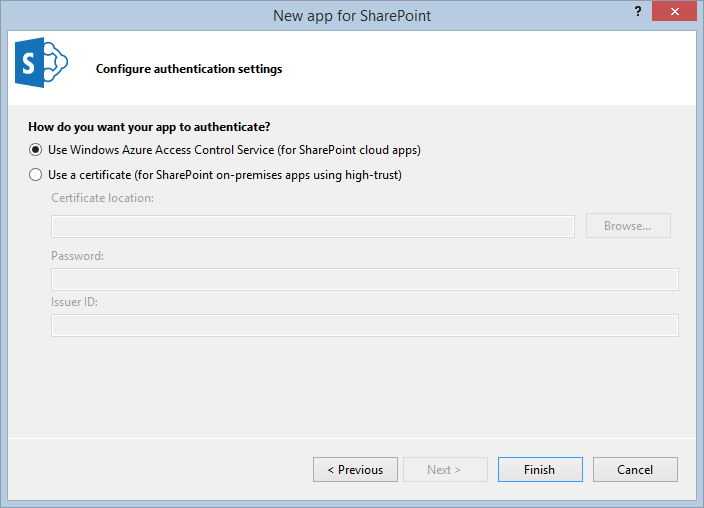
- On the Configure authentication setting page choose the Use Windows Azure Access Control Service (for SharePoint cloud app) option and click the Finish button.
- On the Specify the app for SharePoint settings page enter the URL of your developer site and as the host type choose the Provider-hosted option and click the Next > button.
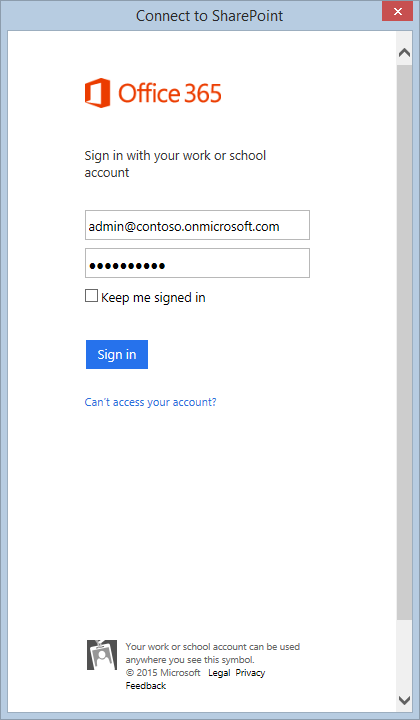
- The Connect to SharePoint dialog will be displayed prompting you to enter your Office 365 credentials. Login with your Office 365 username and password and click the Sign in button.


At this point you should have a Visual Studio solution with two projects: TrendingInThisSite representing the SharePoint Add-in and TrendingInThisSiteWeb containing the ASP.NET MVC Web Application where the logic of your application will be stored.

##2. Configuring the add-in projects
Before we proceed with building the add-in let's perform the necessary configuration steps that will allow our add-in to install and run properly.
First let's configure add-in's permissions. The add-in will render the list of trending documents using the Office Graph which is currently accessible through the SharePoint Search API. In order to calculate which documents are trending it will also need the access to the members of the Site's Members group of the site where the add-in is installed.
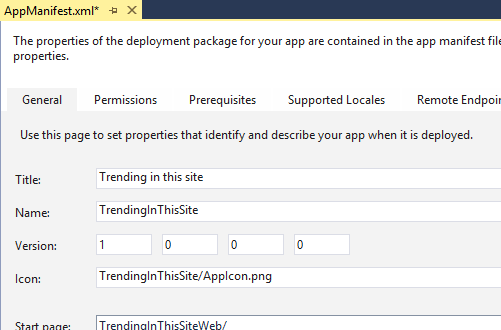
- From the TrendingInThisSite project open the AppManifest.xml file.
- In the AppManifest.xml editor change the value of the Title field to
Trending in this site.
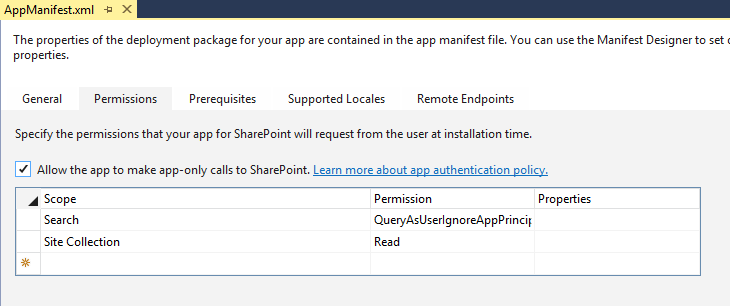
- In the list of tabs click the Permissions tab and check the Allow the app to make app-only calls to SharePoint. checkbox.
- To the list of Scopes add the following values:

- Scope: Search, Permission: QueryAsUserIgnoreAppPrincipal
- Scope: Site Collection, Permission: Read

- Save and close the AppManifest.xml editor
The add-in will be executing Office Graph queries to the SharePoint Search API using the Client-Side Object Model. In order to do this, the web project needs a reference to the Microsoft.SharePoint.Client.Search.dll assembly.
- In the TrendingInThisSiteWeb project right-click the References project item and from the context menu click the Add reference... option.
- In the Reference Manager dialog click the Browse... button
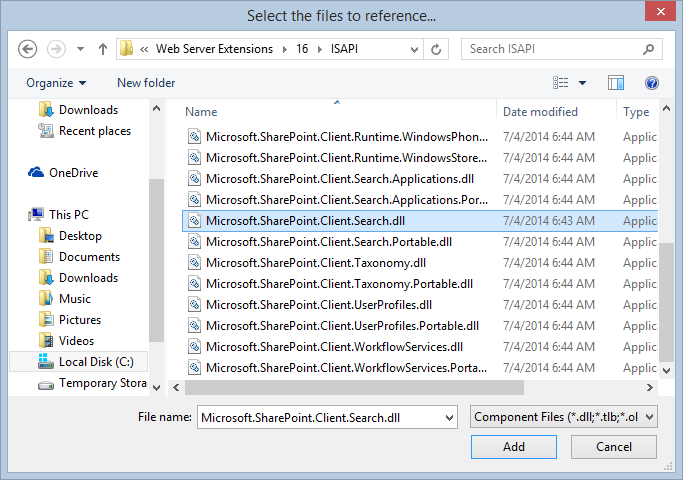
- In the Select the files to reference... dialog browse to the C:\Program Files\Common Files\microsoft shared\Web Server Extensions\16\ISAPI folder and from the list of files select the Microsoft.SharePoint.Client.Search.dll file and click the Add button.
- Back in the Reference Manager window click the OK button to confirm adding the assembly reference to the project.
- In the Solution Explorer right-click the TrendingInThisSiteWeb project and from the context menu choose the Add/New Folder option. Name that folder
Extensions. - Right-click the newly created Extensions folder and from the context menu choose the Add/Class... option. Name the class
StringCollectionExtensionsand click the Add button. - Change the contents of the StringCollectionExtensions.cs file to:

using Microsoft.SharePoint.Client.Search.Query;

namespace TrendingInThisSiteWeb.Extensions {
    internal static class StringCollectionExtensions {
        internal static void AddRange(this StringCollection stringCollection, string[] arr) {
            if (arr != null) {
                foreach (string s in arr) {
                    stringCollection.Add(s);
                }
            }
        }
    }
}
This extension method will make it easier for us later on to specify which Managed Properties we want to retrieve when executing Office Graph queries.
This concludes configuring the add-in projects and we can proceed with building the add-in.
##3. Building the add-in
The add-in that we are building will show content trending in the site where the add-in is installed using a Client Web Part. This part of the lab describes the steps to follow to build that Client Web Part.
###3.1. Adding the Client Web Part
- In the Solution Explorer right-click the TrendingInThisSite project and from the context menu click the Add/New Item... option.
- In the Add New Item dialog choose the Client Web Part (Host Web) item template, in the Name field type
TrendingInThisSiteand click the Add button to confirm adding the new item.

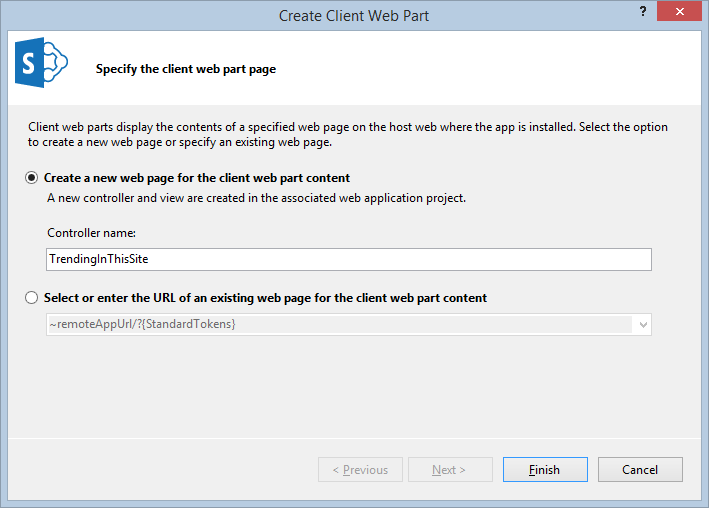
- In the Create Client Web Part dialog keep the default settings and click the Finish button.
- In the Elements.xml file open after adding the Client App Part change the ClientWebPart element as follows:


<ClientWebPart Name="TrendingInThisSite" Title="Trending in this site" Description="Shows documents trending in this site" DefaultWidth="780" DefaultHeight="250">- Save and close the Elements.xml file.
###3.2. Adding the model
The information about documents trending in the site retrieved from the Office Graph will be represented using a model which will be also used to render the documents in the view of the Client Web Part.
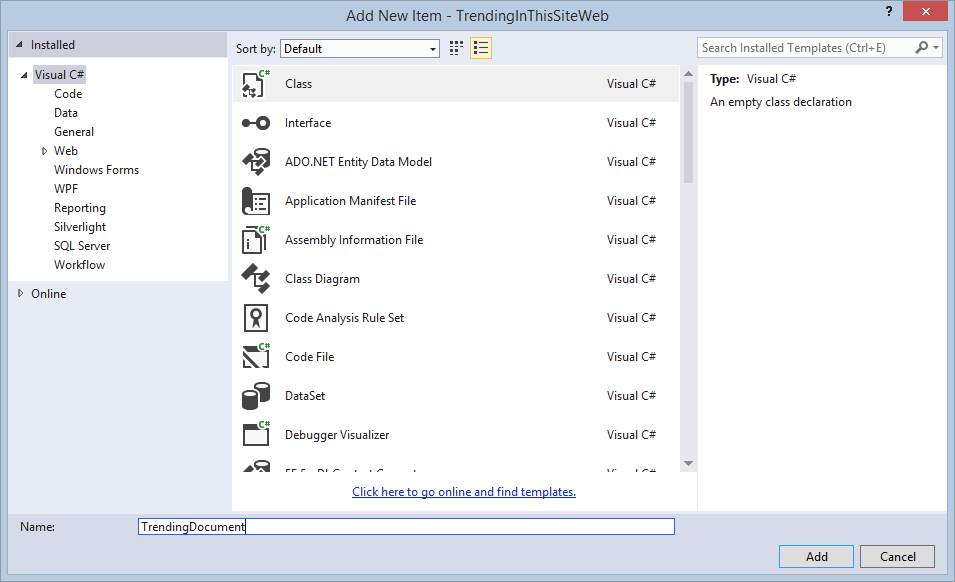
- In the Solution Explorer open the TrendingInThisSiteWeb project, right-click the Models folder and from the context menu choose the Add/Class... option.
- Name the class
TrendingDocumentand click the Add button.
- Into the newly added class paste the following contents:

public class TrendingDocument {
    public string Title { get; set; }
    public string Url { get; set; }
    public string PreviewImageUrl { get; set; }
    public DateTime LastModifiedTime { get; set; }
    public string LastModifiedByName { get; set; }
    public string LastModifiedByPhotoUrl { get; set; }

    public TrendingDocument(string title, string url, string previewImageUrl, DateTime lastModifiedTime, string lastModifiedByName, string lastModifiedByPhotoUrl) {
        Title = title;
        Url = url;
        PreviewImageUrl = previewImageUrl;
        LastModifiedTime = lastModifiedTime;
        LastModifiedByName = lastModifiedByName;
        LastModifiedByPhotoUrl = lastModifiedByPhotoUrl;
    }

    public string GetDisplayDate() {
        double differenceInDays = (DateTime.Now - LastModifiedTime).TotalDays;

        string displayDate = null;

        if (differenceInDays > 6) {
            displayDate = LastModifiedTime.ToString("MMMM dd");

            if (differenceInDays > 365) {
                displayDate = String.Format("{0}, {1}", displayDate, LastModifiedTime.ToString("yyyy"));
            }
        }
        else if (differenceInDays == 1) {
            displayDate = String.Format("Yesterday at {0}", LastModifiedTime.ToString("t"));
        }
        else if (differenceInDays == 0) {
            displayDate = String.Format("Today at {0}", LastModifiedTime.ToString("t"));
        }
        else {
            displayDate = String.Format("{0} at {1}", LastModifiedTime.ToString("dddd"), LastModifiedTime.ToString("t"));
        }

        return displayDate;
    }
}- Save and close the TrendingDocument.cs file.
###3.3. Building the controller
The controller is responsible from retrieving the information about the documents trending in the current site from the Office Graph and passing them to the view. In order to do all this the controller must perform the following operations:
- Get authentication information from SharePoint
- Get the members of the host web's site members groups
- Get actor IDs for those users
- Query the Office Graph for documents stored in the host web trending around those users
- Process the information retrieved from the Office Graph and pass it as a collection of model items to the view
Following are the steps necessary to complete steps described above.
####3.3.1. Get authentication information from SharePoint
- In the TrendingInThisSiteWeb project open the Controllers folder and open the TrendingInThisSiteController class.
- Decorate the Index method with the SharePointContextFilter attribute:
[SharePointContextFilter]
public ActionResult Index() {
}- Change the contents of the Index method to:
var spContext = SharePointContextProvider.Current.GetSharePointContext(HttpContext);

IEnumerable<TrendingDocument> trendingDocuments = null;

using (var clientContext = spContext.CreateUserClientContextForSPHost()) {
    if (clientContext != null) {
    }
}

return View(trendingDocuments);- To the list of using statements add
using TrendingInThisSiteWeb.Models;
####3.3.2. Retrieving the members of the host web's site members group
- To the TrendingInThisSiteController class add the following method:
private static string[] GetSiteMembersEmails(SharePointContext spContext) {
    List<string> siteMembersEmails = null;

    using (var clientContext = spContext.CreateAppOnlyClientContextForSPHost()) {
        Web web = clientContext.Web;
        clientContext.Load(web, w => w.AssociatedMemberGroup.Users.Include(u => u.Email));
        clientContext.ExecuteQuery();

        siteMembersEmails = new List<string>(web.AssociatedMemberGroup.Users.Count);

        foreach (User user in web.AssociatedMemberGroup.Users) {
            if (!String.IsNullOrEmpty(user.Email)) {
                siteMembersEmails.Add(user.Email);
            }
        }
    }

    return siteMembersEmails.ToArray();
}
This method is responsible for retrieving the members of the host web's site members group. Because the current might not have sufficient permissions to get the members of that group, the add-in creates app-only context that allows is to retrieve the members of that group using elevated privileges.
To optimize the performance of this method we retrieve only what is necessary by specifying that for each user we only want to retrieve the e-mail address (...Users.Include(u => u.Email))
- In the Index() method in line 19 add the following statement:
string[] siteMembersEmails = GetSiteMembersEmails(spContext);- To the list of using statements add
using Microsoft.SharePoint.Client;
####3.3.3. Retrieving actor IDs for the members of the host web's site members group
- To the TrendingInThisSiteController class add the following method:
private static string[] GetActorIds(ClientContext clientContext, string[] siteMembersEmails) {
    StringBuilder searchQueryText = new StringBuilder();

    foreach (string userEmail in siteMembersEmails) {
        if (searchQueryText.Length > 0) {
            searchQueryText.Append(" OR ");
        }

        searchQueryText.AppendFormat("UserName:{0}", userEmail);
    }

    KeywordQuery searchQuery = new KeywordQuery(clientContext);
    searchQuery.QueryText = searchQueryText.ToString();
    searchQuery.SelectProperties.Add("DocId");
    searchQuery.SourceId = new Guid("b09a7990-05ea-4af9-81ef-edfab16c4e31");
    searchQuery.RowLimit = 100;

    SearchExecutor searchExecutor = new SearchExecutor(clientContext);
    ClientResult<ResultTableCollection> results = searchExecutor.ExecuteQuery(searchQuery);
    clientContext.ExecuteQuery();

    List<string> actorIds = new List<string>(results.Value[0].ResultRows.Count());

    foreach (var row in results.Value[0].ResultRows) {
        actorIds.Add(row["DocId"].ToString());
    }

    return actorIds.ToArray();
}
Using the e-mail addresseses retrieved previously this method builds up a new People Search Keyword Query combining the different users using the OR operator. Also here the add-in is optimized for performance retrieving only the actor ID (the DocID Managed Property) for each found user.
- In the Index() method in line 20 add the following statement:
string[] actorIds = GetActorIds(clientContext, siteMembersEmails);- To the list of using statements add:
using System.Text;
using Microsoft.SharePoint.Client.Search.Query;
####3.3.4. Retrieving the list of documents trending in the current site
- To the TrendingInThisSiteController class add the following methods:
private static IEnumerable<TrendingDocument> GetTrendingDocuments(ClientContext clientContext, string[] actorIds) {
    // Build Office Graph Query
    string graphQueryText = null;

    if (actorIds.Length > 1) {
        StringBuilder graphQueryBuilder = new StringBuilder();

        foreach (string actorId in actorIds) {
            if (graphQueryBuilder.Length > 0) {
                graphQueryBuilder.Append(",");
            }

            graphQueryBuilder.AppendFormat("actor({0},action:1020)", actorId);
        }

        graphQueryBuilder.Append(",and(actor(me,action:1021),actor(me,or(action:1021,action:1036,action:1037,action:1039)))");

        graphQueryText = String.Format("or({0})", graphQueryBuilder.ToString());
    }
    else {
        graphQueryText = String.Format("or(actor({0},action:1020),and(actor(me,action:1021),actor(me,or(action:1021,action:1036,action:1037,action:1039))))", actorIds[0]);
    }

    // Ensure that the Web URL is available
    Web web = clientContext.Web;
    if (!web.IsPropertyAvailable("Url")) {
        clientContext.Load(web, w => w.Url);
        clientContext.ExecuteQuery();
    }

    // Configure Search Query
    KeywordQuery searchQuery = new KeywordQuery(clientContext);
    searchQuery.QueryText = String.Format("Path:{0}", web.Url);

    QueryPropertyValue graphQuery = new QueryPropertyValue();
    graphQuery.StrVal = graphQueryText;
    graphQuery.QueryPropertyValueTypeIndex = 1;
    searchQuery.Properties.SetQueryPropertyValue("GraphQuery", graphQuery);

    QueryPropertyValue graphRankingModel = new QueryPropertyValue();
    graphRankingModel.StrVal = @"{""features"":[{""function"":""EdgeWeight""}],""featureCombination"":""sum"",""actorCombination"":""sum""}";
    graphRankingModel.QueryPropertyValueTypeIndex = 1;
    searchQuery.Properties.SetQueryPropertyValue("GraphRankingModel", graphRankingModel);

    searchQuery.SelectProperties.AddRange(new string[] { "Author", "AuthorOwsUser", "DocId", "DocumentPreviewMetadata", "Edges", "EditorOwsUser", "FileExtension", "FileType", "HitHighlightedProperties", "HitHighlightedSummary", "LastModifiedTime", "LikeCountLifetime", "ListID", "ListItemID", "OriginalPath", "Path", "Rank", "SPWebUrl", "SecondaryFileExtension", "ServerRedirectedURL", "SiteTitle", "Title", "ViewCountLifetime", "siteID", "uniqueID", "webID" });
    searchQuery.BypassResultTypes = true;
    searchQuery.RowLimit = 5;
    searchQuery.RankingModelId = "0c77ded8-c3ef-466d-929d-905670ea1d72";
    searchQuery.ClientType = "TrendingInThisSite";

    SearchExecutor searchExecutor = new SearchExecutor(clientContext);
    ClientResult<ResultTableCollection> results = searchExecutor.ExecuteQuery(searchQuery);
    clientContext.ExecuteQuery();

    List<TrendingDocument> trendingDocuments = new List<TrendingDocument>(results.Value[0].ResultRows.Count());

    foreach (var row in results.Value[0].ResultRows) {
        string[] lastModifiedByInfo = row["EditorOwsUser"].ToString().Split('|');

        trendingDocuments.Add(new TrendingDocument(
            row["Title"].ToString(),
            row["ServerRedirectedURL"].ToString(),
            GetPreviewImageUrl(row, web.Url),
            (DateTime)row["LastModifiedTime"],
            lastModifiedByInfo[1].Trim(),
            GetUserPhotoUrl(lastModifiedByInfo[0].Trim(), web.Url)));
    }

    return trendingDocuments;
}

private static string GetPreviewImageUrl(IDictionary<string, object> resultRow, string webUrl) {
    string uniqueId = resultRow["uniqueID"].ToString();
    string siteId = resultRow["siteID"].ToString();
    string webId = resultRow["webID"].ToString();
    string docId = resultRow["DocId"].ToString();

    return String.Format("{0}/_layouts/15/getpreview.ashx?guidFile={1}&guidSite={2}&guidWeb={3}&docid={4}&metadatatoken=300x424x2&ClientType=DocumentsTrendingInThisSite&size=small",
        webUrl, uniqueId, siteId, webId, docId);
}

private static string GetUserPhotoUrl(string userEmail, string webUrl) {
    return String.Format("{0}/_layouts/15/userphoto.aspx?size=S&accountname={1}", webUrl, userEmail);
}
The GetTrendingDocuments(ClientContext, string[]) method is the core method of the Client Web Part responsible for retrieving documents trending in the current site.
The first part of the method is responsible for building the Office Graph query. For each actor passed to the method, a Graph Query Language expression is added to the query such as the documents trending around that actor (action:1020) are requested. Additionally the query retrieves the documents trending around the current user (actor(ME, action:1021)). The different actors are then combined using an or operator so that the query returns a union of the documents trending around the different actors.
To determine which documents are trending the query sets the GraphRankingModel property and specifies that the Office Graph should sum up the scores for the different documents and actors showing the most trending documents first.
To have the Office Graph return only documents from the site where the add-in is installed the Office Graph query is extended with a regular Search Keyword Query passing the URL of the site to the Path Managed Property.
Once the query has been executed, its results are processed and stored as instances of the model we have defined earlier in the lab.
To support showing a card for each document the URL of the document preview image and the URL of the photo of the user who has modified the document are passed to the model. Those are built respectively using the GetPreviewImage(IDictionary<string,object>, string) and the GetUserPhotoUrl(string, string) methods.
- In the Index() method in line 23 add the following statement:
trendingDocuments = GetTrendingDocuments(clientContext, actorIds);- To the list of using statements add
using TrendingInThisSiteWeb.Extensions;. - Build the solution to verify that you have done everything correctly and are not missing anything.
###3.4. Building the view
The Client Web Part is working now and it retrieves documents trending in the current site from the Office Graph. One thing that we still need to do is to have the Client Web Part show those documents on the site. The following steps describe the processing of building and styling the Client Web Part view.
####3.4.1. Adding CSS styles
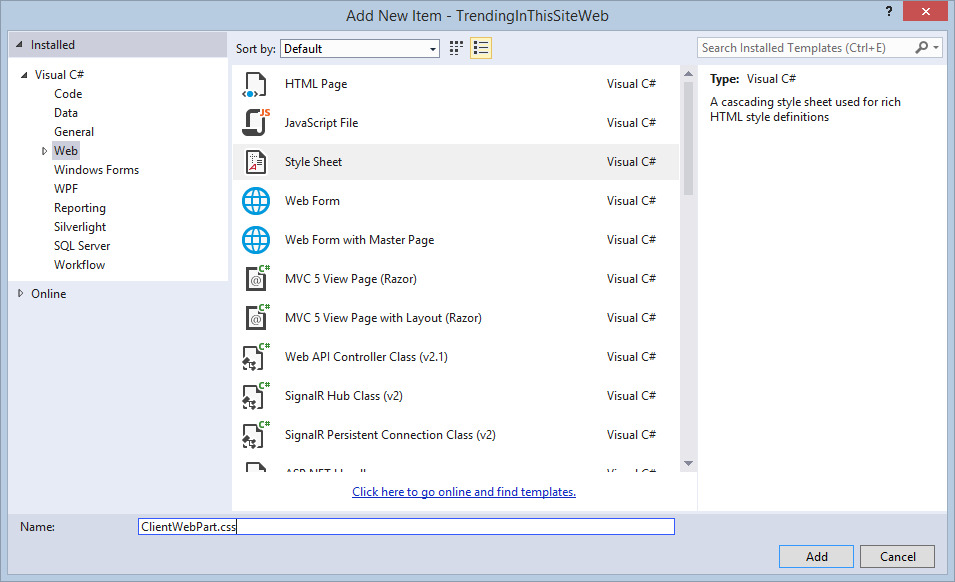
- In the TrendingInThisSiteWeb project right-click the Content folder and from the context menu choose the Add/New Item... option.
- In the Add New Item dialog, from the list of installed project item template categories select Visual C#/Web and from the list of available project item templates select the Style Sheet template. Name the item
ClientWebPart.cssand click the Add button.
- Replace the contents of the newly added ClientWebPart.css file with:

html {
	font-family: "Segoe UI Semilight","Segoe UI","Segoe",Tahoma,Helvetica,Arial,sans-serif;
    font-size: 0.8em;
}

body {
    margin: 0;
}

ul {
	list-style: none;
	margin: 0;
	padding: 0;
}

li {
	border: 1px solid #eee;
	float: left;
	margin: 0 0.8em 0 0;
	width: 140px;
}

li a {
	text-decoration: none;
	color: #000;
}

li a img {
    border: 0;
}

.thumbnail {
	height: 78px;
	overflow: hidden;
}

.thumbnail img {
	width: 100%;
}

.docinfo {
	position: relative;
	top: -20px;
	left: 5px;
}

.userphoto {
	width: 48px;
	height: 48px;
	border-radius: 50%;
	float: left;
	margin-right: 5px;
}

.username {
	display: block;
	padding-top: 24px;
    width: 80px;
    white-space: nowrap;
    overflow: hidden;
    text-overflow: ellipsis;
}

.modifiedDate {
	display: block;
	font-size: 0.8em;
}

.title {
	font-size: 1.3em;
	line-height: 1.2;
	margin-top: -0.4em;
	padding: 0 0.5em 0.5em 0.5em;
}- Save and close the ClientWebPart.css file.
####3.4.2. Building the Client Web Part view
- From the TrendingInThisSiteWeb project expand the Views/TrendingInThisSite folders and open the Index.cshtml file.
- Replace the contents of the Index.cshtml file with:
@using TrendingInThisSiteWeb.Models;
@model IEnumerable<TrendingDocument>


@{
    Layout = null;
}

<!DOCTYPE html>

<html>
<head>
    <title>Trending in this site</title>
    <link href="~/Content/ClientWebPart.css" rel="stylesheet" type="text/css" />
</head>
<body>
    <ul>
        @foreach (TrendingDocument document in Model) {
            <li>
                <a href="@document.Url">
                    <div class="thumbnail">
                        <img src="@document.PreviewImageUrl" alt="@document.Title preview" />
                    </div>
                    <div class="docinfo">
                        <img src="@document.LastModifiedByPhotoUrl" alt="@document.LastModifiedByName's photo" class="userphoto">
                        <span class="username" title="@document.LastModifiedByName">@document.LastModifiedByName</span>
                        <span class="modifiedDate">@document.LastModifiedTime.ToString("d")</span>
                    </div>
                    <div class="title">@document.Title</div>
                </a>
            </li>
        }
    </ul>
</body>
</html>
When defining the view we first reference the Models defined in the project and set the view's model to the collection of TrendingDocument defined earlier in this lab.
By iterating through the documents returned by the controller the view renders a card for each trending document.
- Save and close the Index.cshtml file.
###3.5. Running the add-in
Now that the add-in is complete it's time to see it working. In the following steps we will install the add-in that we have just built in our Office 365 tenant and add the Client Web Part to the existing portal.
- In Visual Studio from the menu choose Debug/Start Debugging.
- When prompted to sign in to Office 365, provide your credentials.
Important: The credentials you provide must have sufficient permission to install the add-in and provide it with the necessary permissions. Without this the installation process will fail. - After the installation succeedes Visual Studio will open a new window of your default web browser and redirect you to the page that will prompt you whether you trust the add-in that you have just installed.
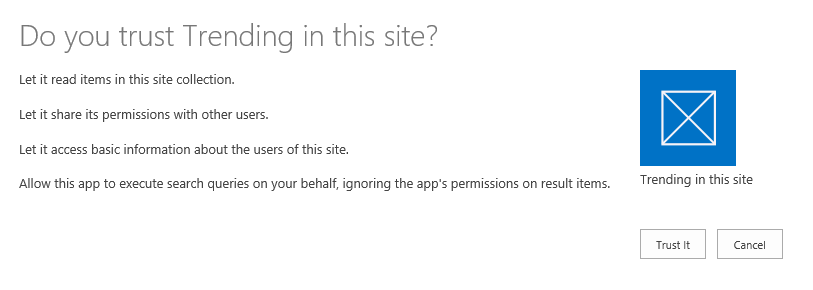
- Click the Trust It button to proceed
- You will be redirected to the default add-in page that we haven't changed

- In the web browser navigate to the site where you deployed the add-in
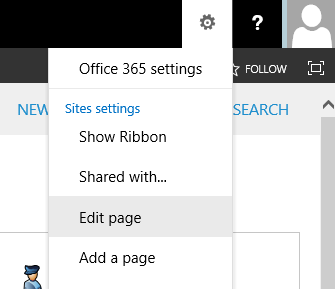
- Click the Settings button and from the drop-down menu click the Edit page option
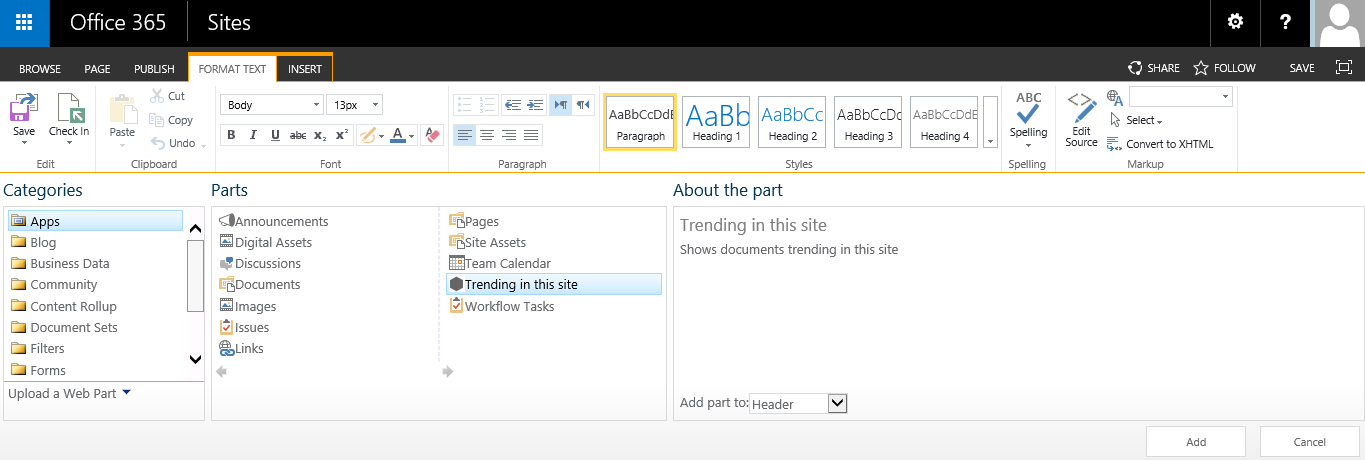
- In a Web Part Zone click the Add a Web Part link.
- In the Web Part Gallery select the Apps category. From the list of available add-ins select the Trending in this site add-in and click the Add button.
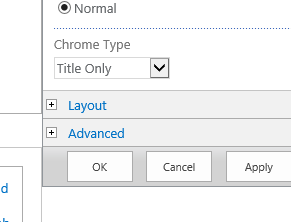
- Select the Client Web Part in the Web Part Zone and from its context menu click the Edit Web Part option.

- In the Web Part Pane from the Appearance section change the value of the Chrome Type property to Title Only and click the OK button to confirm the changes.
- From the Ribbon activate the Publish tab and click the Publish button.
- You should see documents trending in your site