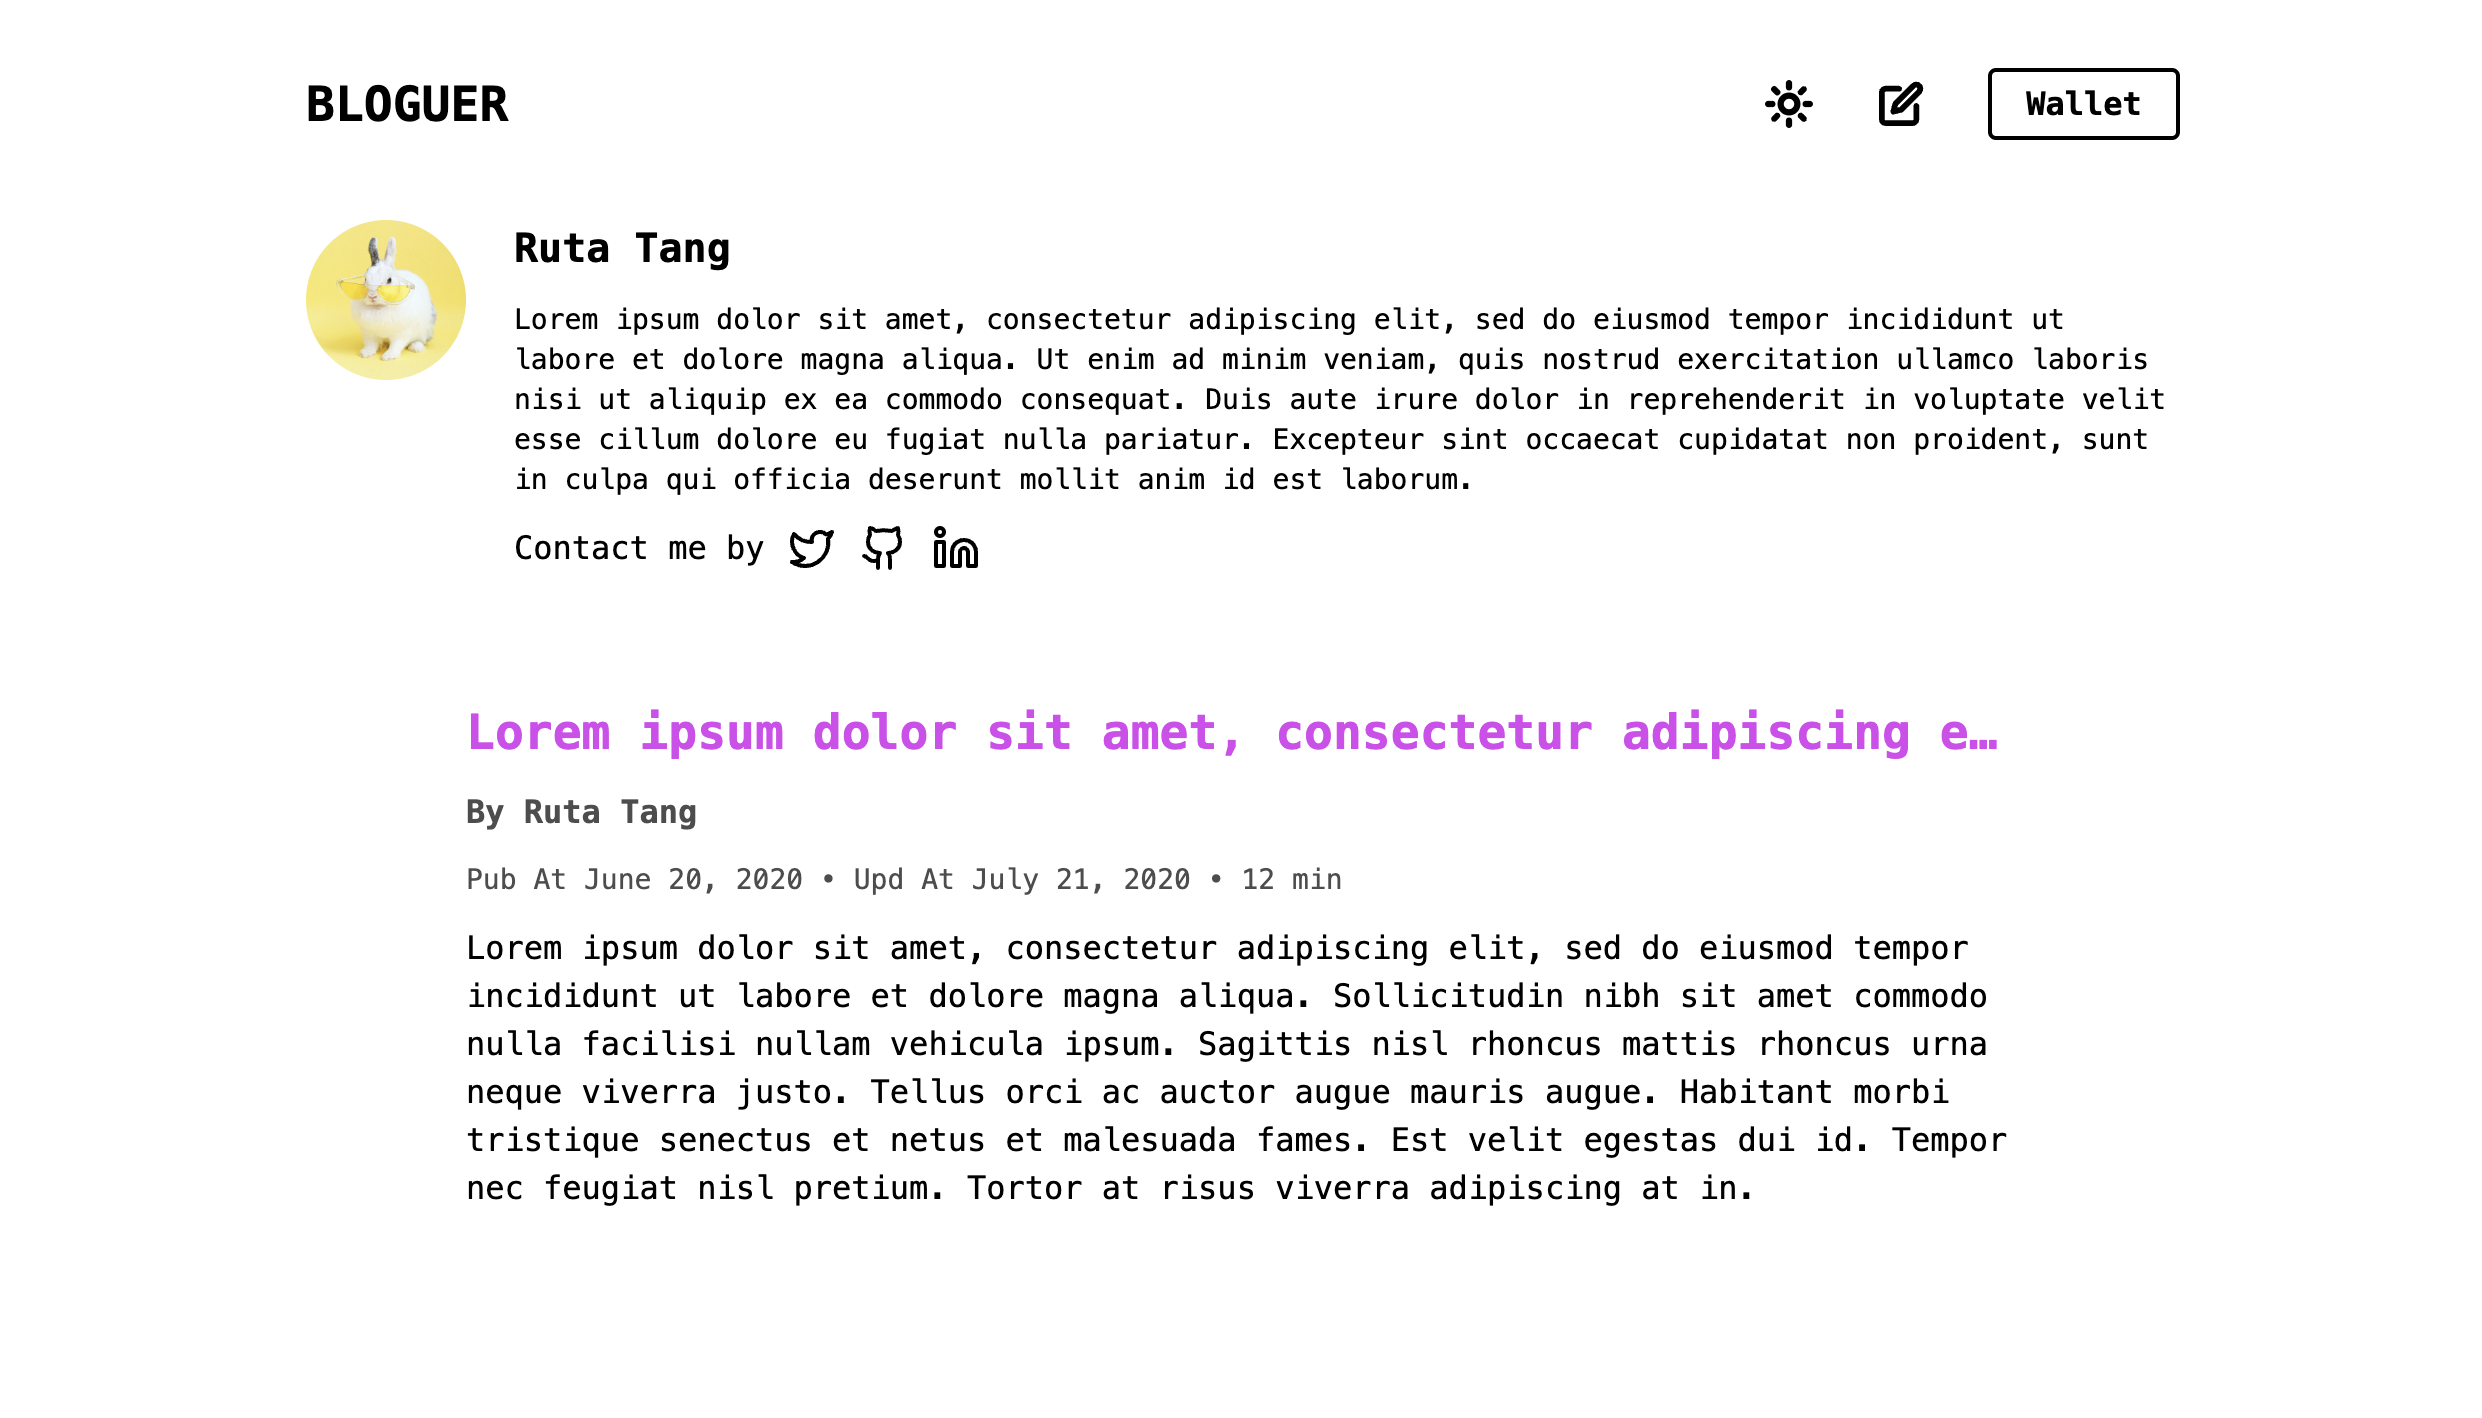
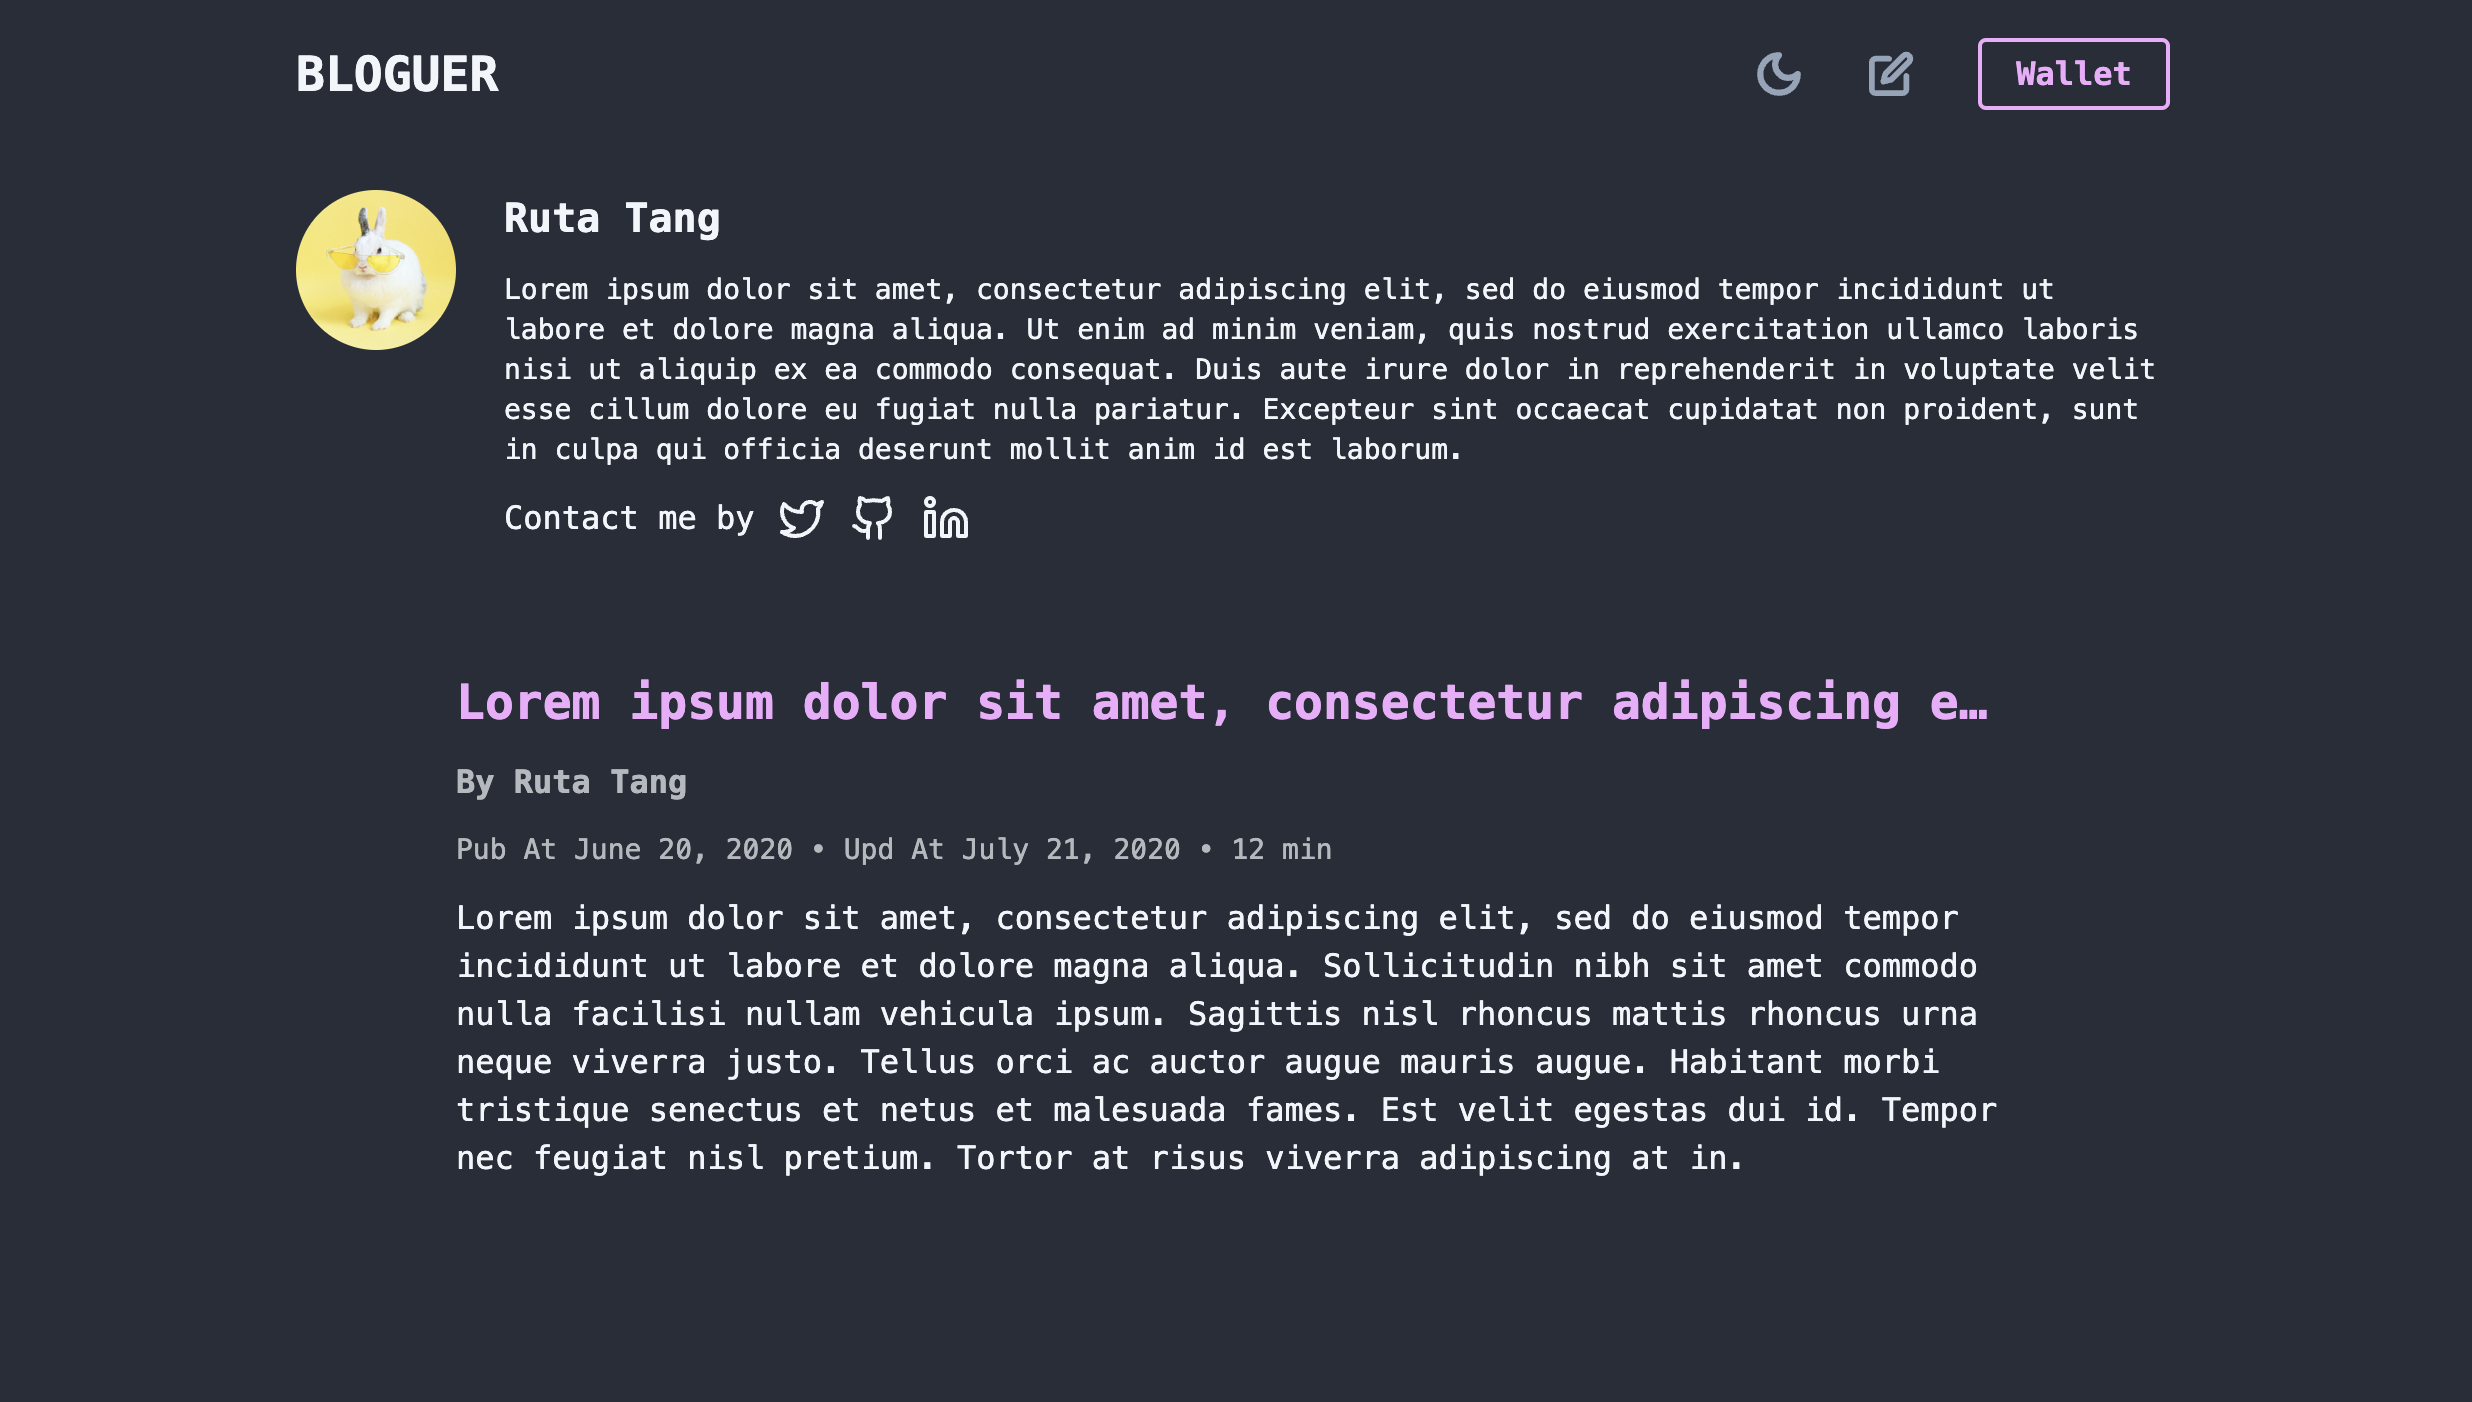
Your next Web3/On-Chain Blog without any servers. The frontend part can be directly put on IPFS and the backend part is obviously on chain so that you do not need to manage any servers and your data is belongs to your account.
Note: Make sure you have npm, Aptos CLI, python3 installed. This should works well in Mac or Linux. If you use Windows, check the how to use it (manually).
- Download
autodeployfolder fromtools/autodeploy(you can also clone this project and cd intotools/autodeploy) - Install python dependences:
pip3 install -r requirments.txt - Run autodeploy script:
python3 main.py - Just follow the instruction, Done!
The deploy step are separated to two steps, (1) backend deployment: publish module to Aptos; and (2) frontend deployment: upload bundled frontend code to IPFS.
- Make sure you have installed npm, Aptos CLI.
- Download the project (from commits or releases) to local
- Prepoaretion Done!
Do not use the original account which is just for test
- Make sure you are in the project path
cd move- Find
config.yamlin.aptosfolder. Changeprivate_key,public_key,account, to your owns and changerest_urlto the Aptos nextwork you want to deploy. You may deletefaucet_urlif you want to deploy on the Mainnet - Back to
movefolder and findMove.toml. Change thebloguer_addresswith your account address. - Now, in
movefolder, runaptos move test --bytecode-version 6to run unit tests, then runaptos move publish --bytecode-version 6to compile and deploy it on the chain - Backend Deployment Done!
- Make sure you are in the project path
cd client- Find
.envand change all the information there based on your case - Run
npm install && npm buildand it will generate bundled one in thedistfolder - Upload the
distfolder to IPFS - Frontend Deployment Done~

