cowboy-websocket-template
A stripped down Cowboy webserver and template for communicating with client with websockets.
Getting Cowboy
This project uses rebar (https://github.com/basho/rebar) for dependency management. If you use rebar as well you can get Cowboy by adding the entry shown below to your rebar.config file.
{deps, [
	{cowboy, ".*",
		{git, "git://github.com/extend/cowboy.git", "1.0.x"}}
]}.
If you don't use rebar then take note that this tutorial uses version 1.0 of Cowboy and will not work with the latest versions. For further help getting Cowboy without rebar I would suggest following 99s getting started guide found here: http://ninenines.eu/docs/en/cowboy/1.0/guide/getting_started/.
Integration Instructions
This template project is just a standard Erlang application. Much of the code contained in the src directory is just standard boilerplate for running an application and will be eliminated by your own application configuration.
To get the demo running there are two source files that will be added to your project unmodified, toppage_handler.erl and ws_handler.erl. There are also a few items that are illustrated in the .app file and template_app.erl that will need to be added to your app file and its application start function.
Start by copying all of the contents of template/priv to your projects priv directory. The priv directory is where the client-side files are kept. The main website is priv/html_ws_client.html this currently contains all of the html to render the main page and the basic Javascript to handle sending to and recieving from the websocket connection.
Next start by copying src/toppage_handler.erl and src/ws_handler.erl to your source directory. The toppage handler just serves the main html page and the ws handler is what you will customize handle websockets. Next open up your app file. The template's application resource file just contains this:
{application, template, [
	{description, "A simple template containing a Cowboy webserver and websocket communication"},
	{vsn, "1"},
	{modules, []},
	{registered, []},
	{applications, [
		kernel,
		stdlib,
		cowboy
	]},
	{mod, {template_app, []}},
	{env, []}
]}.
You just need to modify your app file so that the cowboy is listed in the applications which are started before your application starts. Next open up your application's callback module, the template project's callback module is template_app.erl.
%% The contents of template_app.erl
-module(template_app).
-behaviour(application).

%% API.
-export([start/2]).
-export([stop/1]).

start(_Type, _Args) ->
    Dispatch =
        cowboy_router:compile([
                               {'_', [
                                      {"/", toppage_handler, []},
                                      {"/websocket", ws_handler, []},
                                      {"/static/[...]", cowboy_static,
                                       {dir, "priv/static"}}]}]),
    {ok, _} = cowboy:start_http(http, 100, [{port, 8080}],
                                    [{env, [{dispatch, Dispatch}]}]),
    template_sup:start_link().

stop(_State) ->
	ok.
The callback module is where Cowboys router is configured and started. Copy the "Dispatch =..." and "{ok, _} = cowboy:start_http..." lines to your applications start function. The line beginning with dispatch maps urls to the Erlang modules that will handle those requests. In this case toppage_handler.erl handles requests to the top level directory, ws_handler.erl handles anything that talks to the "/websocket" location, and any resources requested under the static directory are handled by a built in cowboy component that serves static files. The next line that you copied actually starts a listener on port 8080 with the configuration defined in the previous line.
You should now be ready to start your application and if you connect to http://{YOUR_HOSTNAME}:8080 you should see this screen:
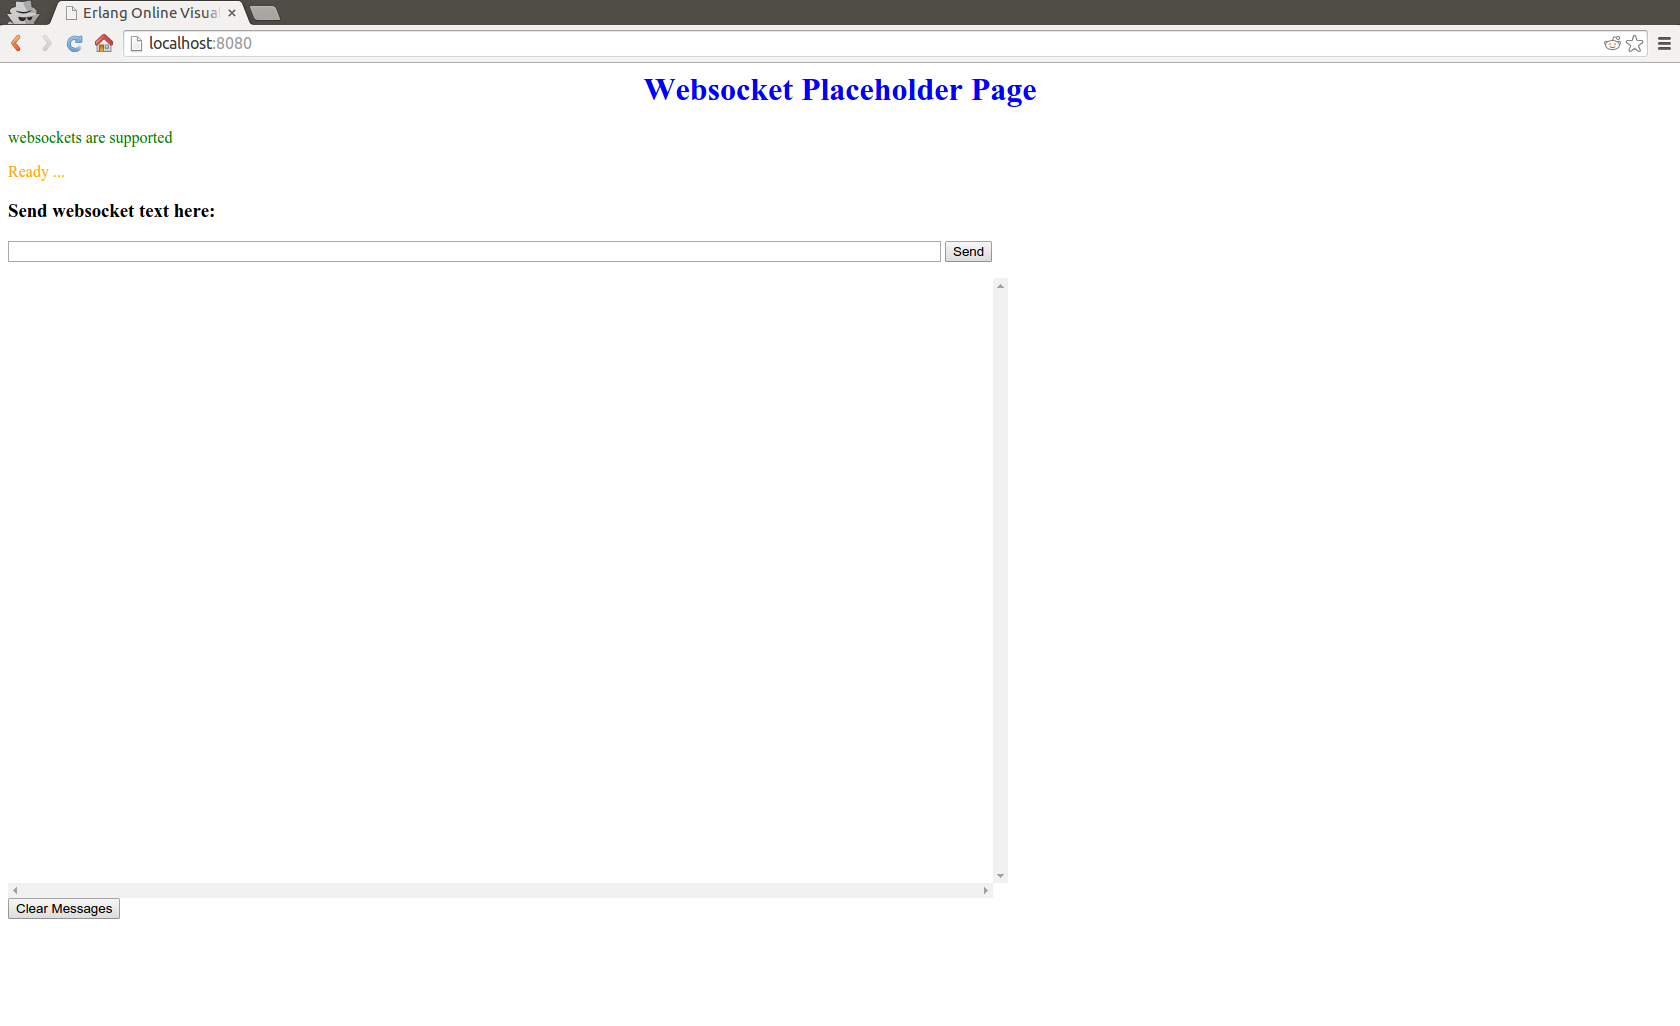
If you type into the text box and hit send Erlang should just send the message back to the client with "Erlang recieved the message: " prepended onto the sent text. If you have an Erlang console that can talk to the node running Cowboy you can send messages to the client by sending an Erlang message to the process named ws_handler, e.g. ws_handler ! test will send the atom test to the webpage and you should see it appear there.
You have now integrated all of the functionality provided by this project into your own application. The following sections will be a more detailed discussion of the ws_handler and the client-side code.
Overview of ws_handler
There are five functions that you need to implement to support websocket communications using Cowboy.
init/3websocket_init/3websocket_handle/3websocket_info/3websocket_terminate/3
This section will briefly cover the uses of these functions.
The init functions
There are two init functions init and websocket_init. The init function always returns an upgrade tuple:
init({tcp, http}, _Req, _Opts) ->
    {upgrade, protocol, cowboy_websocket}.
You can also update the Req object and the options by returning the longer form of the tuple: {upgrade, protocol, cowboy_websocket, Req, Opts}.
After recieving this tuple Cowboy immediately calls websocket_init. websocket_init is where you place much of your custom initialization code. Typically, however, this is just used to register the process and initialize the state. Returing the "ok" tuple.
websocket_init(_Type, Req, _Opts) ->
    {ok, Req, #state{}}.
Alternatively returning the shutdown tuple, {shutdown, Req}, will send a 404 message to the client. After the ok tuple is recieved by Cowboy it will immediately perform the handshake. It should be noted that both of the init functions are called everytime a new client connects.
websocket_handle
The websocket_handle/3 function is called when Cowboy recieves a frame from the client. Frames take the form of:
frame() = close | ping | pong | {text | binary | close | ping | pong, iodata()} | {close, close_code(), iodata()}Some action can be taken at this point.
websocket_info
When an Erlang message is recieved by the handler's process cowboy will call websocket_info\3. The handler can send frames back to the client, shutdown or do nothing at this point.
Sending to the client
Communicating back to the client can be done from either websocket_info/3 or websocket_handle/3 by returning a reply tuple. The reply tuple consists of the atom reply followed by either a single frame or a list of frames to be sent to the client, a Req object, and finally the current state.
The frame takes the form mentioned in the websocket_handle section found above.
websocket_terminate
Finally the websocket_terminate function is called to allow you to clean up the state. After this function returns the websocket connection is closed and the handler's process is stopped.
Overview of client-side code
This README will not go into much detail of the client side code. There are many good tutorials on Javascript and using websockets on the client so I wont spend much time discussing that here. Instead this will just quickly go over where everything is on the client side.
The root of the client code is the priv/ directory. In this root directory is the static directory which is served by Cowboy's static handler; src/toppage_handler.erl serves the other item in the priv directory, html_ws_client.html. html_ws_client.html is the main webpage. Within it is all the Javascript and html to render the send and recieve from websockets page.
Inside the static directory is a lib directory where the clients dependencies are stored and the css file.
Additional Resources
Here is a list of additional references or document that this was based off of. If anything said here conflicts with something from the links in this list then assume the link is correct.