This system is a Pharmacy Point of Sale (POS) and Inventory Management System for medium and small pharmacies and chemists. It contains various modules that makes it a holistic and ideal system for any medium and small sized pharmacy enterprises.
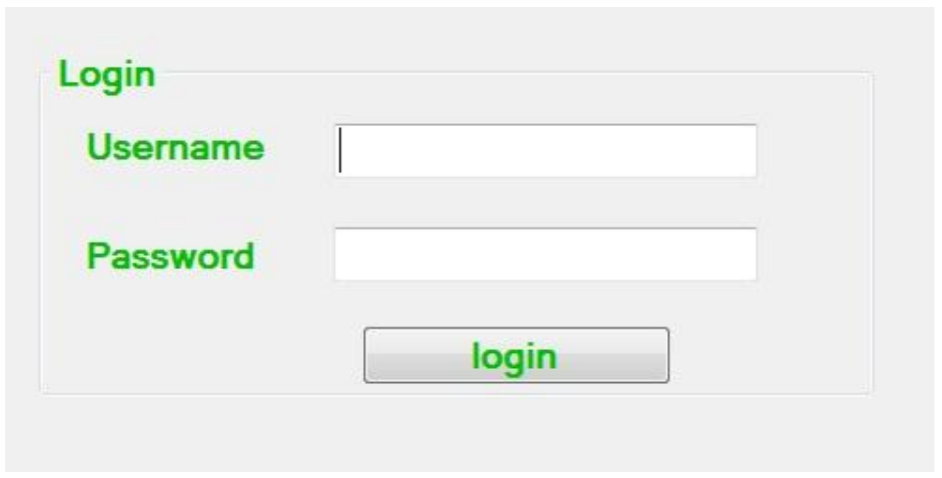
You must be registered in order to log in to the system. If you are a registered user
of the system you must provide a username referred to as the pfno and a password.
The username and password must be correct for you to login.
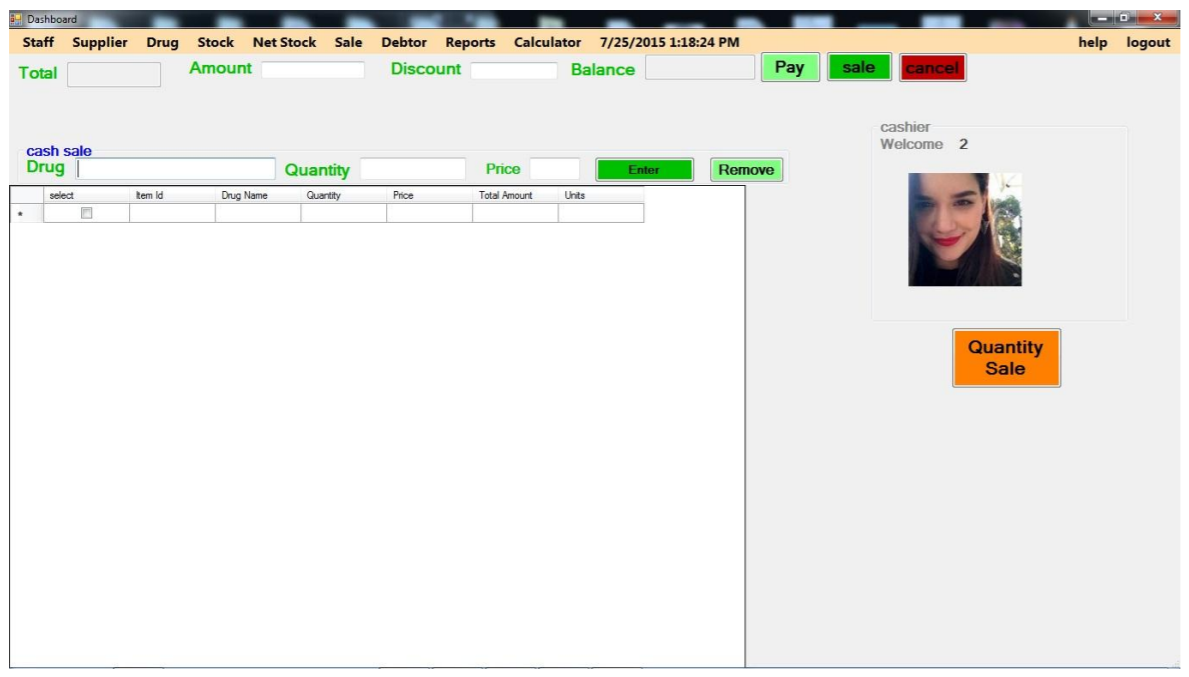
After logging in successfully there are two types of selling process. One is quantity
sale where the customer indicated the quantity of drugs they want to purchase.
Another sell is cash sale where the customer gives the amount for the drugs they
want to buy.
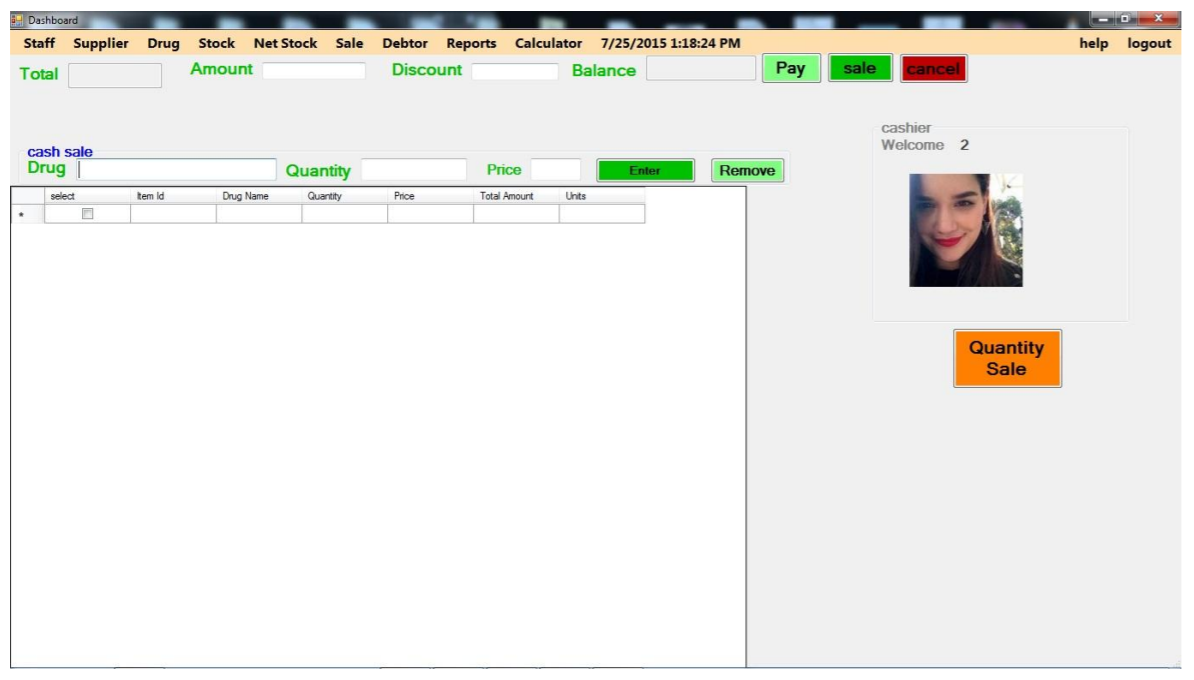
Select the drug from the drug field and then enter the quantity in the quantity
field then click on enter button. This will place the drug in the table below.
NOTE: You can only sell a drug that is available in the stock. Also you can only
sell a drug with lower quantity or equal to what is in the stock.
Select the drug from the drug field and then enter the amount in the
“amount” field then click on enter button. This will place the drug in the
table below.
NOTE: You can only sell a drug that is available in the stock. Also you can
only sale a drug with lower quantity or equal to what is in the stock.
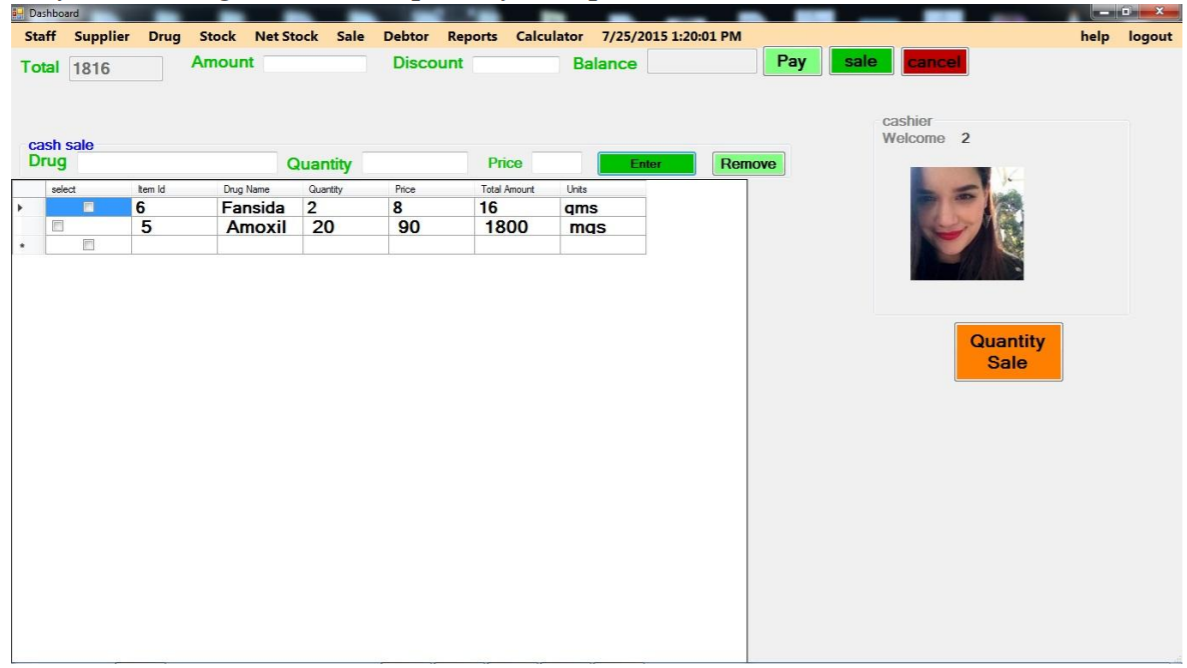
You can remove a drug from the cart by clicking on the drug row and clicking the button “remove” near “enter button”
You complete sales transaction by simply entering the amount in the amount field and if discount is allowed enter it inside the discount field and click pay. After clicking pay you can now click on the sell button to sell the drug to the customer. NOTE: The importance of entering the amount and paying is that it enable you to monitor the income for your stock.
You can abort/cancel the transaction by simply clicking on the “cancel” button.
The following is a sequence of adding data in the system assuming you have added the manager as a staff or you are the manager
- Start by adding drug
- Then add supplier
- Then add stock.
To add the staff click on the staff and click “add staff”. This will present you with
a window to enter the staff’s details. The category field enables you to select the
type of user either pharmacist or the manager. You set the password for the user
and the pfno which the user will later use to login to the system.
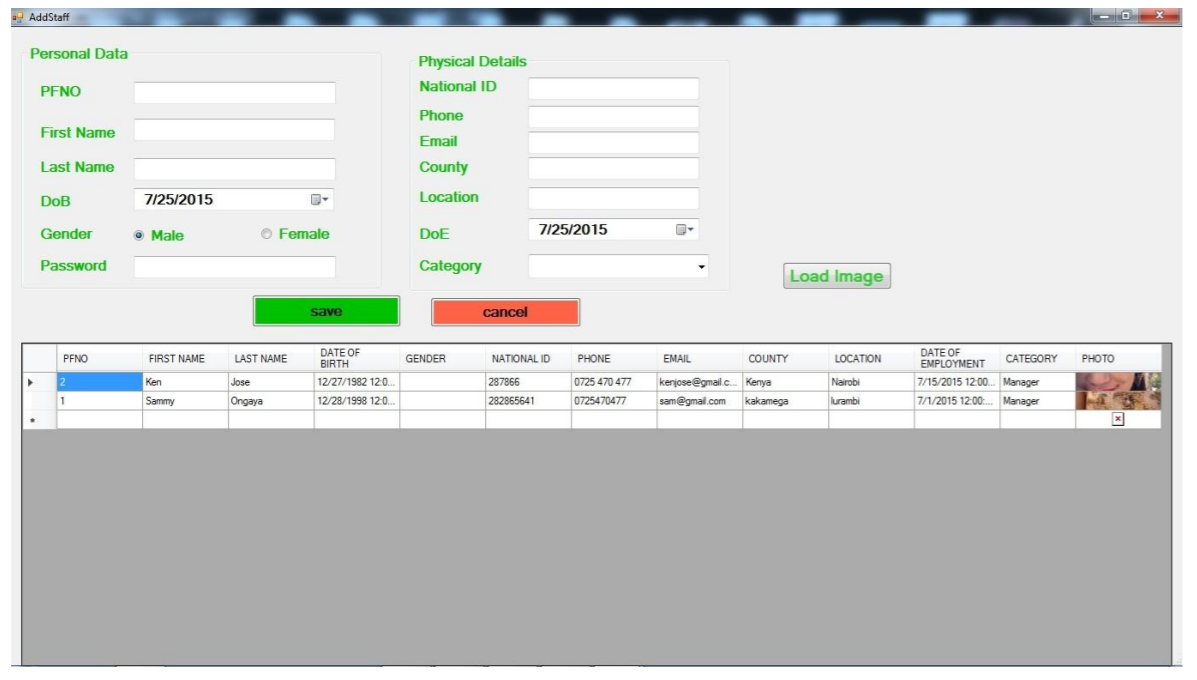 NOTE: Set a simple and secure password for the user. You must at least place an
image for the user.
NOTE: Set a simple and secure password for the user. You must at least place an
image for the user.
To update the staff click on the “Update Staff” then you can change the details for the staff. After changing the details click “save”.
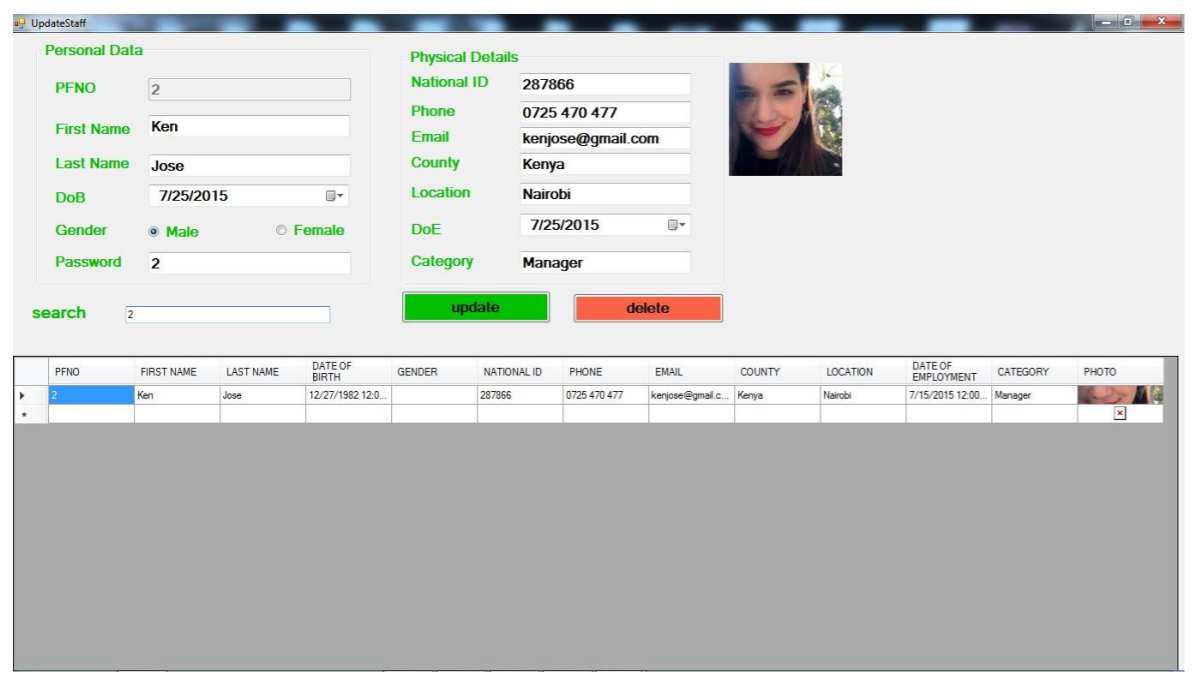
To view the staff click on the staff then “View Staff”. You can print the records.

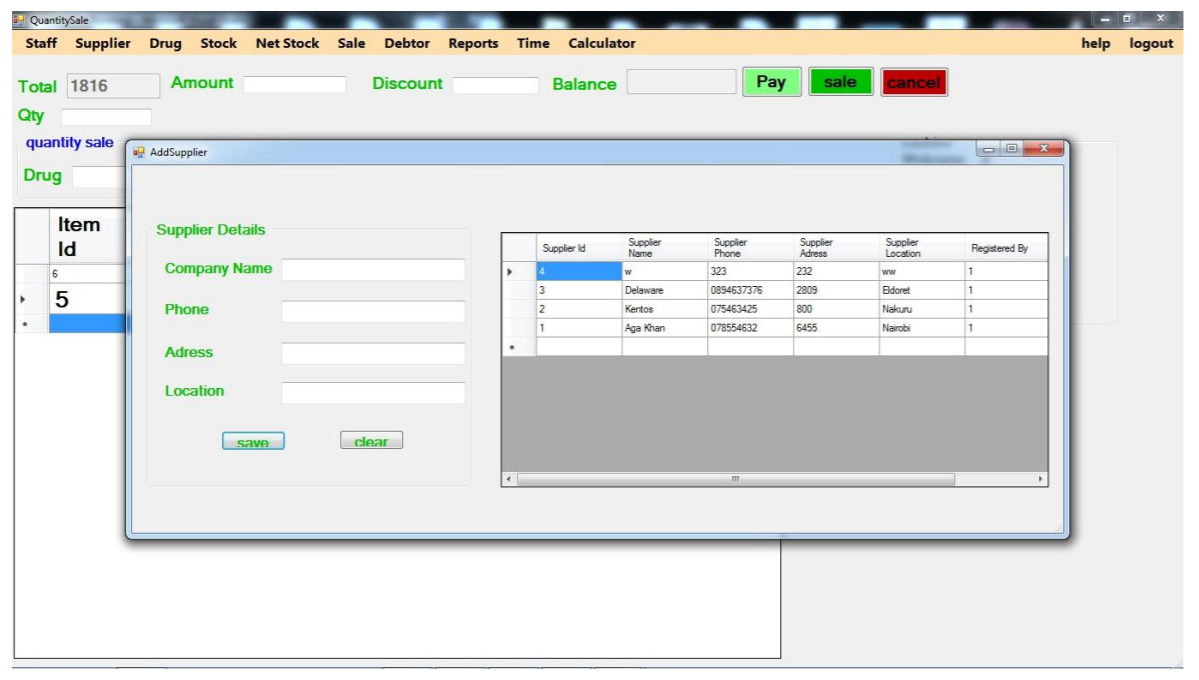
To add the supplier click on the supplier and click “add supplier”. This will present
you with a window to enter the supplier details.
To update the supplier click on the “Update Supplier” then you can change the
details for the staff. After changing the details click “save”.
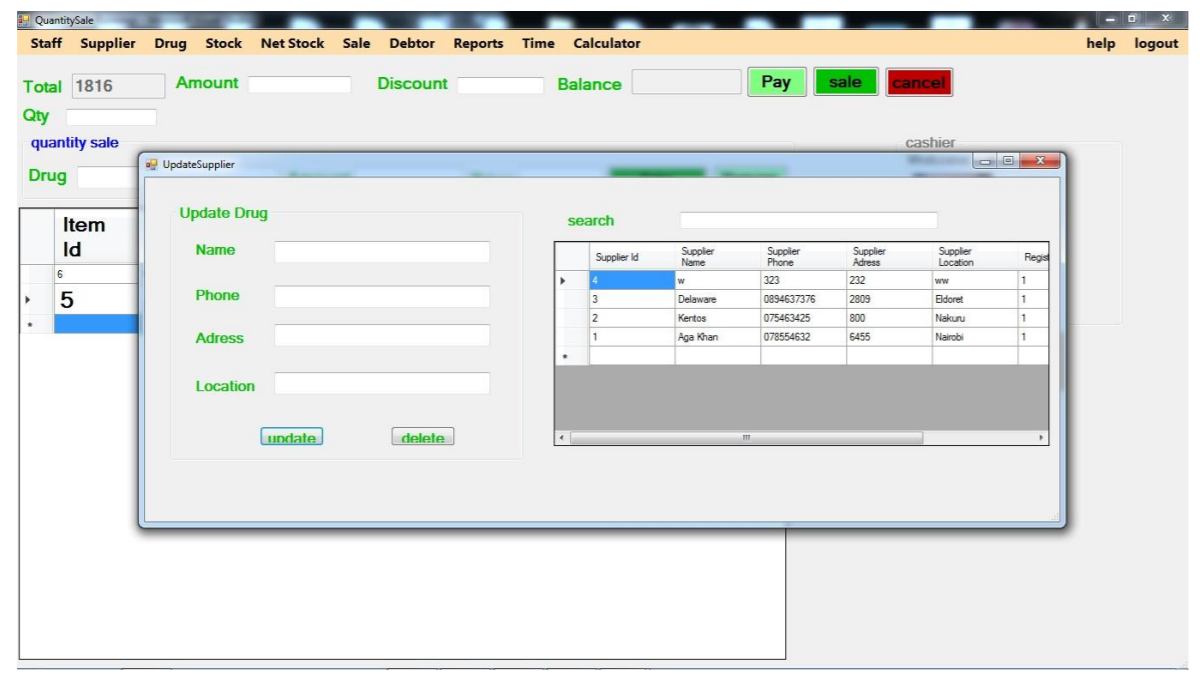
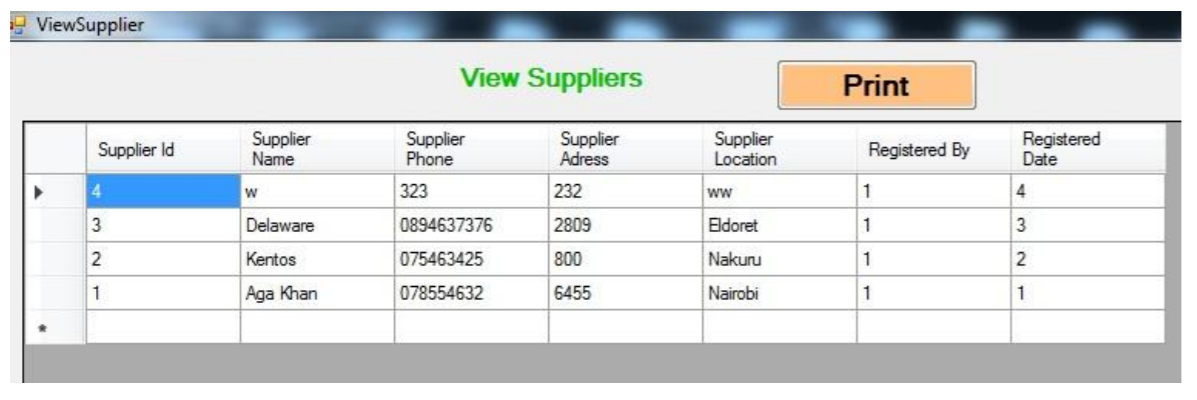
To view the supplier click on the supplier then “View Supplier”. You can print the
records
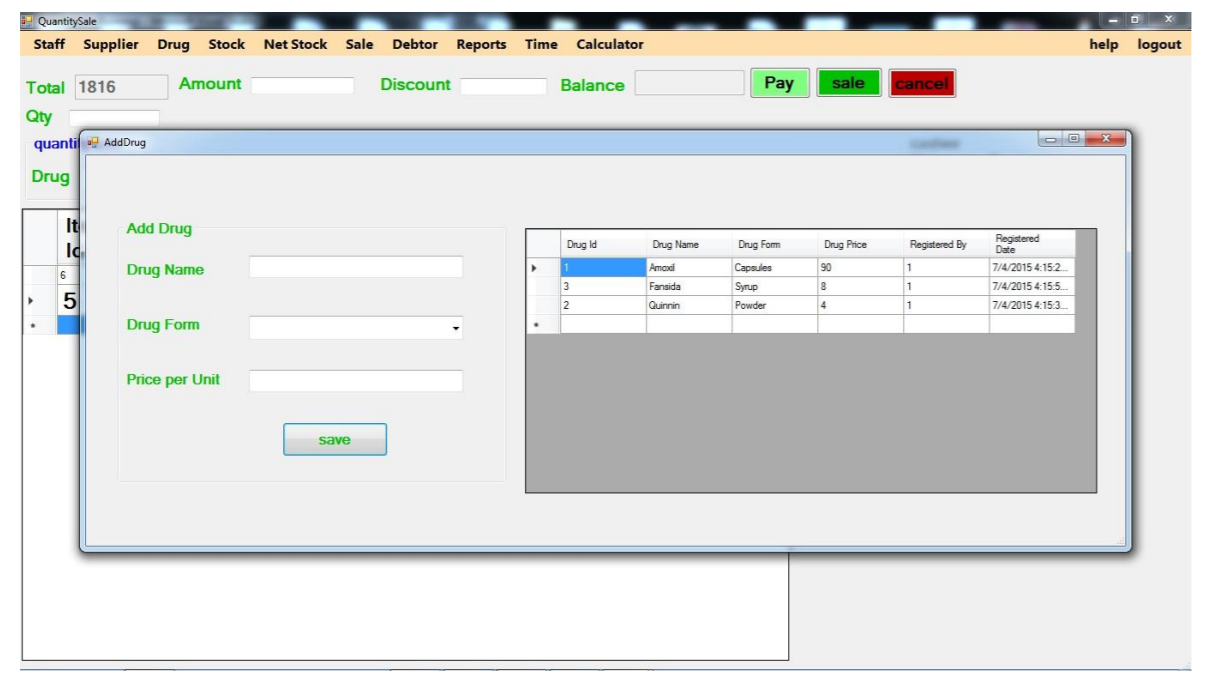
To add the drug click on the drug and click “Add Drug”. This will present you
with a window to enter the drug details.
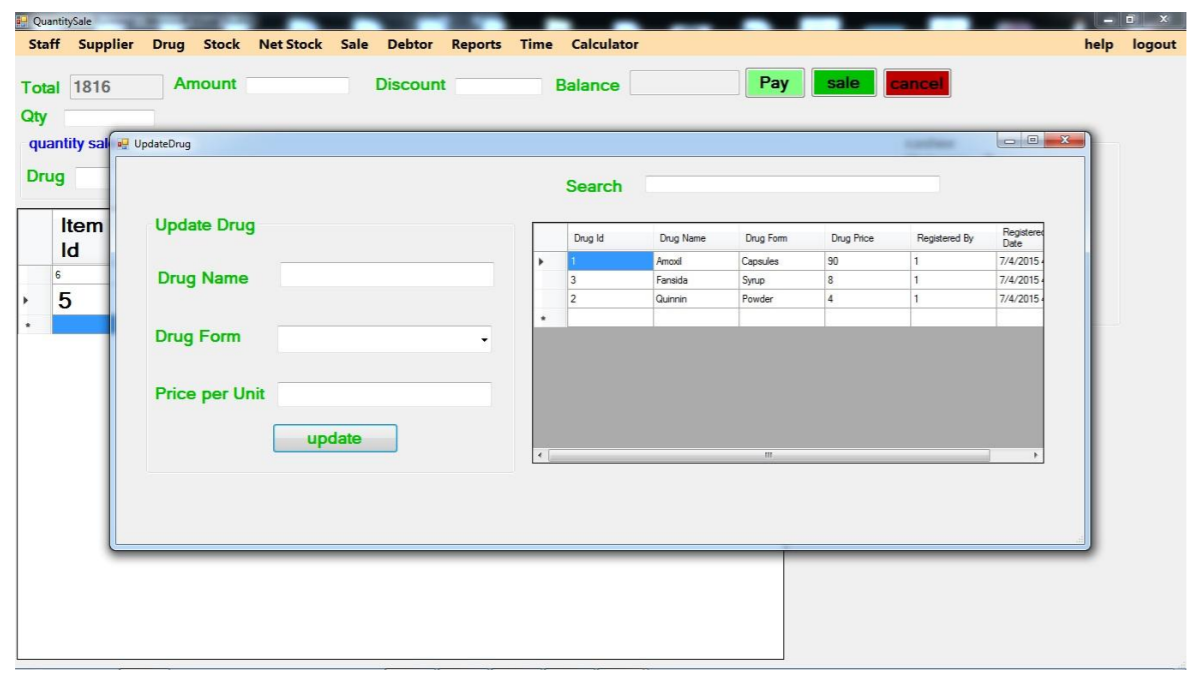
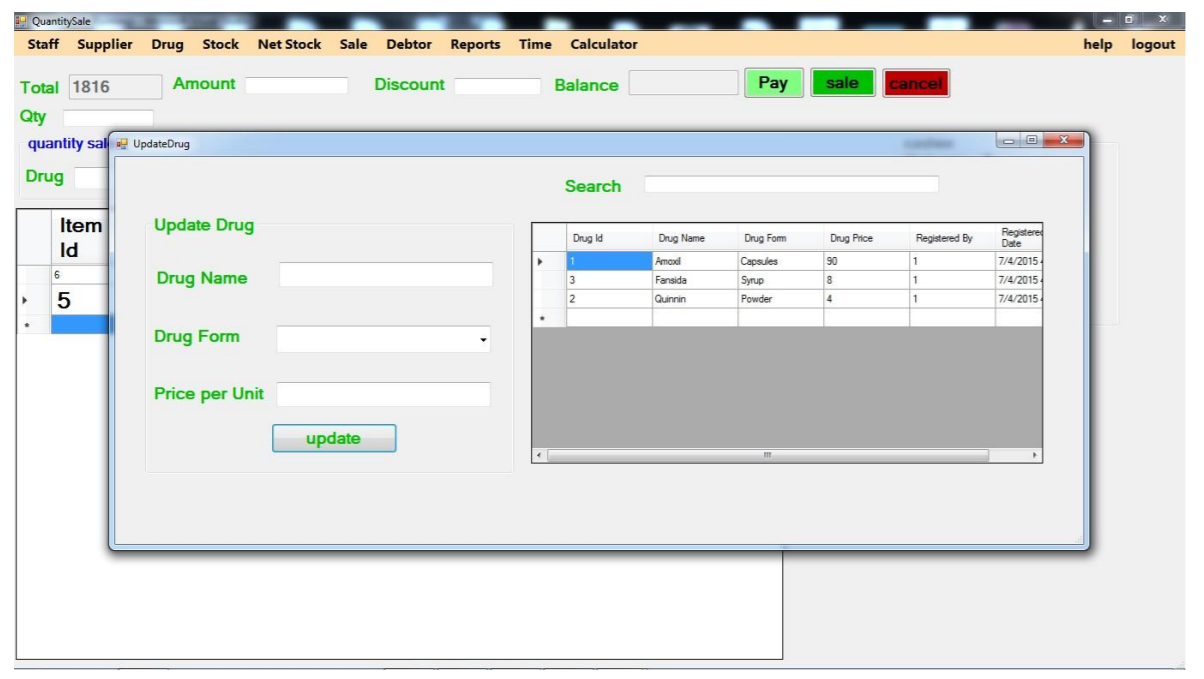
To update the drug click on the “Update Drug” then you can change the details for the staff. After changing the details click “save”.
To view the drug click on the drug then “View Drug”. You can print the records.

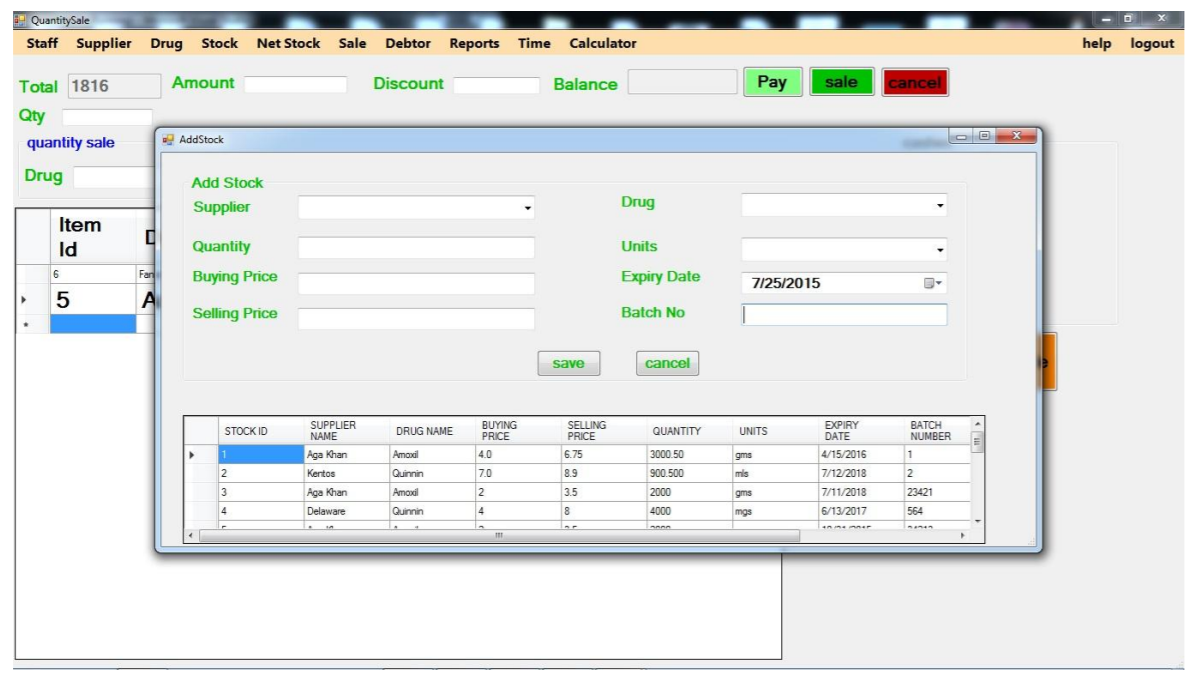
To add the Stock click on the Stock and click “Add Stock”. This will present you
with a window to enter the Stock details.
To update the Stock click on the “Update Stock” then you can change the details
for the staff. After changing the details click “save”.
To view the Stock click on the Stock then “View Stock”. You can print the
records.

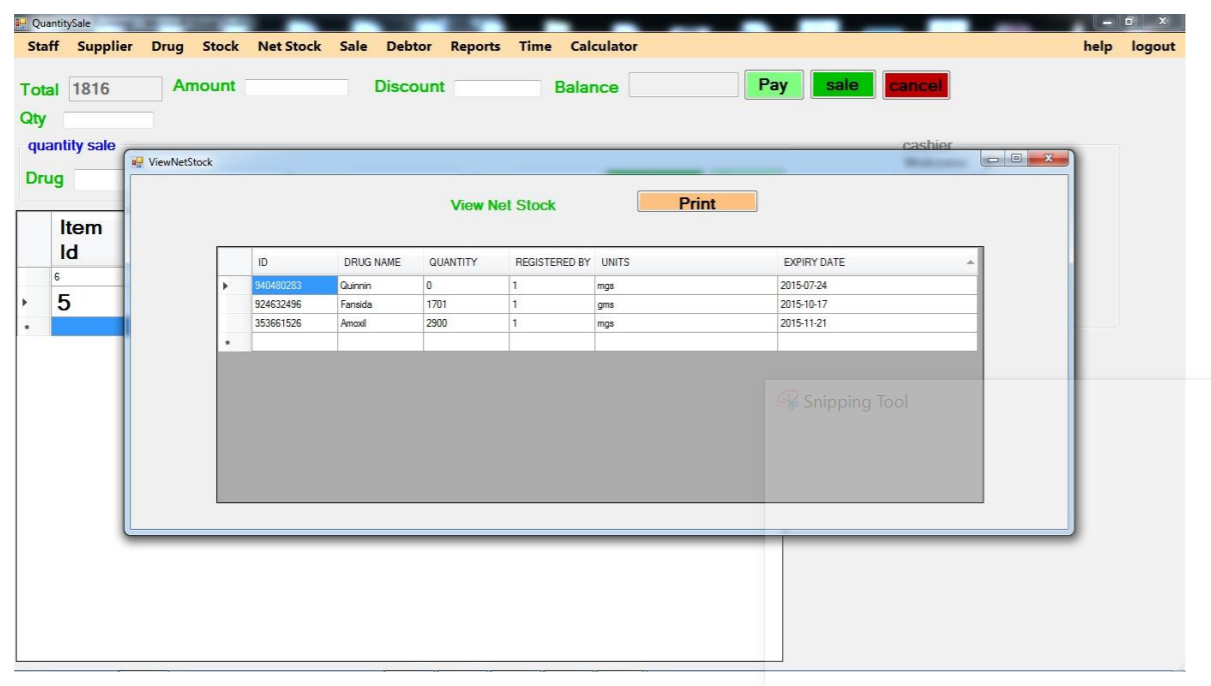
To view the Net Stock click on the Net Stock then “View Net Stock”. You can
print the records.
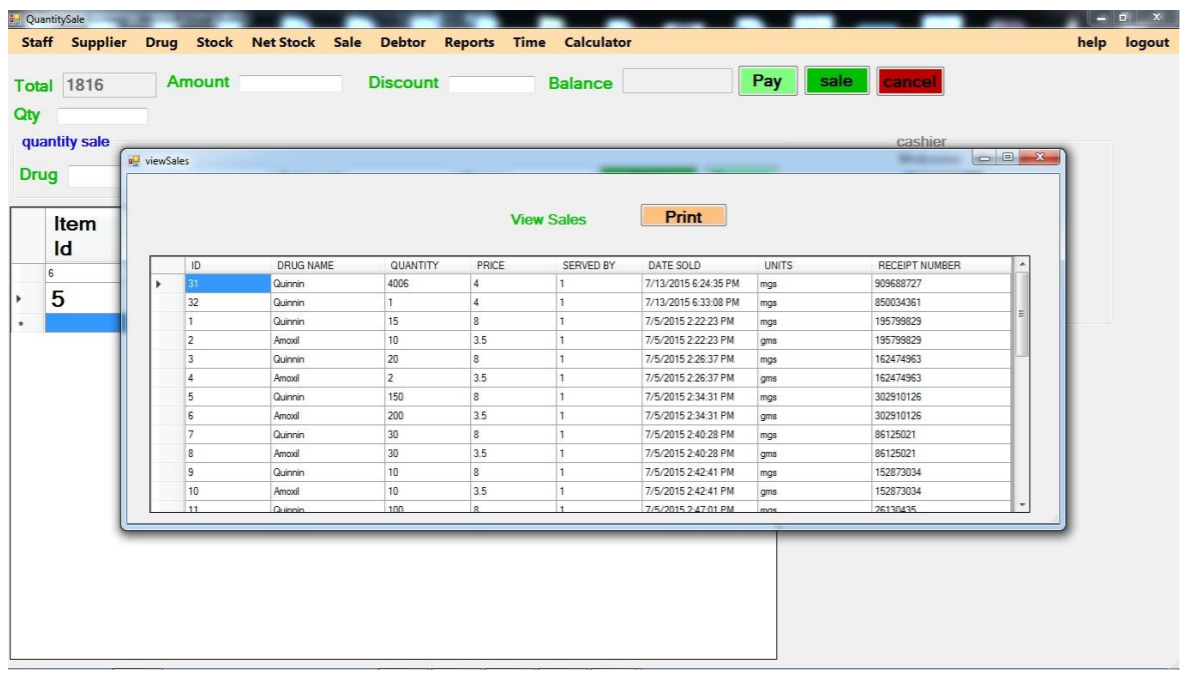
To view the Sales click on the Sales then “View Sales”. You can print the records.
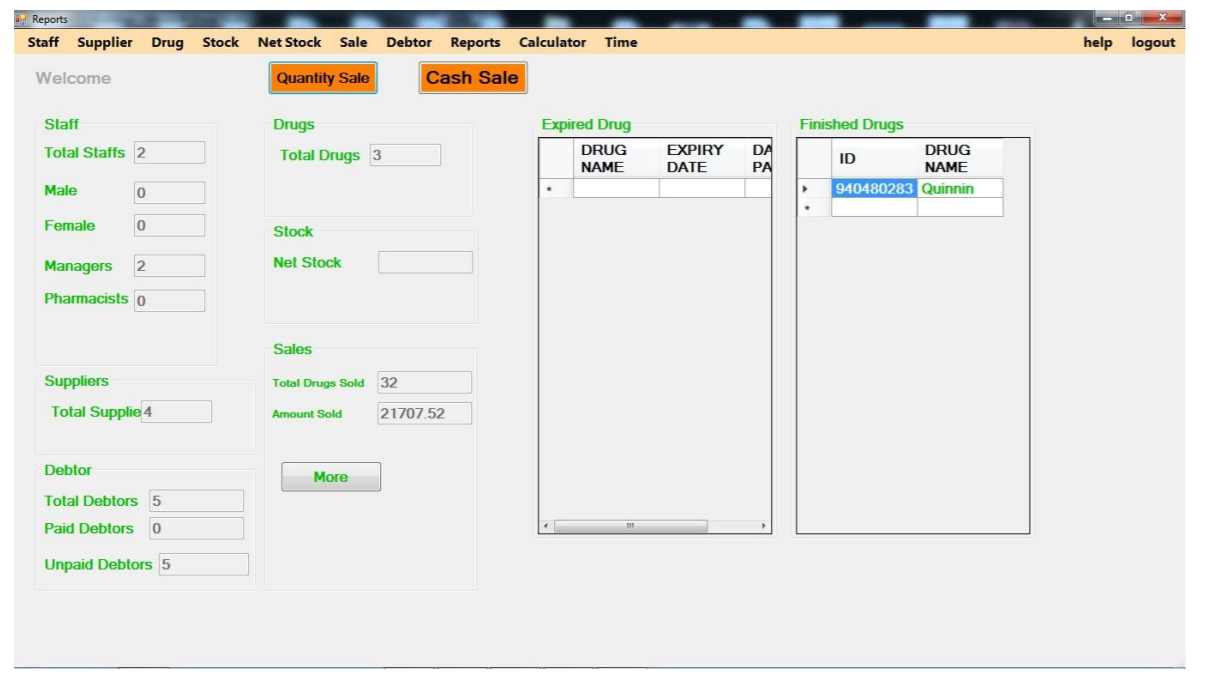
To view the reports click on the “Reports” menu. To get further statistics on the
sales reports, click on “More” under the Sales on reports.
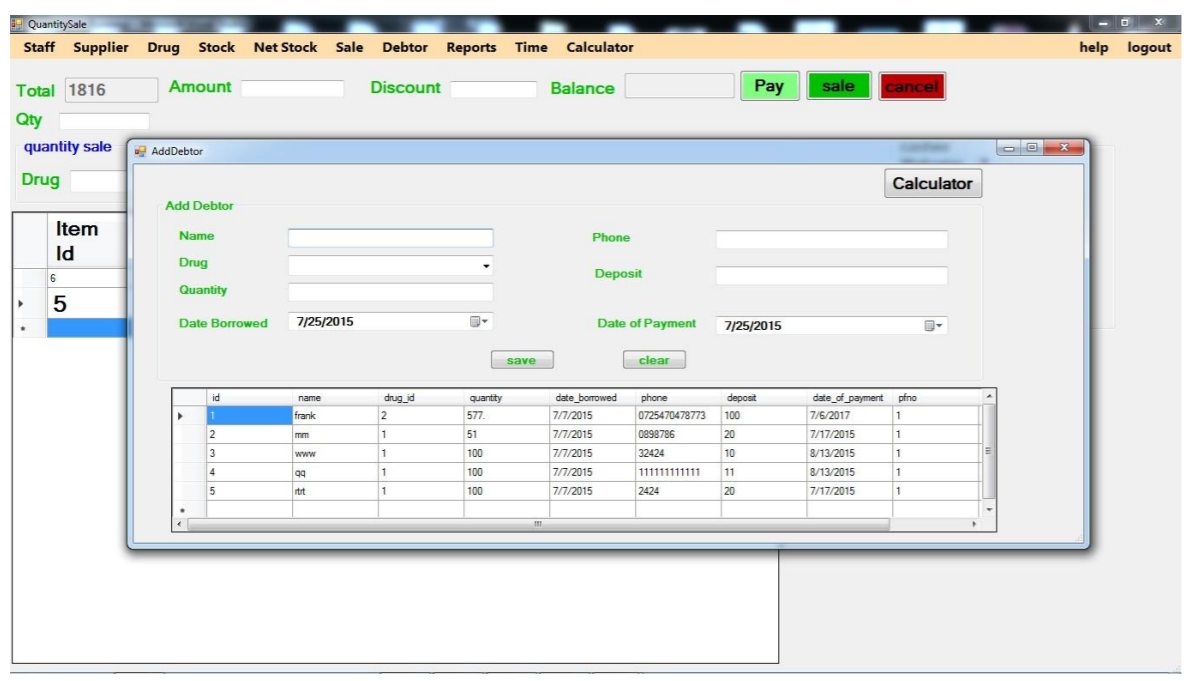
It is evident that some client will come to buy drug at a higher purchase order.
They are referred to as debtors. Adding the debtor in the system is through the
debtor menu. Click on debtor then click on “add debtor option”. This will present
you with a form to fill the details. Then after filling all the required details click on
the “save” button to save the debtor.
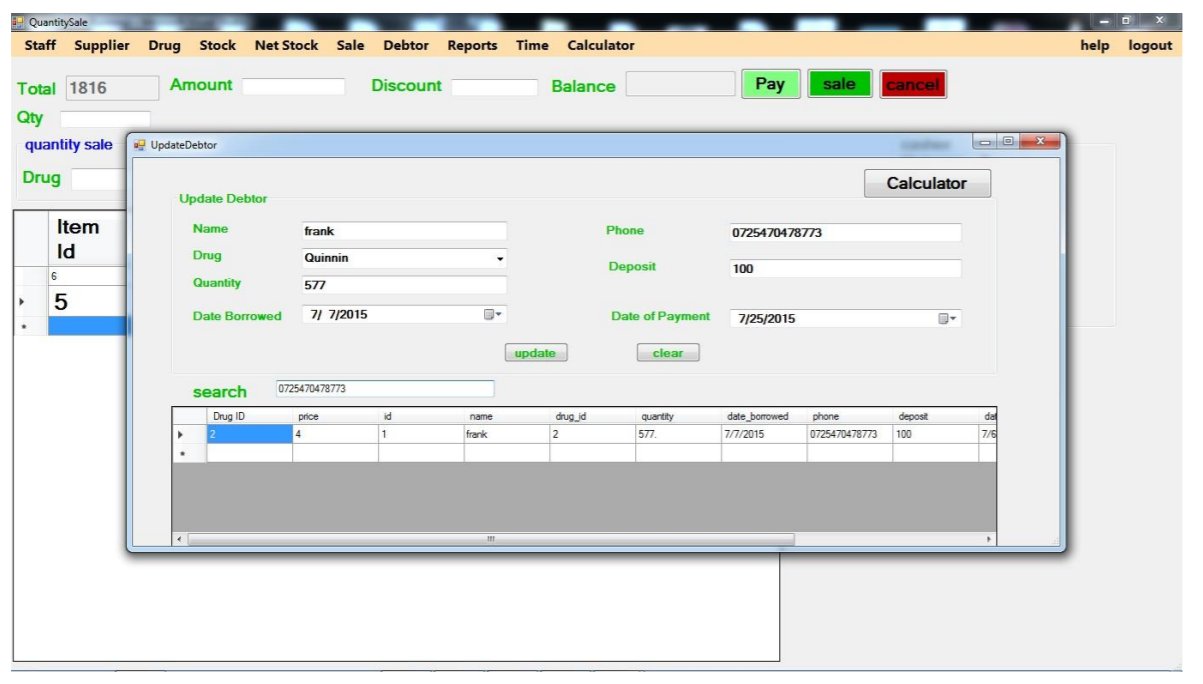
You can update the debtor if they repay the debt. Simply click on the debtor menu
then click on the update debtor. This will present you with a form to update the
amount.
NOTE: After updating the debtor if the debt is successfully repaid, the debtor
details will not be visible in the table below.
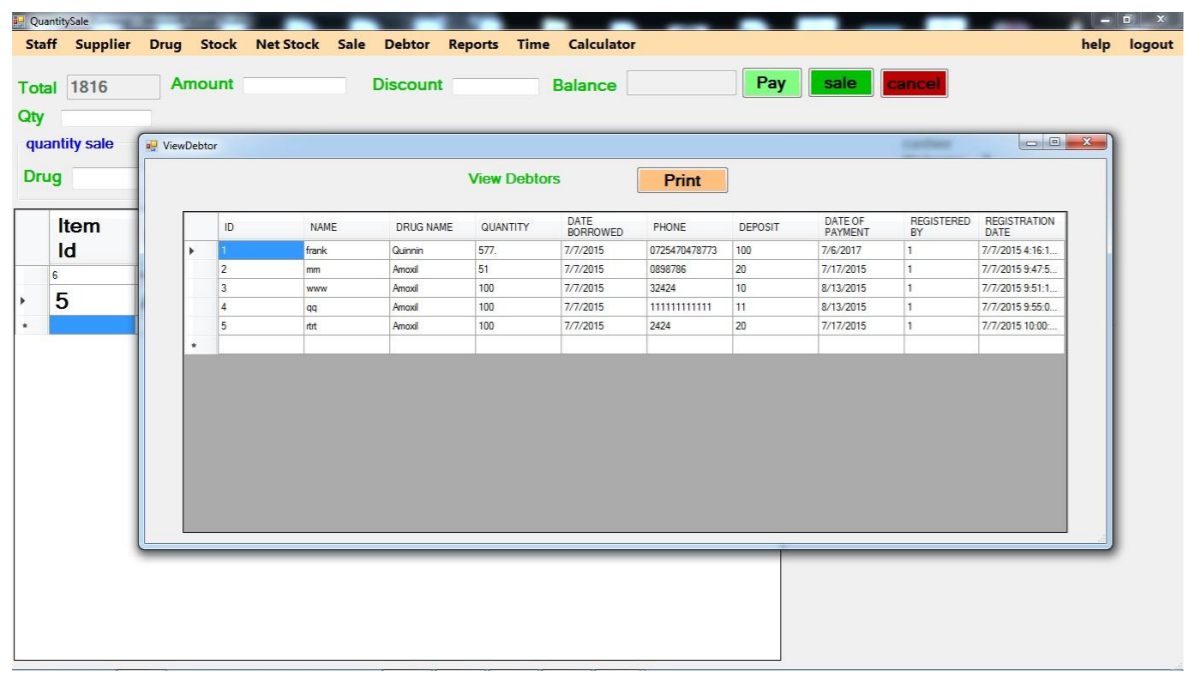
You can see Debtors details while adding, updating or viewing debtors. For
viewing all debtors records and printing go to Debtors then click on view Debtors.
This will display all debtors records in which you can print.
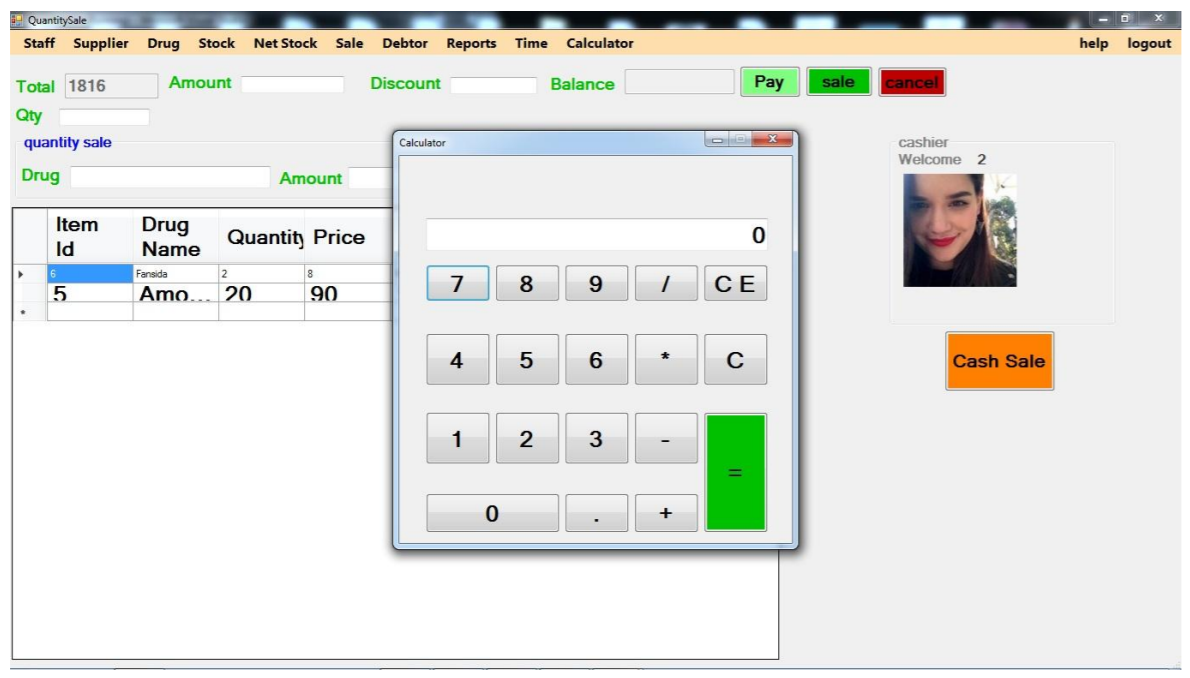
You can access the calculator by clicking on the calculator.
Logout enables you to exit the application. This ensures that your session has expired and nobody can use your account until they are logged in.