Application developed during a Programmer Event, the Full Cycle Learning Experience promoted by @FullCycleSchool
| Overview | Technologies | Project | Run | Author |
This project is one application of a complete Full Cycle Chat project to talk in real time with Chat-GPT, with amazing technologies like NextJS for front-end, Back-End for Front-end with NextJS, Next Auth + Keyclock for Authentication and Users management, MySQL database, GO Lang for microsservice, Docker and the power of Chat-GPT with real time reactive data and gRPC communication.
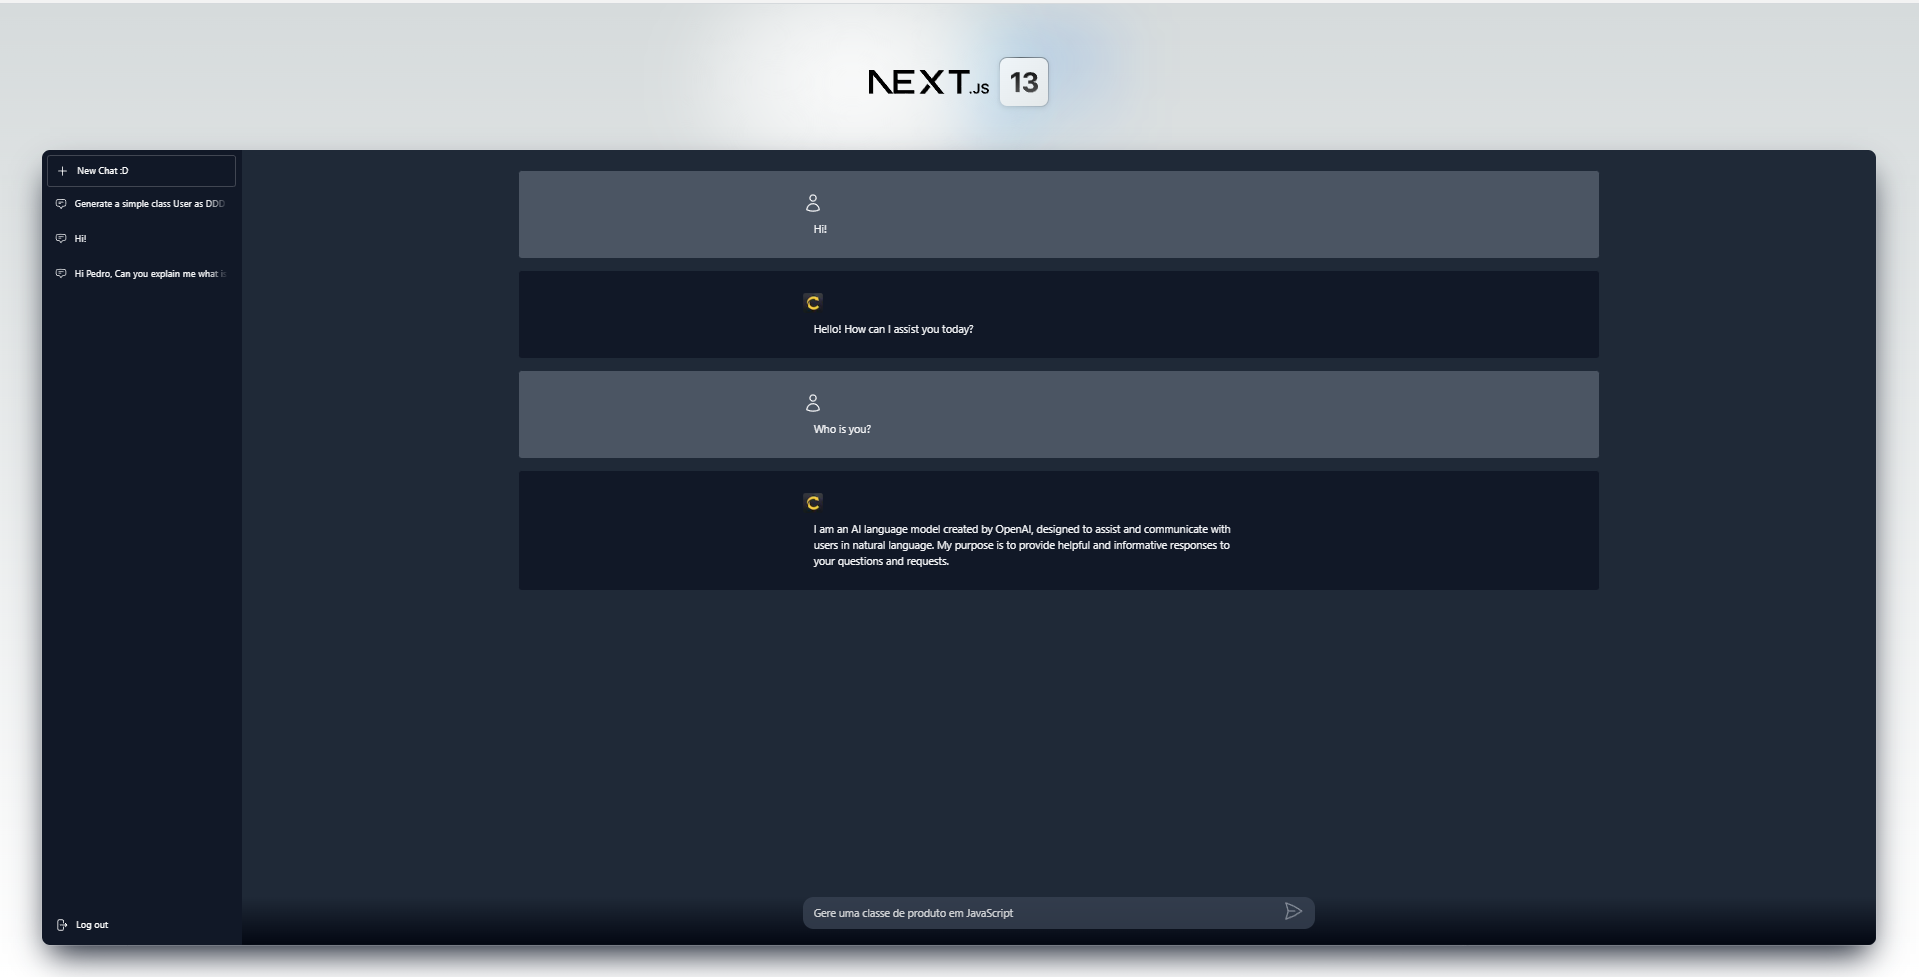
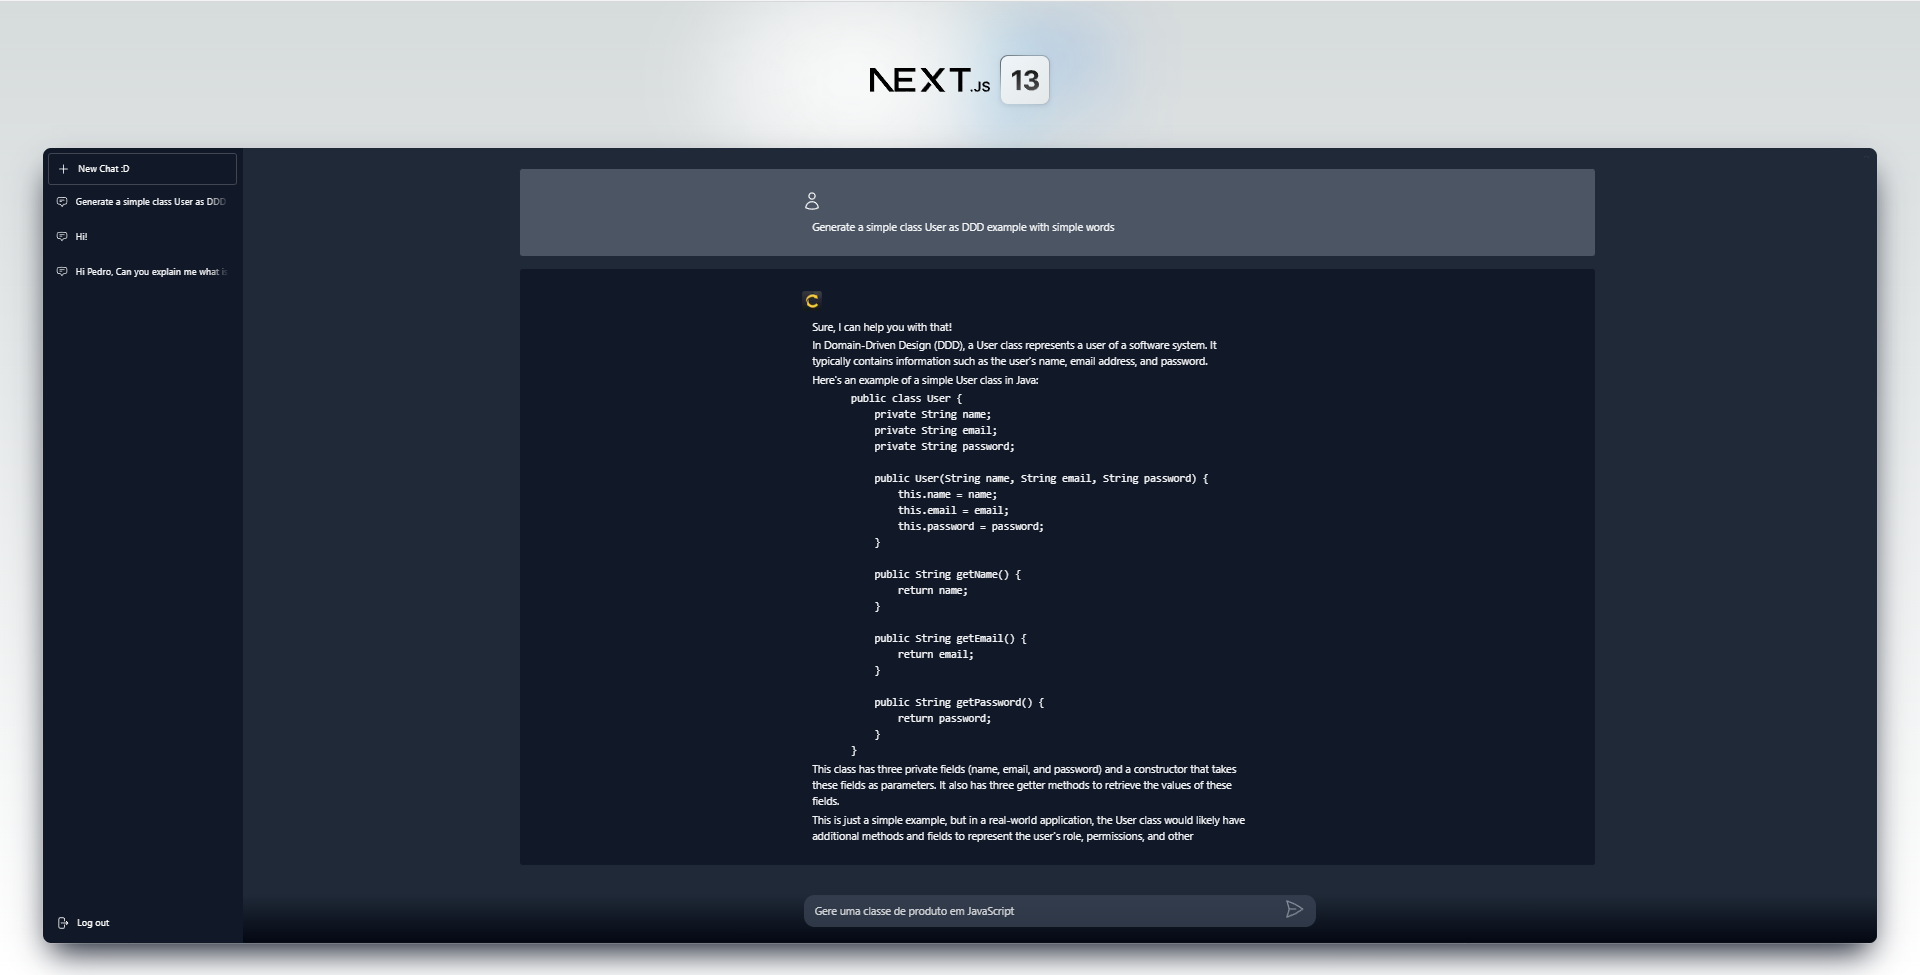
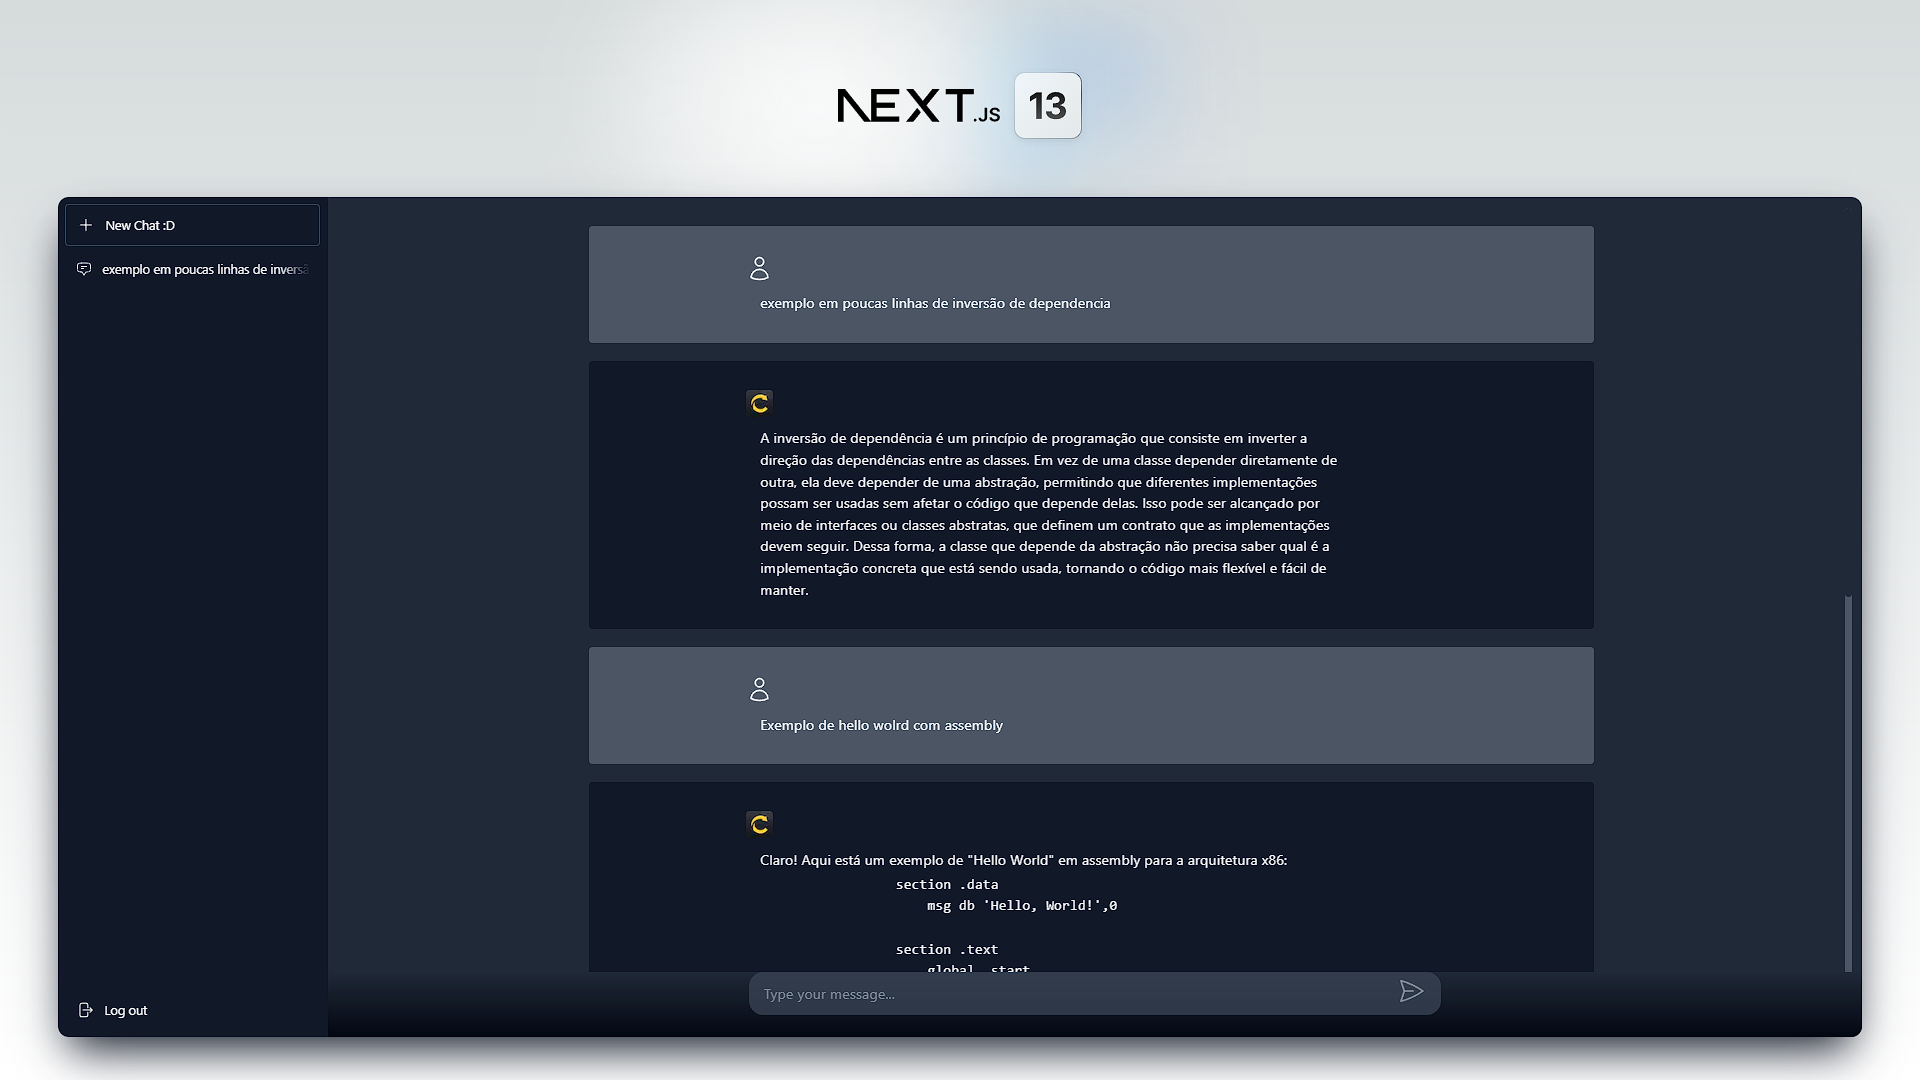
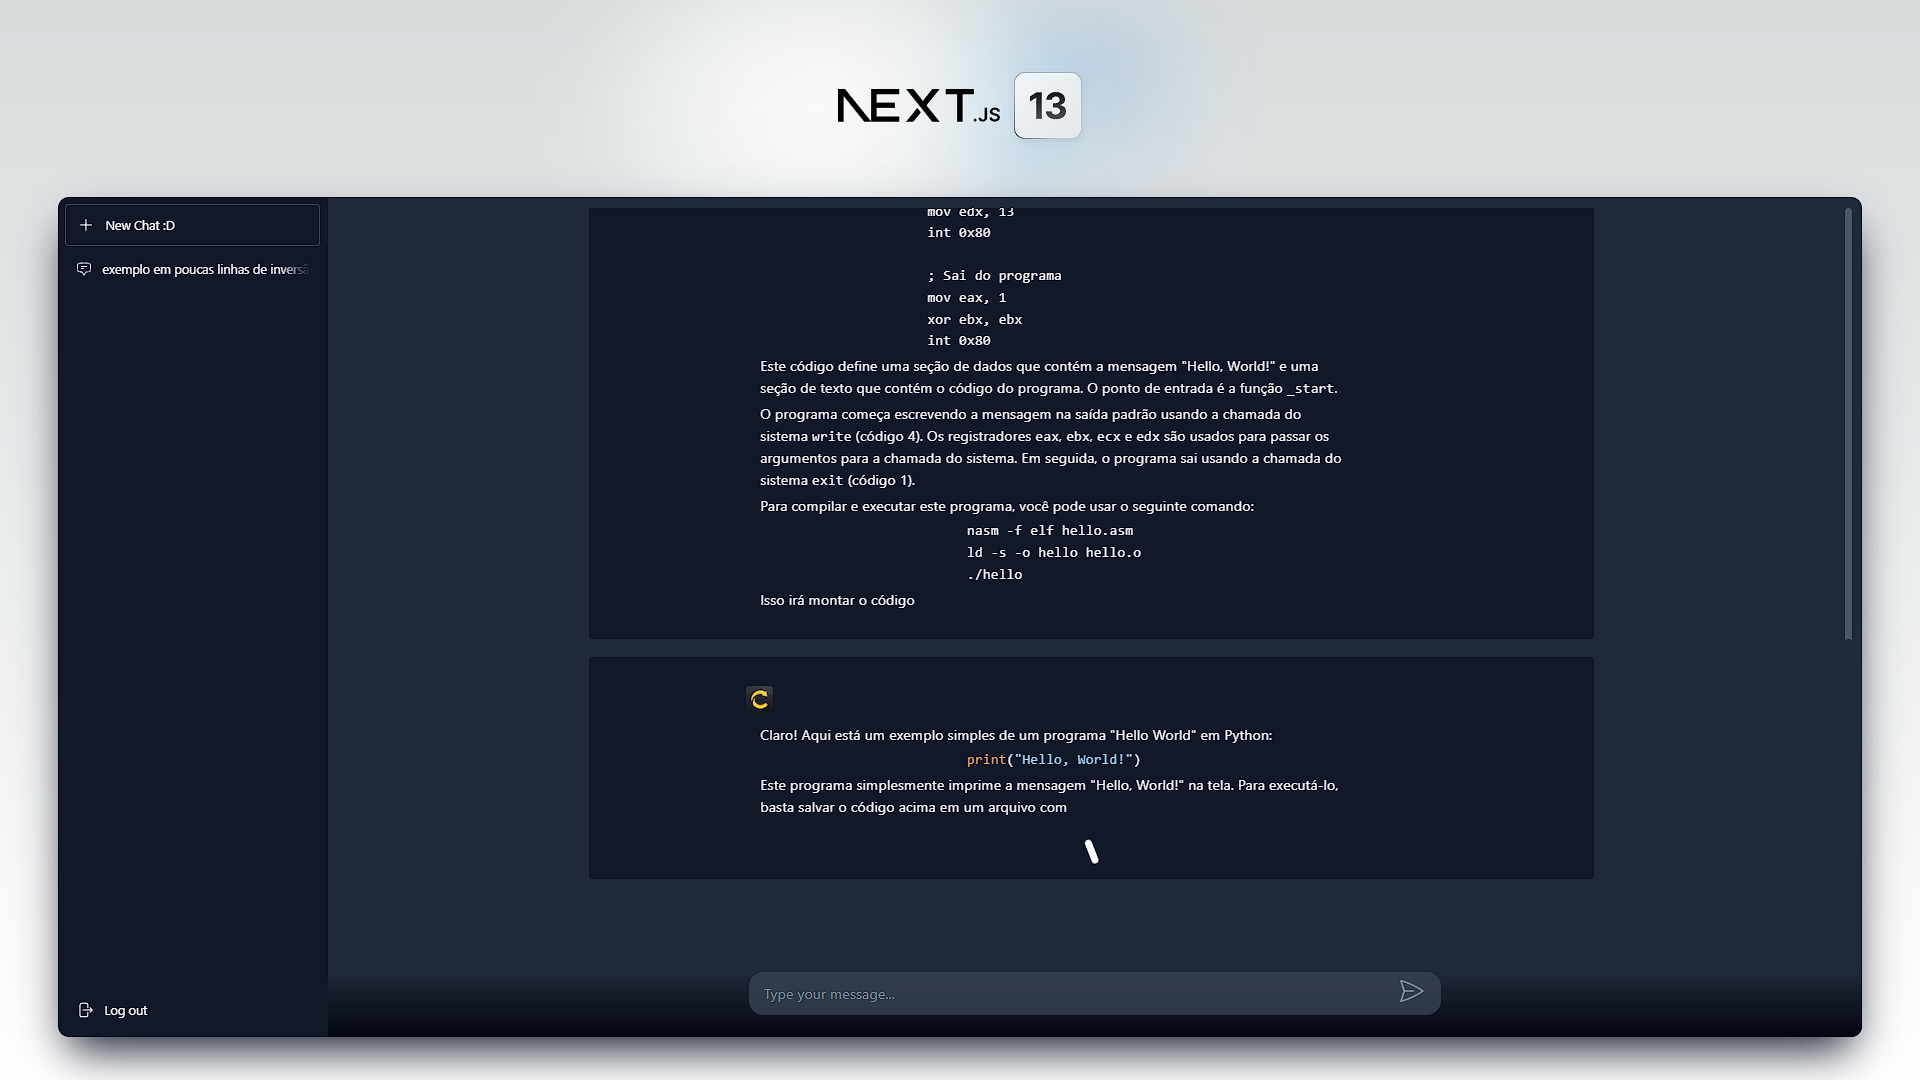
This application is a chat site to talk directly with a AI powered by the amazing OpenAI Chat GPT, creating chats with isolated context and real time messages and stream responses, using a advanced authentication system all this with a clean and modern Metalic UI.
Here i use a complete test ambiente, Unit test, E2E, back-end, front-end, using jest, cypress... All application have a robust base because of it.
- Front-End & Back-End : NextJS | [ repositories ]
- microsservice : GO Lang | [ repositories ]
- NextJS
- REST
- gRPC
- SWR
- Server Sent Events
- Streams
- TailwindCSS
- Prisma
- MySQL
- Typescript
- Jest
- Cypress
- Docker
- Enzyme
- Marked
- Axios
- eslint
- Prettier
- husky
- isomorphic-fetch
- lint-staged
- Highlight.js
- Mullti Thread and Concurrency
- Design Patterns
- Perfomance
- Clean Architeture
- Clean Code / SOLID
- Scalability
- Real Time
Among Others...
Go to the video demo by clicking on any image
First of all, this is a full stack app that une back and front end in the same project, all thanks to NextJS. So the backend part is a REST API with middlewares and routes authentications. This API communicate with GO Lang Microsservice to manage the chat life cycle and handle with GPT, by otherside, the api manage the user life cylce using Next Auth to connect with Keycloack a complete auth system with a dashboard full of functionalities that gives to you the control of system as user friendly way, perfect for no technical people,
This whole project is concerned with having a robust base, for that, i apply concepts of clean archteture both in back and in front end for a better programming experience and maintainability, you can see patterns like, repository, gateway, controller, DTO, service (adapted), use case, factory, entity and etc...
Still on the developmente expereince question, the most relevant part of code, bussines rules and possibles cases are covered by a full cycle of test that include from unit tests to End 2 End tests with Jest and Cypress, eslint and prettier to keep the code organization, pre-commit and pre-push routines that clean up the code and ensure safety before committing the changes and Docker to run all this infrastructure without headache and Dev Containers to run a complete off-the-shelf development environment.
This app uses advanced caching strategy using SWR, it allows to make better and performatic external calls including APIs and microservices, keeping smart caching, it is more fast, efficient and cost-effective than common way, Enabling your app to perform more without degrading the user experience
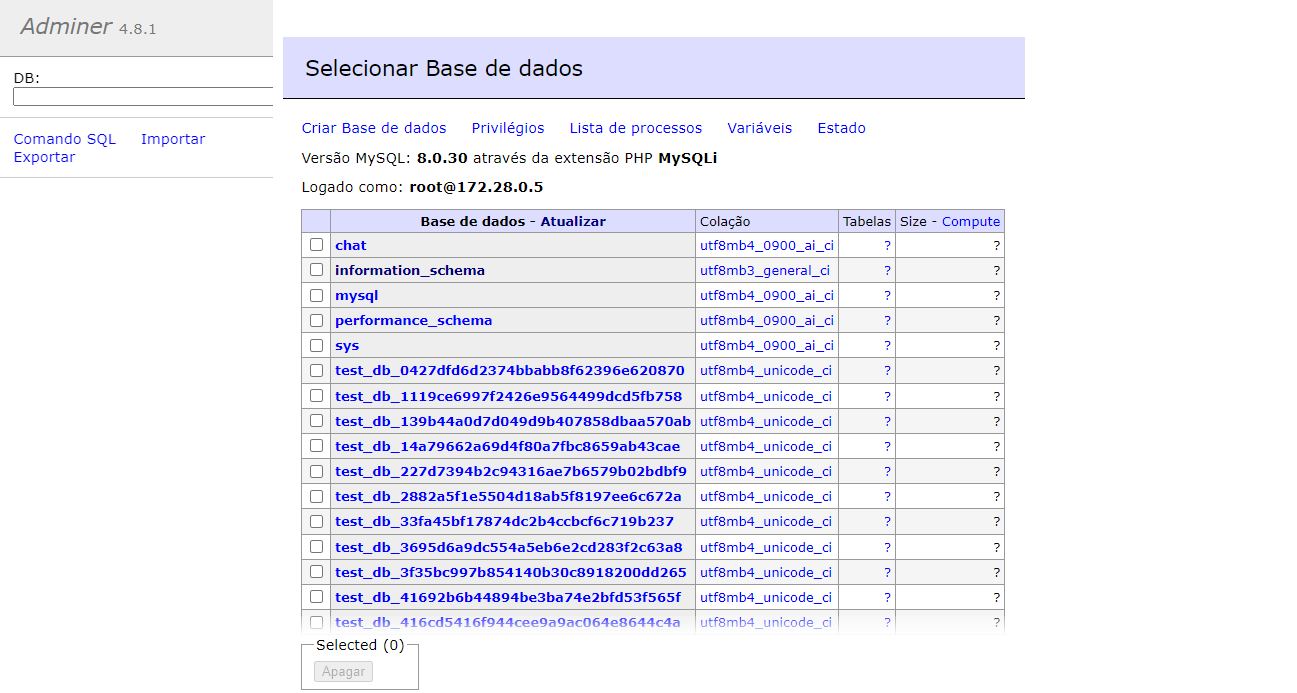
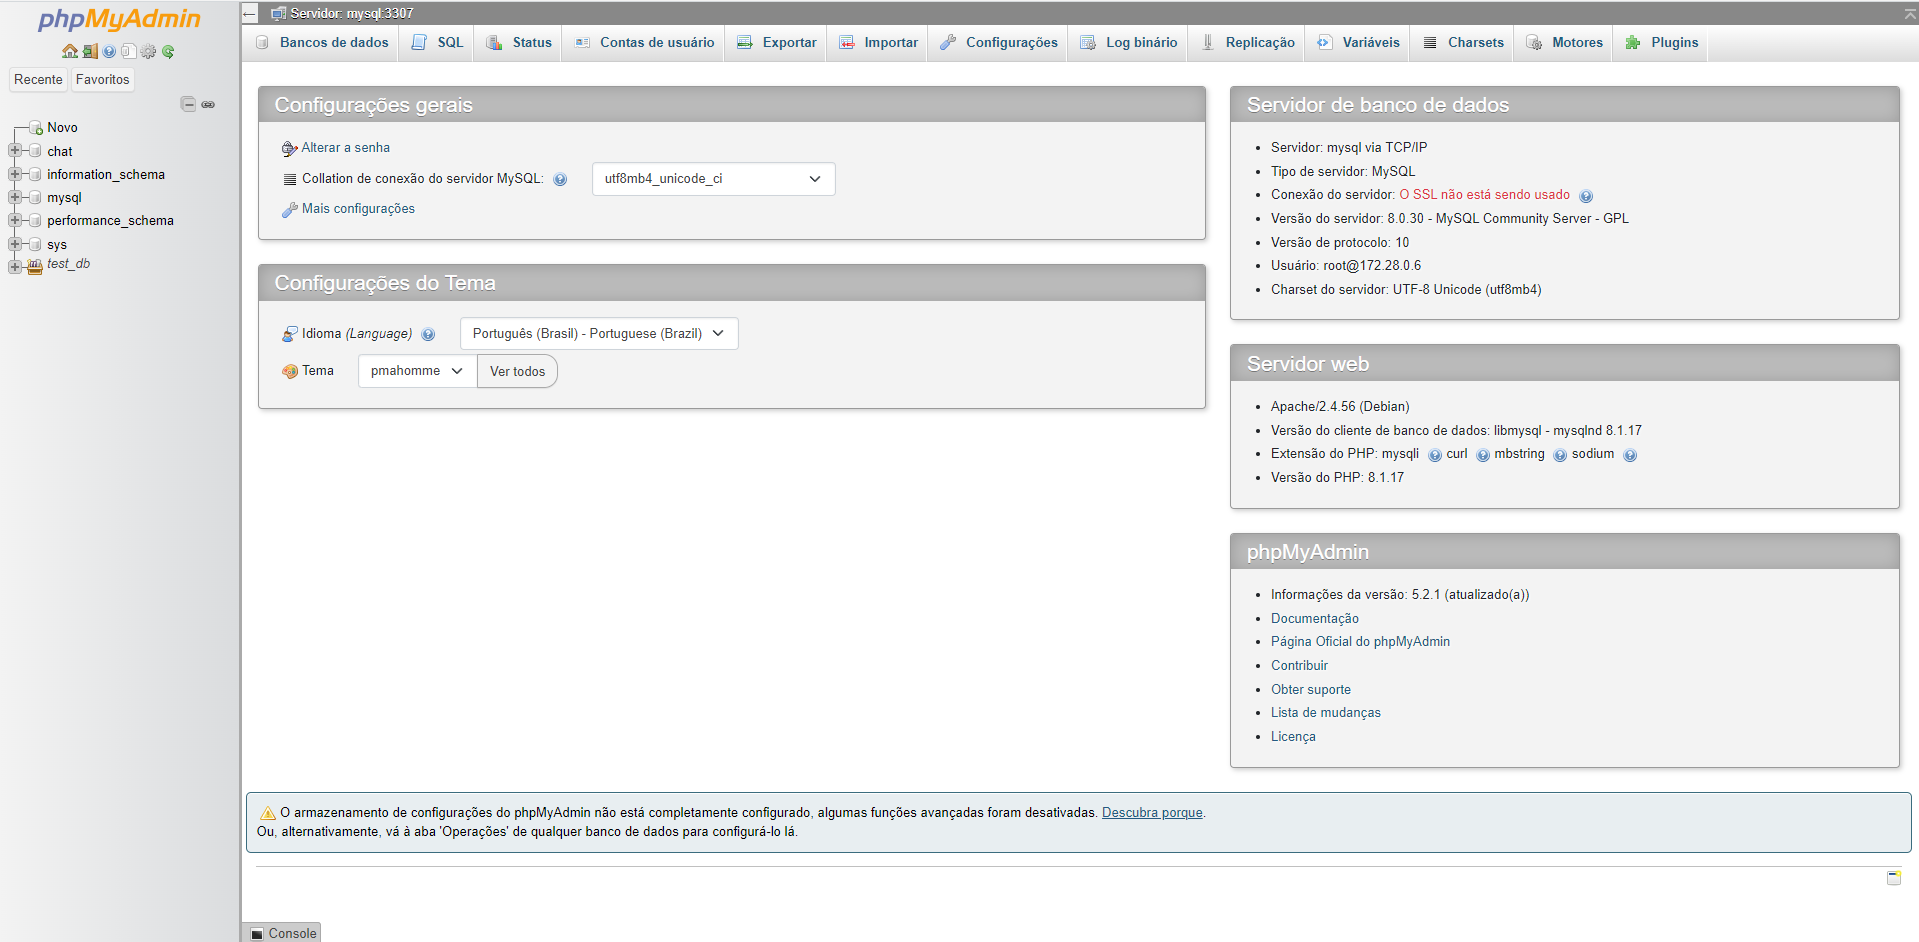
The data is storaged in a MySQL Database that is managed by Prisma that make developers life easier, you can access the database by using adminer (light) or phpmyadmin (full) dashboard, the beautifull visual is build with TailwindCSS with a amazing and perfomatic way of use CSS Style Classes. Proto work by handling gRPC data and converting to TypeScript data structure.
API Example:
GET http://localhost:3000/api/hello

###
POST http://localhost:3000/api/chats
Content-Type: application/json

{
  "message": "Hello World"
}

###
GET http://localhost:3000/api/chats

###
@chatId =

GET http://localhost:3000/api/chats/{{chatId}}/messages

###
POST http://localhost:3000/api/chats/{{chatId}}/messages
Content-Type: application/json

{
  "message": "Estou testando a API 2222"
}

###
@messageId = d56cf557-17b5-4a9f-ac58-1f0be4bccbe3

GET http://localhost:3000/api/messages/{{messageId}}/events
First, you need to setup the GO Lang Microsservice, click on image bellow to setup it
Now, you can setup this NextJS App, click on image bellow to setup it
$ git clone "git@github.com:Samuel-Ricardo/NextGPT.git"
$ git pull "git@github.com:Samuel-Ricardo/NextGPT.git"
This application use Docker so you dont need to install and cofigurate anything other than docker on your machine.
Once Docker is setup, we can start the project :D
You will see that it runs all tests and repeat every time they fail until 100% have success in a separated container and later down it.
For the first time the project should run, but some test will doesn't work. It happens because the Keycloak needs to be manually configurated after all container up, you can stop the test container for now.
  # After setup docker environment just run this commmand on root project folder:

  $ docker-compose up --build   # For First Time run this command

  $ docker-compose up           # to run project
  #Apps Running on:

  $ Site : http://localhost:3000

  $ API  : htpp://localhost:3000

  $ Keyclock: http://localhost:9000 - [AUTH]

  $ MySQL: localhost:3307 - [DB]

  # DB Manager

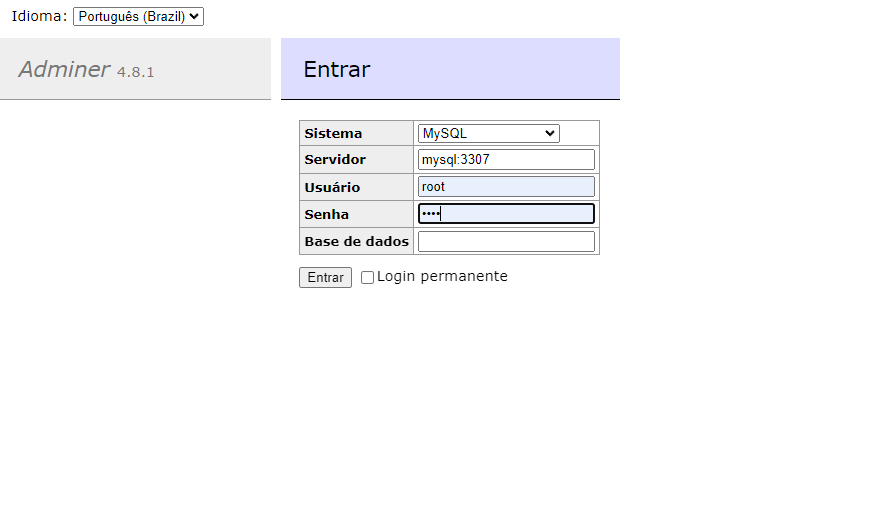
  $ Adminer    : http://localhost:8080 - [light]    - [optional]
  $ PHPMyAdmin : http://localhost:8088 - [complete] - [optional]

  # Test

  $ app_test     : run all tests and repeat until have 100% success, when it happen the container stop - [optional]
  $ app_dev_test : Detect project changes and run tests related with this changes if exists - [optional]

  See more: ./next-gpt/docker-compose.yaml

  [optional] - you can stop this container to free up the processor and memory and the app will still be running normally
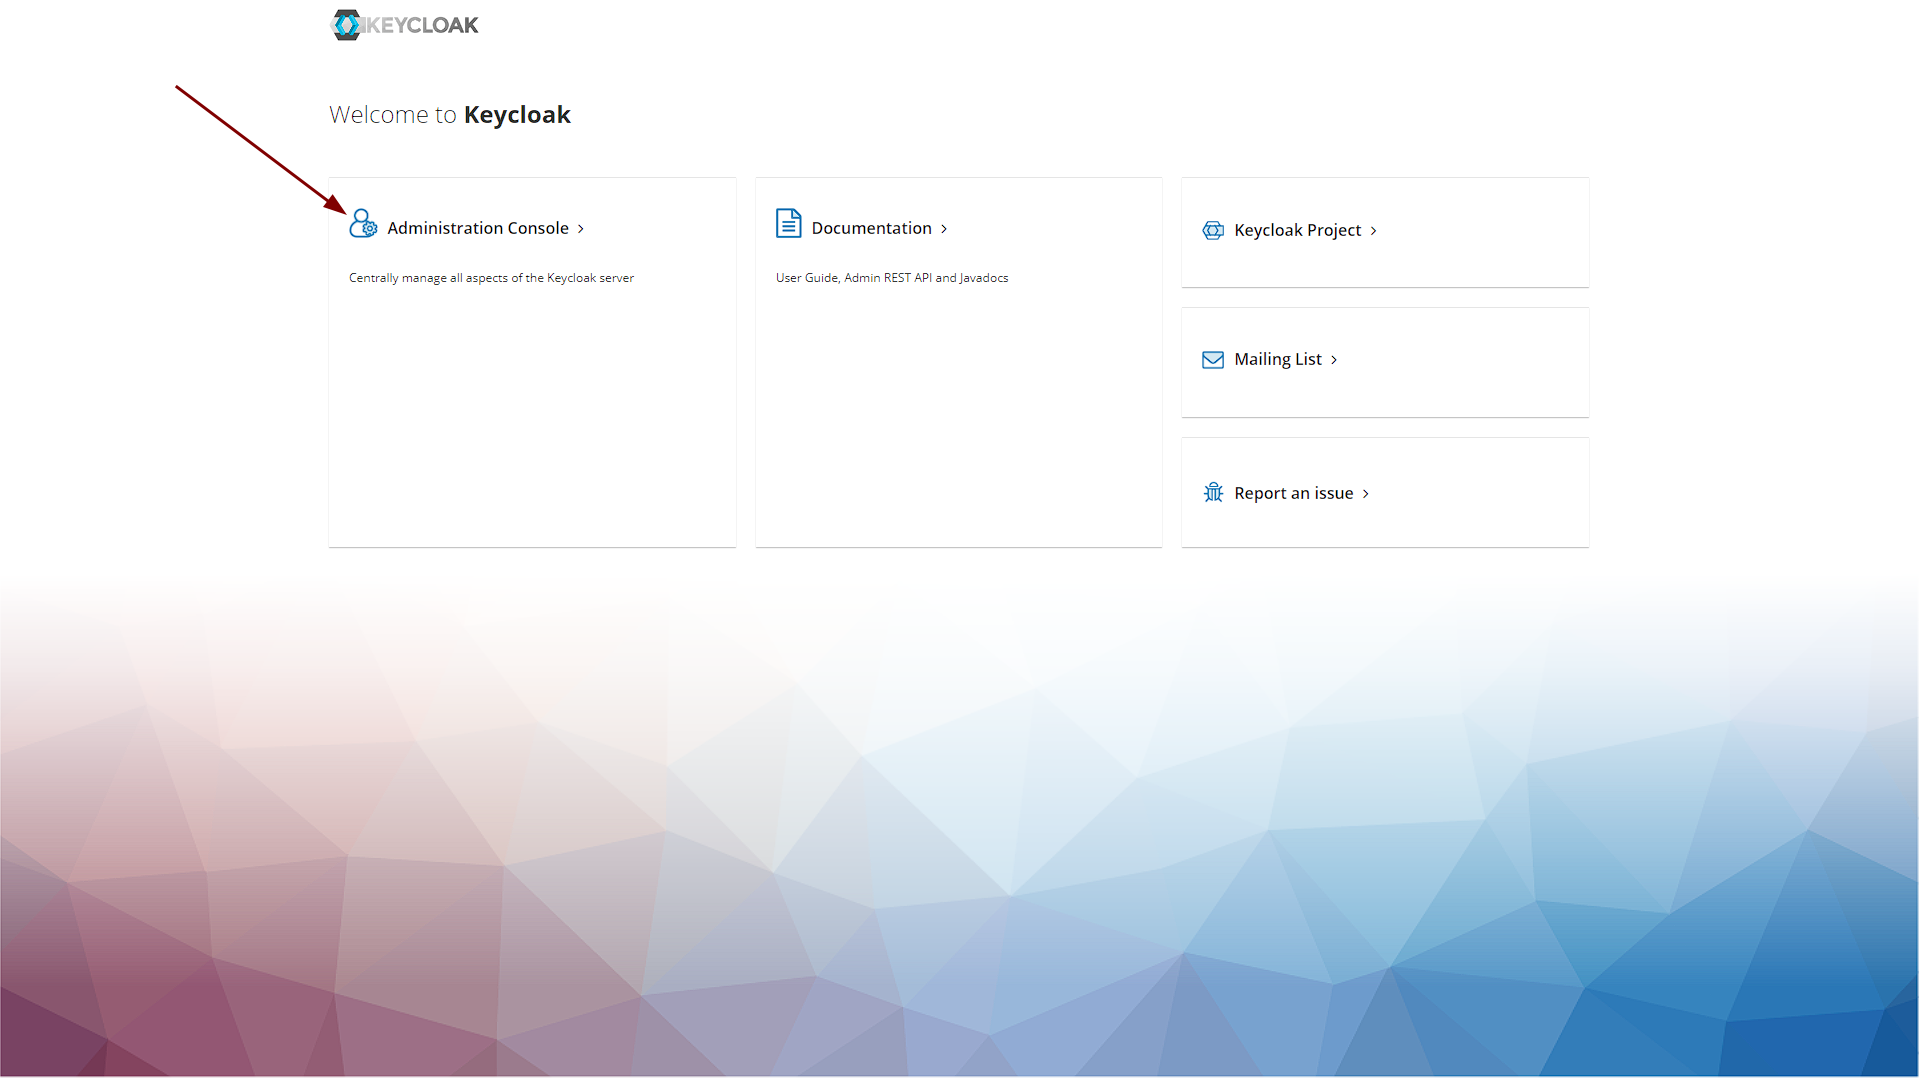
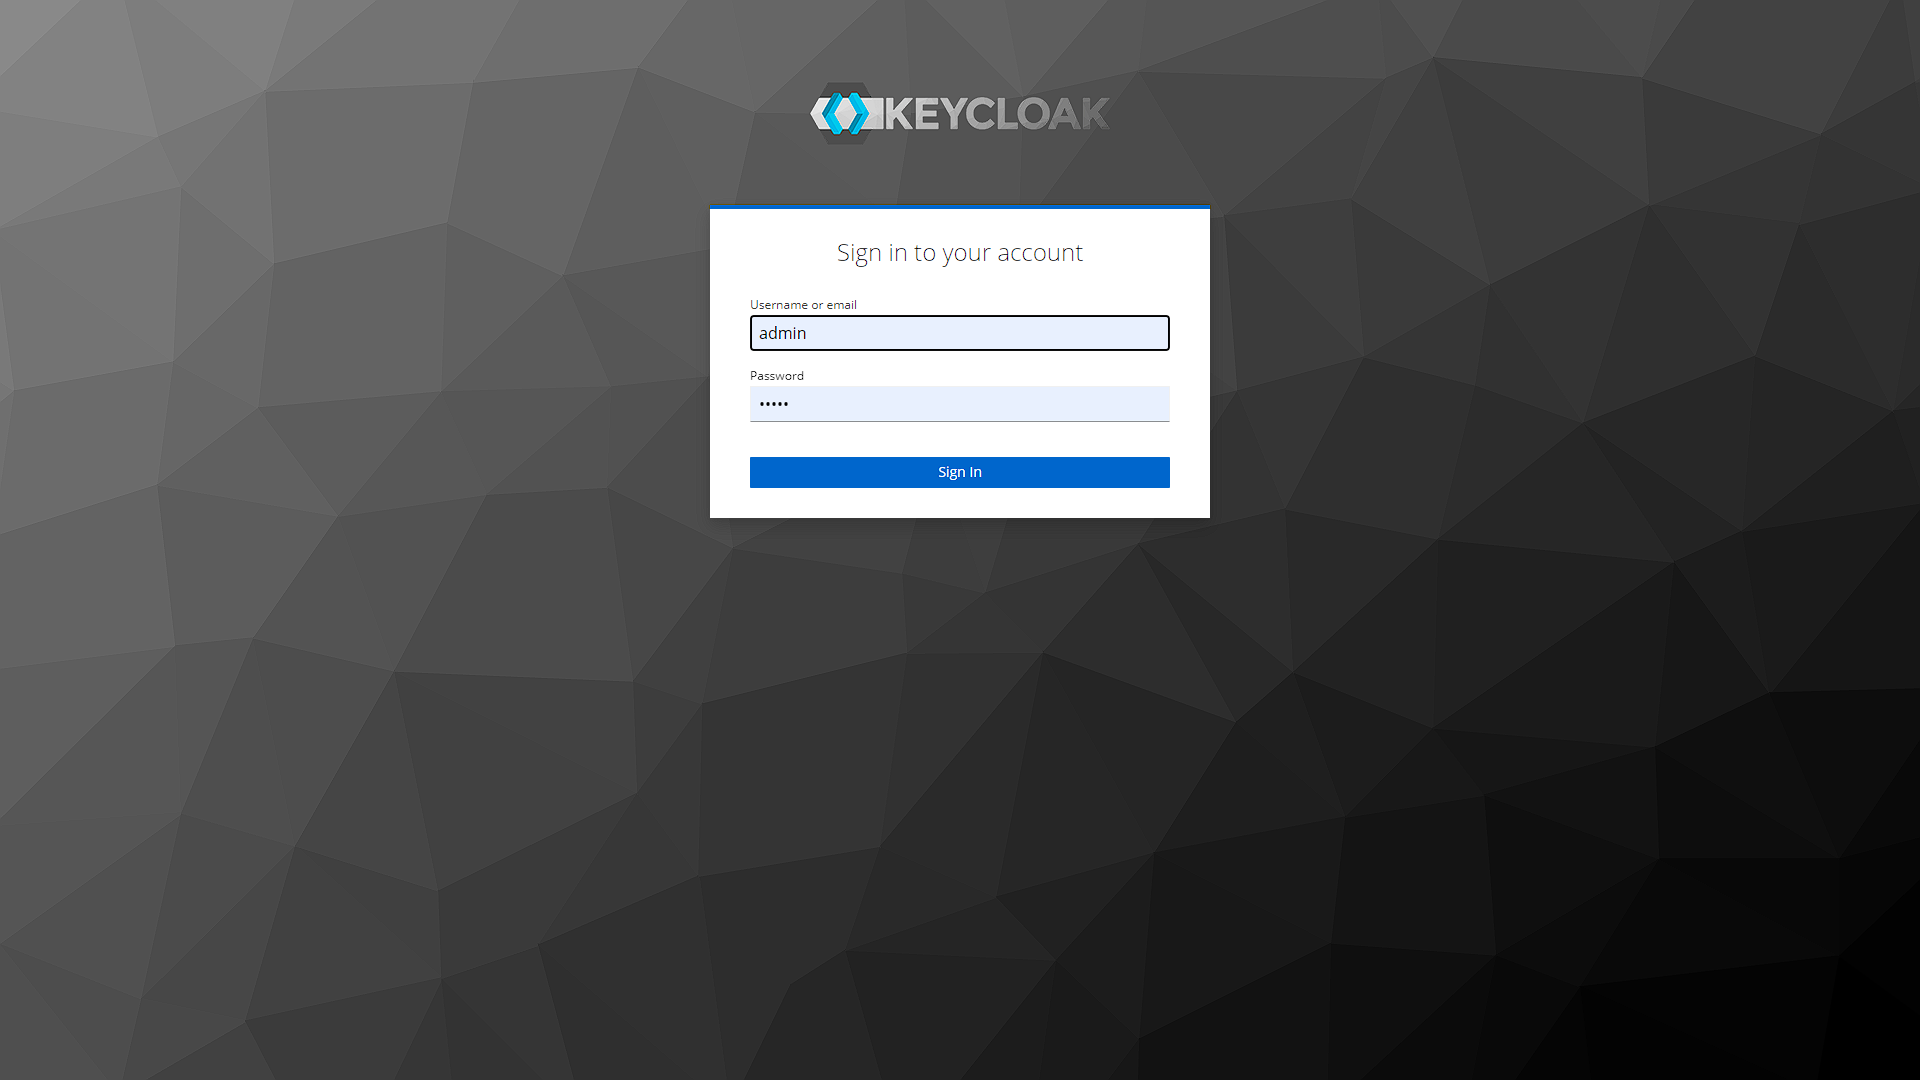
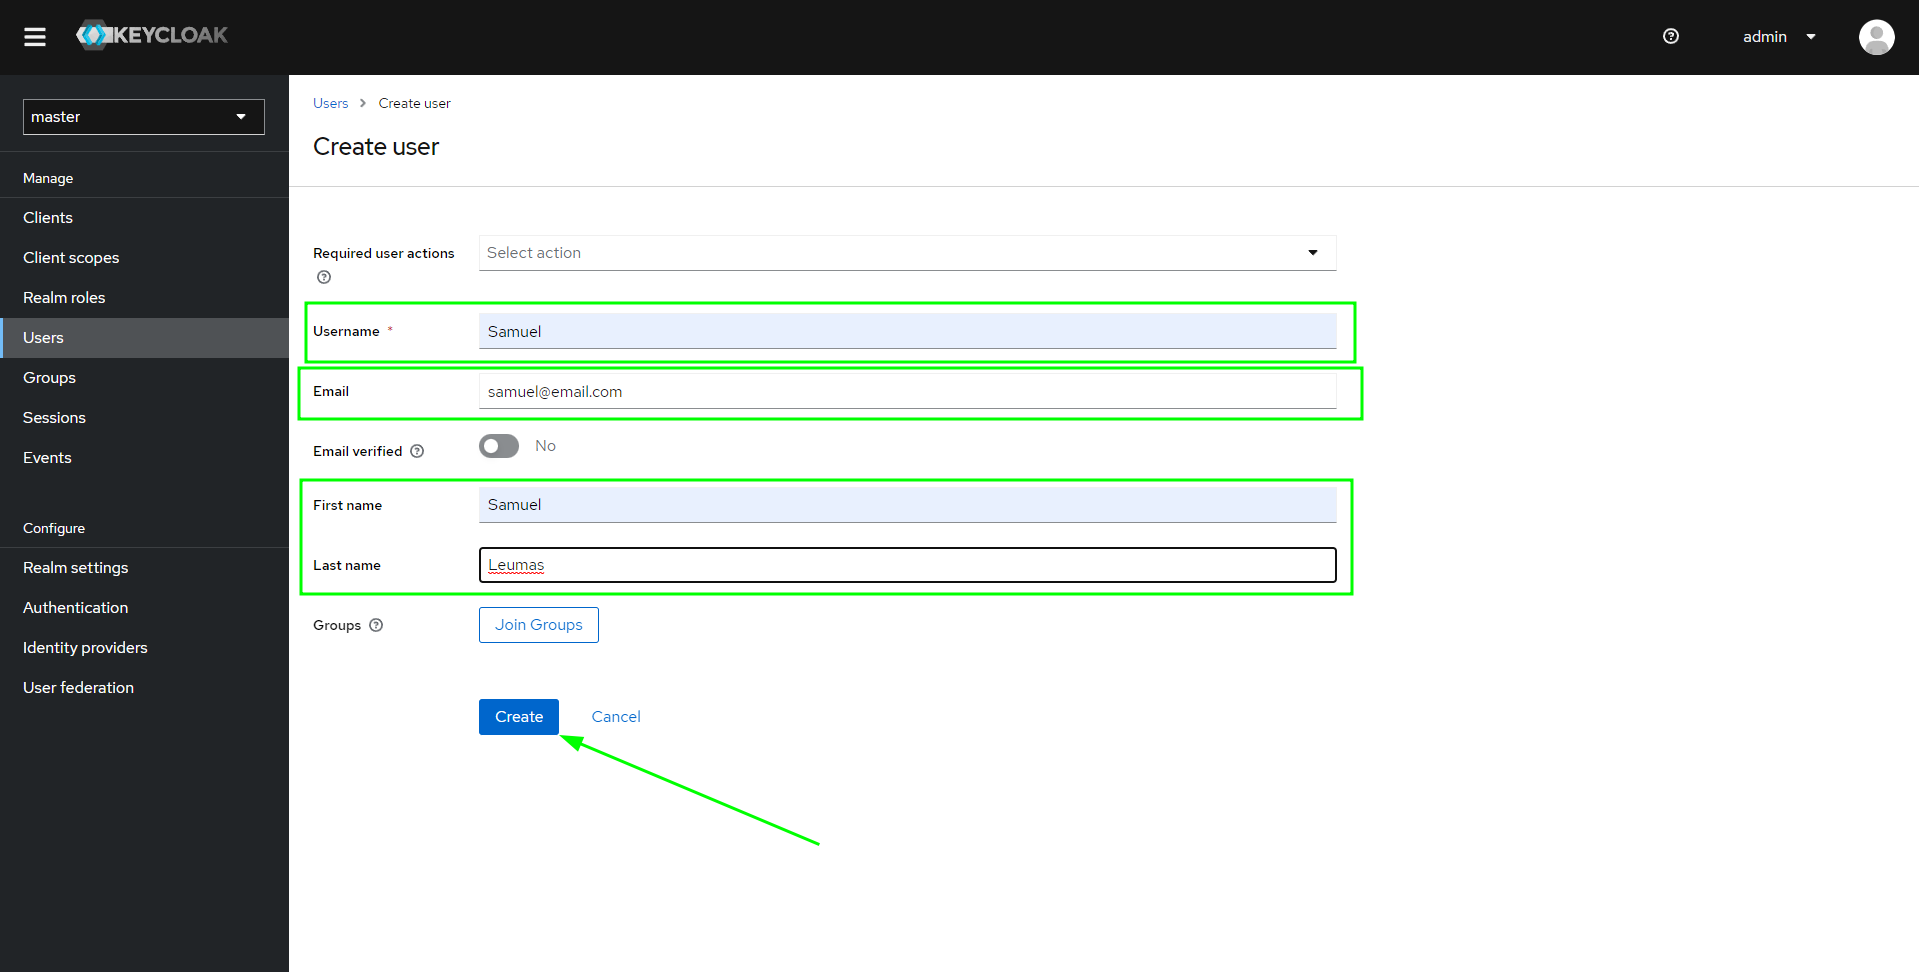
Access Keycloack dashboard [http://localhost:9000] and go to Administrator Console and login as admin
    $ login : admin
    $ pass  : admin

    $ See ./next-gpt/docker-compose.yaml
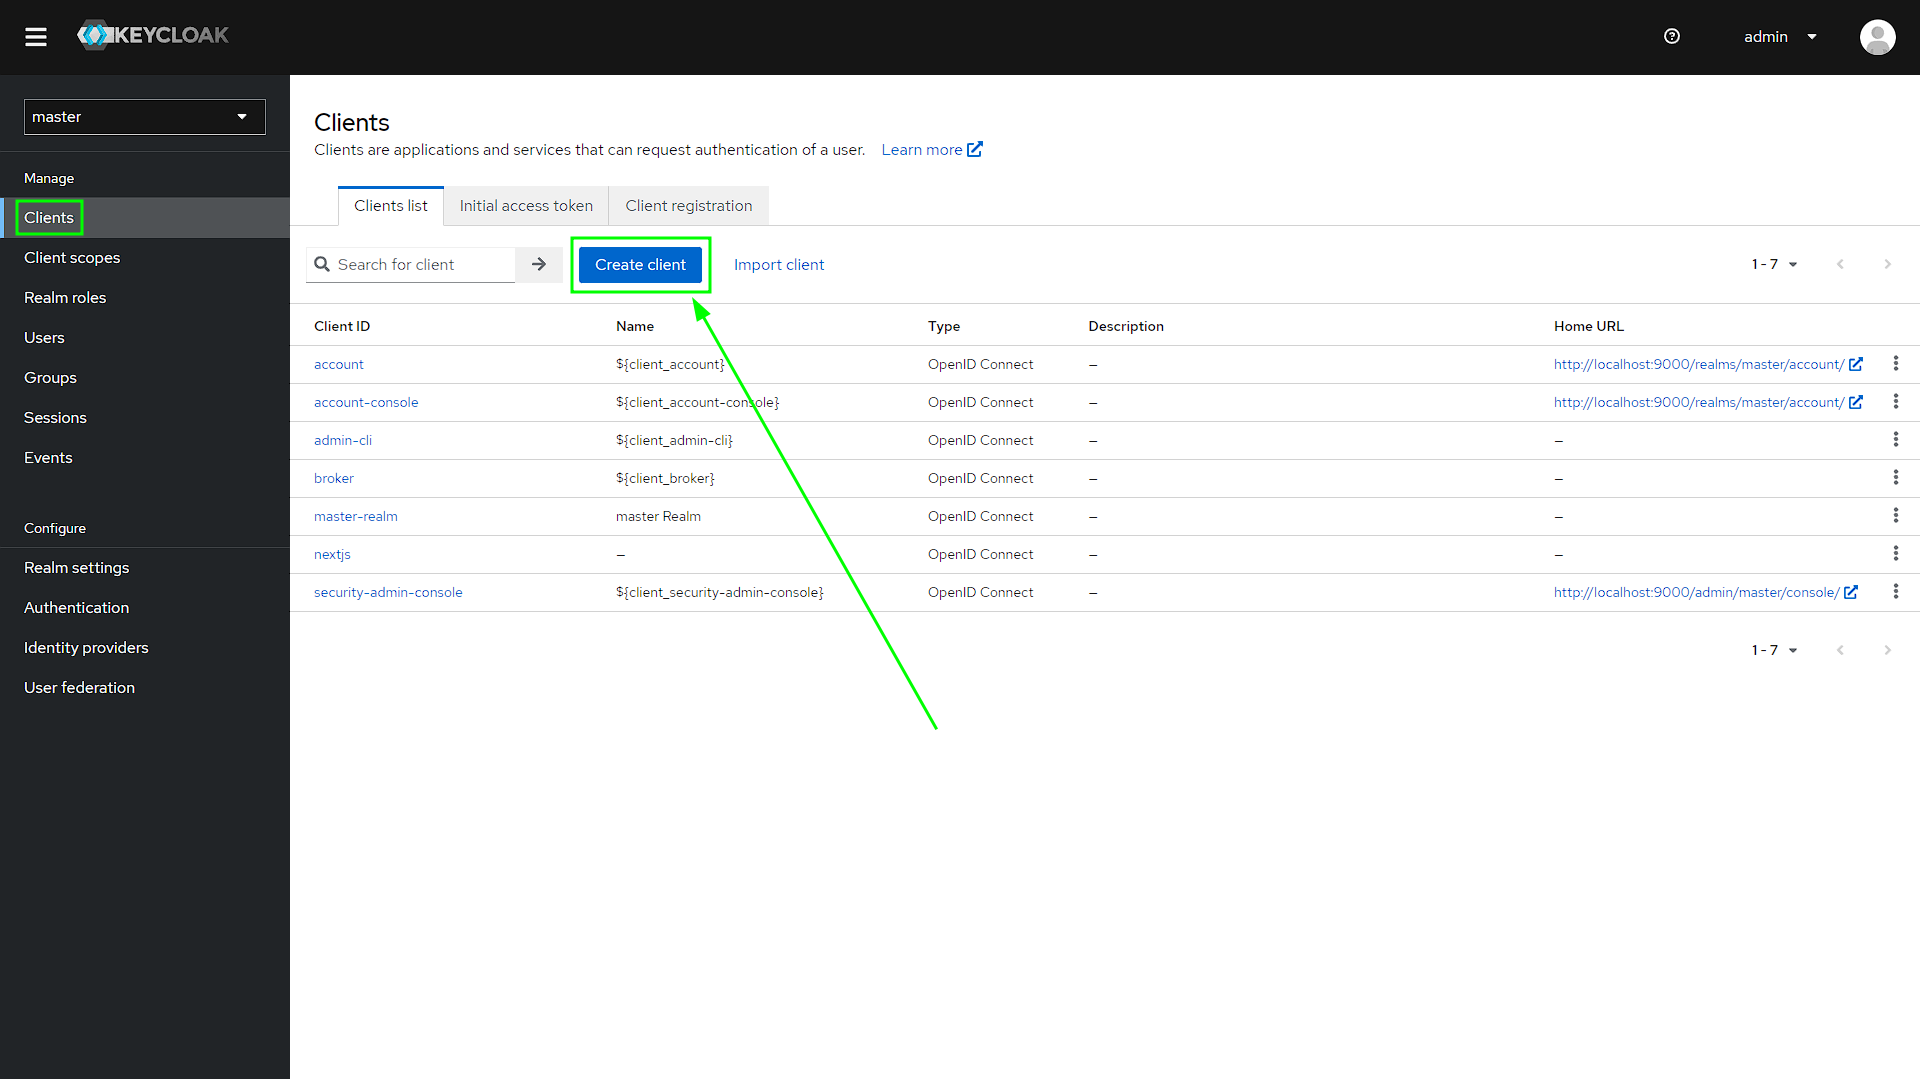
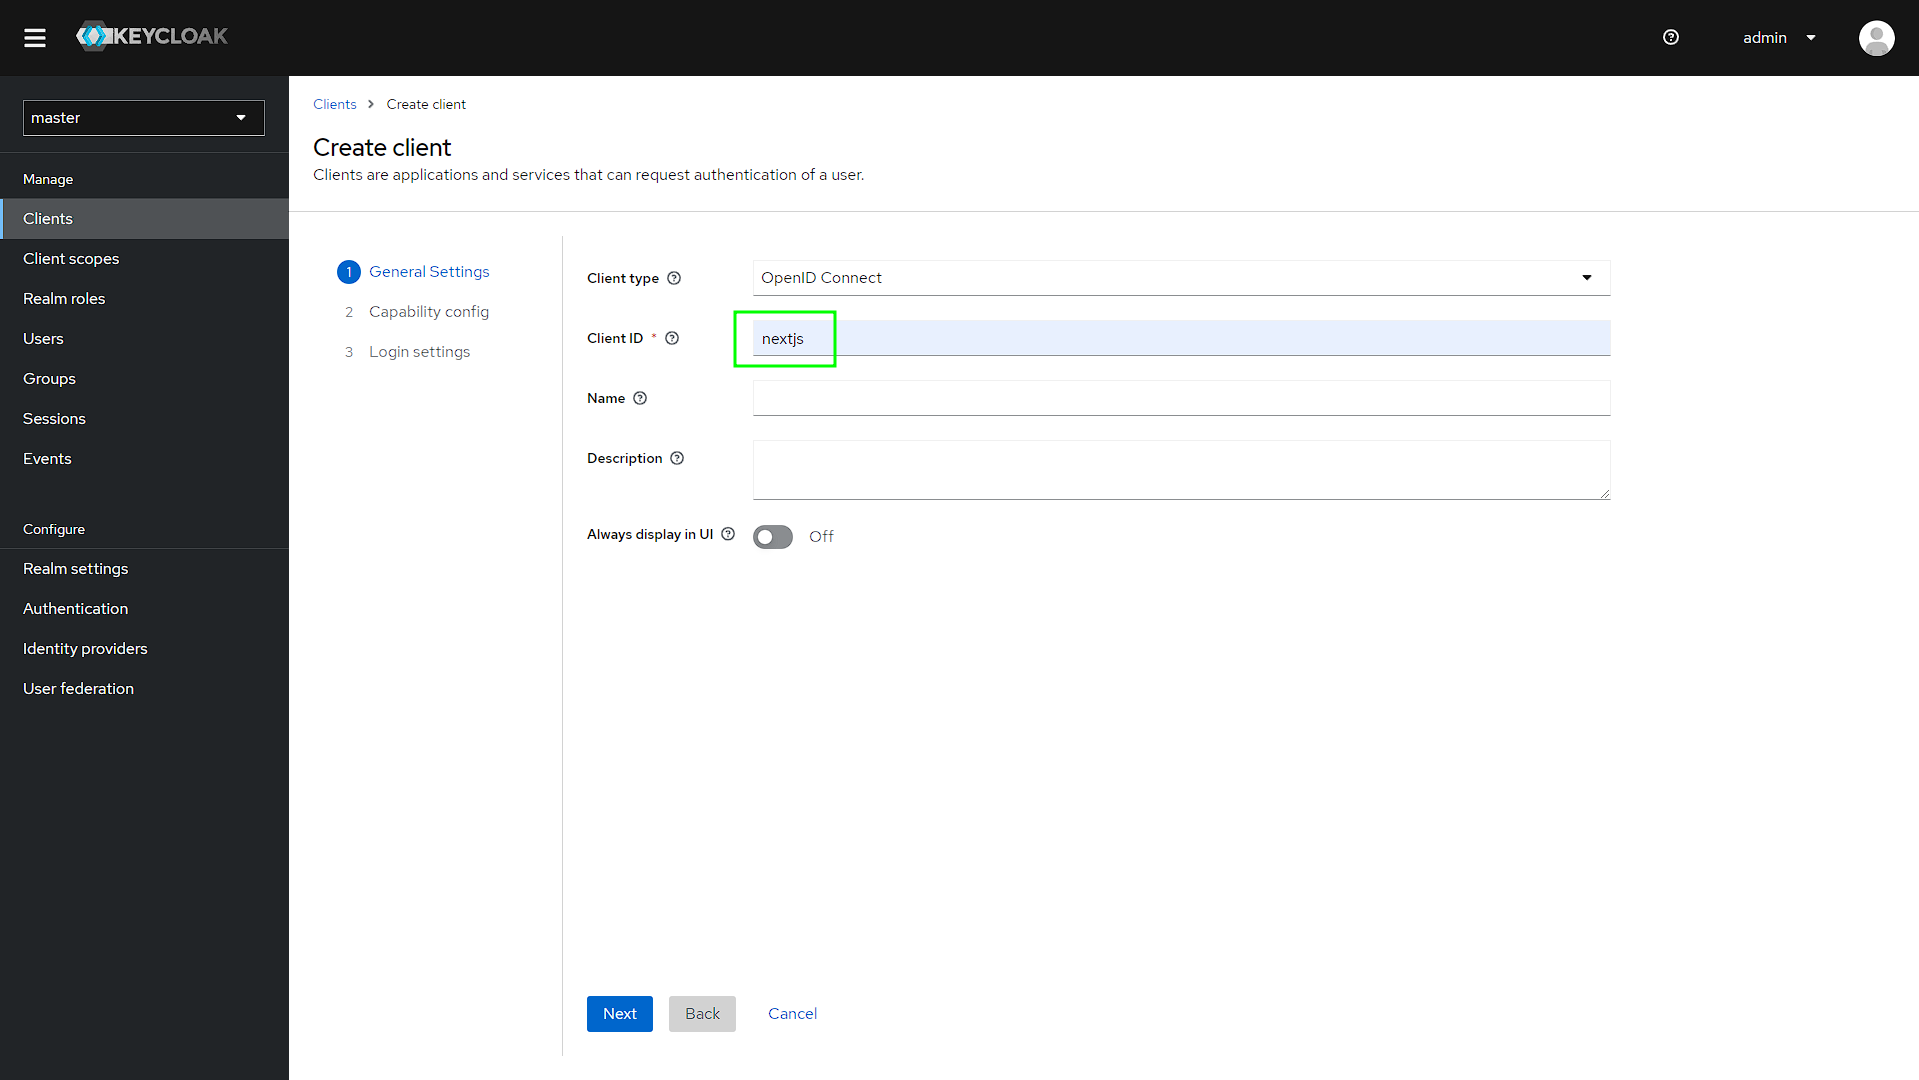
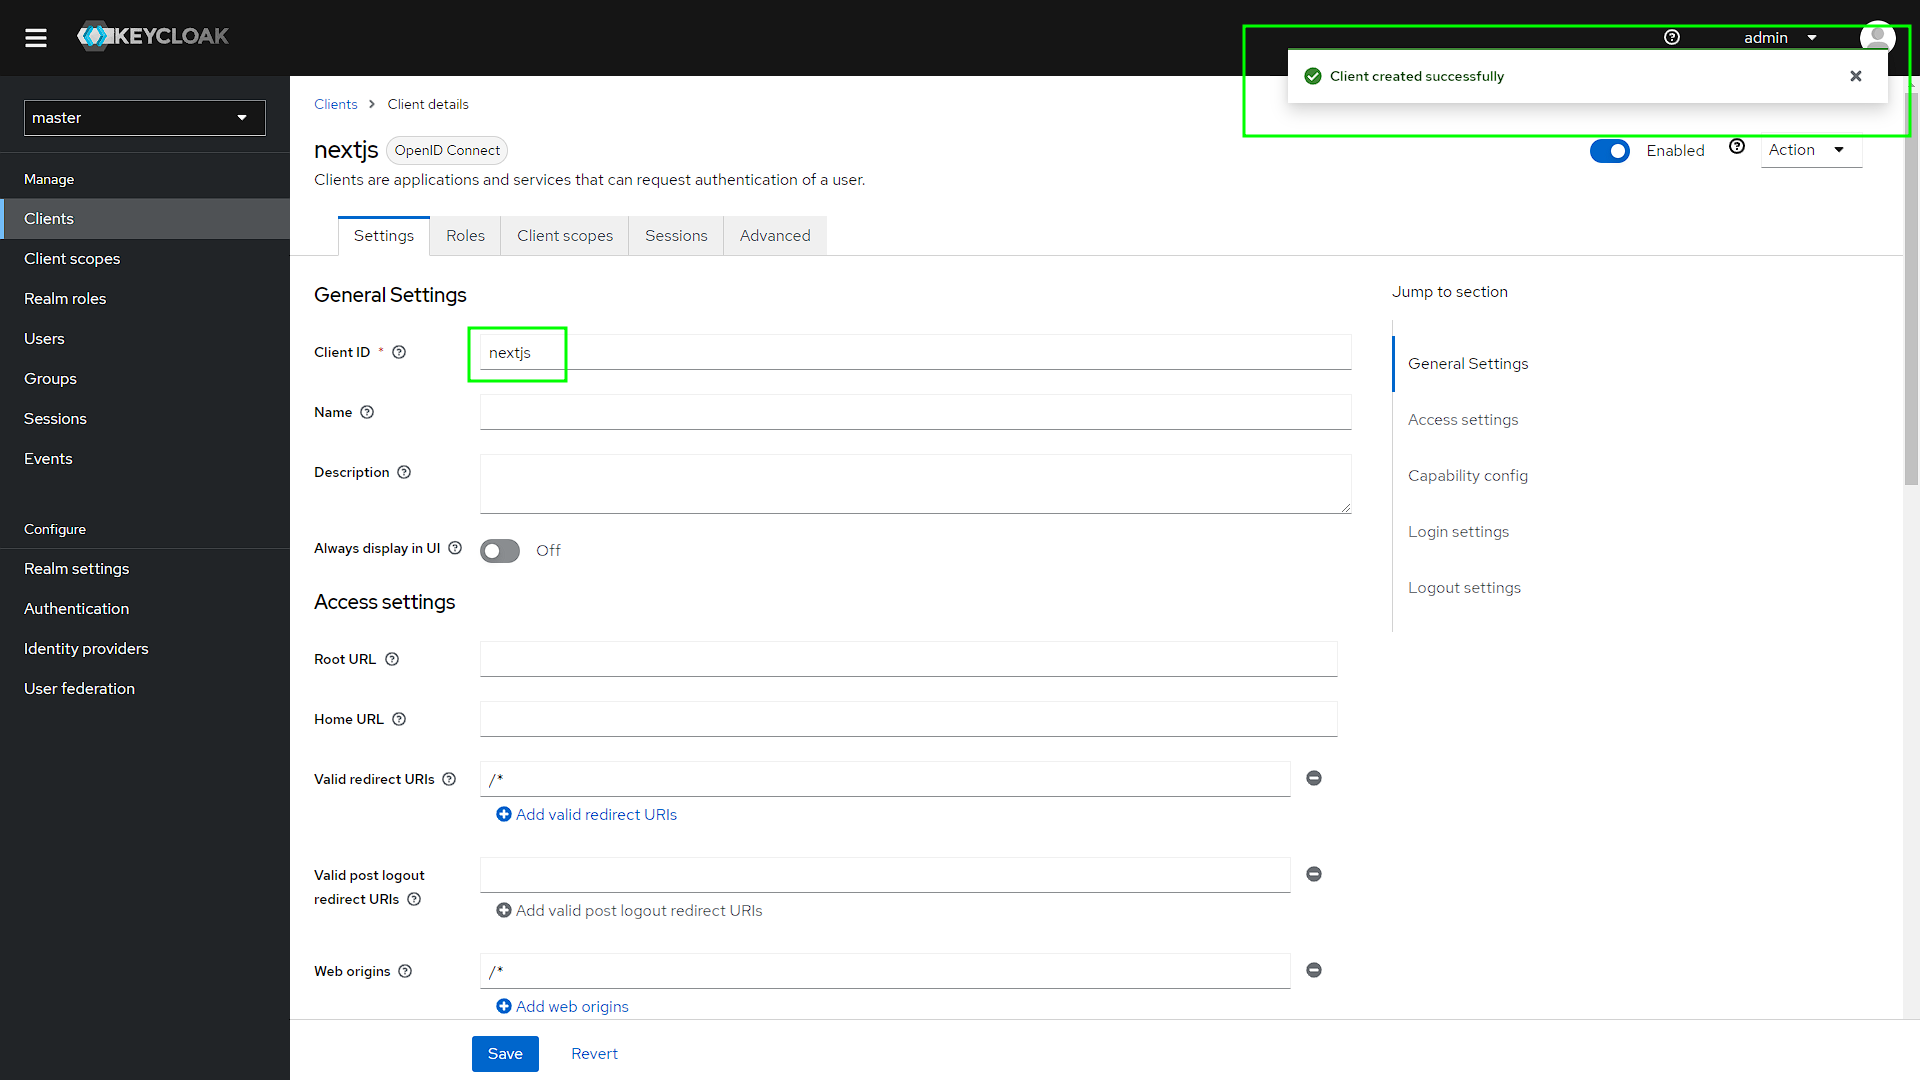
Go to Clients and create a new client, name it nextjs
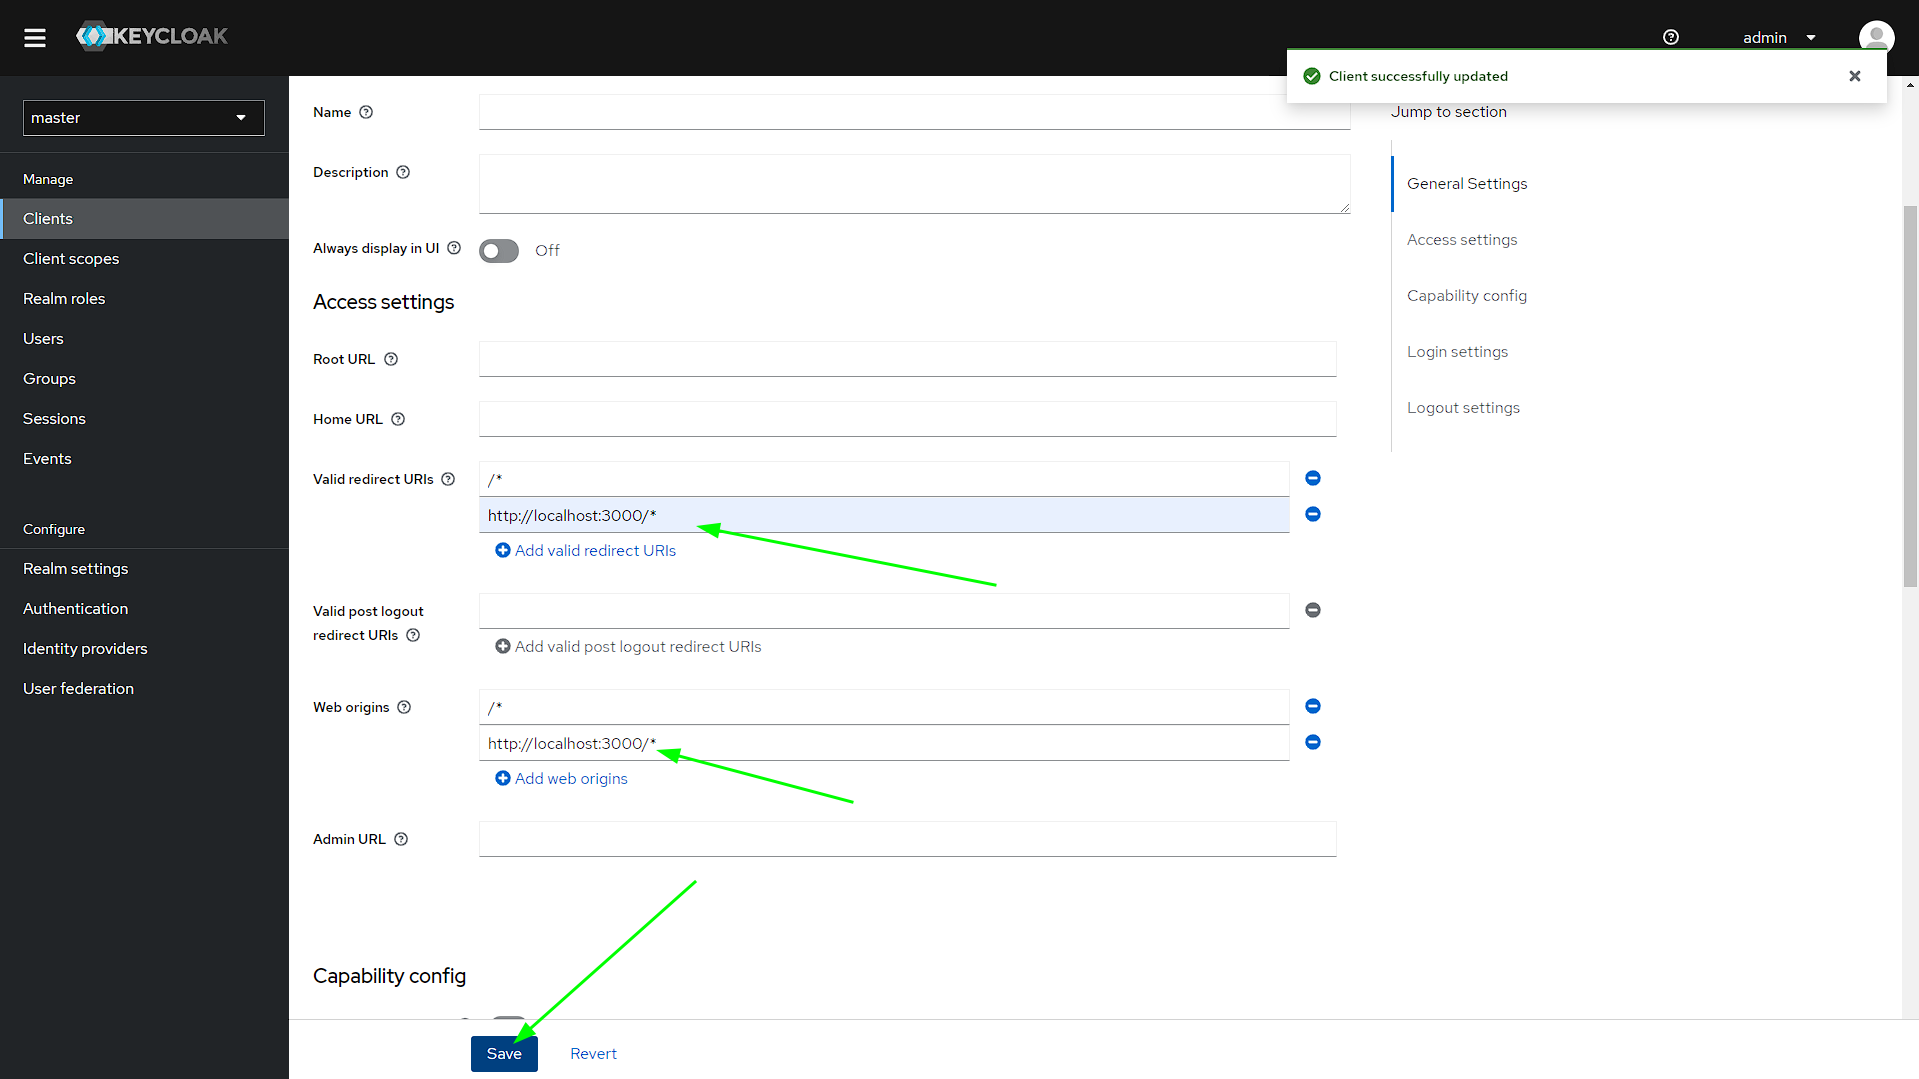
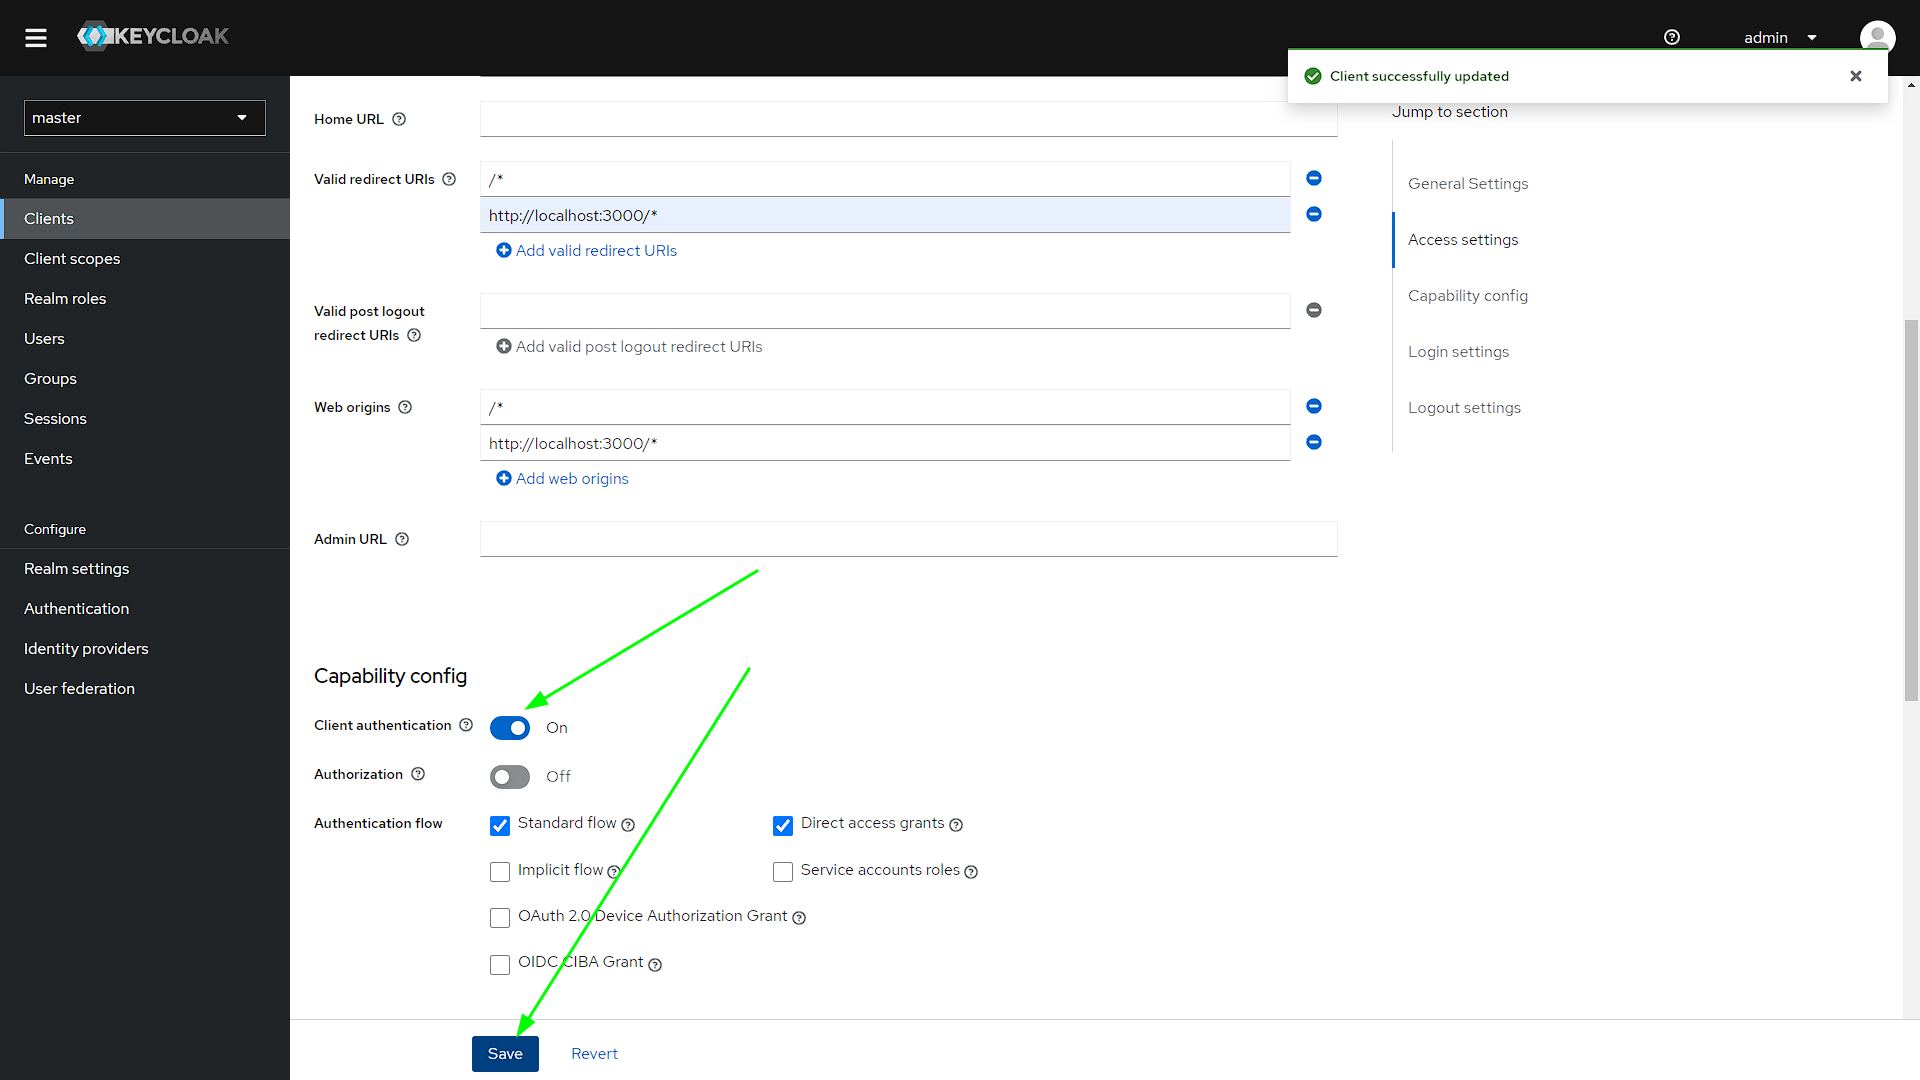
Now let's configurate the access for localhost:
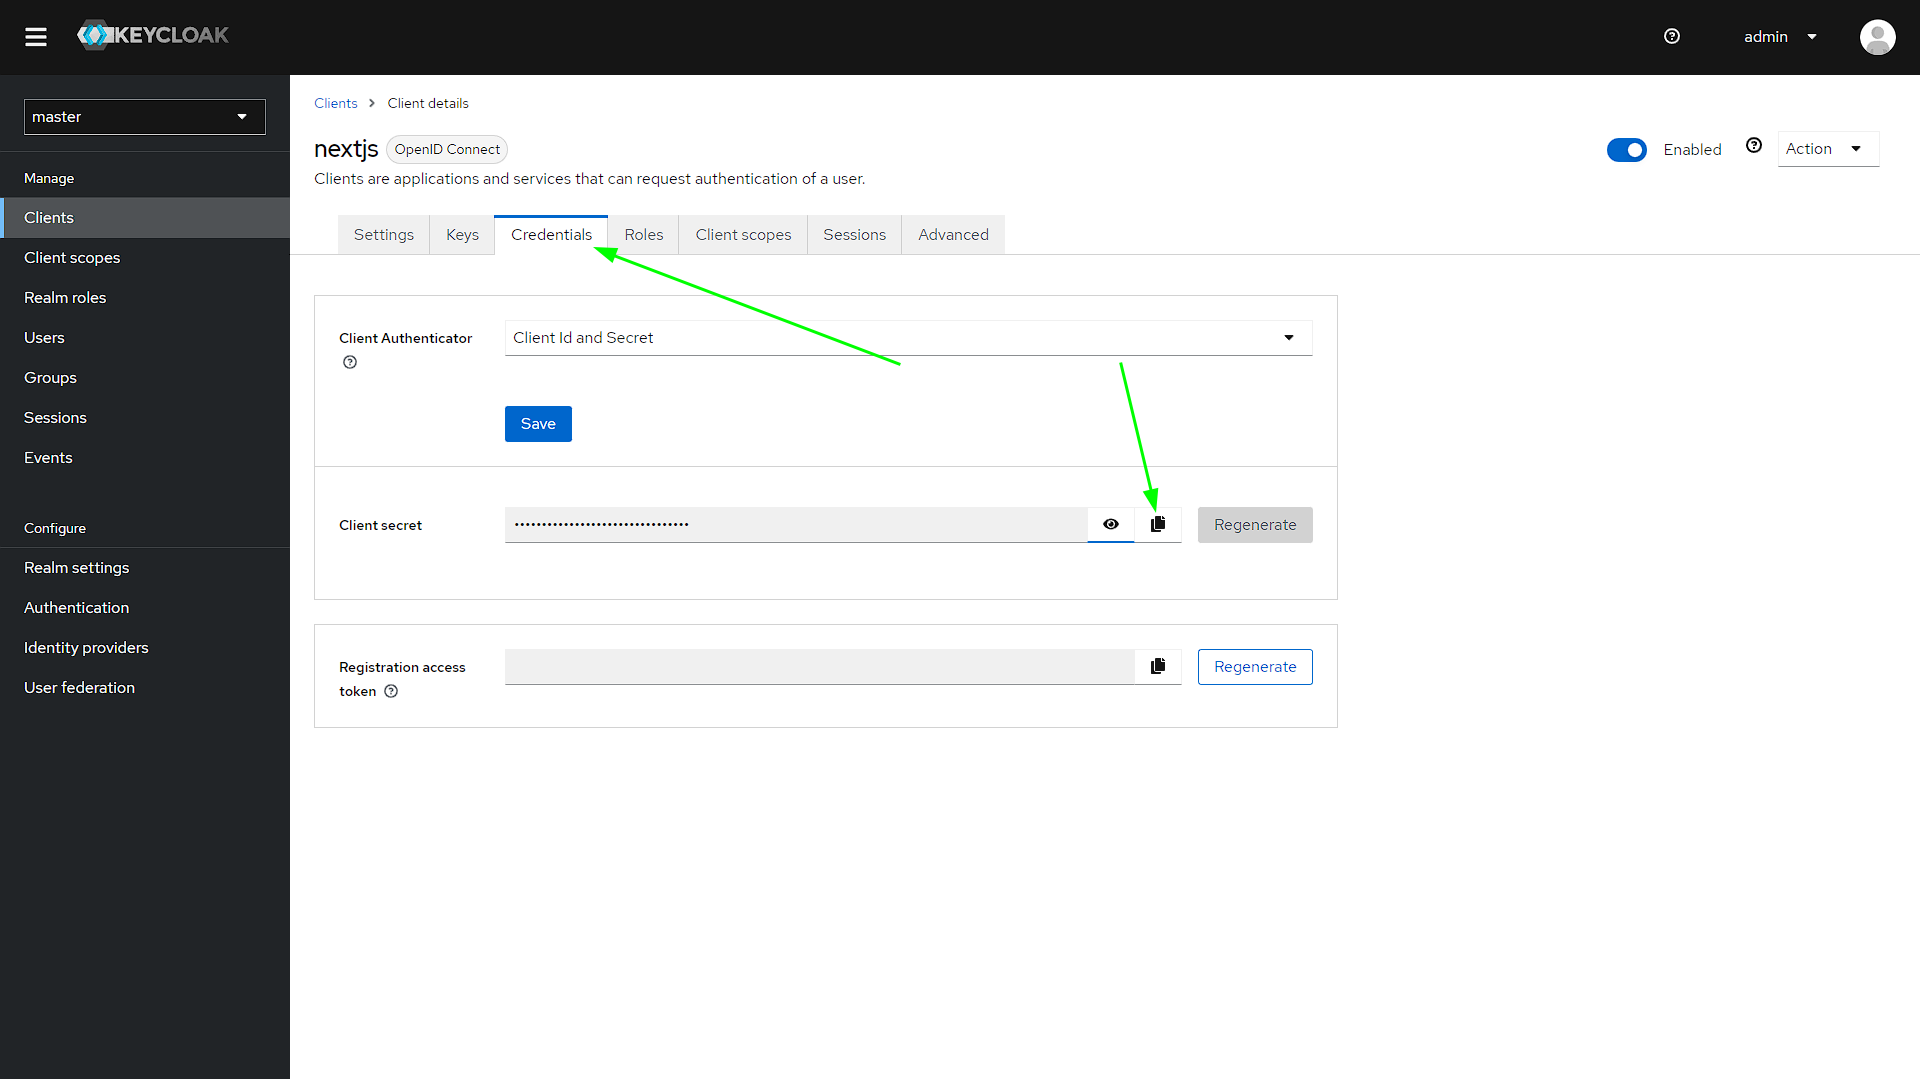
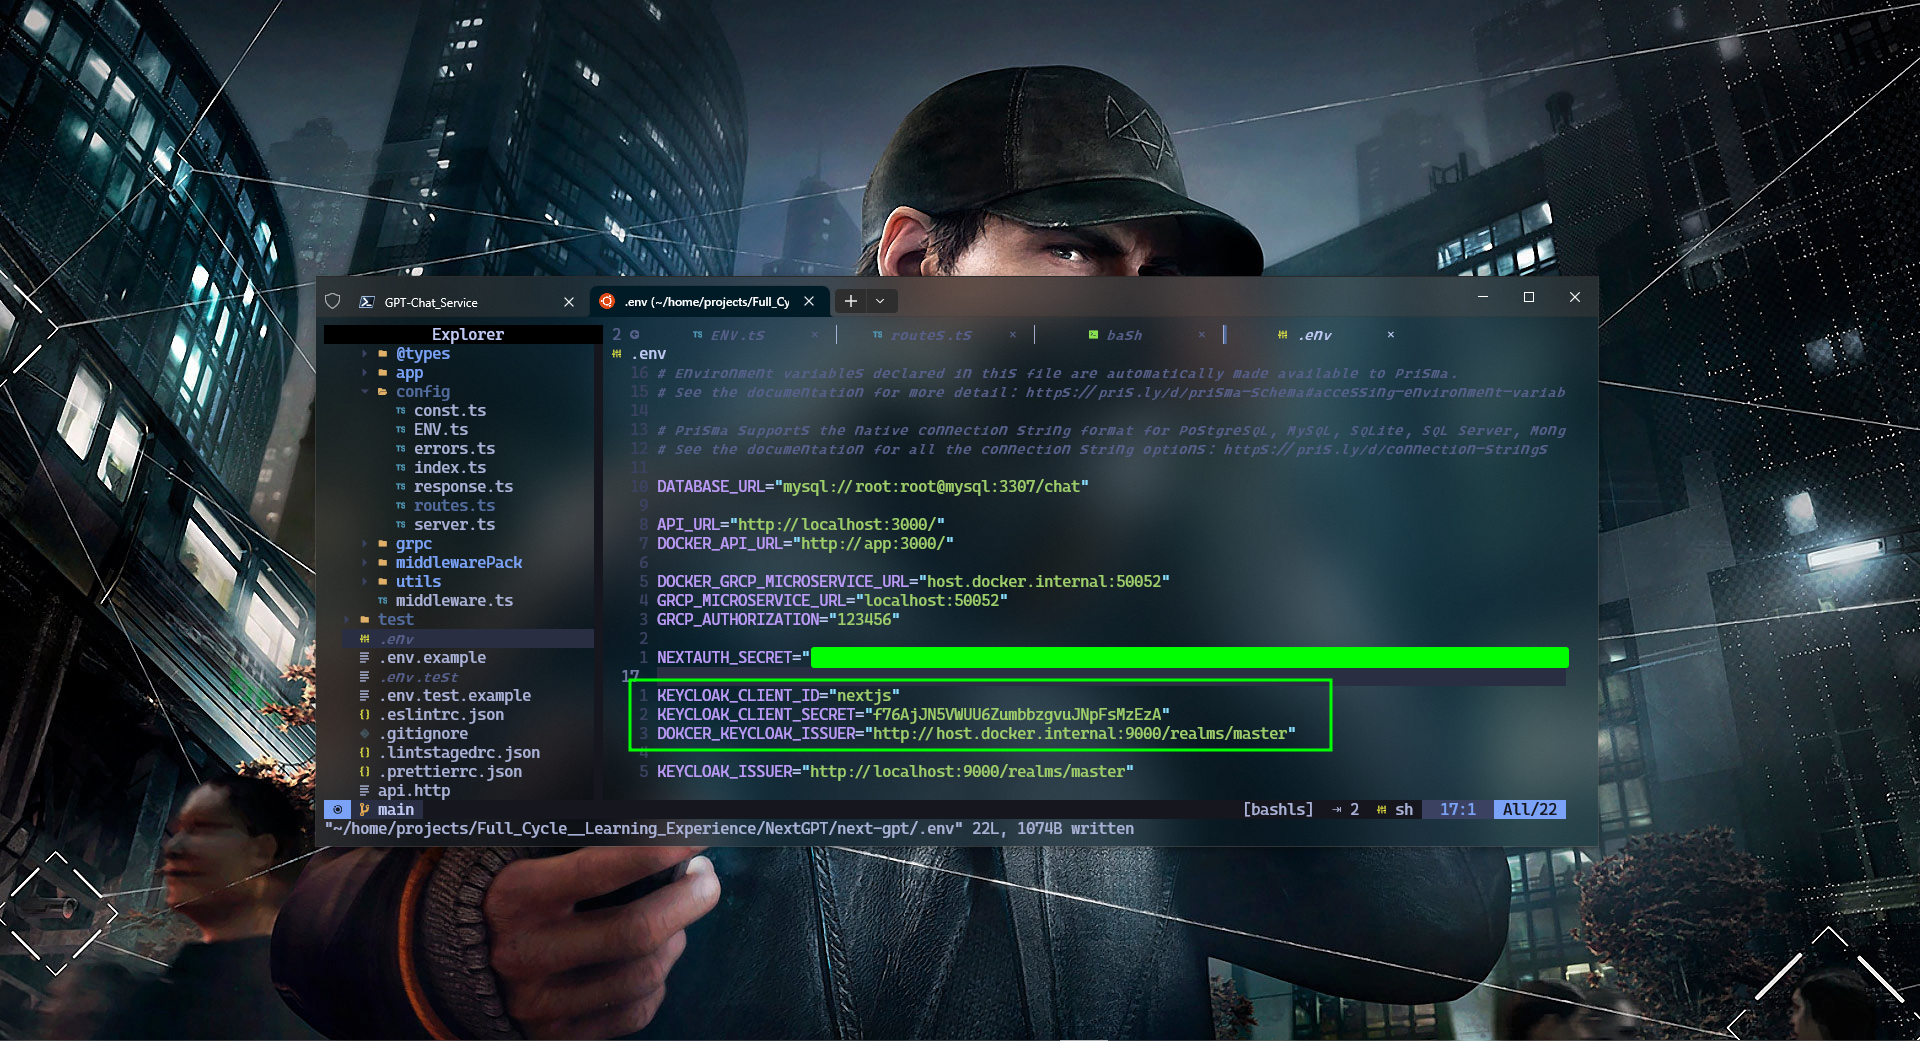
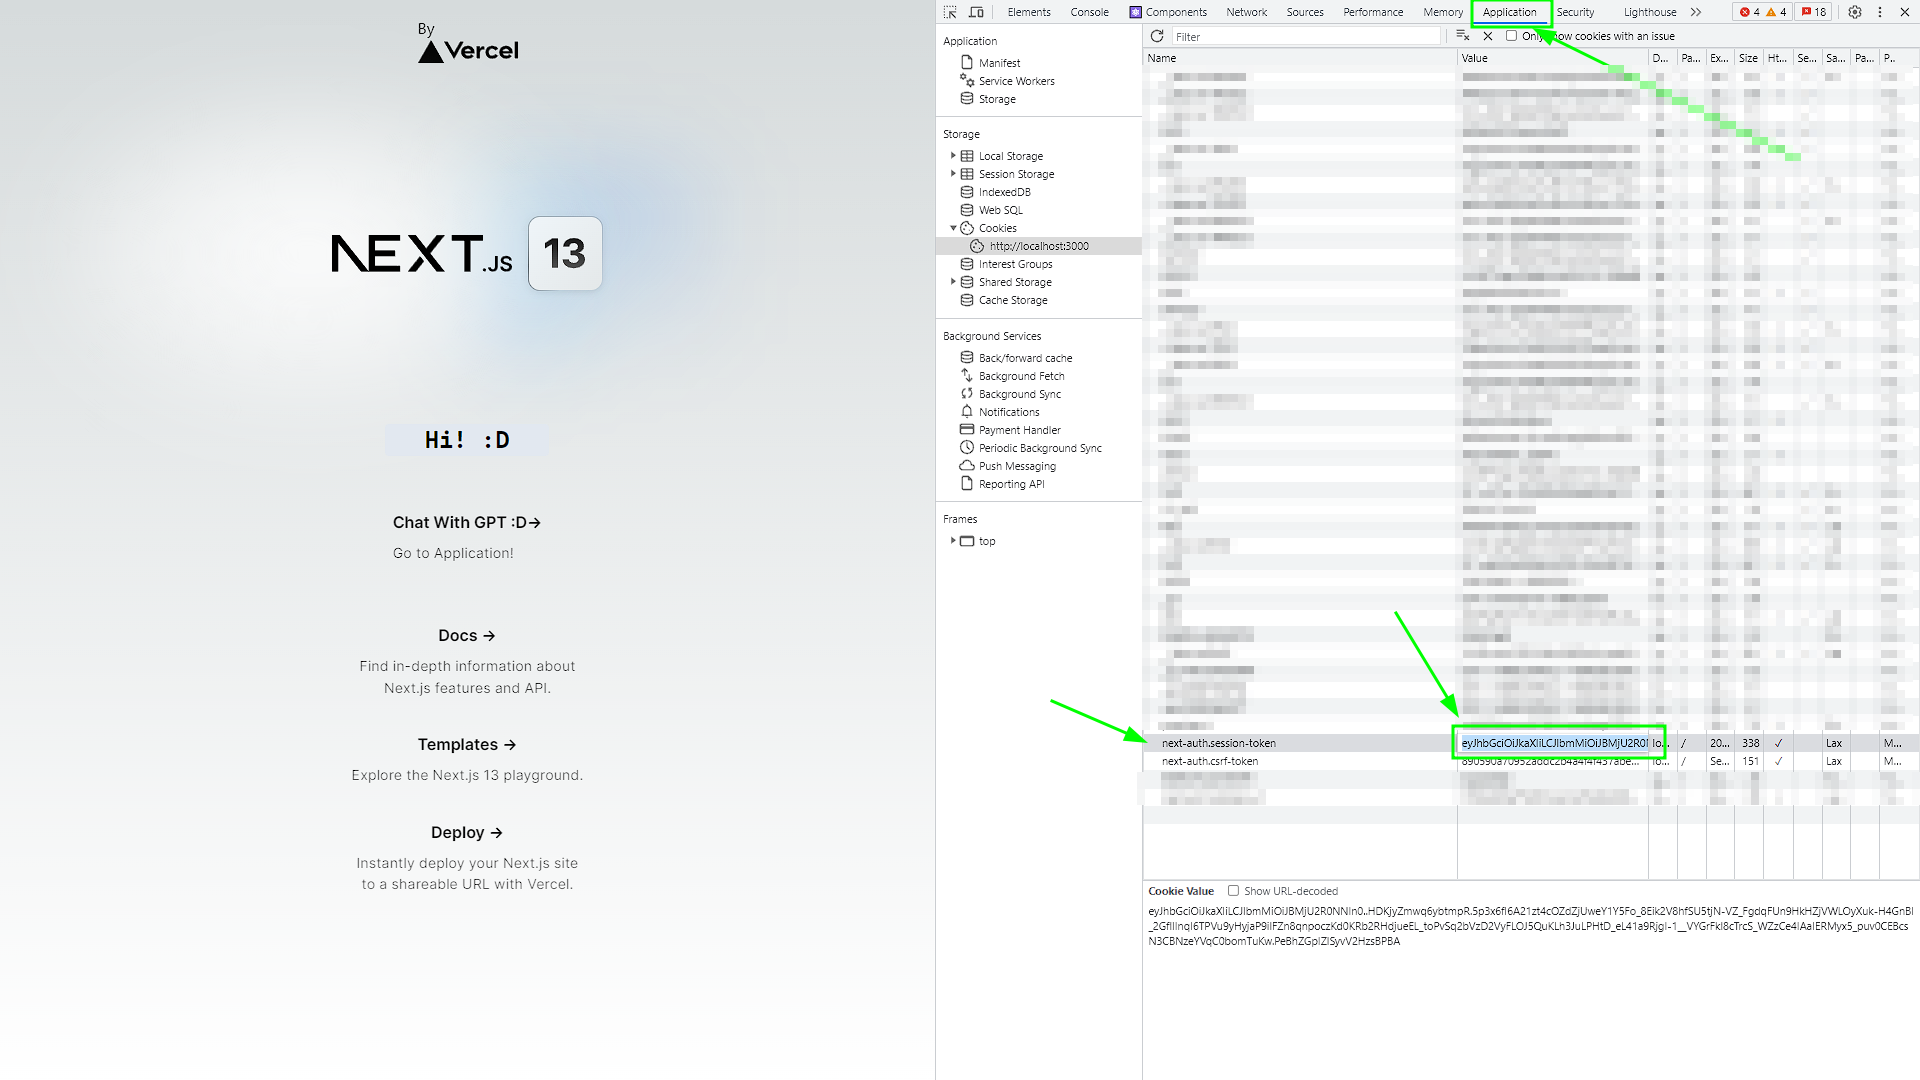
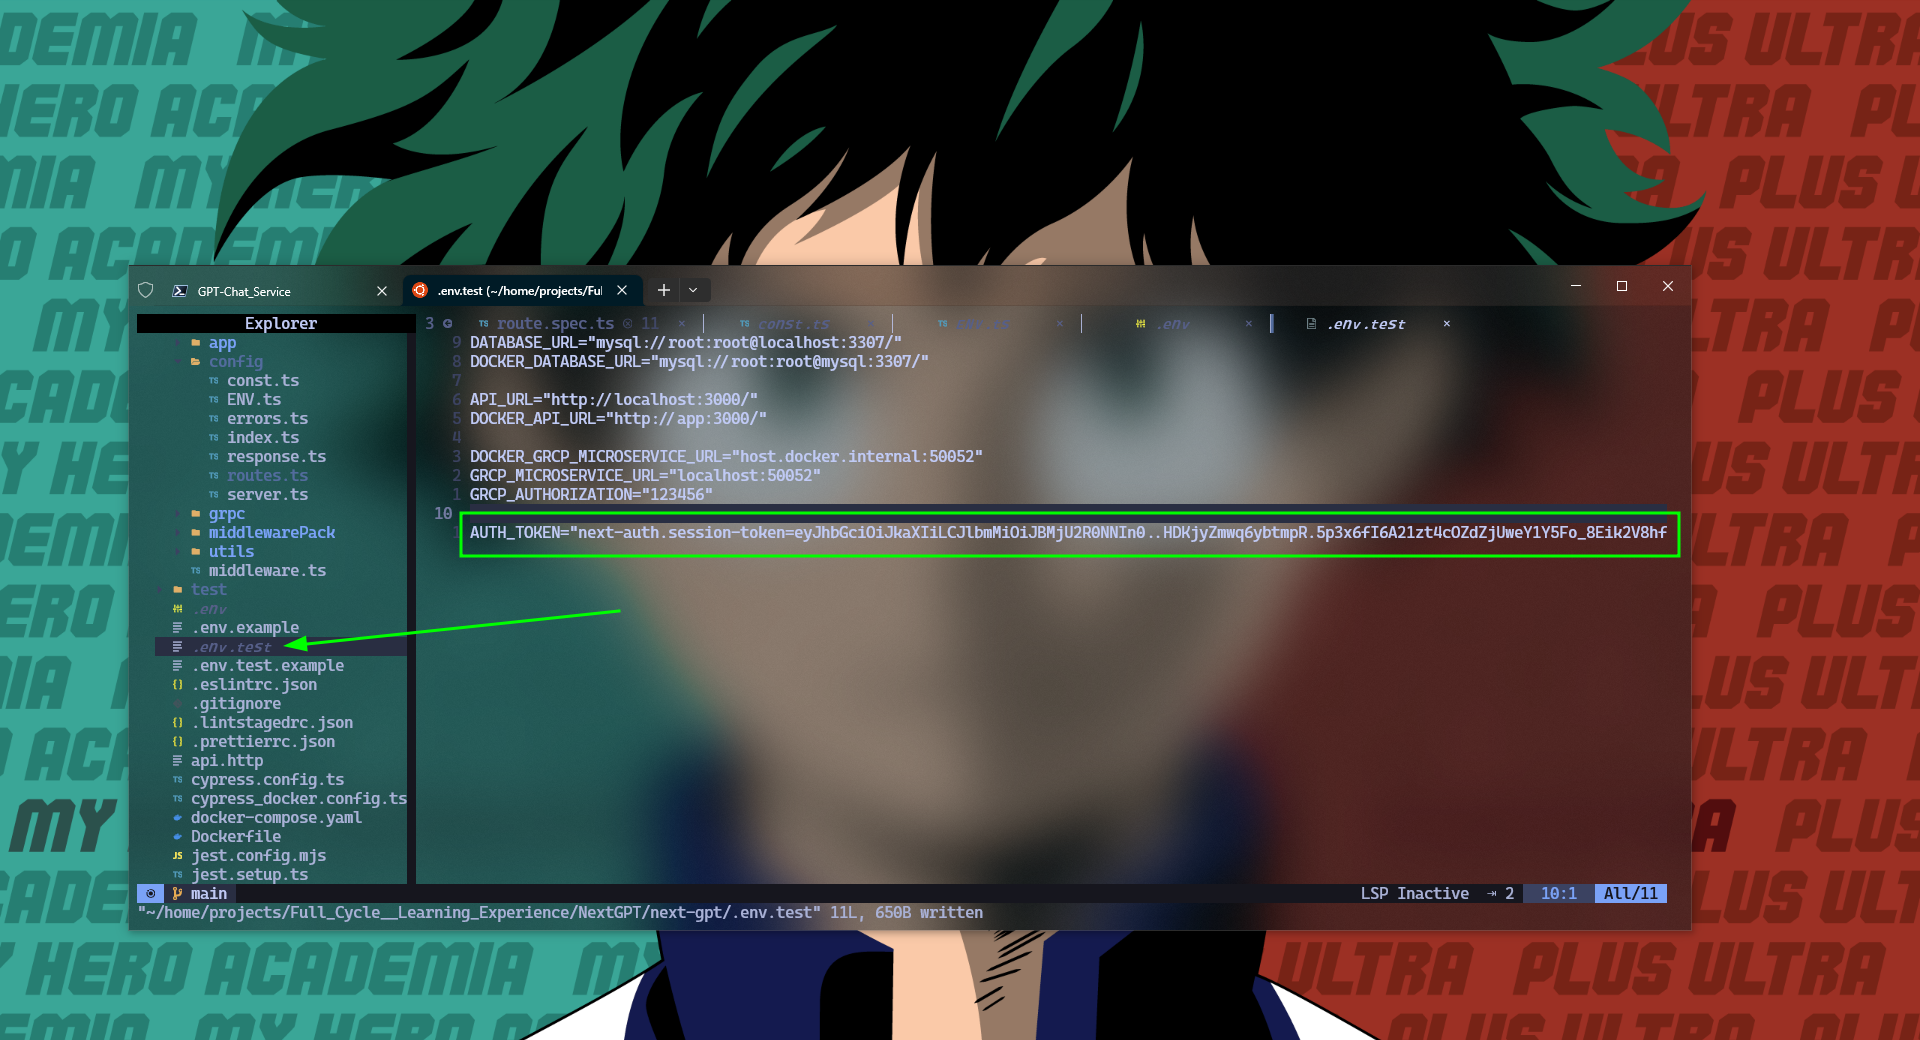
Now create a secret and set it on .env file
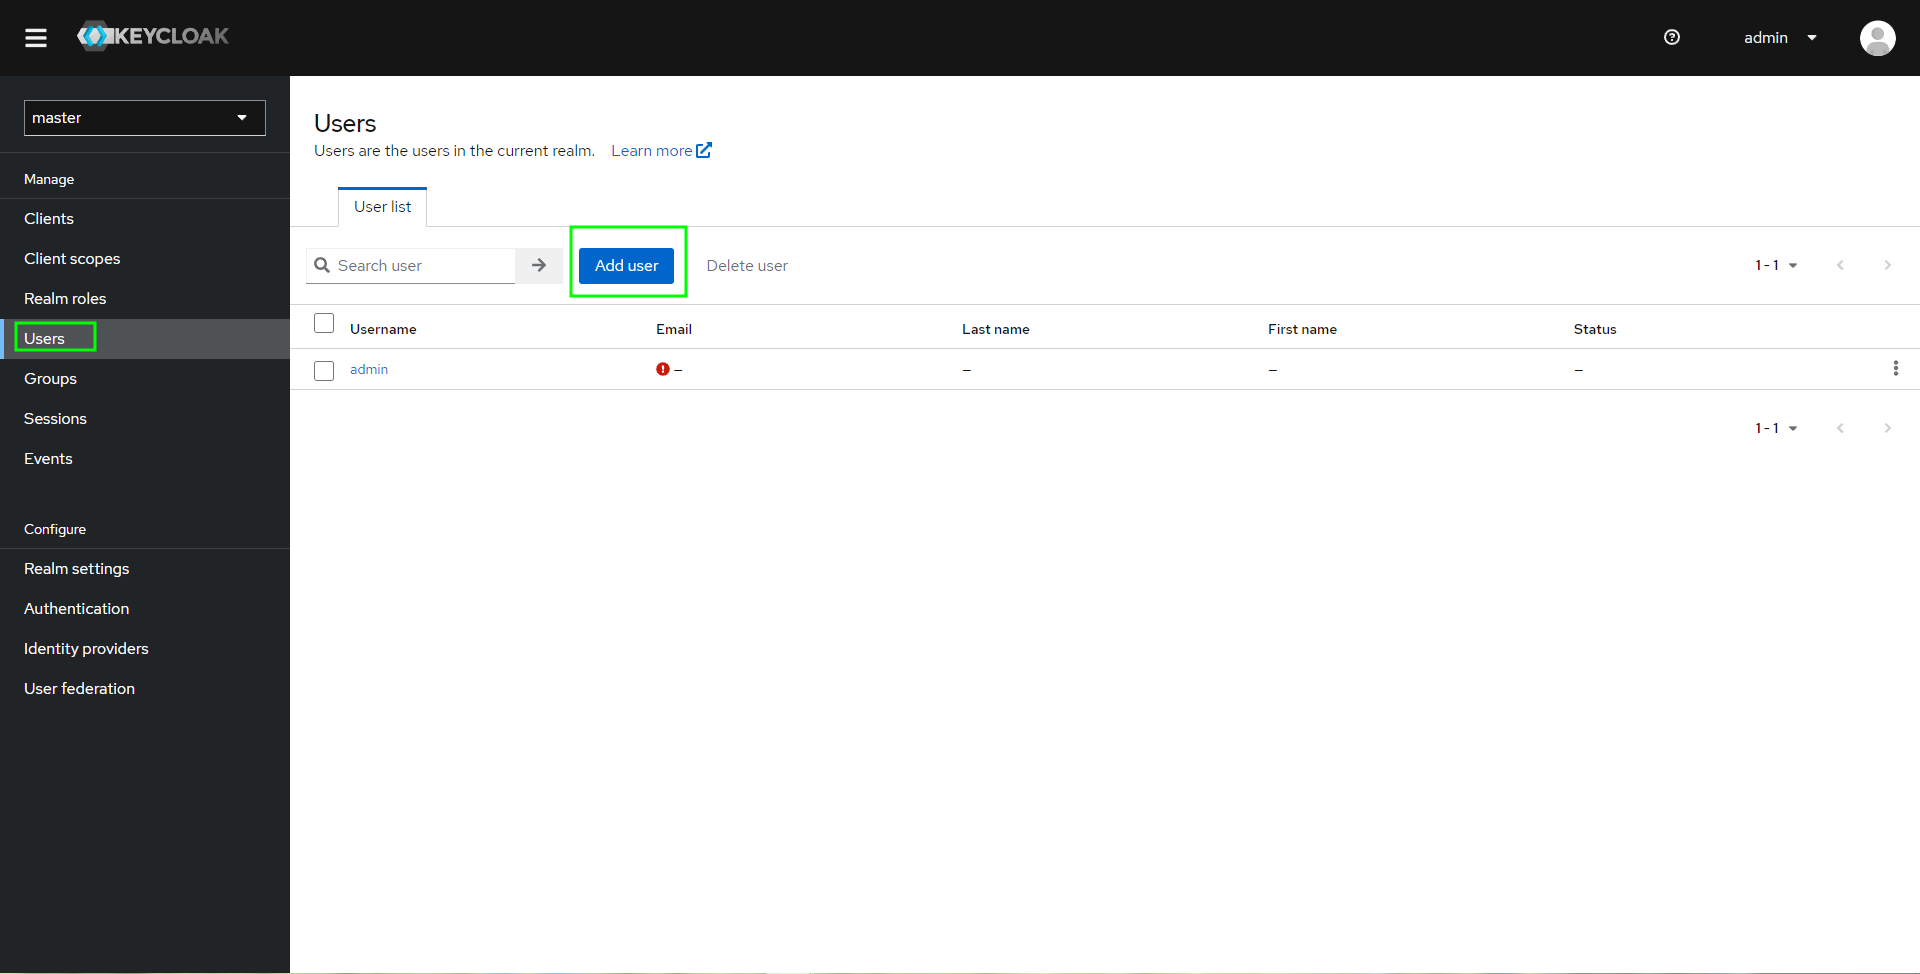
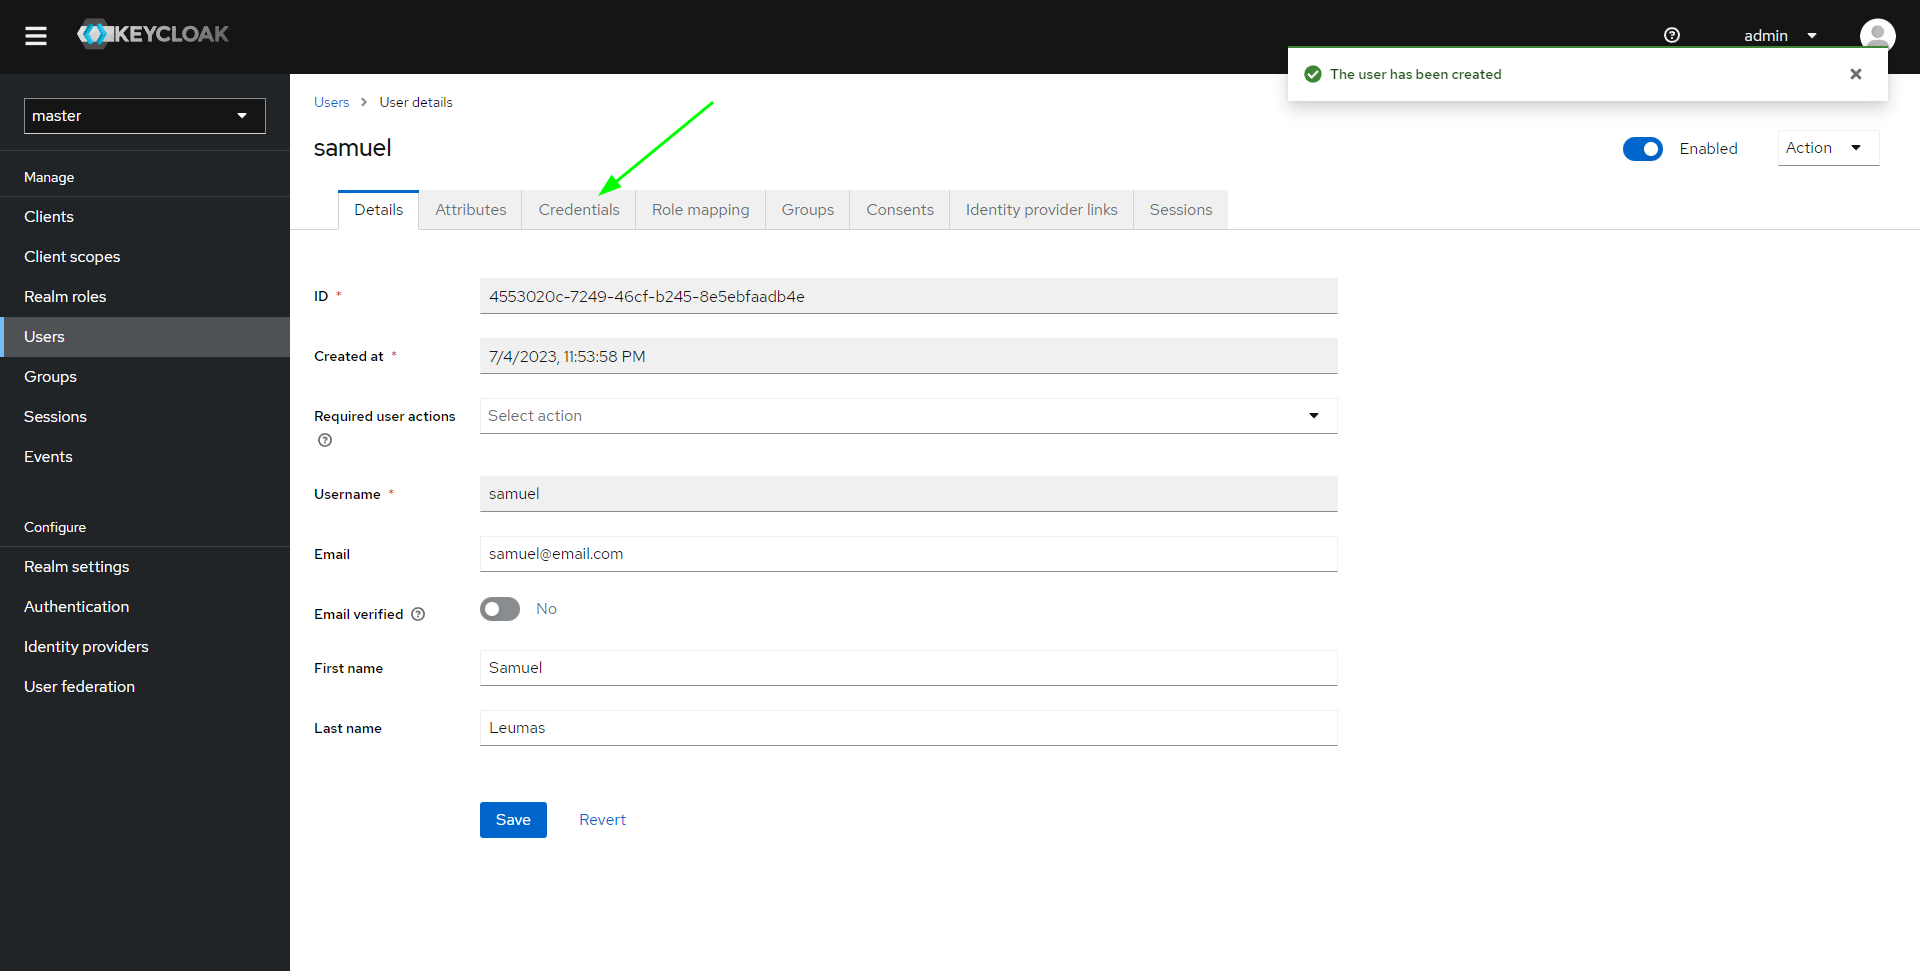
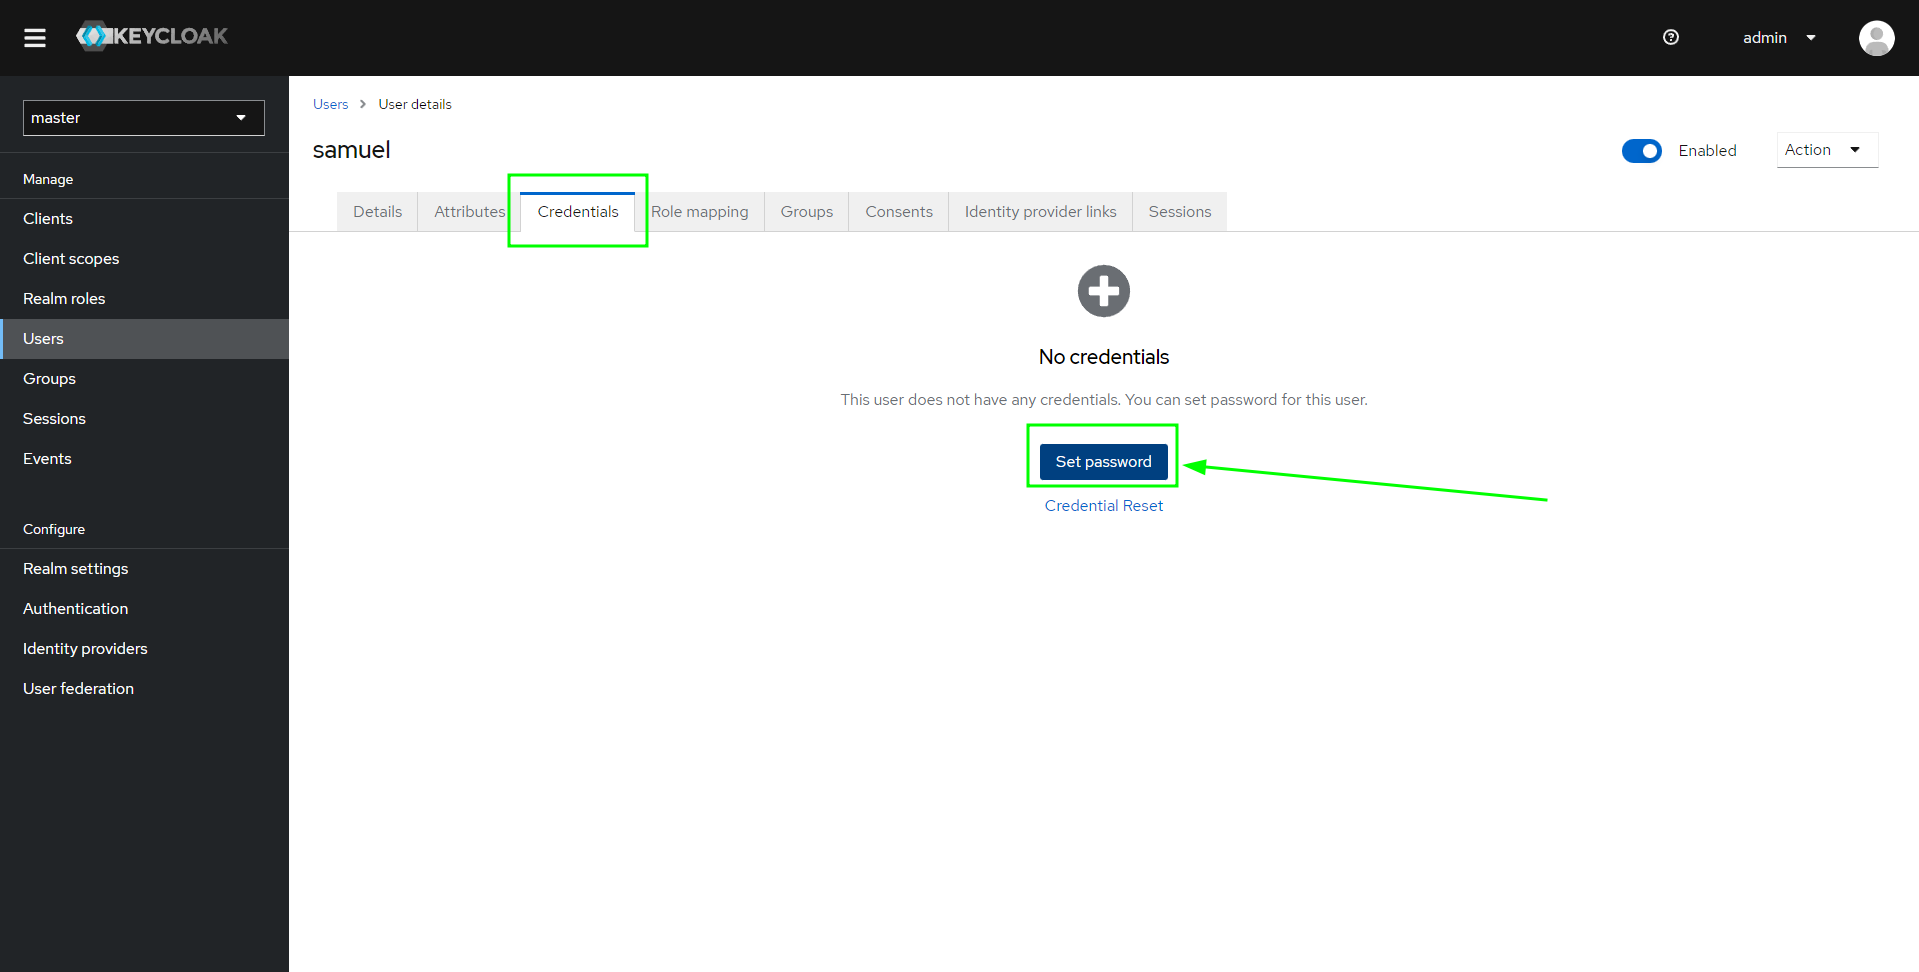
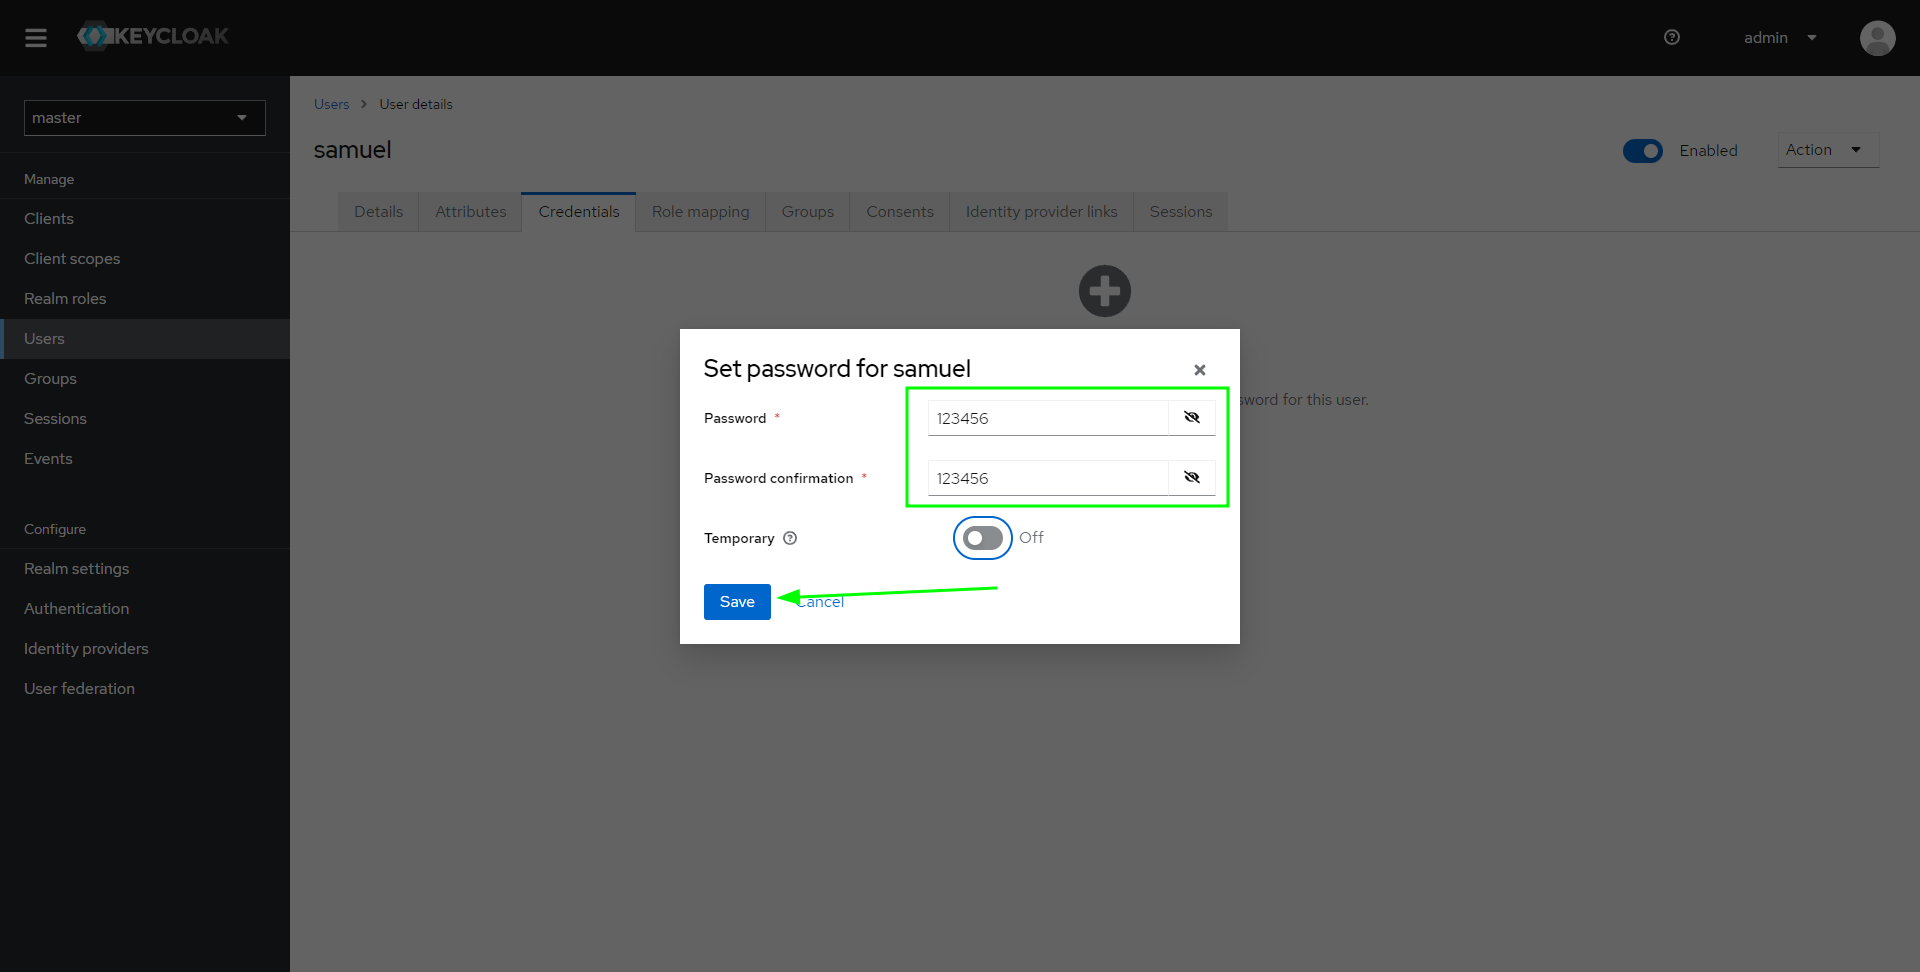
Set user password:
- Samuel Ricardo


