NeROIC: Neural Object Capture and Rendering from Online Image Collections
This work has been tested on Ubuntu 20.04.
This repo is a testing grounds for NeROIC on Windows 11, including dataset creation and modified datasets to be compatible with comparable repositories.
Discord Contact is in my profile for dataset help -Sazoji
quick todo: impliment direct colmap(or NeRFjson/LLFF+filename) dataloading, recursive image conversion without glob deletion, better masks, convert my nvdiffrec fork scripts to create datasets from video in a unified manner
Quick Start
- Install required libraries.
Certain repos in this env require building from source with VS!
conda env create -f environment.yaml
conda activate neroic
apt-get install graphicsmagick-imagemagick-compat
(install imagemagick to PATH for now, to be replaced with imageio)
-
Download our example data at here.
-
Optimize the geometry network.
python train.py \
--config <path_of_the_geometry_stage_config_file> \
--datadir <path of the data>
for example:
python train.py \
--config configs/milkbox_geometry.yaml \
--datadir ./data/milkbox_dataset
(Optional) running the script with multiple GPU is a bit tricky: you should first run it a single GPU (which will generate the resized images), then stop the process before the training starts. Then run:
CUDA_VISIBLE_DEVICES=0,1,2,3 python train.py \
--config <path_of_the_geometry_stage_config_file> \
--datadir <path of the data> \
--num_gpus 4- Extract the normal from learned geometry.
python generate_normal.py \
 --config <path_of_the_geometry_stage_config_file> \
 --ft_path <path_of_the_geometry_network_weight_file> \
--datadir <path of the data>
for example:
python generate_normal.py \
--config configs/milkbox_geometry.yaml \
--ft_path logs/milkbox_geometry/epoch=29.ckpt \
--datadir data/milkbox_dataset- Optimize the rendering network.
python train.py \
--config <path_of_the_rendering_stage_config_file> \
--ft_path <path_of_the_geometry_network_weight_file> \
--datadir <path of the data>
for example (training with 4 GPUs):
CUDA_VISIBLE_DEVICES=0,1,2,3 python train.py \
--config configs/milkbox_rendering.yaml \
--ft_path logs/milkbox_geometry/epoch=29.ckpt \
--datadir data/milkbox_dataset \
--num_gpus 4
training logs & results will be saved at logs/.
Video Generation
the video of novel testing views is generated on-the-fly during training, and saved under logs/. To render video with a pre-trained model, run:
python train.py \
--config <path_of_the_config_file> \
--ft_path <path_of_the_model_weight_file> \
--datadir <path of the data> \
--i_video 1 \
(optional) --test_img_id <index_of_the_reference_image>
Testing
We provide additional testing scripts for material decomposition and relighting.
To decompose materials:
python test_material.py \
--config <path_of_the_rendering_stage_config_file> \
--ft_path <path_of_the_rendering_network_weight_file> \
--datadir <path of the data>
To relight the model (panoramic exr HDRI maps are prefered):
python test_relighting.py \
--config <path_of_the_rendering_stage_config_file> \
--ft_path <path_of_the_rendering_network_weight_file> \
--datadir <path of the data> \
--test_env_filename <path_of_the_envrionment_map>
Bring Your Own Data
Coming Soon
Model Overview
Our two-stage model takes images of an object from different conditions as input. With the camera poses of images and object foreground masks acquired by other state-of-the-art methods, We first optimize the geometry of scanned object and refine camera poses by training a NeRF-based network; We then compute the surface normal from the geometry (represented by density function) using our normal extraction layer; Finally, our second stage model decomposes the material properties of the object and solves for the lighting conditions for each image.
Novel View Synthesis
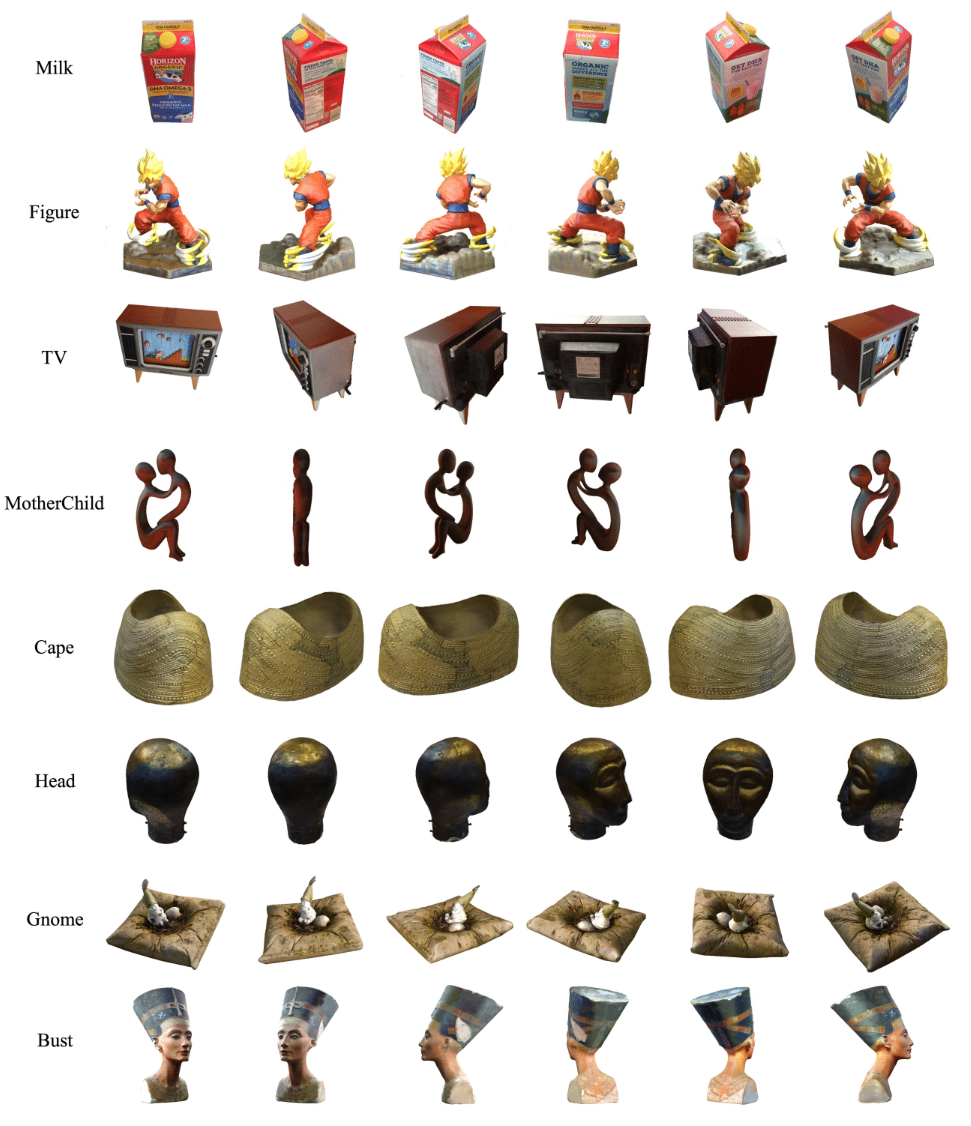
Given online images from a common object, our model can synthesize novel views of the object with the lighting conditions from the training images.
nvs.mp4
Material Decomposition
material.mp4
Relighting
relighting.mp4
Citation
If you find this useful, please cite the following:
@article{10.1145/3528223.3530177,
author = {Kuang, Zhengfei and Olszewski, Kyle and Chai, Menglei and Huang, Zeng and Achlioptas, Panos and Tulyakov, Sergey},
title = {NeROIC: Neural Rendering of Objects from Online Image Collections},
year = {2022},
issue_date = {July 2022},
publisher = {Association for Computing Machinery},
address = {New York, NY, USA},
volume = {41},
number = {4},
issn = {0730-0301},
url = {https://doi.org/10.1145/3528223.3530177},
doi = {10.1145/3528223.3530177},
journal = {ACM Trans. Graph.},
month = {jul},
articleno = {56},
numpages = {12},
keywords = {neural rendering, reflectance & shading models, multi-view & 3D}
}
Acknowledgements: This work borrows many code from NeRF-pl. We thank the author for releasing his code.


