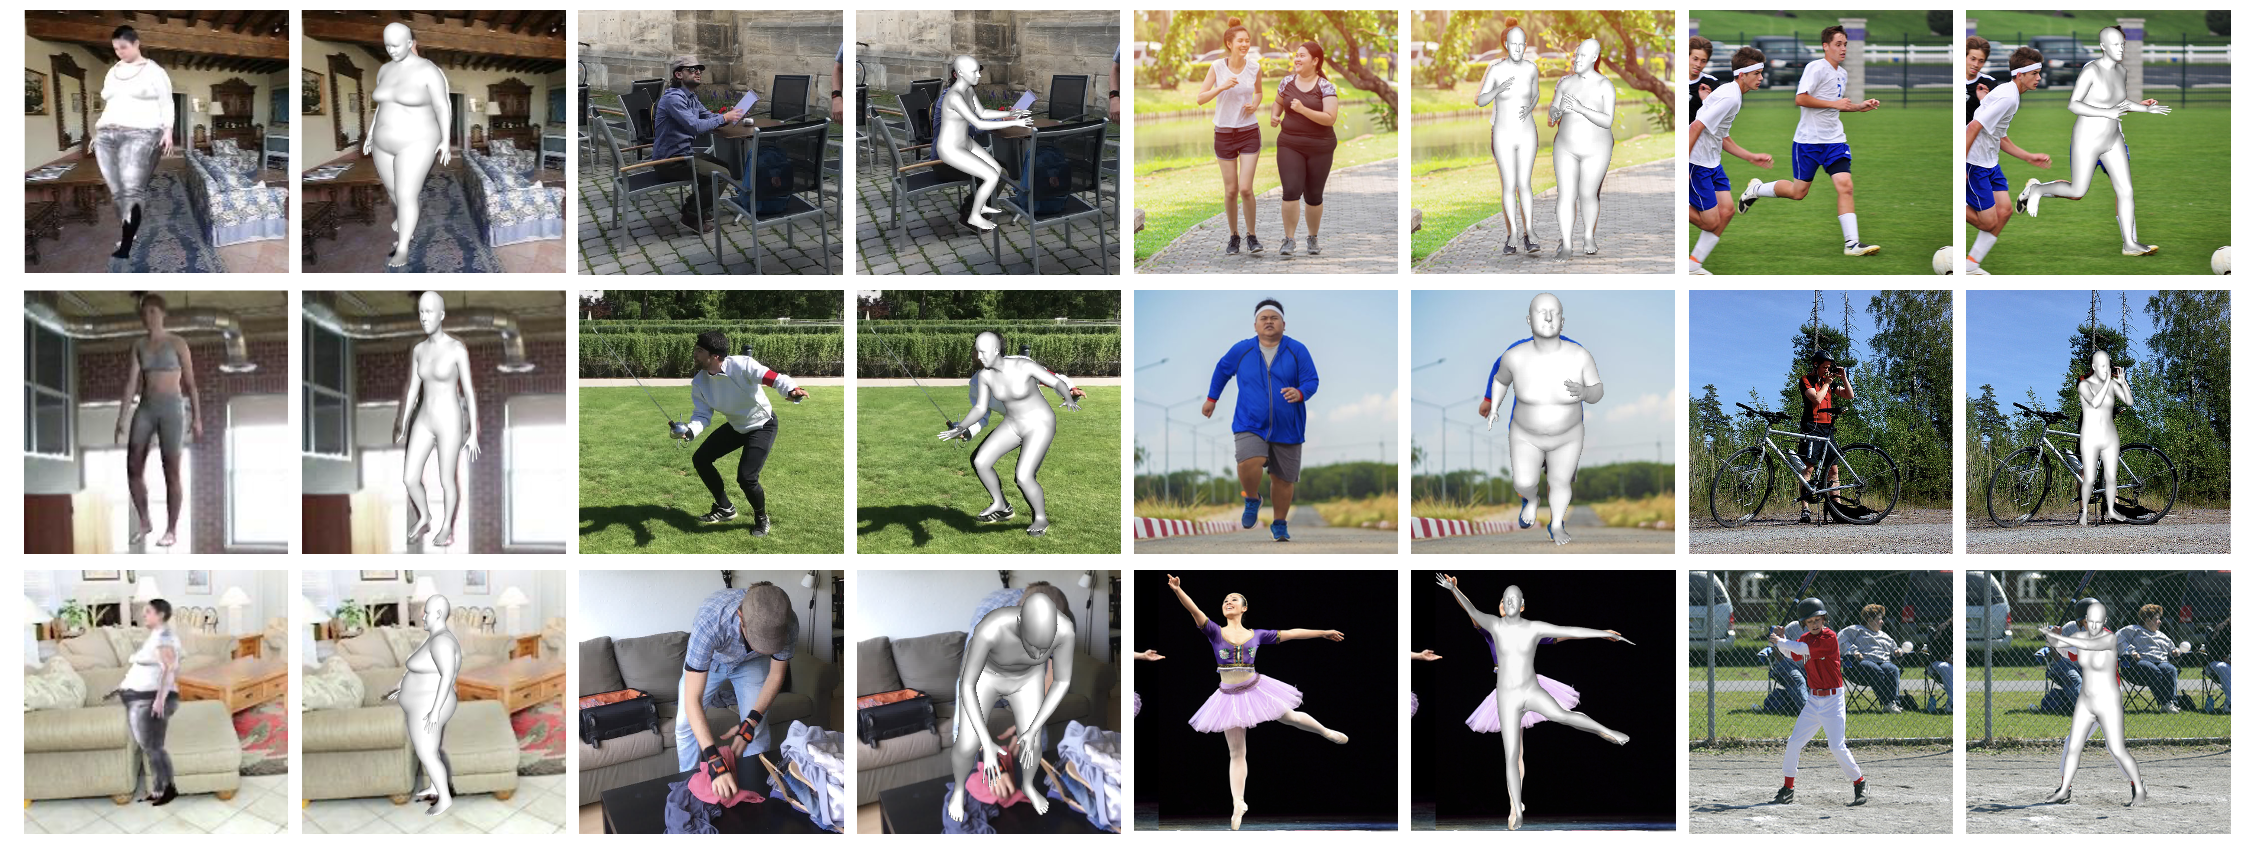
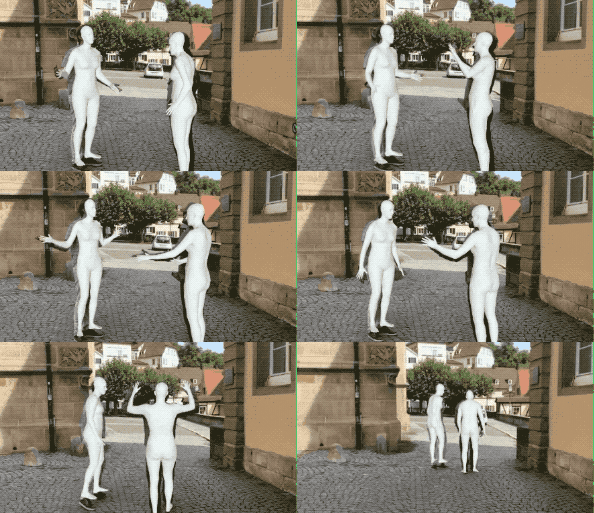
This is the offical Pytorch implementation of our paper:
Below is the learned virtual markers and the overall framework.
[2023/05/21] Project page with more demos.
[2023/04/23] Demo code released!
- Provide inference code, support image/video input
- Provide virtual marker optimization code
- Install dependences. This project is developed using >= python 3.8 on Ubuntu 16.04. NVIDIA GPUs are needed. We recommend you to use an Anaconda virtual environment.
  # 1. Create a conda virtual environment.
  conda create -n pytorch python=3.8 -y
  conda activate pytorch

  # 2. Install PyTorch >= v1.6.0 following [official instruction](https://pytorch.org/). Please adapt the cuda version to yours.
  pip install torch==1.7.1+cu101 torchvision==0.8.2+cu101 torchaudio==0.7.2 -f https://download.pytorch.org/whl/torch_stable.html

  # 3. Pull our code.
  git clone https://github.com/ShirleyMaxx/VirtualMarker.git
  cd VirtualMarker

  # 4. Install other packages. This project doesn't have any special or difficult-to-install dependencies.
  sh requirements.sh

  #5. Install Virtual Marker
python setup.py develop-
Prepare SMPL layer. We use smplx.
- Install
smplxpackage bypip install smplx. Already done in the first step. - Download
basicModel_f_lbs_10_207_0_v1.0.0.pkl,basicModel_m_lbs_10_207_0_v1.0.0.pkl, andbasicModel_neutral_lbs_10_207_0_v1.0.0.pklfrom here (female & male) and here (neutral) to${Project}/data/smpl. Please rename them asSMPL_FEMALE.pkl,SMPL_MALE.pkl, andSMPL_NEUTRAL.pkl, respectively. - Download others SMPL-related from Google drive or Onedrive and put them to
${Project}/data/smpl.
- Install
-
Download data following the Data section. In summary, your directory tree should be like this
  ${Project}
  ├── assets
  ├── command
  ├── configs
  ├── data
  ├── demo
  ├── experiment
  ├── inputs
  ├── virtualmarker
  ├── main
  ├── models
  ├── README.md
  ├── setup.py
  `── requirements.sh
assetscontains the body virtual markers innpzformat. Feel free to use them.commandcontains the running scripts.configscontains the configurations inymlformat.datacontains soft links to images and annotations directories.virtualmarkercontains kernel codes for our method.maincontains high-level codes for training or testing the network.modelscontains pre-trained weights. Download from Google drive or Onedrive.- *
experimentwill be automatically made after running the code, it contains the outputs, including trained model weights, test metrics and visualized outputs.
- Installation. Make sure you have finished the above installation successfully. VirtualMarker does not detect person and only estimates relative pose and mesh, therefore please also install VirtualPose following its instructions. VirtualPose will detect all the person and estimate their root depths. Download its model weight from Google drive or Onedrive and put it under
VirtualPose.
git clone https://github.com/wkom/VirtualPose.git
cd VirtualPose
python setup.py develop- Render Env. If you run this code in ssh environment without display device, please do follow:
1. Install osmesa follow https://pyrender.readthedocs.io/en/latest/install/
2. Reinstall the specific pyopengl fork: https://github.com/mmatl/pyopengl
3. Set opengl's backend to osmesa via os.environ["PYOPENGL_PLATFORM"] = "osmesa"
-
Model weight. Download the pre-trained VirtualMarker models
baseline_mixfrom Google drive or Onedrive. Put the weight belowexperimentfolder and follow the directory structure. Specify the load weight path bytest.weight_pathinconfigs/simple3dmesh_infer/baseline.yml. -
Input image/video. Prepare
input.jpgorinput.mp4and put it atinputsfolder. Both image and video input are supported. Specify the input path and type by arguments. -
RUN. You can check the output at
experiment/simple3dmesh_infer/exp_*/vis.
sh command/simple3dmesh_infer/baseline.shThe data directory structure should follow the below hierarchy. Please download the images from the official sites. Download all the processed annotation files from Google drive or Onedrive.
${Project}
|-- data
    |-- 3DHP
    |   |-- annotations
    |   `-- images
    |-- COCO
    |   |-- annotations
    |   `-- images
    |-- Human36M
    |   |-- annotations
    |   `-- images
    |-- PW3D
    |   |-- annotations
    |   `-- images
    |-- SURREAL
    |   |-- annotations
    |   `-- images
    |-- Up_3D
    |   |-- annotations
    |   `-- images
    `-- smpl
        |-- smpl_indices.pkl
        |-- SMPL_FEMALE.pkl
        |-- SMPL_MALE.pkl
        |-- SMPL_NEUTRAL.pkl
        |-- mesh_downsampling.npz
        |-- J_regressor_extra.npy
        `-- J_regressor_h36m_correct.npy
Every experiment is defined by config files. Configs of the experiments in the paper can be found in the ./configs directory. You can use the scripts under command to run.
To train the model, simply run the script below. Specific configurations can be modified in the corresponding configs/simple3dmesh_train/baseline.yml file. Default setting is using 4 GPUs (16G V100). Multi-GPU training is implemented with PyTorch's DataParallel. Results can be seen in experiment directory or in the tensorboard.
We conduct mix-training on H3.6M and 3DPW datasets. To get the reported results on 3DPW dataset, please first run train_h36m.sh and then load the final weight to train on 3DPW by running train_pw3d.sh. This finetuning strategy is for faster training and better performance. We train a seperate model on SURREAL dataset using train_surreal.sh.
sh command/simple3dmesh_train/train_h36m.sh
sh command/simple3dmesh_train/train_pw3d.sh
sh command/simple3dmesh_train/train_surreal.shTo evaluate the model, specify the model path test.weight_path in configs/simple3dmesh_test/baseline_*.yml. Argument --mode test should be set. Results can be seen in experiment directory or in the tensorboard.
sh command/simple3dmesh_test/test_h36m.sh
sh command/simple3dmesh_test/test_pw3d.sh
sh command/simple3dmesh_test/test_surreal.sh| Test set | MPVE | MPJPE | PA-MPJPE | Model weight | Config |
|---|---|---|---|---|---|
| Human3.6M | 58.0 | 47.3 | 32.0 | Google drive / Onedrive | cfg |
| 3DPW | 77.9 | 67.5 | 41.3 | Google drive / Onedrive | cfg |
| SURREAL | 44.7 | 36.9 | 28.9 | Google drive / Onedrive | cfg |
| in-the-wild* | Google drive / Onedrive |
* We further train a model for better inference performance on in-the-wild scenes by finetuning the 3DPW model on SURREAL dataset.
Cite as below if you find this repository is helpful to your project:
@InProceedings{Ma_2023_CVPR,
    author    = {Ma, Xiaoxuan and Su, Jiajun and Wang, Chunyu and Zhu, Wentao and Wang, Yizhou},
    title     = {3D Human Mesh Estimation From Virtual Markers},
    booktitle = {Proceedings of the IEEE/CVF Conference on Computer Vision and Pattern Recognition (CVPR)},
    month     = {June},
    year      = {2023},
    pages     = {534-543}
}This repo is built on the excellent work GraphCMR, SPIN, Pose2Mesh, HybrIK and CLIFF. Thanks for these great projects.


