As explained on Wikipedia
In software development, obfuscation is the deliberate act of creating source or machine code that is difficult for humans to understand.
Like obfuscation in natural language, it may use needlessly roundabout expressions to compose statements. Programmers may deliberately obfuscate code to conceal its purpose (security through obscurity) or its logic or implicit values embedded in it, primarily, in order to prevent tampering, deter reverse engineering, or even as a puzzle or recreational challenge for someone reading the source code.
This can be done manually or by using an automated tool, the latter being the preferred technique in industry.
There are several advantages of automated code obfuscation that have made it popular and widely useful across many platforms. On some platforms (such as Java, Android, and .NET) a decompiler can reverse-engineer source code from an executable or library.
A main advantage of automated code obfuscation is that it helps protect the trade secrets (intellectual property) contained within software by making reverse-engineering a program difficult and economically unfeasible.
Other advantages might include helping to protect licensing mechanisms and unauthorized access, and shrinking the size of the source code, and possibly shrinking the size of the executable.
Decompilation is sometimes called a man-at-the-end attack, based on the traditional cryptographic attack known as "man-in-the-middle".
So Obfuscation makes you less prone to "Licencing fraud", "Reverse-engineering" and "Intellectual property theft" by making it economically unprofitable.
While obfuscation can make reading, writing, and reverse-engineering a program difficult and time-consuming, it will not necessarily make it impossible.
Some anti-virus software, such as AVG AntiVirus, will also alert their users when they land on a site with code that is manually obfuscated, as one of the purposes of obfuscation can be to hide malicious code.
However, some developers may employ code obfuscation for the purpose of reducing file size or increasing security. The average user may not expect their antivirus software to provide alerts about an otherwise harmless piece of code, especially from trusted corporations, so such a feature may actually deter users from using legitimate software.
So it could be interesting to test your obfuscating software against the big names in antivirus.
A variety of tools exist to perform or assist with code obfuscation. These include experimental research tools created by academics, hobbyist tools, commercial products written by professionals, and open-source software.
One of the best in class commercial obfuscation product for Mobile Applications is Dexprotector.
As we want to obfuscate our iOS application, we first have to install Dexprotector on a MacOS computer (as the obfuscation can only run on a MacOS computer as it is based on XCode to perform some actions).
Homebrew is the package manager that Apple is missing on MacOS.
Install Homebrew on your MacOS if you didn't do it yet.
Homebrew installs the stuff you need that Apple didn’t.
To install Homebrew, just paste that in a macOS Terminal prompt.
/usr/bin/ruby -e "$(curl -fsSL https://raw.githubusercontent.com/Homebrew/install/master/install)"It is good to manage the Java Jdk you are going to use based on the location of your project.
jEnv is perfect to efficiently and easily manage your Java environments.
brew install jenvAs mentionned at the end of jenv installation on your terminal, you have to notify your shell where is jenv so that you can use it system-wide.
Bash
echo 'export PATH="$HOME/.jenv/bin:$PATH"' >> ~/.bash_profile
echo 'eval "$(jenv init -)"' >> ~/.bash_profile
Zsh
echo 'export PATH="$HOME/.jenv/bin:$PATH"' >> ~/.zshrc
echo 'eval "$(jenv init -)"' >> ~/.zshrcBash
source ~/.bash_profileZsh
source ~/.zshrcOr just close and reopen your Terminal.
To use Dexprotector on MacOS, it is mandatory to use the Java JDK 8 because of a deprecated Java method that Dexprotector is using.
Indeed, on the latest MacOS (Mojave) Java is installed by default. The default Java JDK is JDK 12.
Install the Java JDK 8 using Homebrew :
brew cask install adoptopenjdk/openjdk/adoptopenjdk8The Java 8 Jdk should installed in the following location :
ls /Library/Java/JavaVirtualMachines/adoptopenjdk-8.jdkWe are going to make the Java JDK 8 and Java JDK 12 (MacOS default) available on jenv.
# Adding the Java JDK 8 to jenv
jenv add /Library/Java/JavaVirtualMachines/adoptopenjdk-8.jdk/Contents/Home/

# Adding the Java JDK 12 to jenv
jenv add /Library/Java/JavaVirtualMachines/jdk-12.0.1.jdk/Contents/Home
Check that everything was correctly added to jenv:
jenv versionsYou should see that the openjdk64-1.8.0.212and oracle64-12.0.1 are added to jenv.
In order to make Dexprotector running to obfuscate iOS applications, we have to get some information from the Apple Developer account that is publishing the application.
First, we have to get a "Signing Certificate Name"
The identity of the signing certificate can be iOS Development or iOS Distribution. For example, iPhone Distribution: Licel Corporation (1NKDRJYKBE).
If you have more than one signing certificate with the same name but different validity period, you can use its ID. The ID can be gotten via the following console command:
security find-identity -v -p codesigning

      1) 869B7011A78D50FFD7B9F9488A18BE8A5F1500A1 "iPhone Distribution: Licel Corporation (1NKDRJYKBE)"
The value of 869B7011A78D50FFD7B9F9488A18BE8A5F1500A1 is the certificate ID.
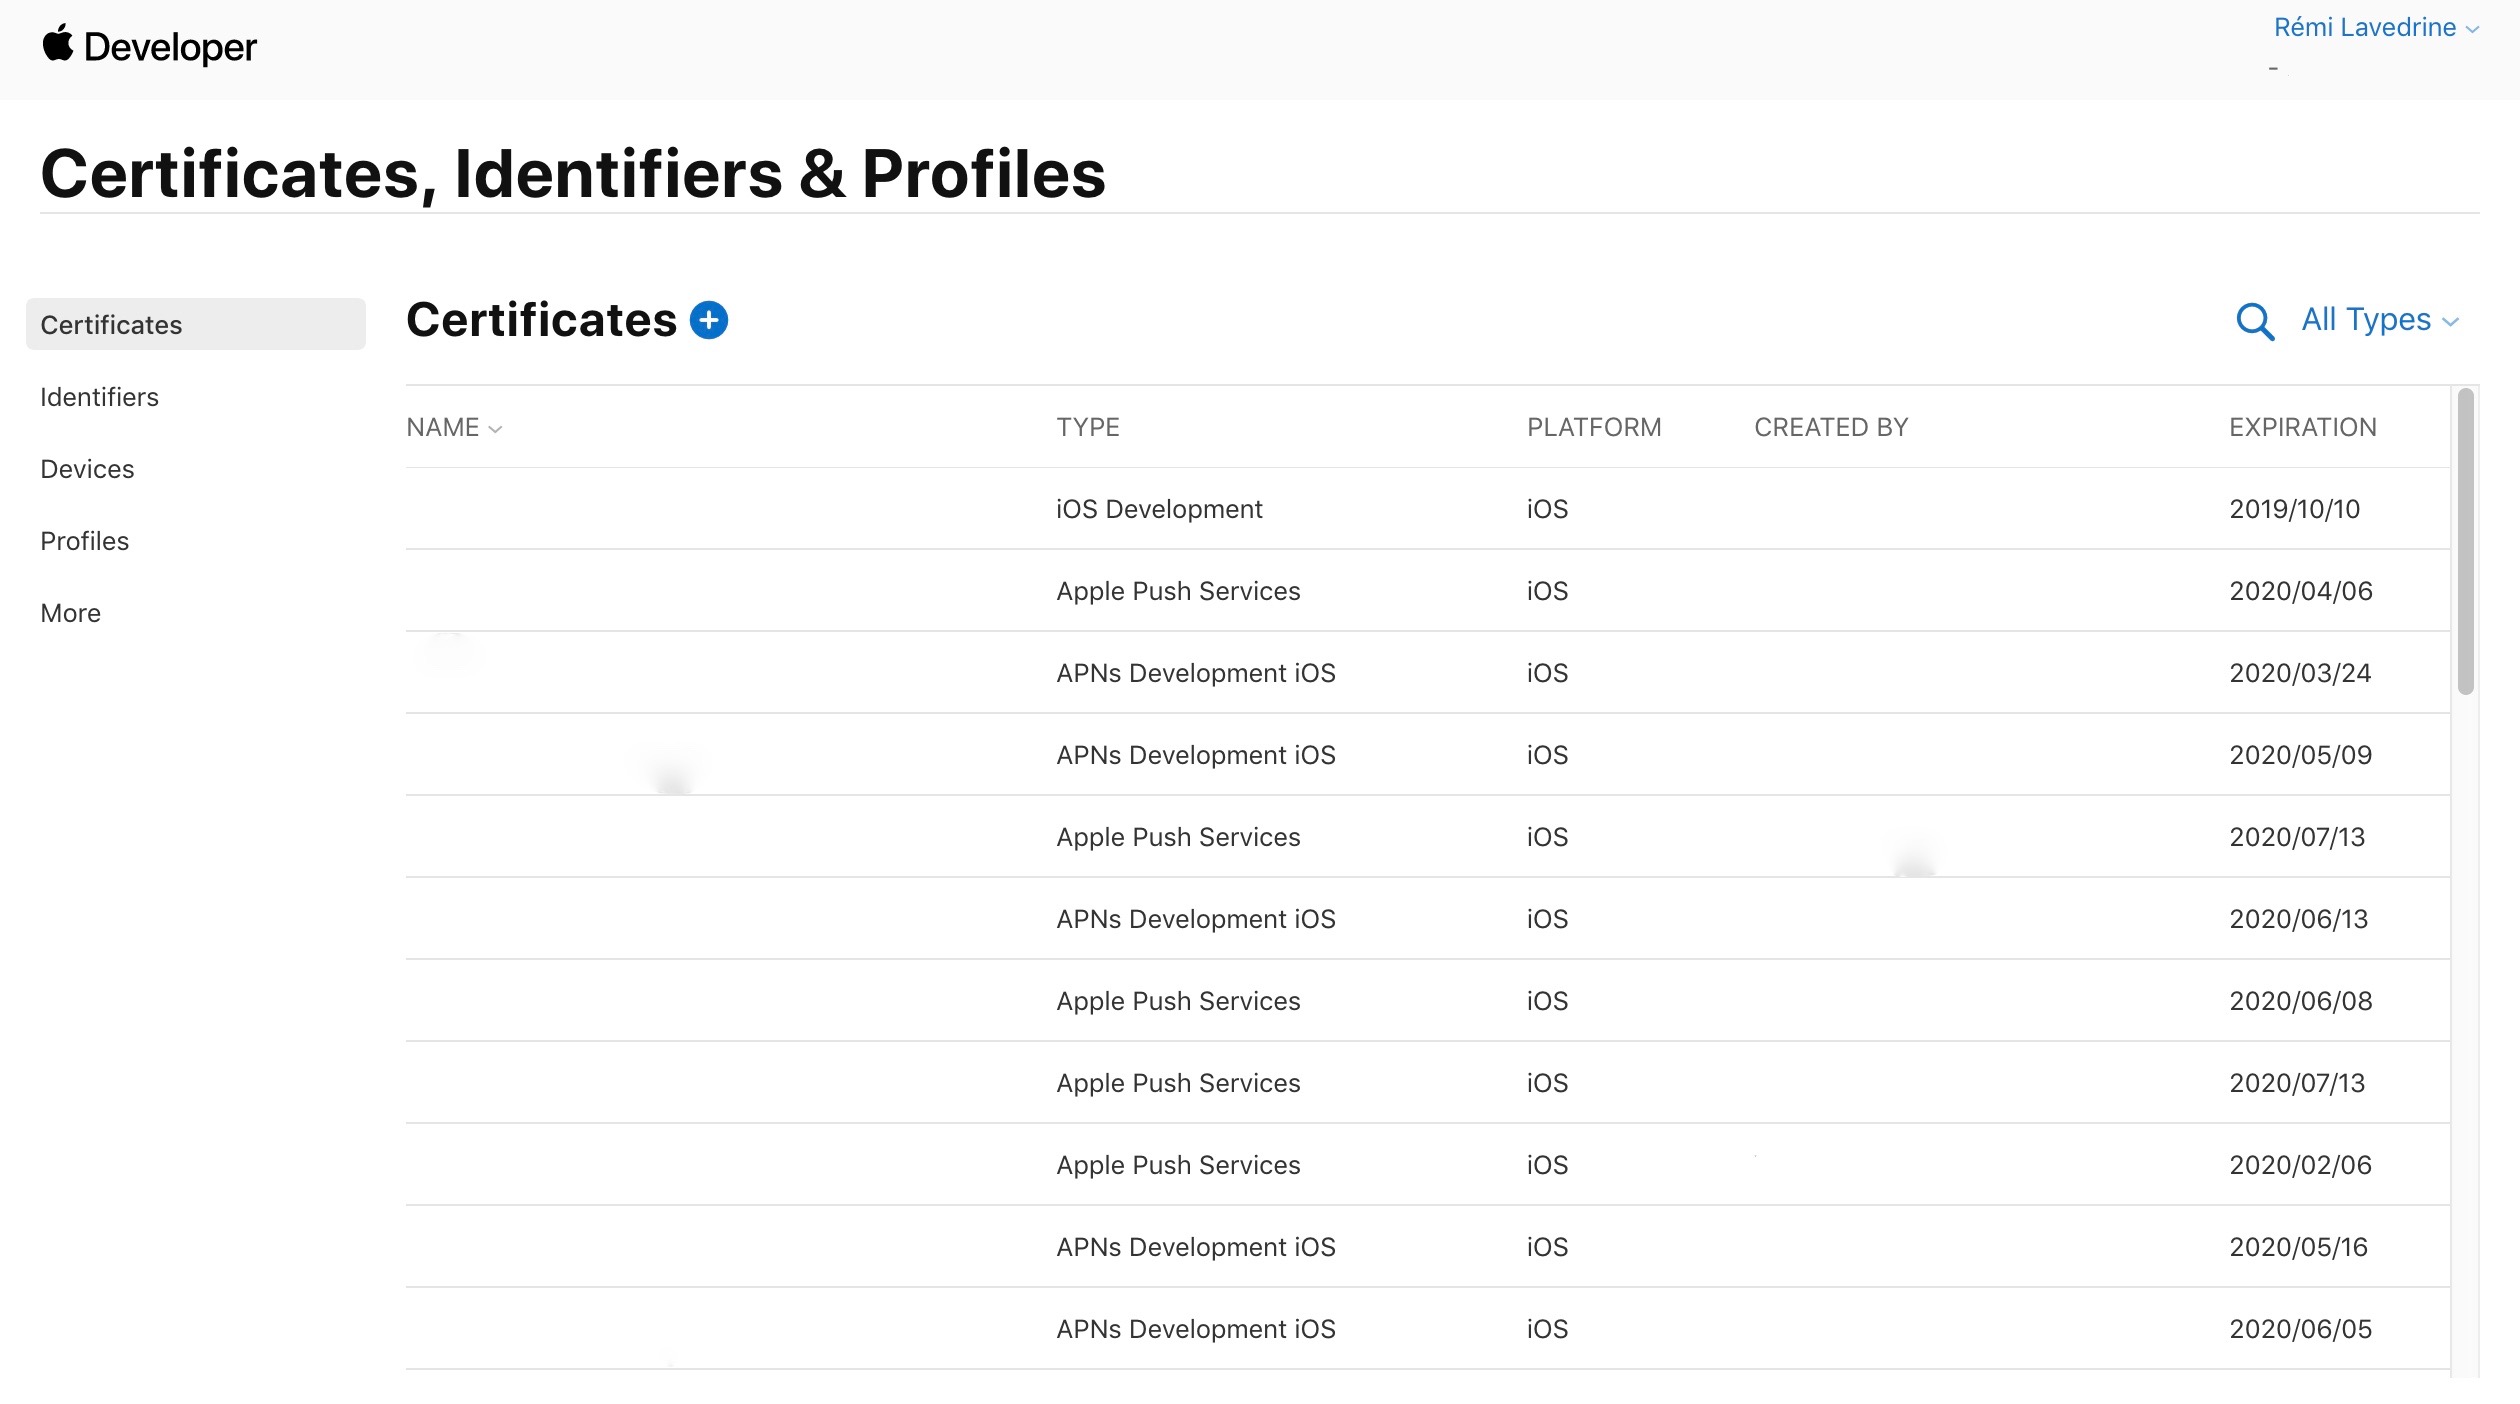
Go to "Certificates, Identifiers & Profiles" on your Apple Developer account.
Click on the "+" icon to create a new certificate.
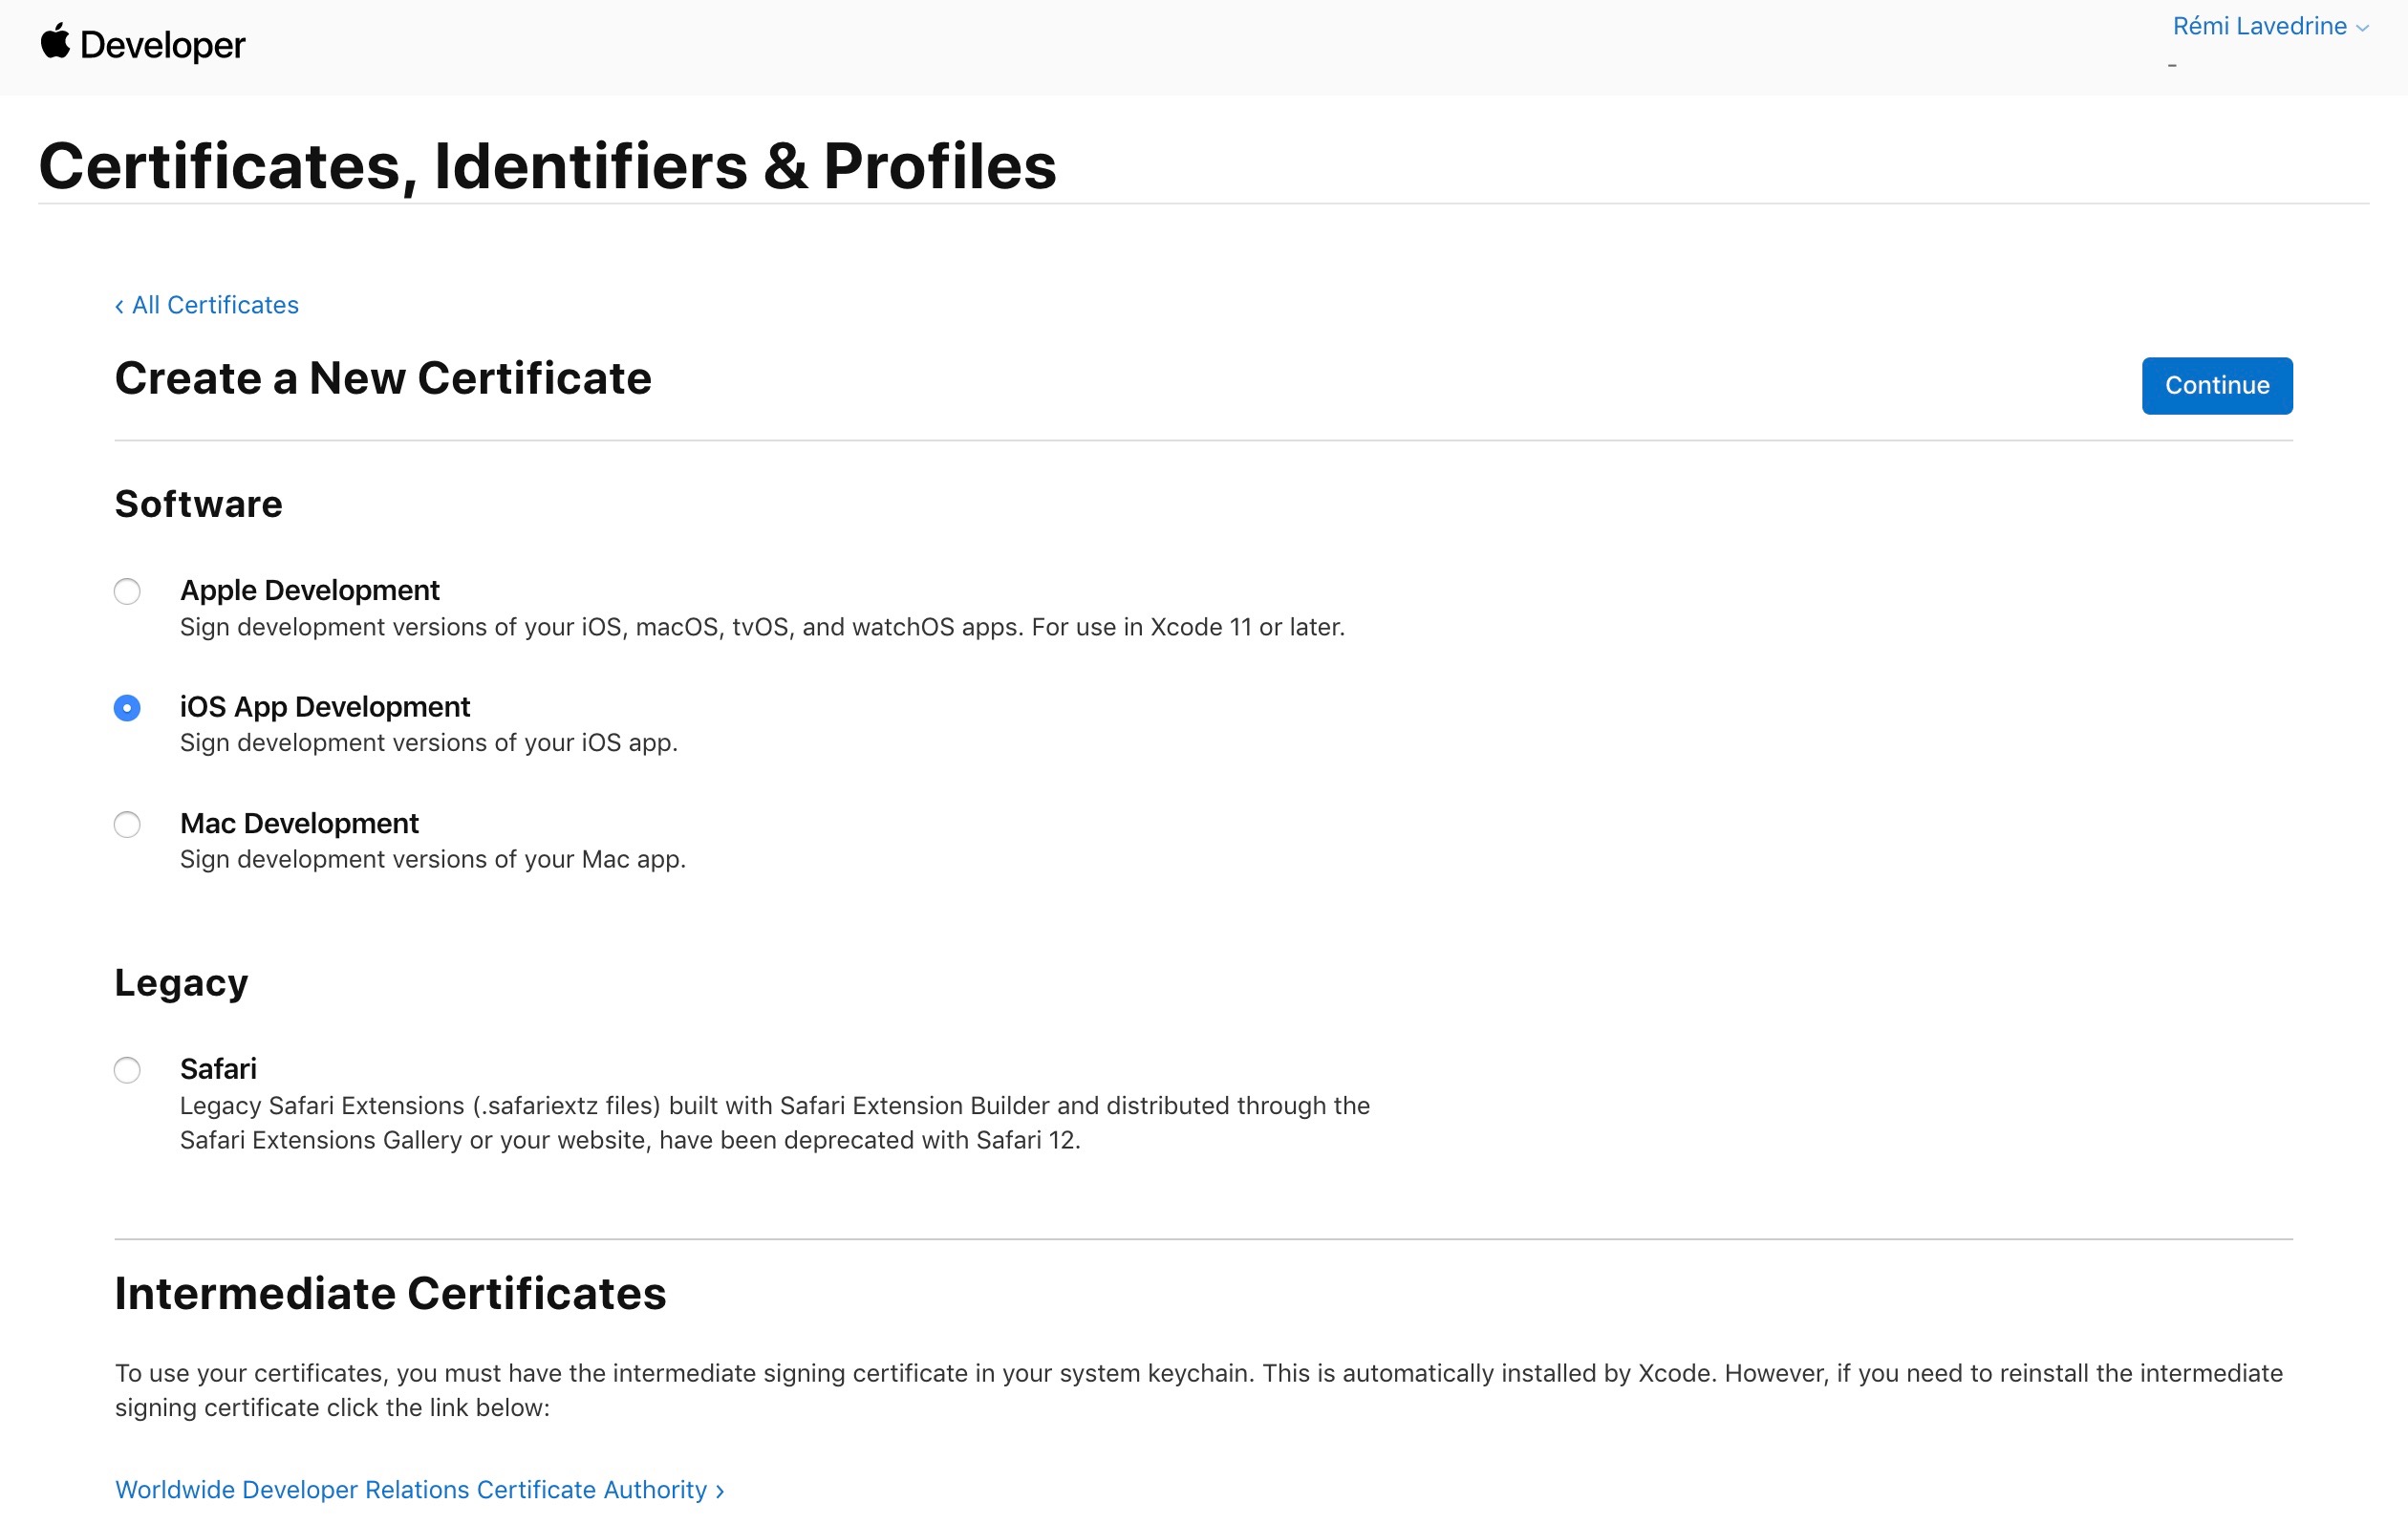
Choose "iOS App Development" as you want to obfuscate an iOS application.
Click on the "Continue" button.
Follow these steps to create a certificate signing request.
-
Launch Keychain Access located in /Applications/Utilities.
-
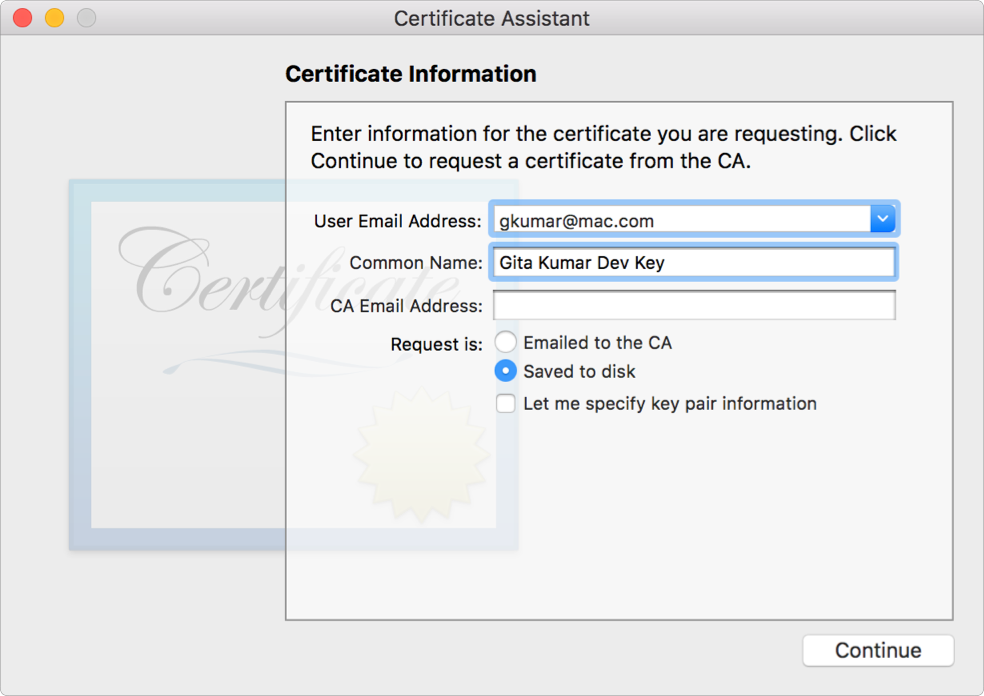
Choose Keychain Access > Certificate Assistant > Request a Certificate from a Certificate Authority.
-
In the Certificate Assistant dialog, enter an email address in the User Email Address field.
-
In the Common Name field, enter a name for the key (for example, Gita Kumar Dev Key).
-
Leave the CA Email Address field empty.
-
Choose “Saved to disk”, and click Continue.
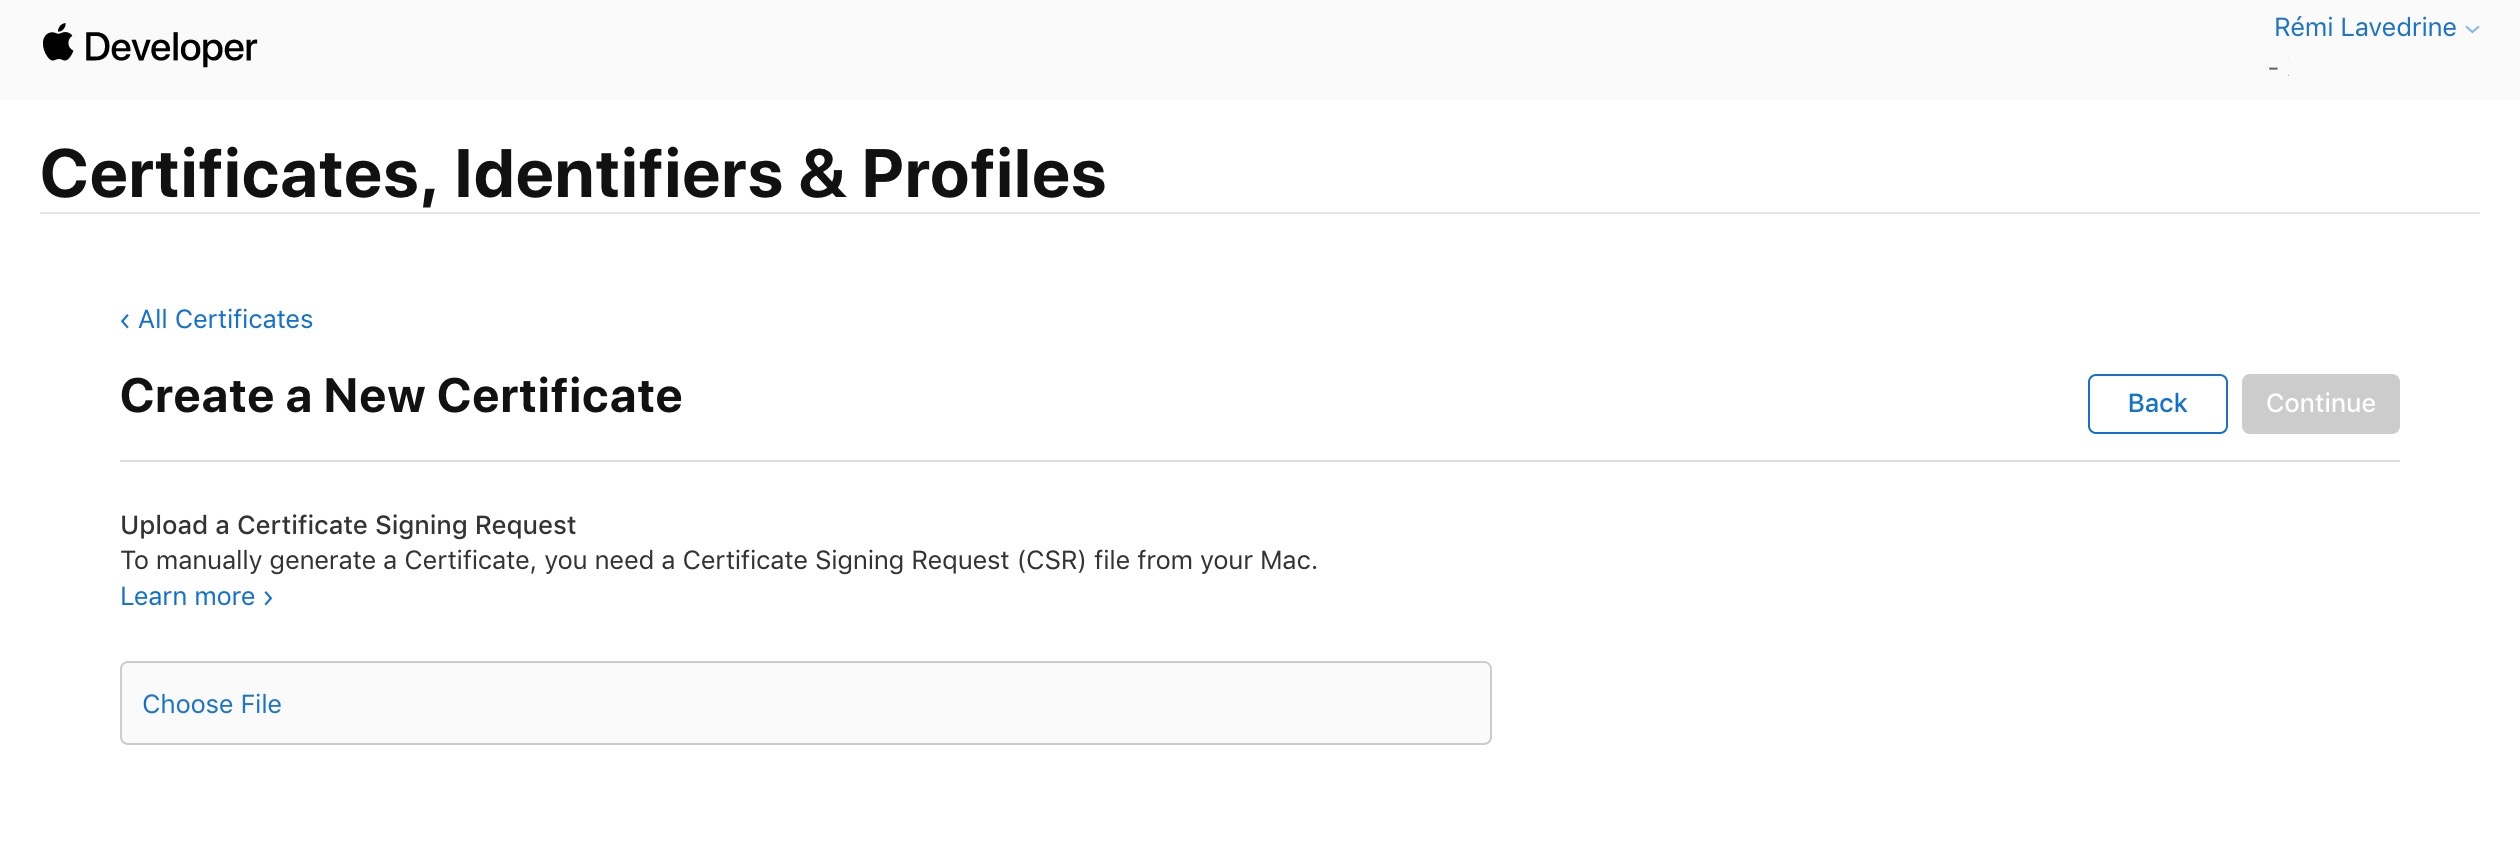
Upload the Certificate Signing Request you just created and then click "Continue".
Then you can download you Certificate and add it to your Keychain just double clicking on it.
Check that everything is properly configured :
security find-identity -v -p codesigning
You should see you new signing identity properly installed and available on your Mac.
I assume that you receive the Dexprotector package from the editor.
If you don't have a licence for dexprotector and just want to try it to see if it is working, you can request a free trial licence here.
So now that you have a valid licence, let's install our Dexprotector environment for iOS.
I usually gather all the Hacking tools I need in a single folder.
Let's create all the required folders to use Dexprotector.
# Create on a recursive manner all the folders required to use Dexprotector.
mkdir -p ~/Development/HackingTools/Dexprotector

# Create the folder that is going to store the Dexprotector Packages
mkdir ~/Development/HackingTools/Dexprotector/DexproPackages
# Create the folder that is going to store the Dexprotector iOS Toolchain Tool
mkdir ~/Development/HackingTools/Dexprotector/iOS
# Create the folder that is going to store the Dexprotector Licence
mkdir ~/Development/HackingTools/Dexprotector/Licence
All the tools (Dexprotector Package and Toolchain tool) are stored in the "Downloads" folder as we downloaded them from the Internet.
# Store the package for future use to the relevant folder.
cp ~/Downloads/dexprotector.zip ~/Development/HackingTools/Dexprotector/DexproPackages

# Unzip the package to the relevant folder.
unzip ~/Downloads/dexprotector.zip -d ~/Development/HackingTools/Dexprotector/DexproPackages
# Store the Toolchain tool for future use
cp ~/Downloads/ios-toolchain-clang-7.zip ~/Development/HackingTools/Dexprotector/iOS/
# Unzip the toolchain
unzip ~/Downloads/ios-toolchain-clang-7.zip -d ~/Development/HackingTools/Dexprotector/iOS/
# Copy it to the proper location within the Dexprotector folder as mentionned in the documentation
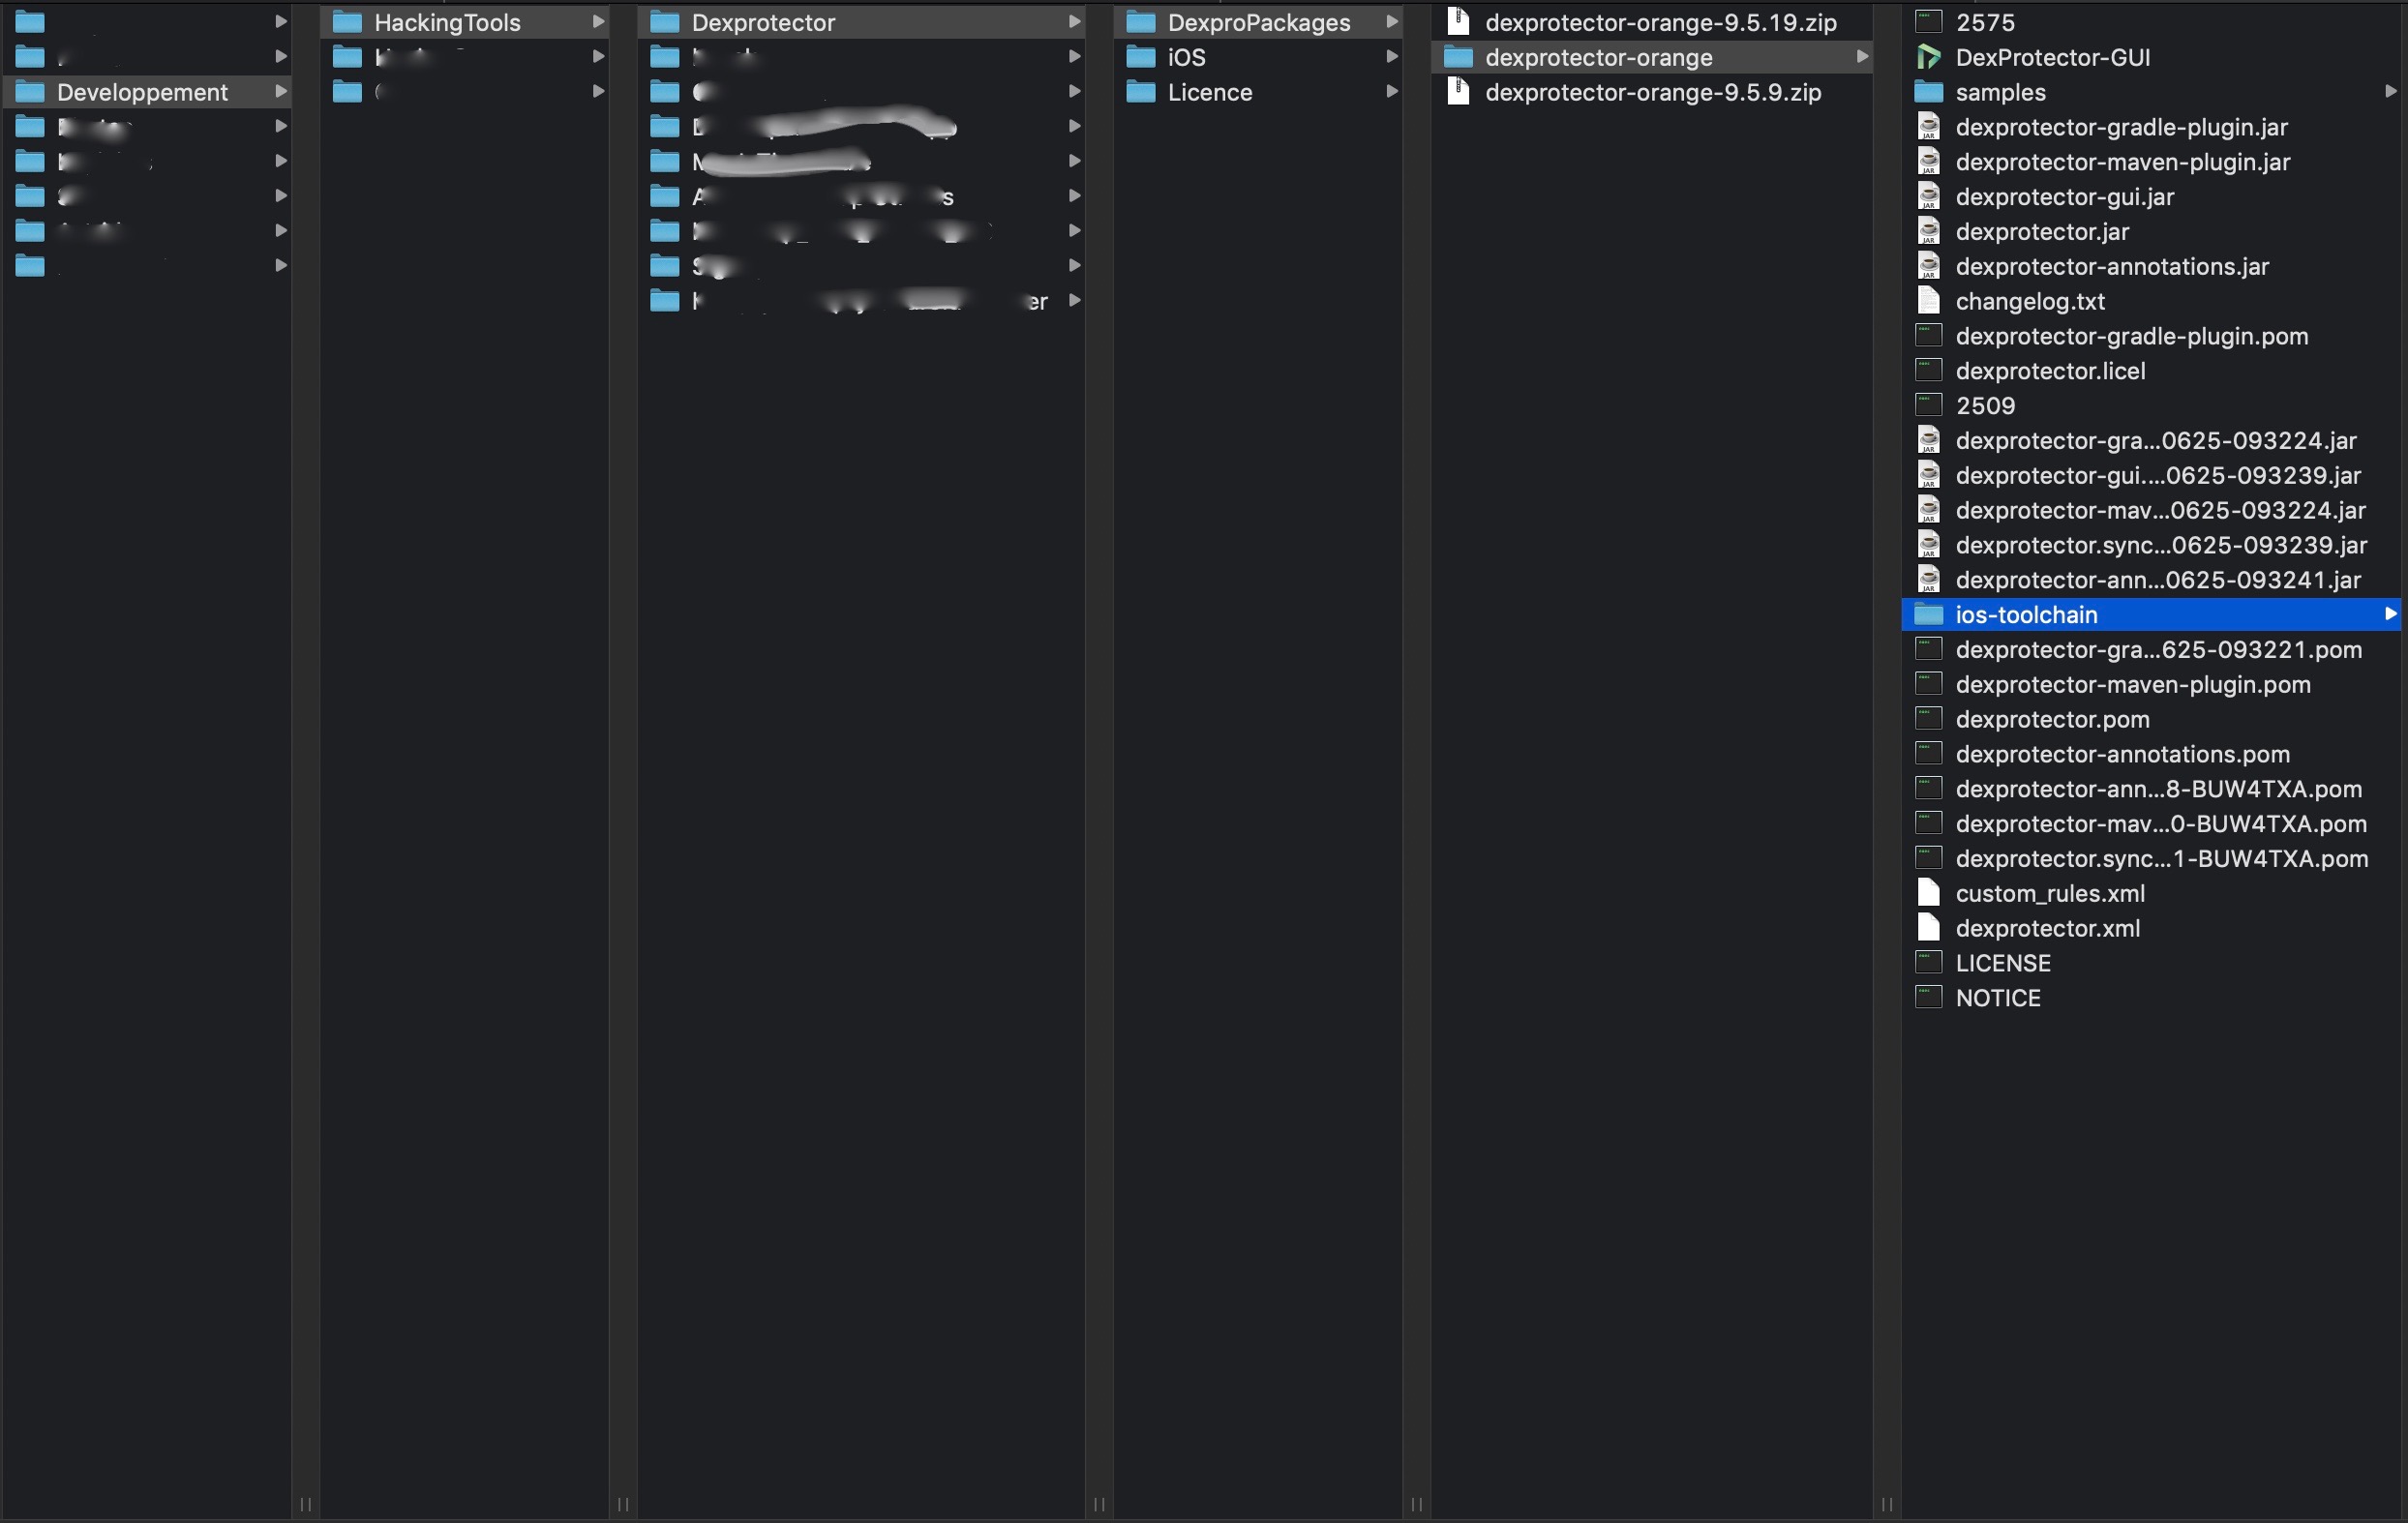
cp ~/Development/HackingTools/Dexprotector/iOS/ios-toolchain-clang-7 ~/Development/HackingTools/Dexprotector/DexproPackages/dexprotector/ios-toolchain/You should then have a folder tree that looks like that :
As I said earlier, the Dexprotector is only working on the Java JDK8, due to a deprecated method. Jenv was configure in step 3.2.
As described in the jenv documentation, you can set up which JDK to use globally, locally or based on the shell.
So, we are going to set up the use of the Jdk 8 locally, within the dexprotector folder.
# Move to the proper directory
cd ~/Development/HackingTools/Dexprotector/DexproPackages/dexprotector/

# Set up the Jdk 8 use locally
jenv local 1.8

# Reload the shell to take the change into effect
# Bash
source ~/.bash_profile
# Zsh
source ~/.zshrc

# Check that everything works
# You should see a "star" in front of the 1.8
jenv versionsJust check that your licence is correct
java -jar dexprotector.jar -infoTo Automate all of this, I created a script that you can use to do all of that at once.
Fork this repository, clone it on your computer and use to configureDexproEnv.sh script.
cd /path/to/configureDexproEnv.sh
chmod +x configureDexproEnv.sh
./configureDexproEnv.sh
Here is the result of the Script execution :
