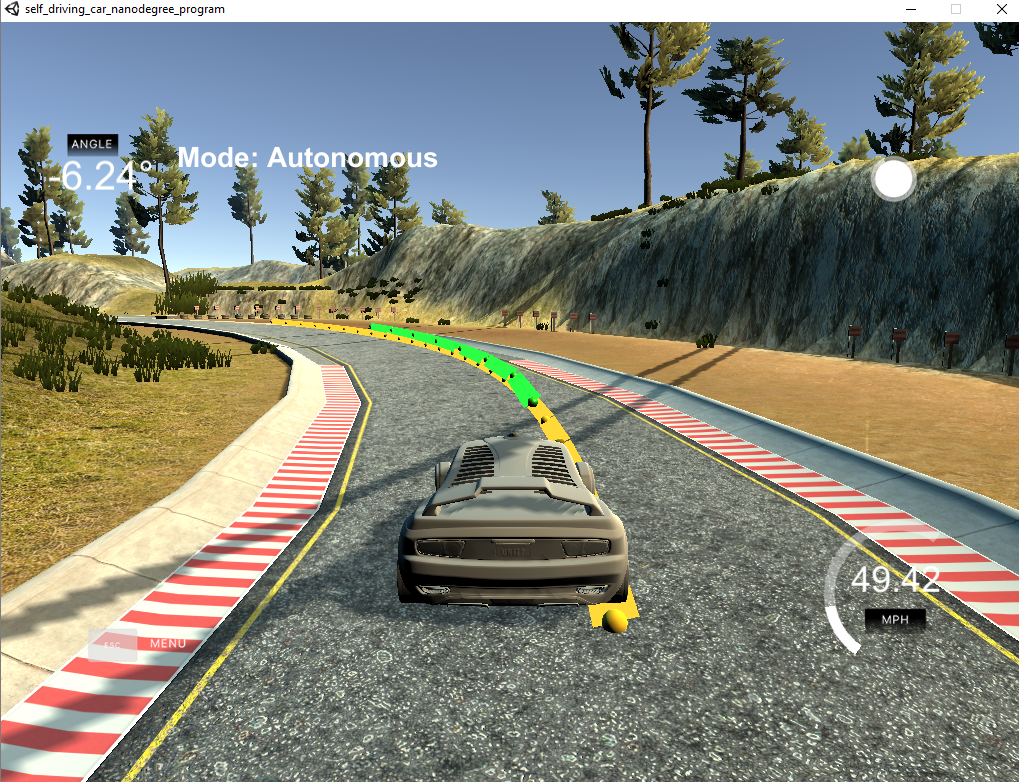
Creating a Model predictive control to navigate the car through the lap of the simulator.
The model used is a Kinematic model , Kinematic model eradicates the real forces such as friction generated due to interaction between tires and the road , gravity and also other aspects such as the mass of the car. The other model is the Dynamic model which basically uses all the forces pertaining to the car and off the car. The project aims at Kinematic model and Dynamic model hasn't been implemented here though there were specific tries by setting friction value as 0.1 but wasn't successful.
The kinematic condition for vehicle state are as follows :-
- Position at X-axis
- Position at Y-axis
- Direction
- Velocity
With this and the help of two other parameters which are actuators , which helps in movement of the car. :-
- Steering angle
- Acceleration and Deacceleration
We try to reduce the error which results in our car following the path , Much intuitively the car must follow the path and drive on the road this can be achieved by the help of reducing the cost of two error and as the iteration goes on the main aim becomes to reduce the error in order for the car to drive. The errors are as follows :-
- CTE :- Cross track error
- EPSI :- Error in direction.
So here's how the model looks like :-
The state vectors used in the model looks like this ,
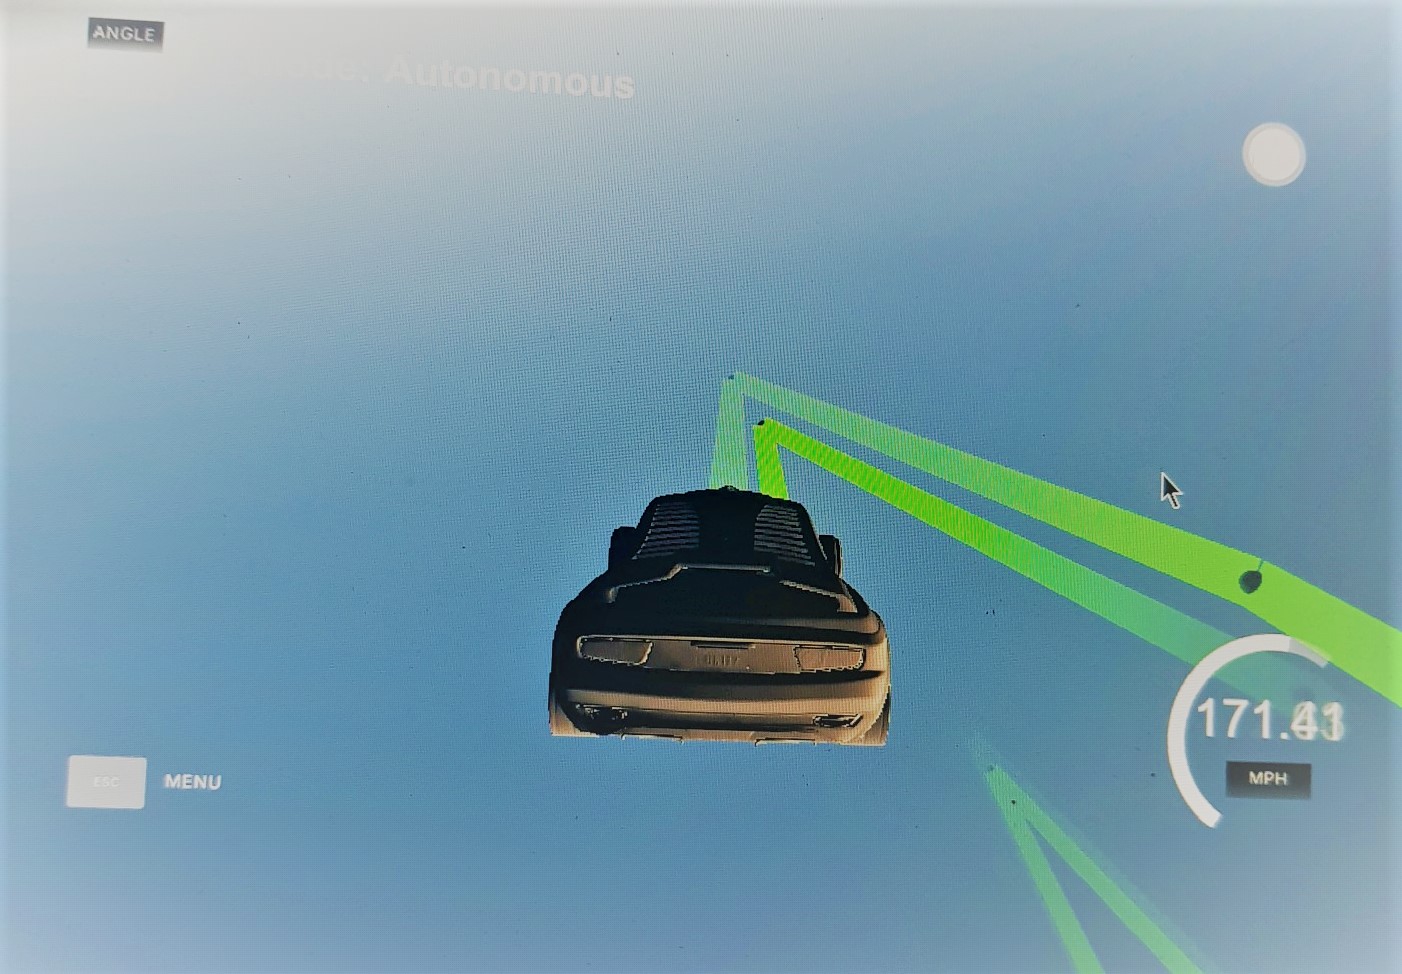
The values chosen were 10 and 0.1 which were basically the way how it was discussed on the Q&A video. I did try changing the value of N from 10 to 15 but the results were weird and the car basically became a flying car. But in car's defence while trying that out the cost functions weren't appropriate and the value of velocity was way too high.
( I had to capture that on my phone as it was an unbelievable moment)
The polynomials are fit by the help of polyfit function which is present in the starter code given by Udacity. I tried using pointers as discussed in the Q&A video but for some reasons it failed
Hence , i went ahead with Eigen vectors with the size of ptsx and ran it through a loop which was then used to plot the points by the third degree polynomial. Can be found here ,
Line 115 in a5c63d2
The coefficents as seen from the code are used to computer the cte and epsi.
The latency section is where i changed the value from 100ms to 200ms and then back to 100ms to check how the model works , but it needed change in the cost function
Which can be found on (Latency)
Line 203 in a5c63d2
Since Udacity has asked to submit the project with delay latency set as 100.0 , I have let that be.
By using the model and delay interval rates i was able to compute the state values which was then used as state instead of the original values Without latency our car will be moving and accelerating based on the model and would actually respond slowly and bit late (Like Kevin from The Office) and would eventually move in haphazard manner and ultimately go for a swim.
I chose trial and error method , I took help on this part from fellow students , forums as well as Slack.
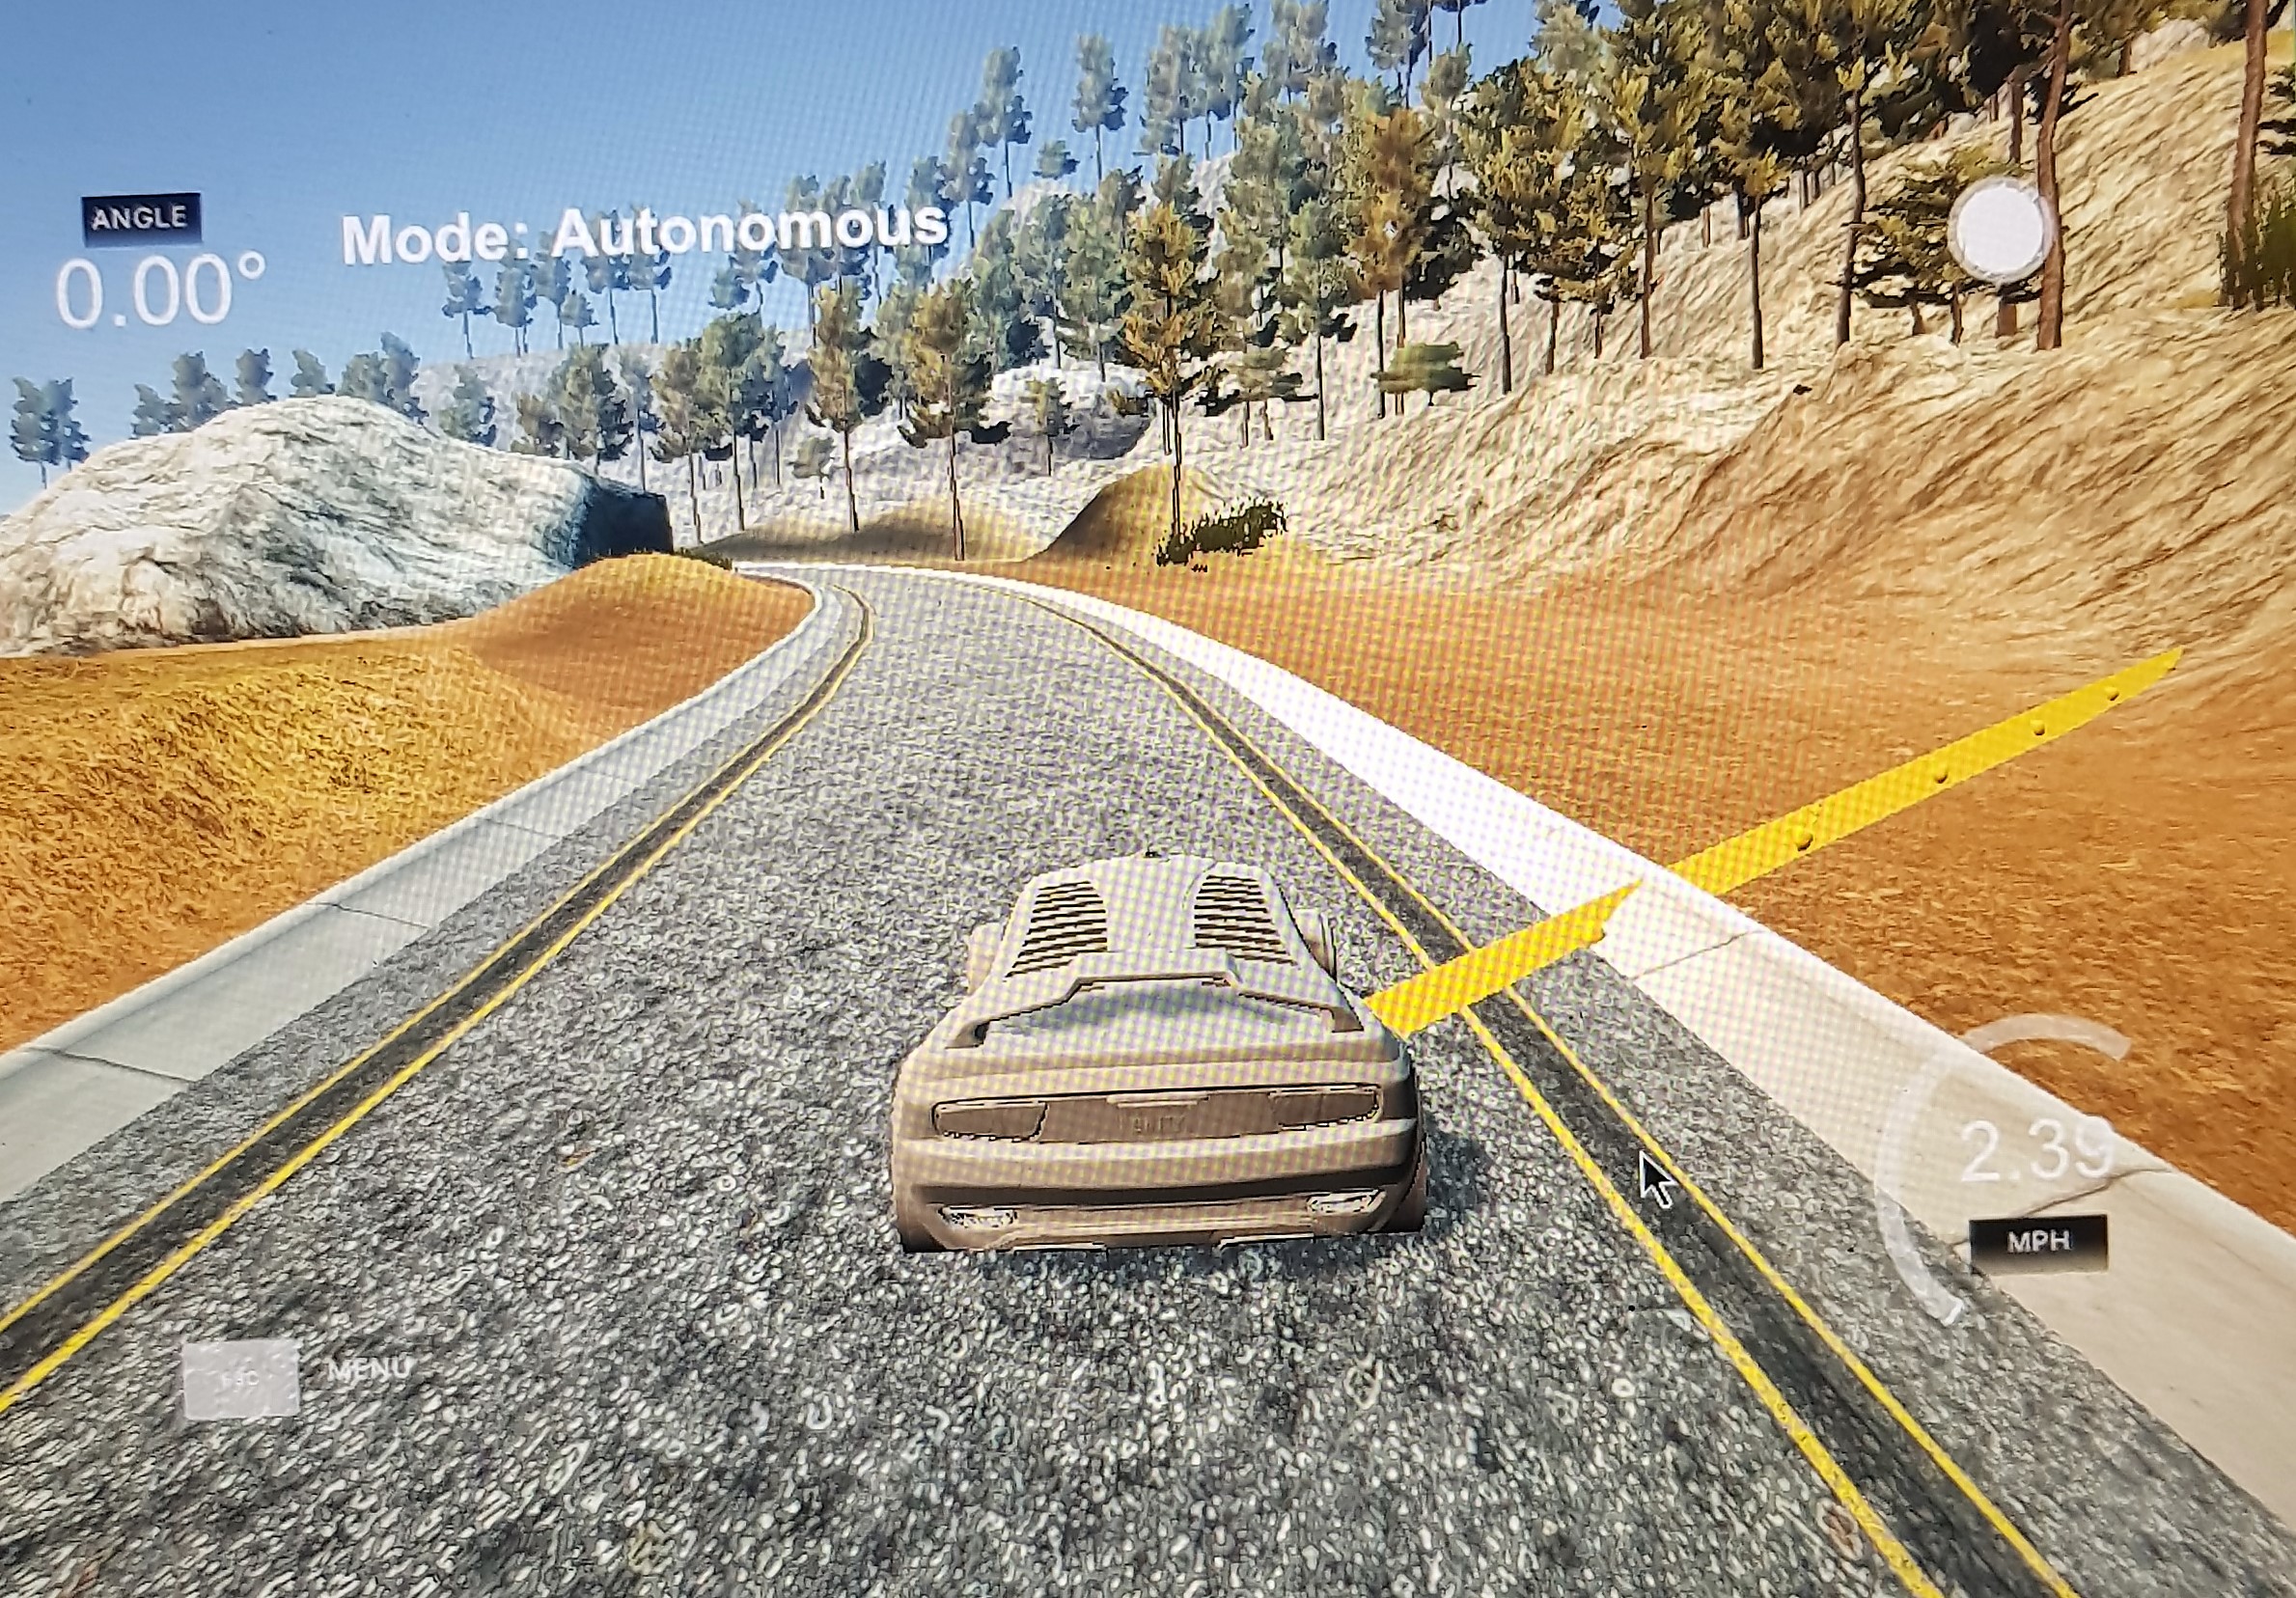
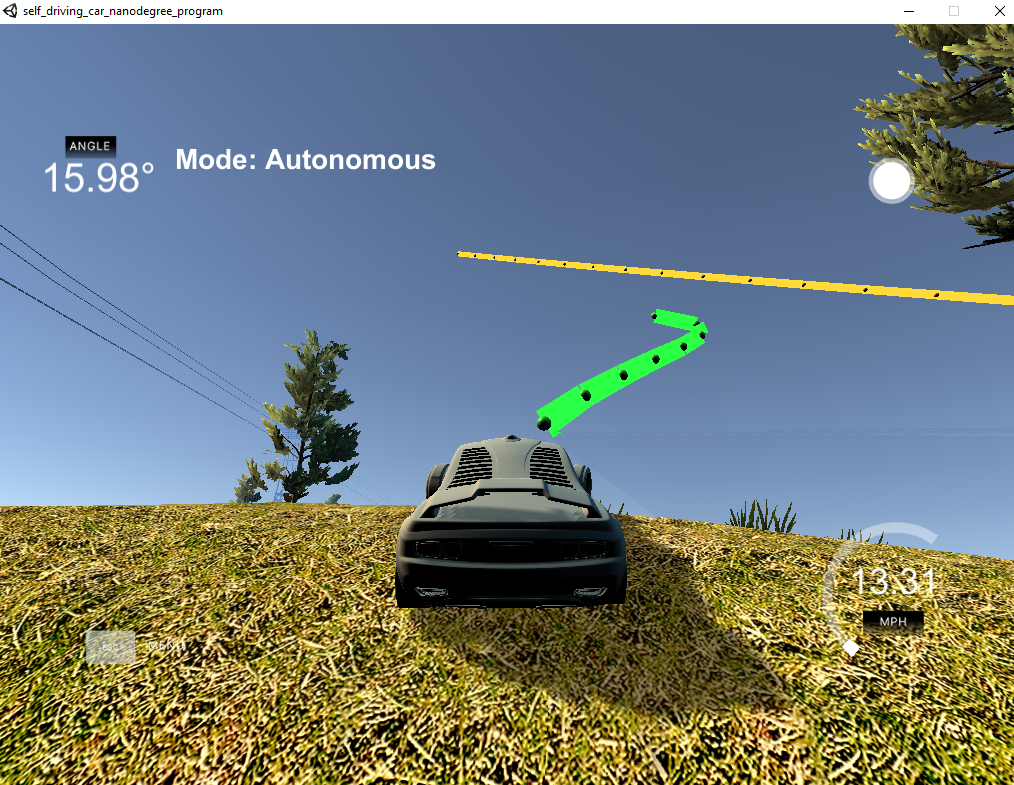
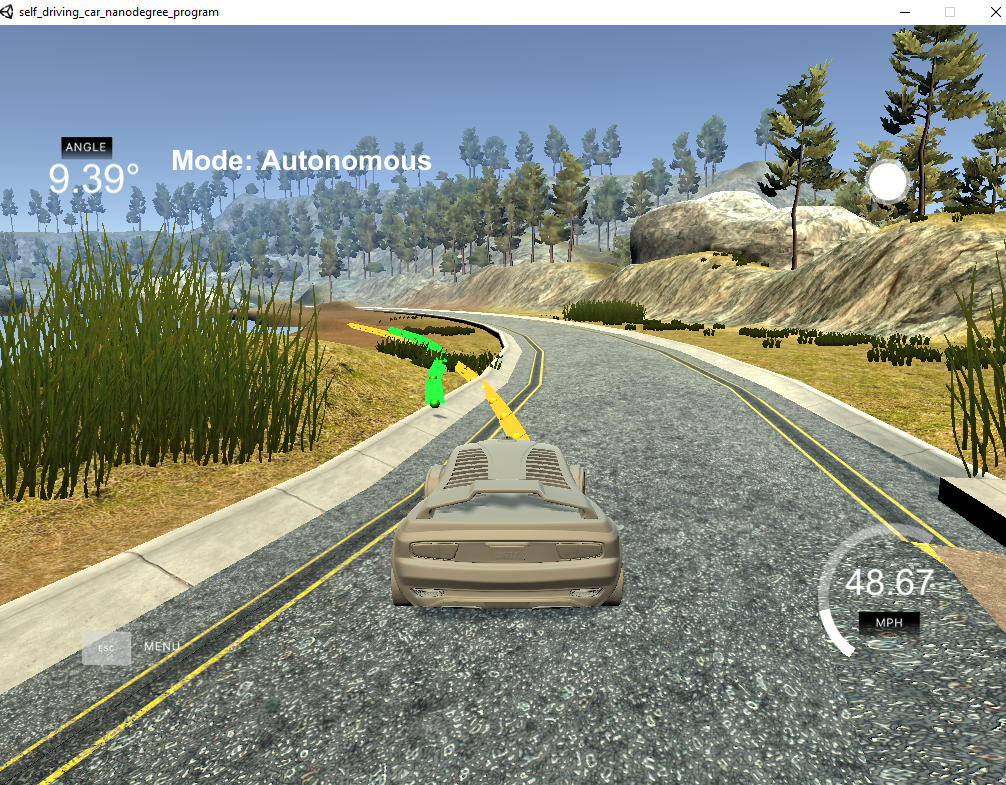
here are few results of the CTE and EPSI tuning. The results are as follows
2000
The car seems to run perfect on my laptop running on Windows 10 with NVIDIA 940MX GPU and 8GB RAM.
-
cmake >= 3.5
-
All OSes: click here for installation instructions
-
make >= 4.1(mac, linux), 3.81(Windows)
- Linux: make is installed by default on most Linux distros
- Mac: install Xcode command line tools to get make
- Windows: Click here for installation instructions
-
gcc/g++ >= 5.4
- Linux: gcc / g++ is installed by default on most Linux distros
- Mac: same deal as make - [install Xcode command line tools]((https://developer.apple.com/xcode/features/)
- Windows: recommend using MinGW
-
- Run either
install-mac.shorinstall-ubuntu.sh. - If you install from source, checkout to commit
e94b6e1, i.e.Some function signatures have changed in v0.14.x. See this PR for more details.git clone https://github.com/uWebSockets/uWebSockets cd uWebSockets git checkout e94b6e1
- Run either
-
Ipopt and CppAD: Please refer to this document for installation instructions.
-
Eigen. This is already part of the repo so you shouldn't have to worry about it.
-
Simulator. You can download these from the releases tab.
-
Not a dependency but read the DATA.md for a description of the data sent back from the simulator.
- Clone this repo.
- Make a build directory:
mkdir build && cd build - Compile:
cmake .. && make - Run it:
./mpc.
- It's recommended to test the MPC on basic examples to see if your implementation behaves as desired. One possible example is the vehicle starting offset of a straight line (reference). If the MPC implementation is correct, after some number of timesteps (not too many) it should find and track the reference line.
- The
lake_track_waypoints.csvfile has the waypoints of the lake track. You could use this to fit polynomials and points and see of how well your model tracks curve. NOTE: This file might be not completely in sync with the simulator so your solution should NOT depend on it. - For visualization this C++ matplotlib wrapper could be helpful.)
- Tips for setting up your environment are available here
- VM Latency: Some students have reported differences in behavior using VM's ostensibly a result of latency. Please let us know if issues arise as a result of a VM environment.
We've purposefully kept editor configuration files out of this repo in order to keep it as simple and environment agnostic as possible. However, we recommend using the following settings:
- indent using spaces
- set tab width to 2 spaces (keeps the matrices in source code aligned)
Please (do your best to) stick to Google's C++ style guide.
Note: regardless of the changes you make, your project must be buildable using cmake and make!
More information is only accessible by people who are already enrolled in Term 2 of CarND. If you are enrolled, see the project page for instructions and the project rubric.
- You don't have to follow this directory structure, but if you do, your work will span all of the .cpp files here. Keep an eye out for TODOs.
Help your fellow students!
We decided to create Makefiles with cmake to keep this project as platform agnostic as possible. Similarly, we omitted IDE profiles in order to we ensure that students don't feel pressured to use one IDE or another.
However! I'd love to help people get up and running with their IDEs of choice. If you've created a profile for an IDE that you think other students would appreciate, we'd love to have you add the requisite profile files and instructions to ide_profiles/. For example if you wanted to add a VS Code profile, you'd add:
- /ide_profiles/vscode/.vscode
- /ide_profiles/vscode/README.md
The README should explain what the profile does, how to take advantage of it, and how to install it.
Frankly, I've never been involved in a project with multiple IDE profiles before. I believe the best way to handle this would be to keep them out of the repo root to avoid clutter. My expectation is that most profiles will include instructions to copy files to a new location to get picked up by the IDE, but that's just a guess.
One last note here: regardless of the IDE used, every submitted project must still be compilable with cmake and make./
A well written README file can enhance your project and portfolio. Develop your abilities to create professional README files by completing this free course.
- The forums from the SDC
- Slack
- https://www.youtube.com/watch?v=bOQuhpz3YfU&feature=youtu.be Q&A for the same project.
.png)
.png)
.png)
