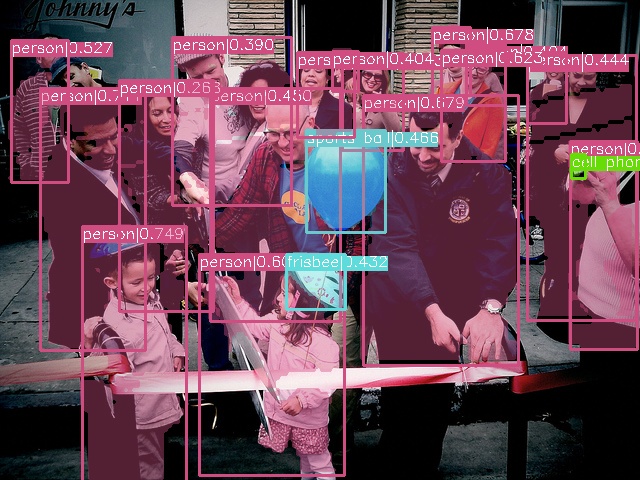
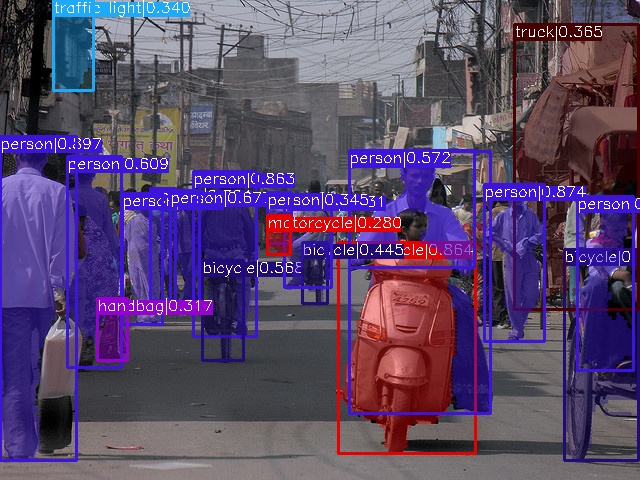
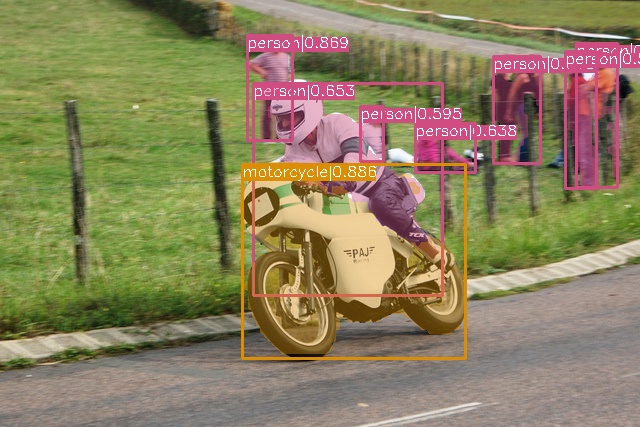
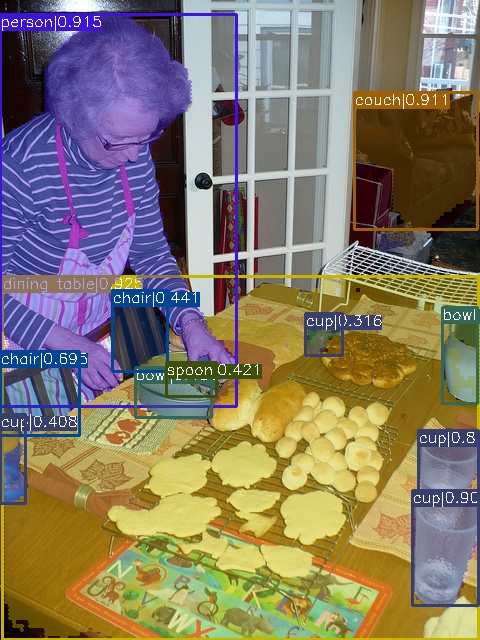
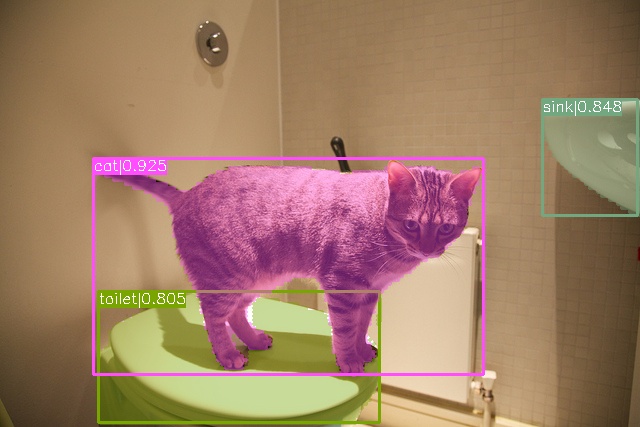
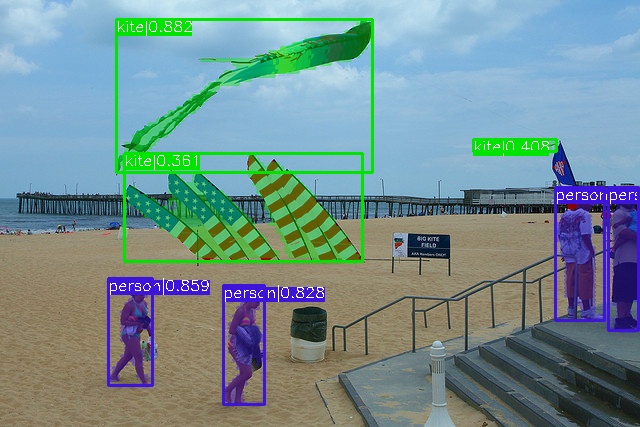
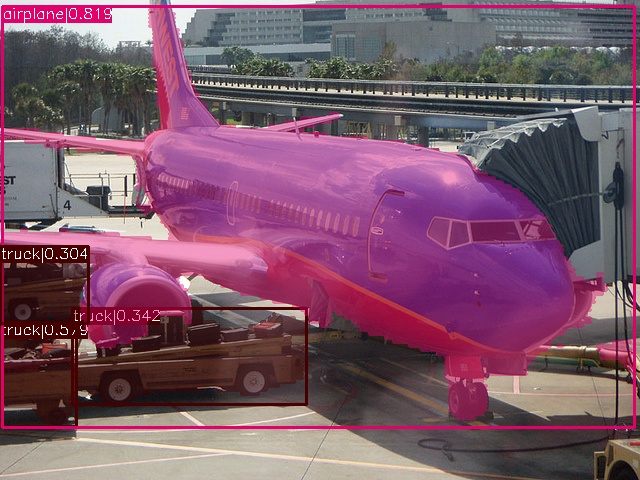
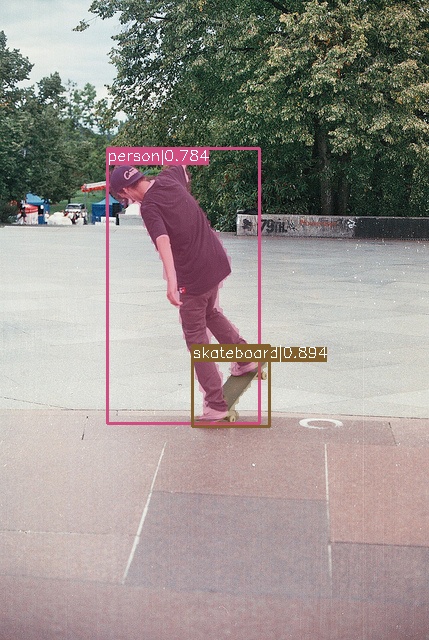
This repo use TensorRT-8.x to deploy well-trained models, both image preprocessing and postprocessing are performed with CUDA, which realizes high-speed inference.
update process
- 2023.05.01 🚀 Create the repo.
- 2023.05.03 🚀 Support yolov5 detection.
- 2023.05.05 🚀 Support yolov7 and yolov5 instance-segmentation.
- 2023.05.10 🚀 Support yolov8 detection and instance-segmentation.
- 2023.05.12 🚀 Support cuda preprocess for speed up.
- 2023.05.16 🚀 Support cuda box postprocess.
- 2023.05.19 🚀 Support cuda mask postprocess and support rtdetr.
- 2023.05.21 🚀 Support yolov6.
- 2023.05.26 🚀 Support dynamic batch inference.
- 2023.06.07 🚀 Support yolox and yolo-nas.
supported models
All speed tests were performed on RTX 3090 with COCO Val set.The time calculated here is the sum of the time of image loading, preprocess, inference and postprocess, so it's going to be slower than what's reported in the paper.
| Models | BatchSize | Mode | Resolution | FPS |
|---|---|---|---|---|
| YOLOv5-s v7.0 | 1 | FP32 | 640x640 | 200 |
| YOLOv5-s v7.0 | 32 | FP32 | 640x640 | 246 |
| YOLOv5-seg-s v7.0 | 1 | FP32 | 640x640 | 155 |
| YOLOv6-s v3 | 1 | FP32 | 640x640 | 163 |
| YOLOv7 | 1 | FP32 | 640x640 | 107 |
| YOLOv8-s | 1 | FP32 | 640x640 | 171 |
| YOLOv8-seg-s | 1 | FP32 | 640x640 | 122 |
| YOLOX-s | 1 | FP32 | 640x640 | 156 |
| YOLO-NAS-s | 1 | FP32 | 640x640 | 165 |
| RT-DETR | 1 | FP32 | 640x640 | 106 |
- Clone the repo.
git clone https://github.com/Li-Hongda/TensorRT_Inference_Demo.git
- Install the dependencies.
Following NVIDIA offical docs to install TensorRT.
git clone https://github.com/jbeder/yaml-cpp
mkdir build && cd build
cmake ..
make -j20
cmake -DYAML_BUILD_SHARED_LIBS=on ..
make -j20
cd ..
cd TensorRT_Inference_Demo/object_detection
mkdir build && cd build
cmake ..
make -j$(nproc)
- Get the ONNX model from the official repository and put them in
weights/MODEL_NAME. Then modify the configuration file inconfigs.Take yolov5 as an example:
python export.py --weights=yolov5s.pt --dynamic --simplify --include=onnx --opset 11
- The executable file will be generated in
binin the repo directory if compile successfully.Then enjoy yourself with command like this:
cd bin
./object_detection yolov5 /path/to/input/dir
Notes:
- The output of the model is required for post-processing is num_bboxes (imageHeight x imageWidth) x num_pred(num_cls + coordinates + confidence),while the output of YOLOv8 is num_pred x num_bboxes,which means the predicted values of the same box are not contiguous in memory.For convenience, the corresponding dimensions of the original pytorch output need to be transposed when exporting to ONNX model.
- The dynamic shape engine is convenient but sacrifices some inference speed compared with the static model of the same batchsize.Therefore, if you want to pursue faster inference speed, it is better to export the ONNX model of fixed batchsize, such as batchsize 32.
[0].https://github.com/NVIDIA/TensorRT
[1].https://docs.nvidia.com/deeplearning/tensorrt/developer-guide/index.html#c_topics
[2].https://github.com/linghu8812/tensorrt_inference
[3].https://docs.nvidia.com/cuda/cuda-c-programming-guide/index.html#
[4].https://blog.csdn.net/bobchen1017?type=blog
